:quality(75))
:quality(75))


:quality(75))
Hello to everyone in the Vectornator community!
We’ve been busy preparing for you a new tutorial with our talented in-house Senior Designer, Berenika Godlewska!
This time, we’ll show you how to turn—as the title suggests—a photo into a vector design with our new and improved powerful tool, the Auto Trace feature!
You can transform any artwork into vector shapes with Auto Trace!
Jumpstart your ideas with Linearity Curve
Take your designs to the next level.
We’ll create a personal greeting card you can send to friends, family, or even customers and clients.
You can use this tutorial to create business cards for graphic designers, a photography business, or potential customers. You can even turn images into beautiful logos!
We’ve made some incredible improvements in our Auto Trace feature in 2022, and we would like to show you how you can convert images into high-quality vector shapes in seconds. Auto Trace turns your images into customizable vector graphics.
It's pure vector magic!
In addition to following the written tutorial, you can watch the video of Berenika performing and explaining the tutorial's steps.
You’ll be surprised how fast you can create a design without needing to draw a single path! It’s easy, it’s fast, and it looks professional!
Let’s grab our equipment and start the tutorial!
• How to use Auto Trace
• How to group objects
• How to create Artboards
• How to use the Text Tool
🎨 Color Code: Fill: #EDE8E2; Stroke: #990B4A
Prepare the document
In the first step of our tutorial, we will create and prepare the document.
Open a new document in Vectornator by tapping the + button. Set the size of your document manually or use a template. Give the newly created template the name: “Photo to Logo.”
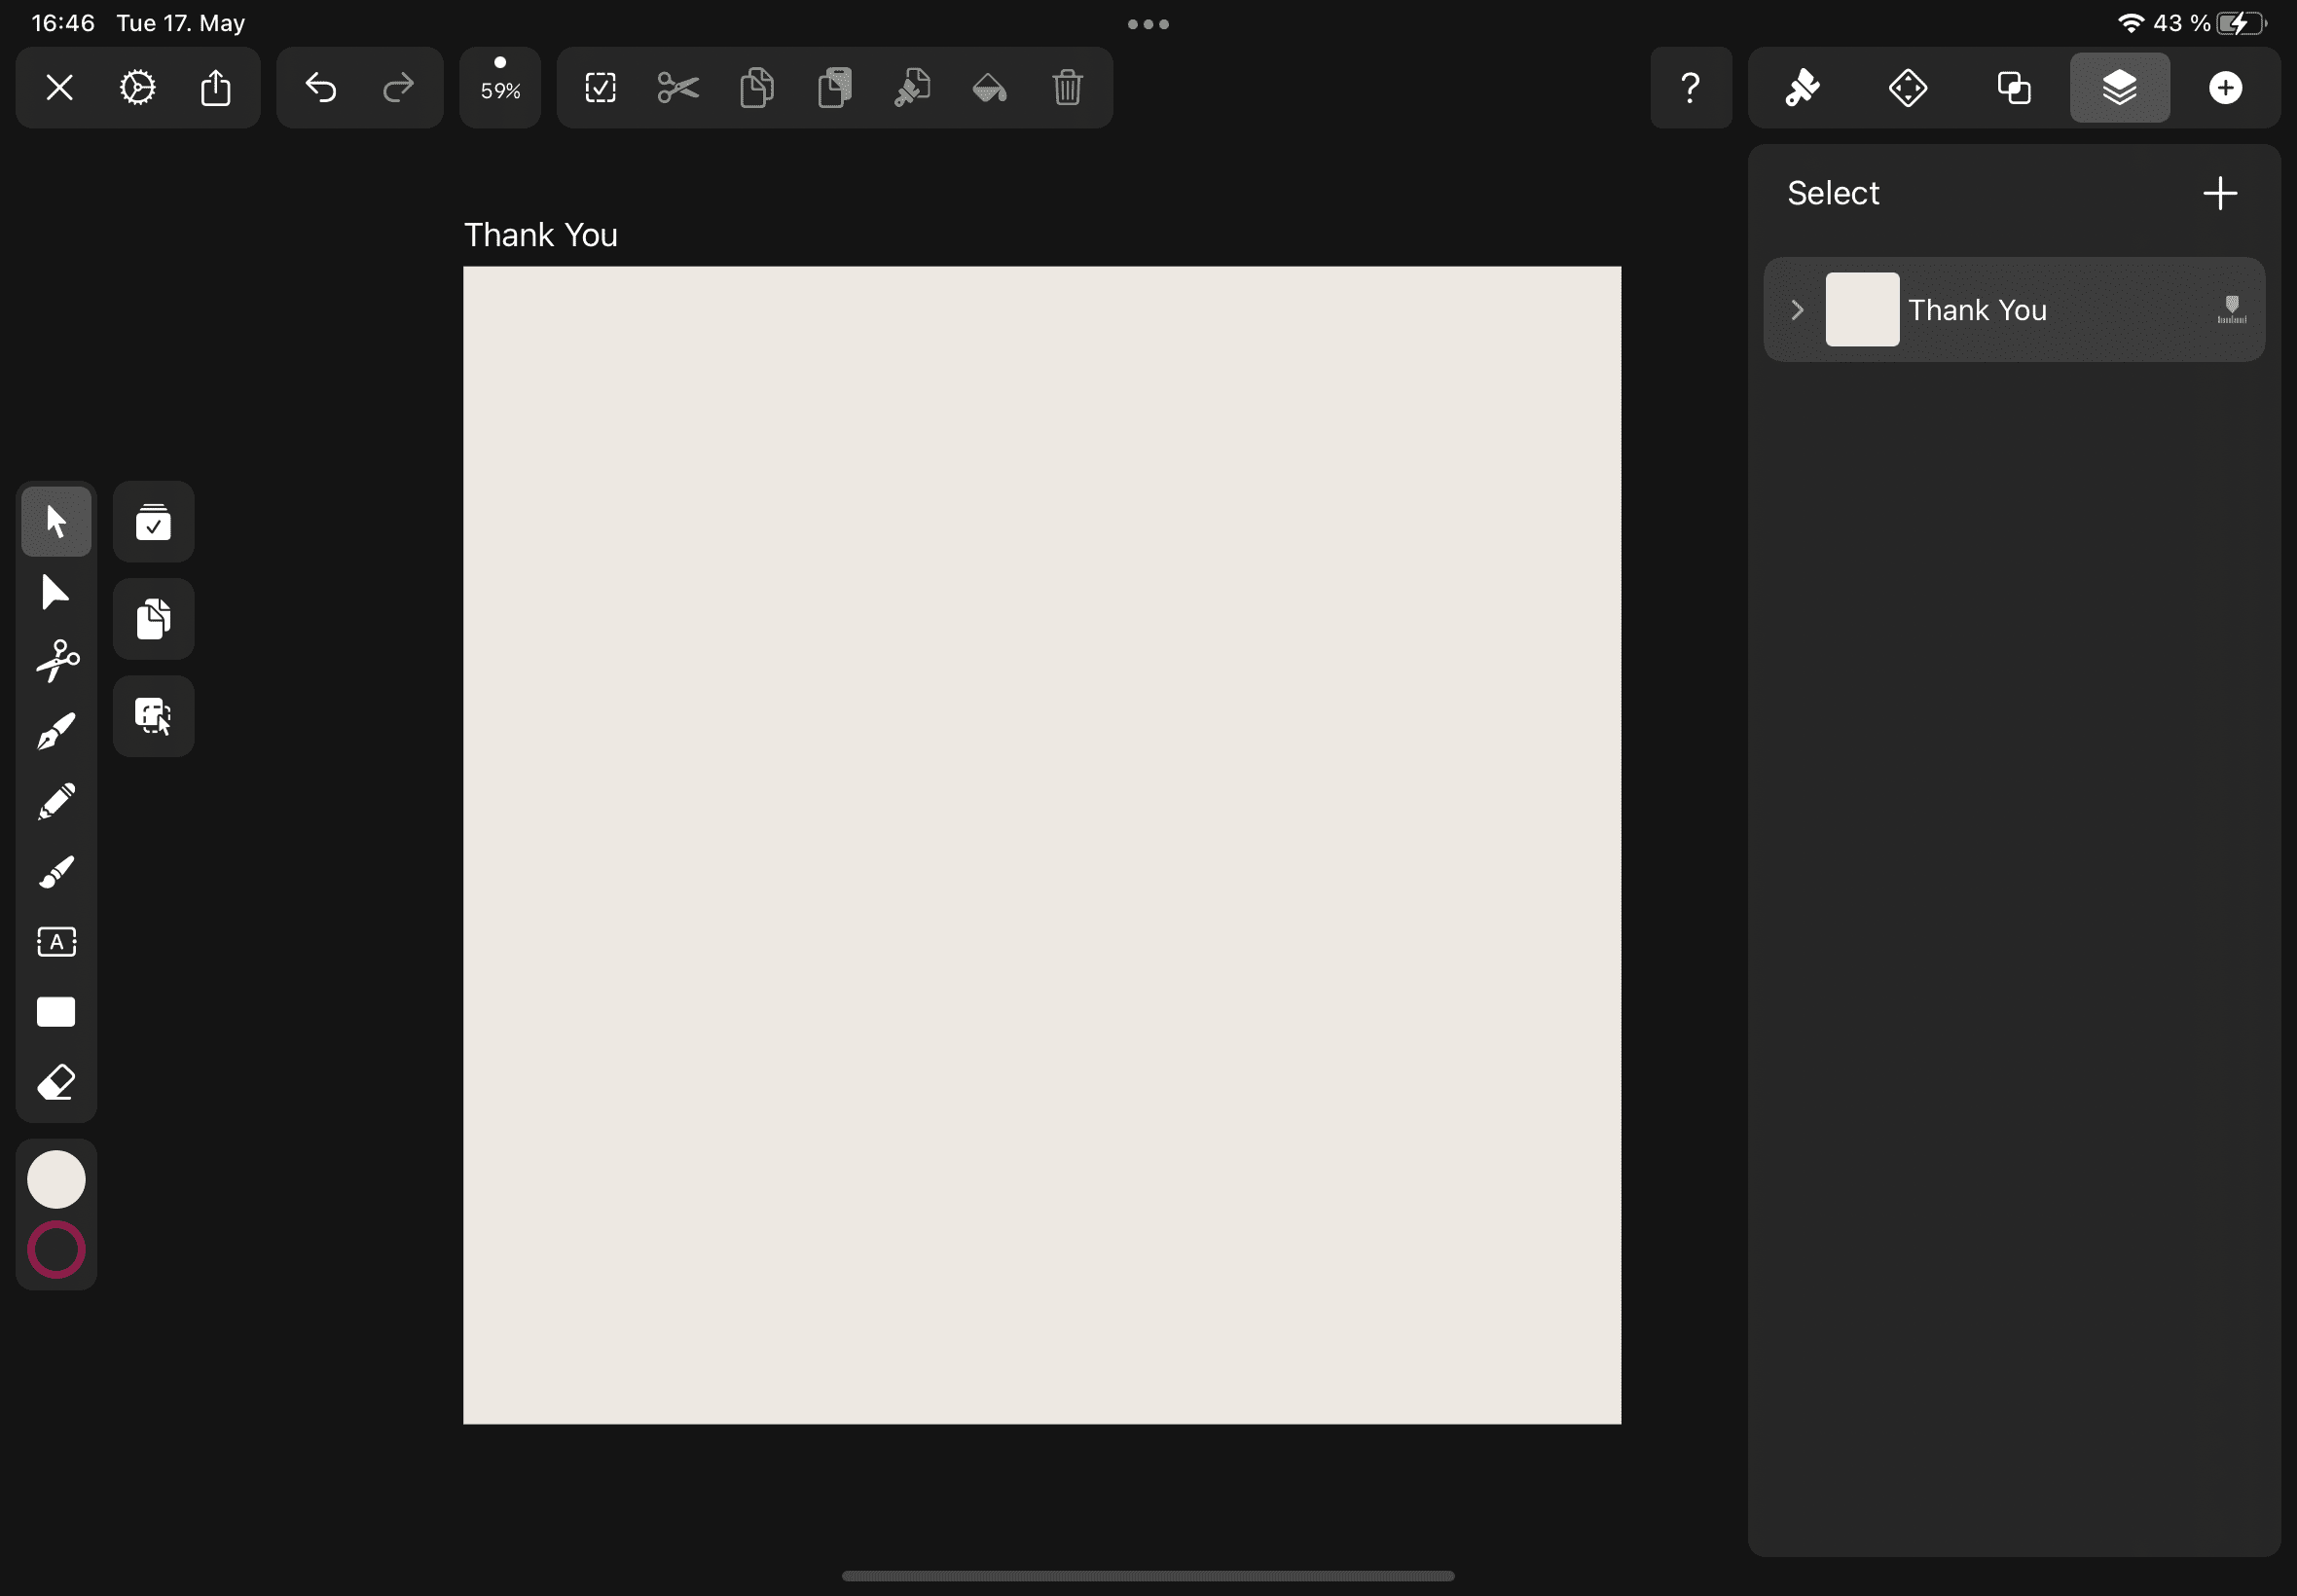
Create a square Artboard with the dimensions of 2000 px x 2000 px.
Create a new layer in the Layers Tab by tapping the + icon inside the header section of the Layers Tab, and in the popover menu, select New Layer.
Create a new, smaller square shape with the Rectangle Tool. Go to the Toolbar and select the Shape Tool and choose the rectangle shape.
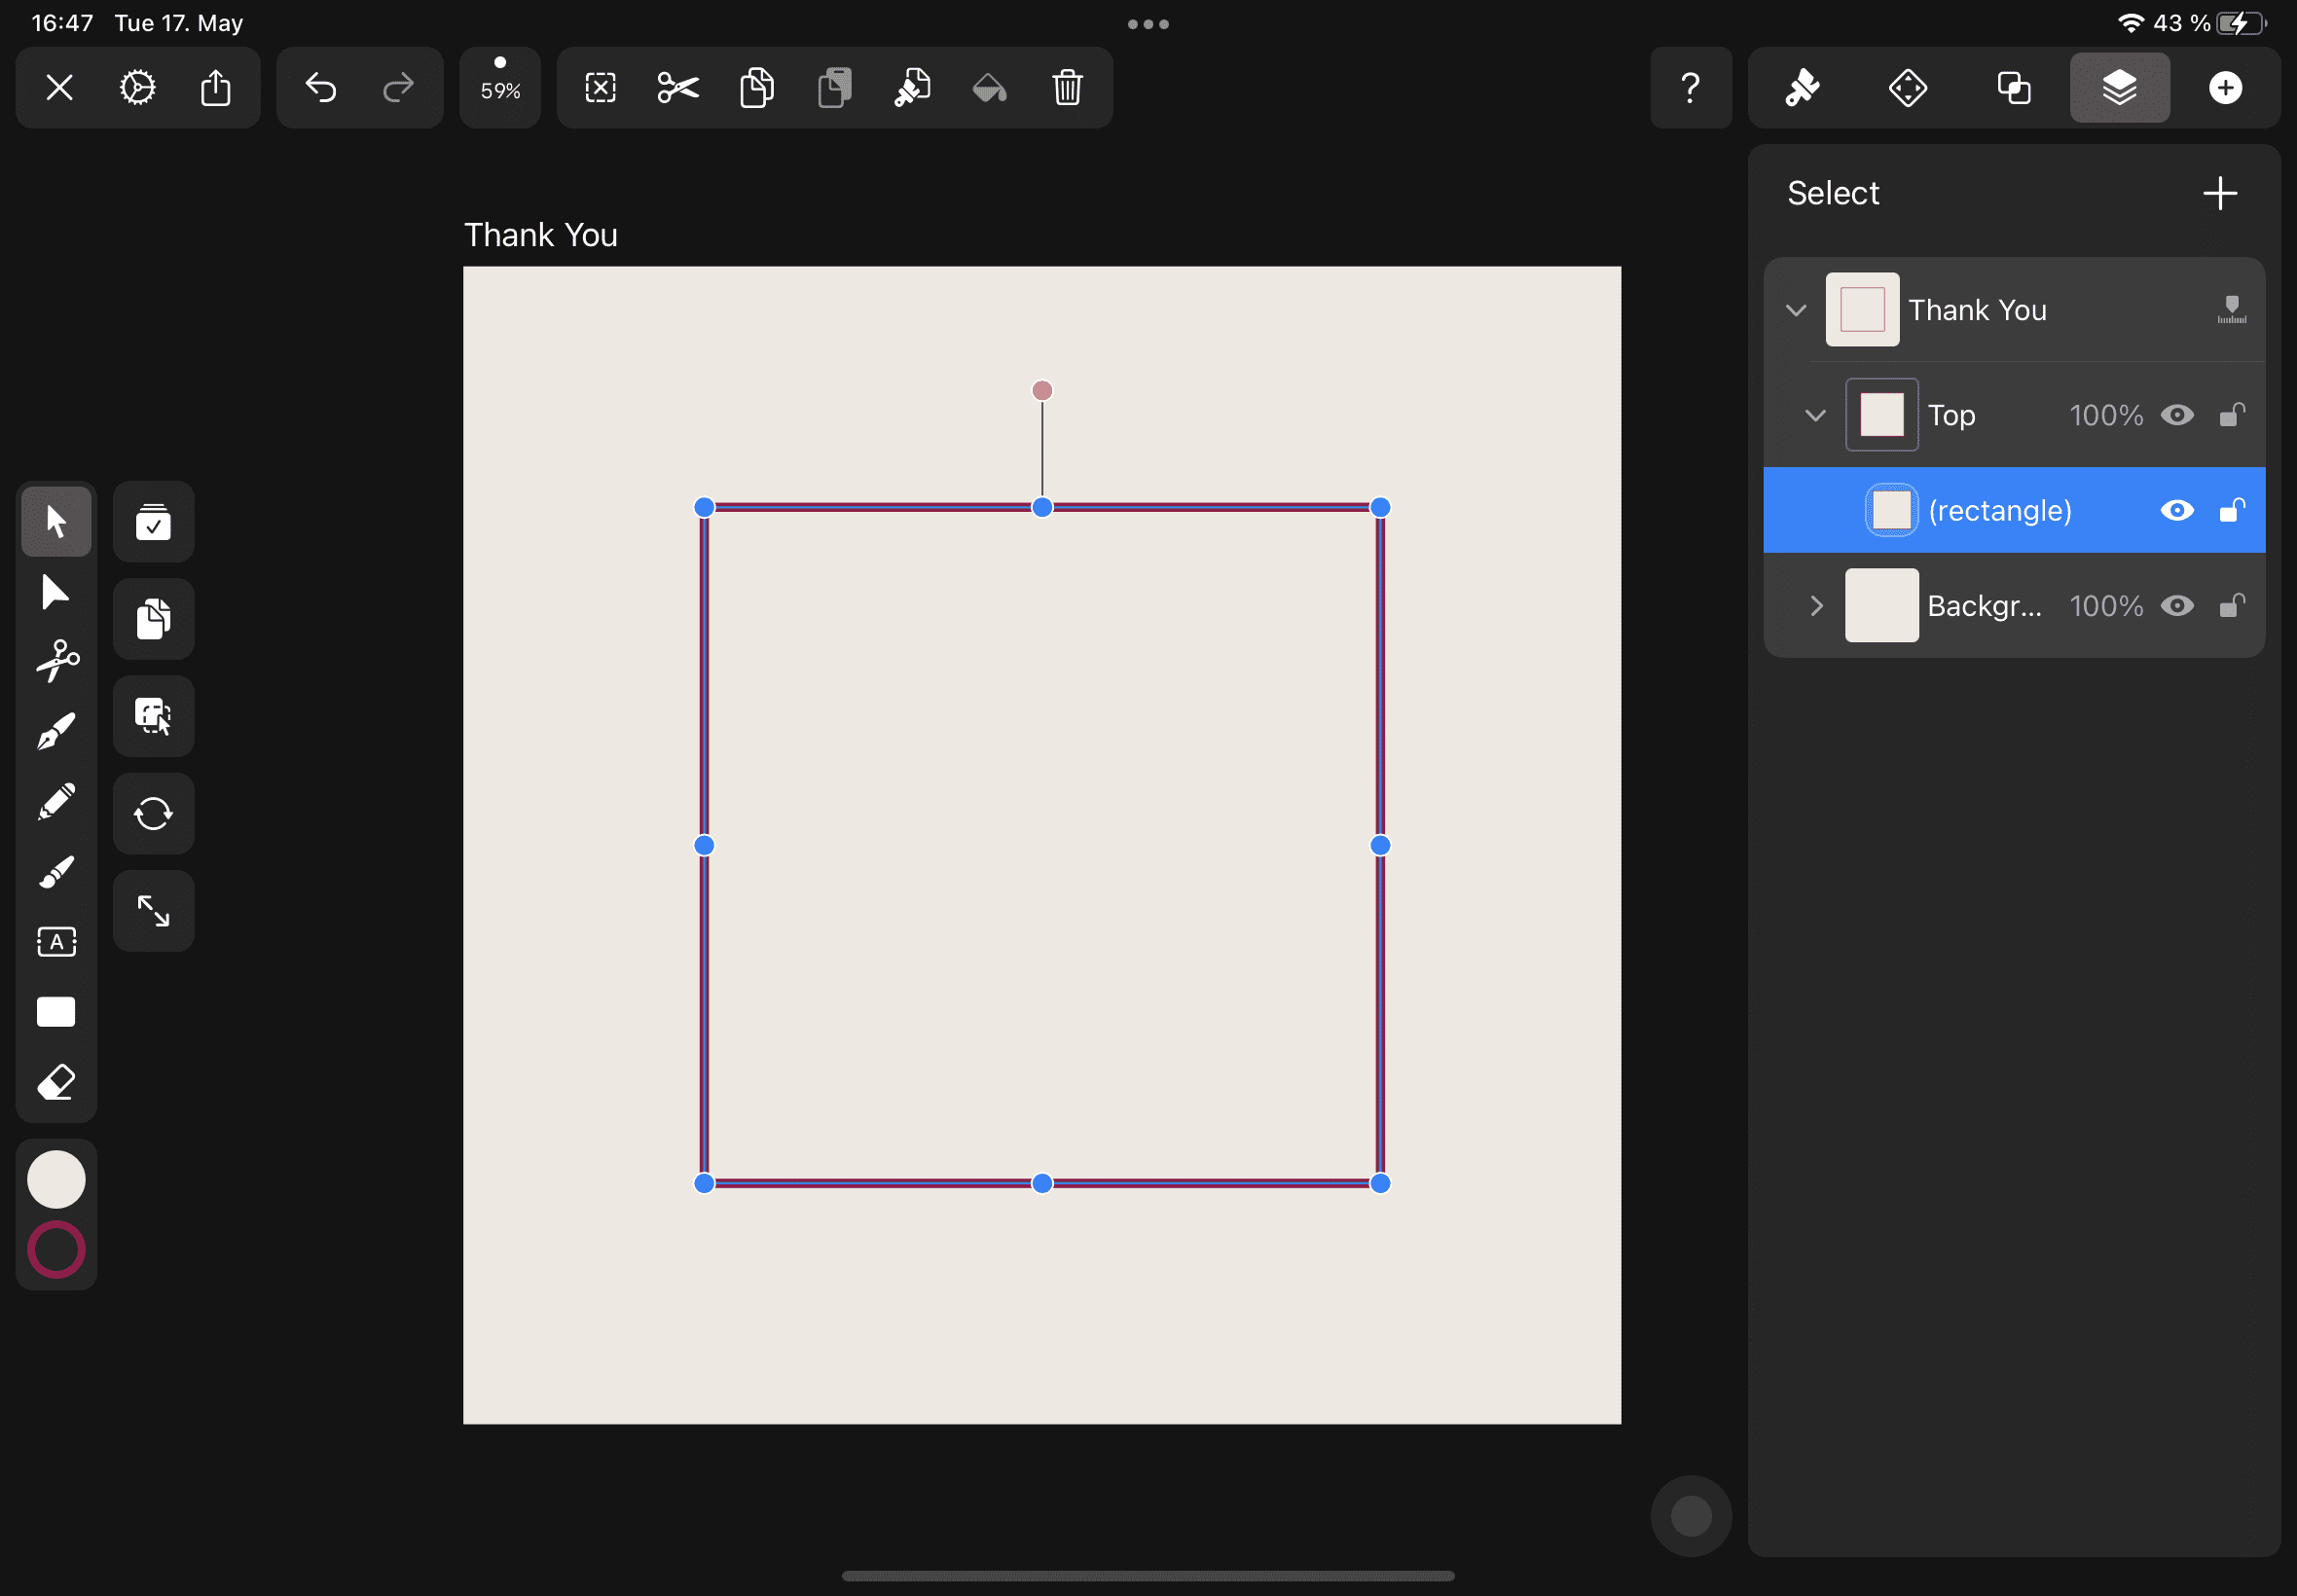
Tap on the canvas and drag the shape to its desired size.
Set the Fill to #EDE8E2 and the stroke to #990B4A in the Color Widget or the Style Sections.
Make the newly created layer invisible by clicking on the eye symbol on your layer.
Import the photos
In the next step of our tutorial, we’ll import the photos into our Vectornator document.
For the photos, you can Google search or get them in the Unsplash Library or at the Heritage Library, or raid your Google Drive for images.
Unlock the Potential of Vector Drawing
Discover why drawing with vectors is a game-changer in design. Our tutorial explains the advantages and techniques of vector graphics, enhancing your creative process.
If you want to, you can choose a more generic symbol, but ensure that the images have a certain quality level.
Import the downloaded photos into your Vectornator document with the Photos App, the Camera Roll, or by drag & drop.
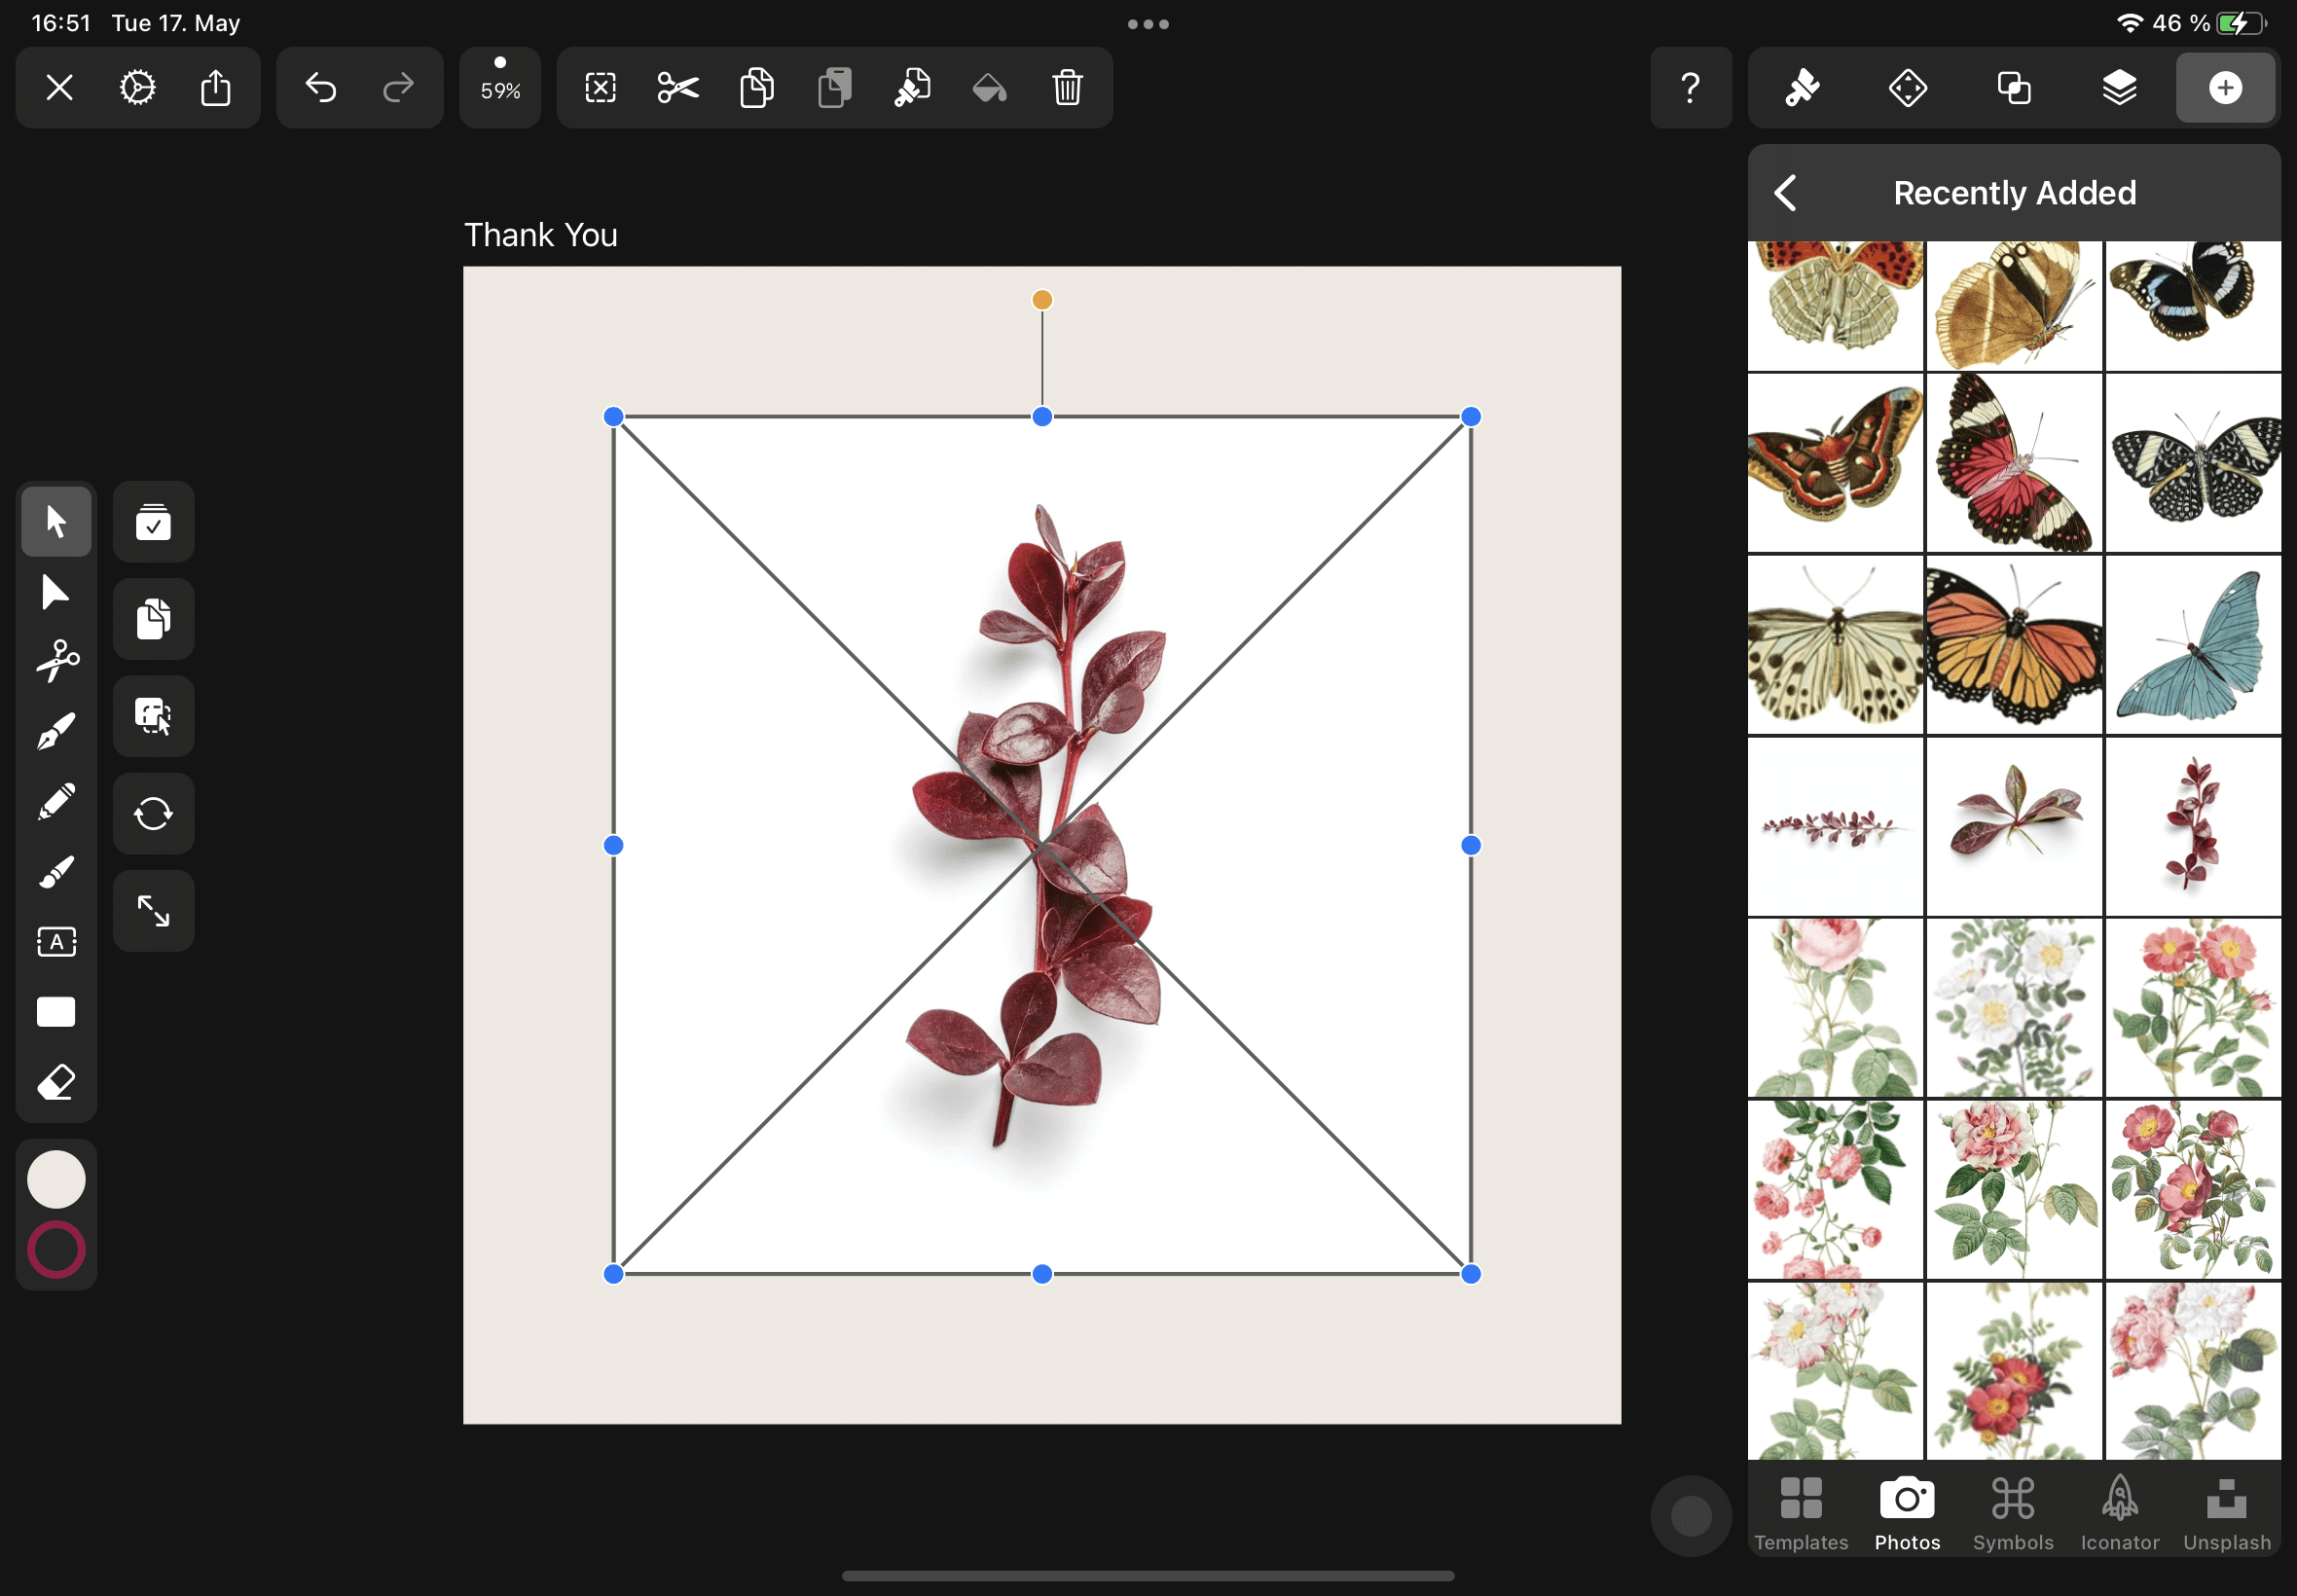
Arrange the imported photos on your canvas by using the Selection Tool.
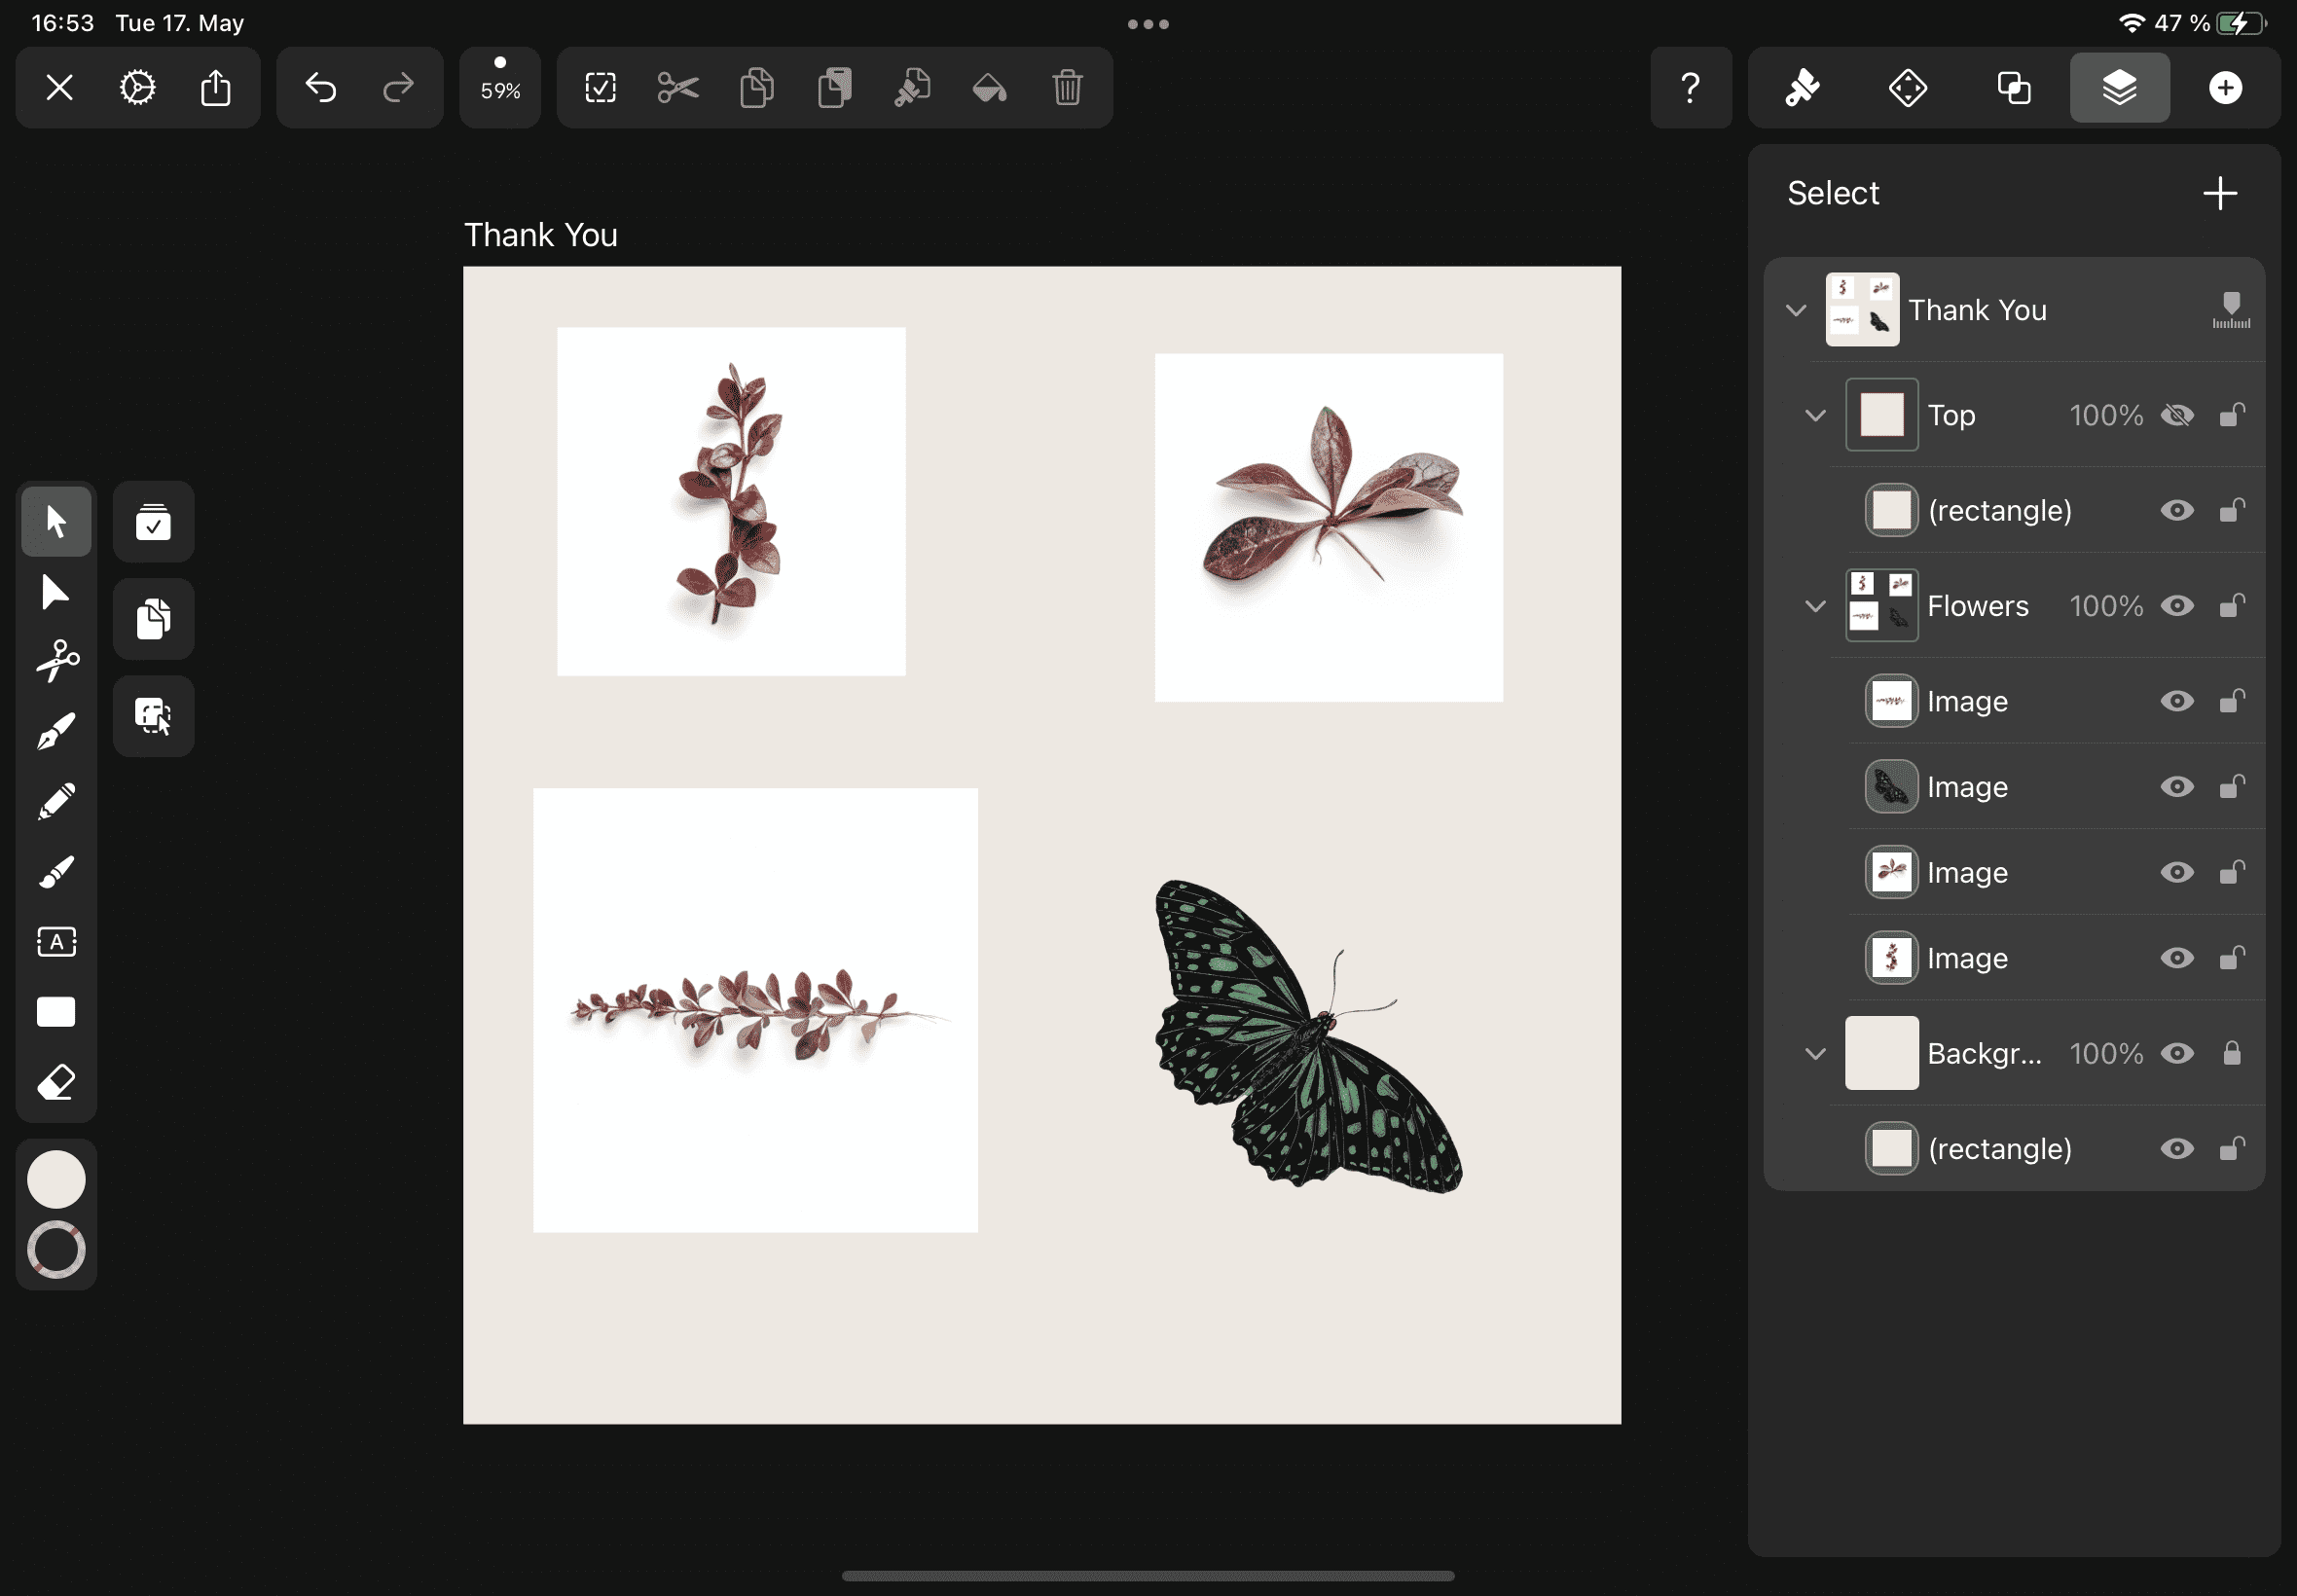
Trace the imported images
In the next step of our tutorial, we’ll use the newly updated powerful Auto Trace feature from Vectornator.
You can access the content-aware Auto Trace Panel in the Quick Actions Tab or the Inspector.
You can choose between Sketch Mode and Photography Mode in the Auto Trace Panel.
We’ll choose the Sketch Mode in Auto Trace. You have two sliders available for optimal tracing results when you select Sketch mode.
:quality(75))
:quality(75))
A lower value on the Complexity slider will group smaller areas and vice versa. Images with a simple composition of shapes (a foreground and a simple monochromatic background, f.ex.) need a lower complexity value. Images with a complex composition of shapes (a foreground with a complex city panorama as a background, f.ex.) require a higher complexity value.
The contrast slider defines a threshold at which numeric value color is considered black or white.
Concerning the contrast slider, a lower value will define more colors as white, and a higher value will define more colors as black.
In our tutorial, Berenika has set the value of the complexity slider to 40% and the contrast slider to a value of 75%. You might want to experiment with the settings to achieve optimal tracing results.
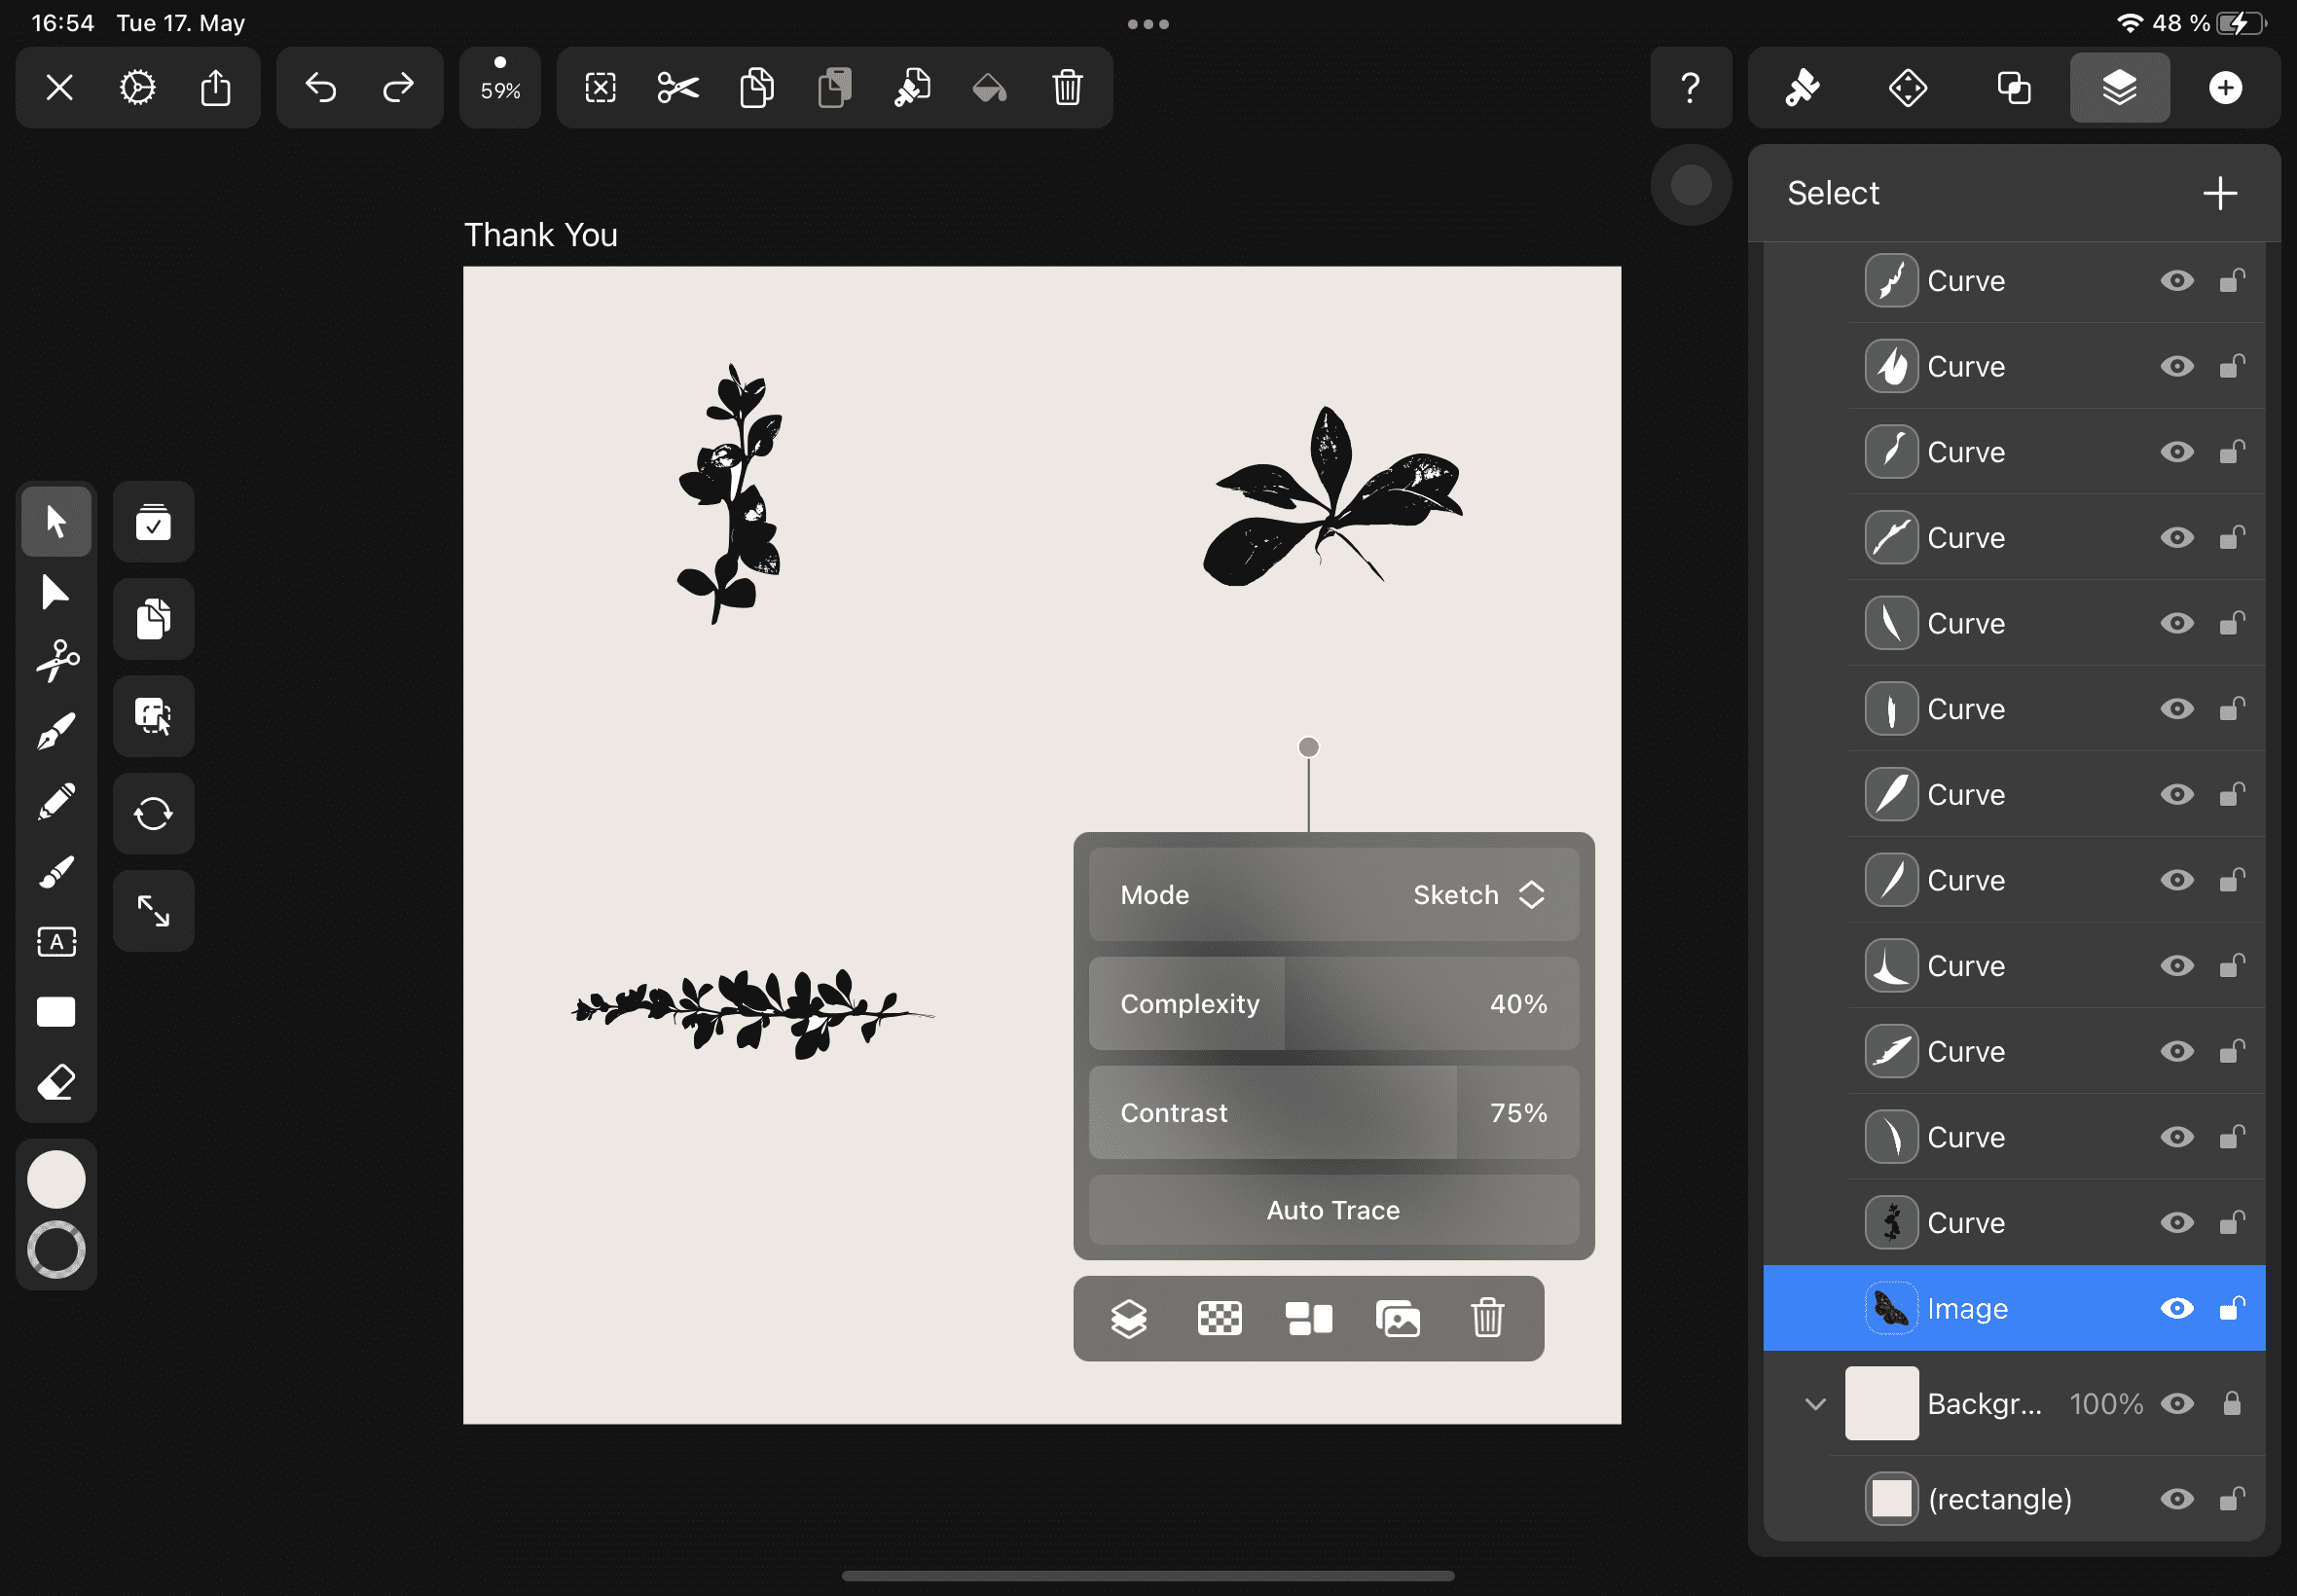
After you have selected the tracing mode and set the slider values, select the image on the canvas and tap the Auto Trace button to start the tracing process. The result should be displayed immediately on the screen.
Group the traced images
In the next step, we’ll group the traced images.
When you are satisfied with the results, multi-select all of the shapes using the Multi Select Mode.
When the images are all selected, tap the Group Button in the Arrange Tab.
You can watch a short video here on how to group elements in Vectornator:
Et voilá, all the traced images are now grouped!
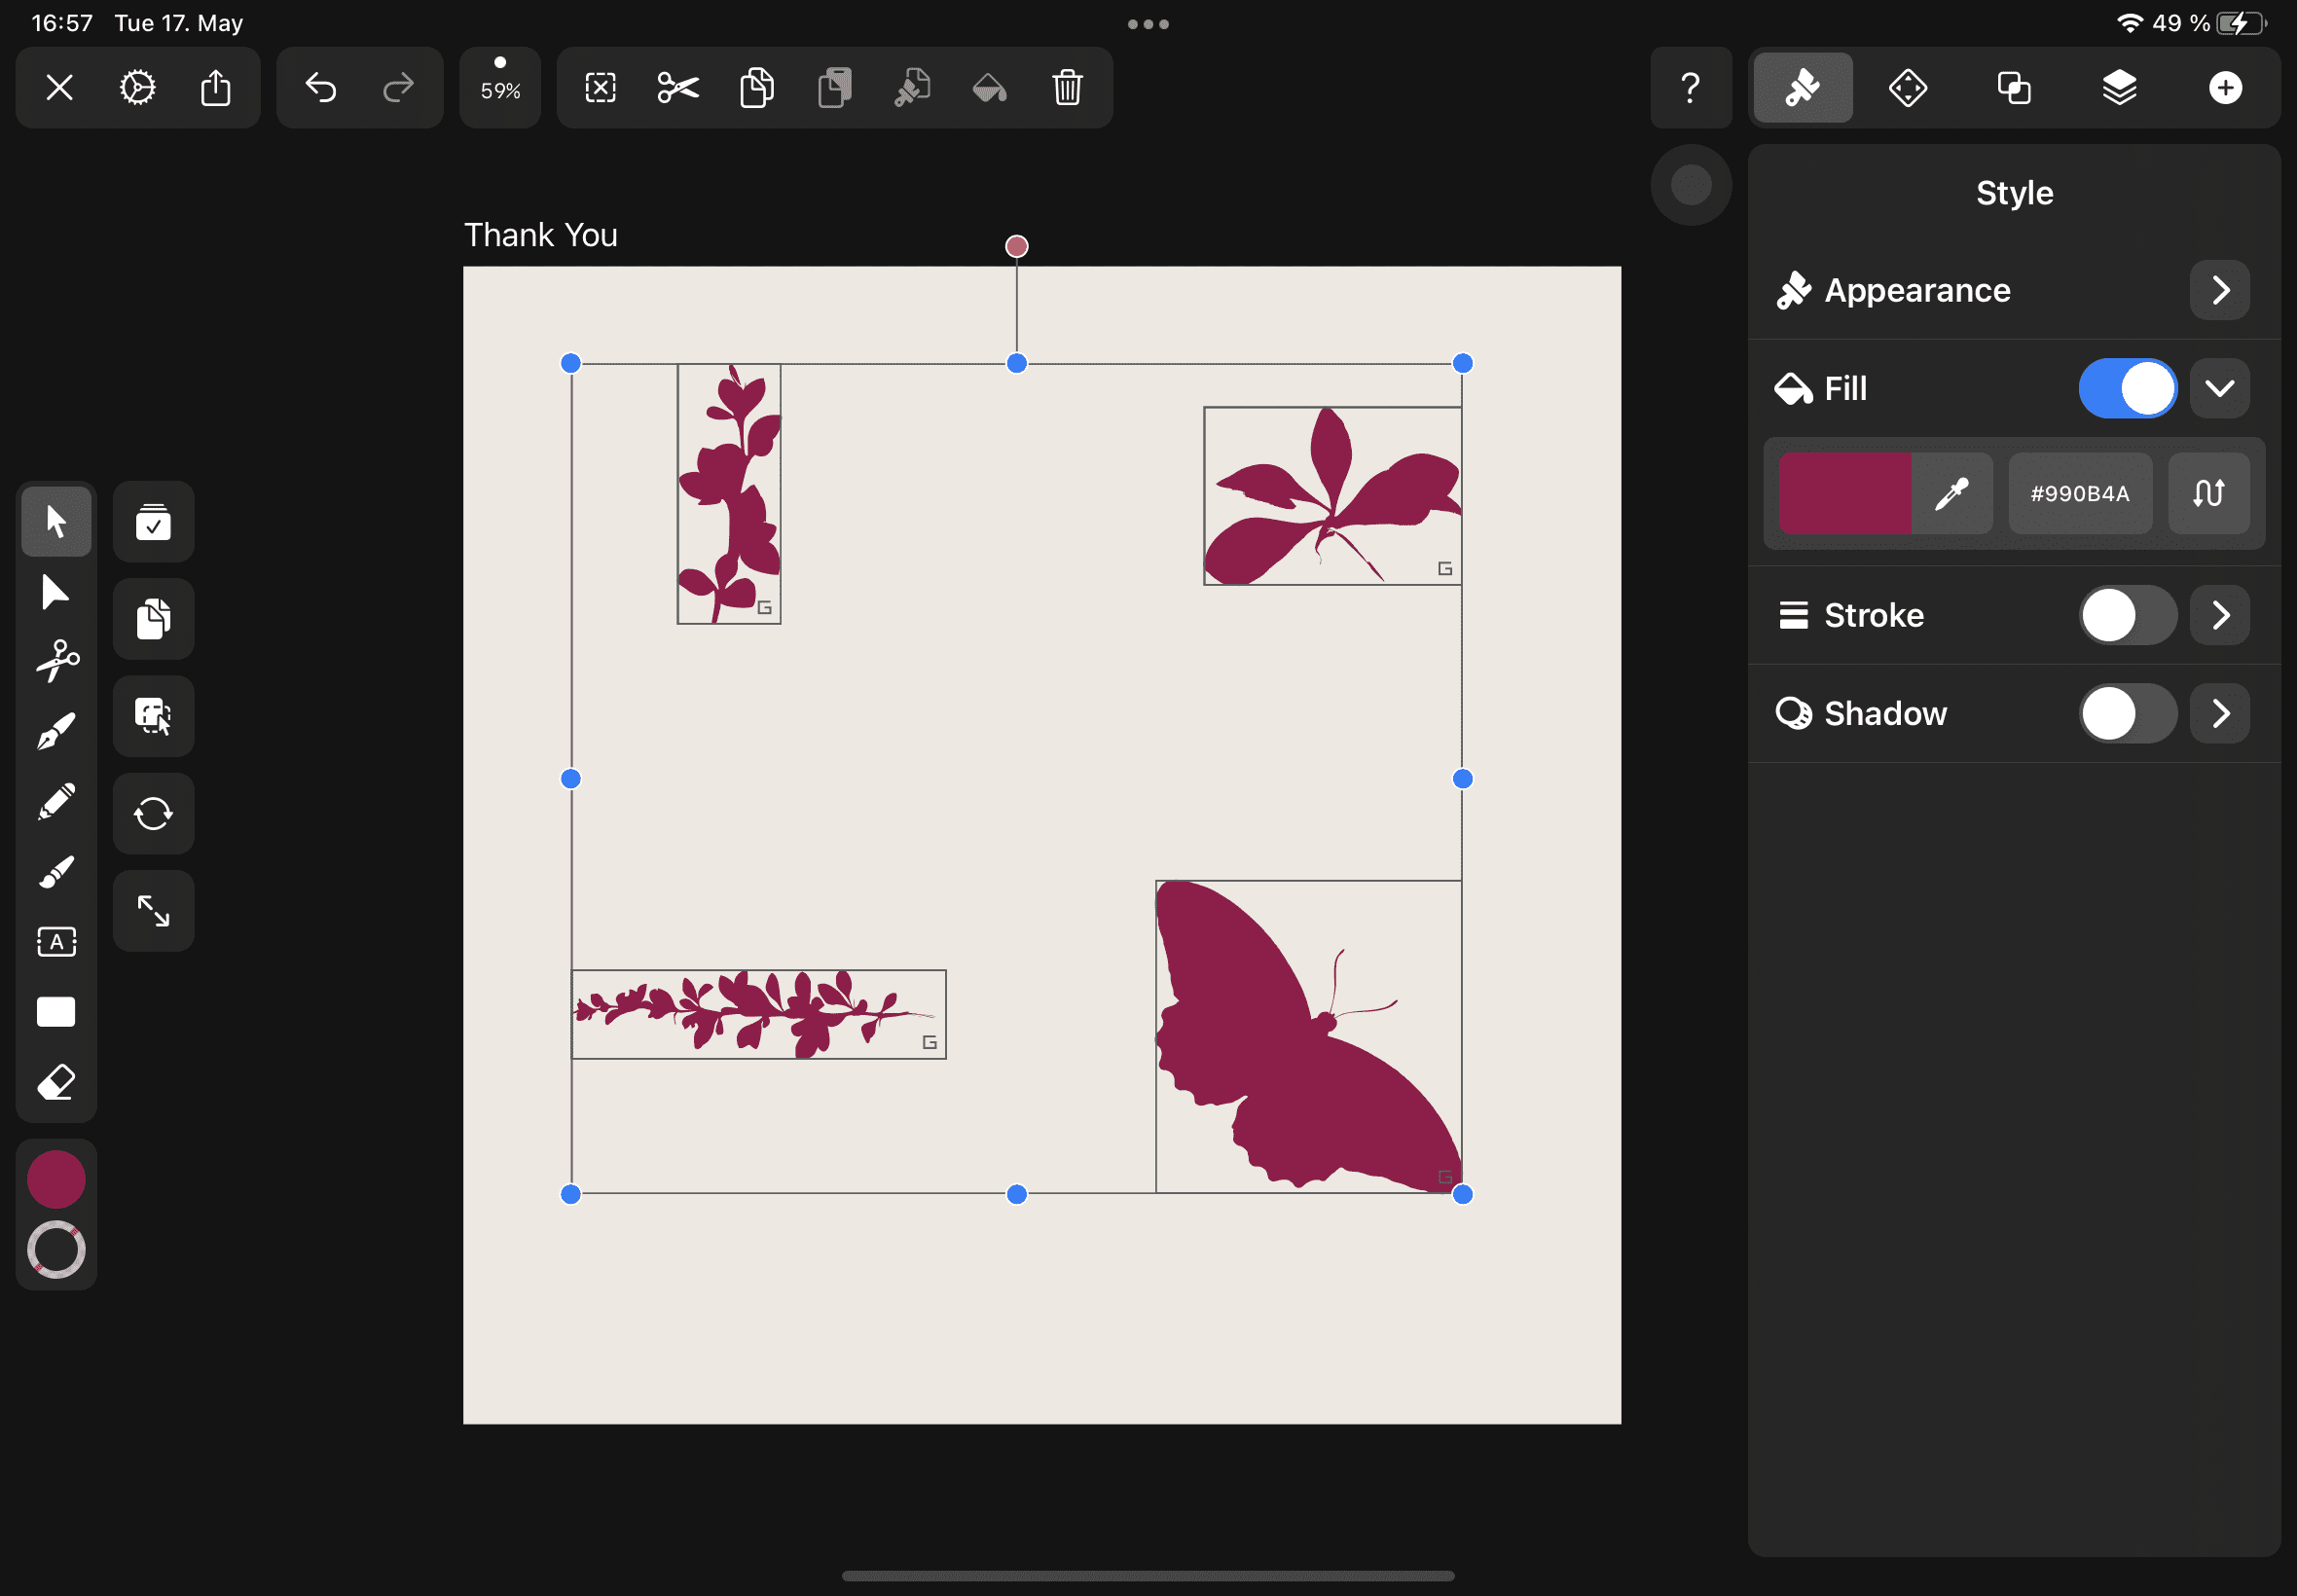
Set the fill color
In the next step, we’ll set the fill color of the group containing the traced images.
Select the group and then toggle the stroke off and the fill on. Set the fill color in the Color Widget or the Style sections to #990B4A, a deep and rich dark pink.
You'll find color sliders in the Color Widget or the Style Section. You can create a personal color palette and color schemes in the Palettes tab.
You don't need to use only one color; you can use a complementary color scheme, a primary color scheme, or a base color with a bright accent color.
Arrange the flower and butterfly shapes
In the next step of our tutorial, we’ll duplicate and arrange the flower and butterfly shapes on the canvas.
The small internal square we made invisible in Step 1 makes a comeback! Select the layer and then make it visible by tapping the eye icon. Now the inner square covers parts of the traced flowers and butterflies.
As you can see in the reference images from Berenika, the inner square is located above the traced flowers and butterflies in the layer hierarchy in the Layers Tab.
Select the layer with the traced butterflies and flowers and move the elements so that parts peek out behind the inner square shape.
Select a shape and activate the Duplicate Mode in the Selection Tool options to create a copy. Move, rotate, and scale the shapes with the Selection Tool.
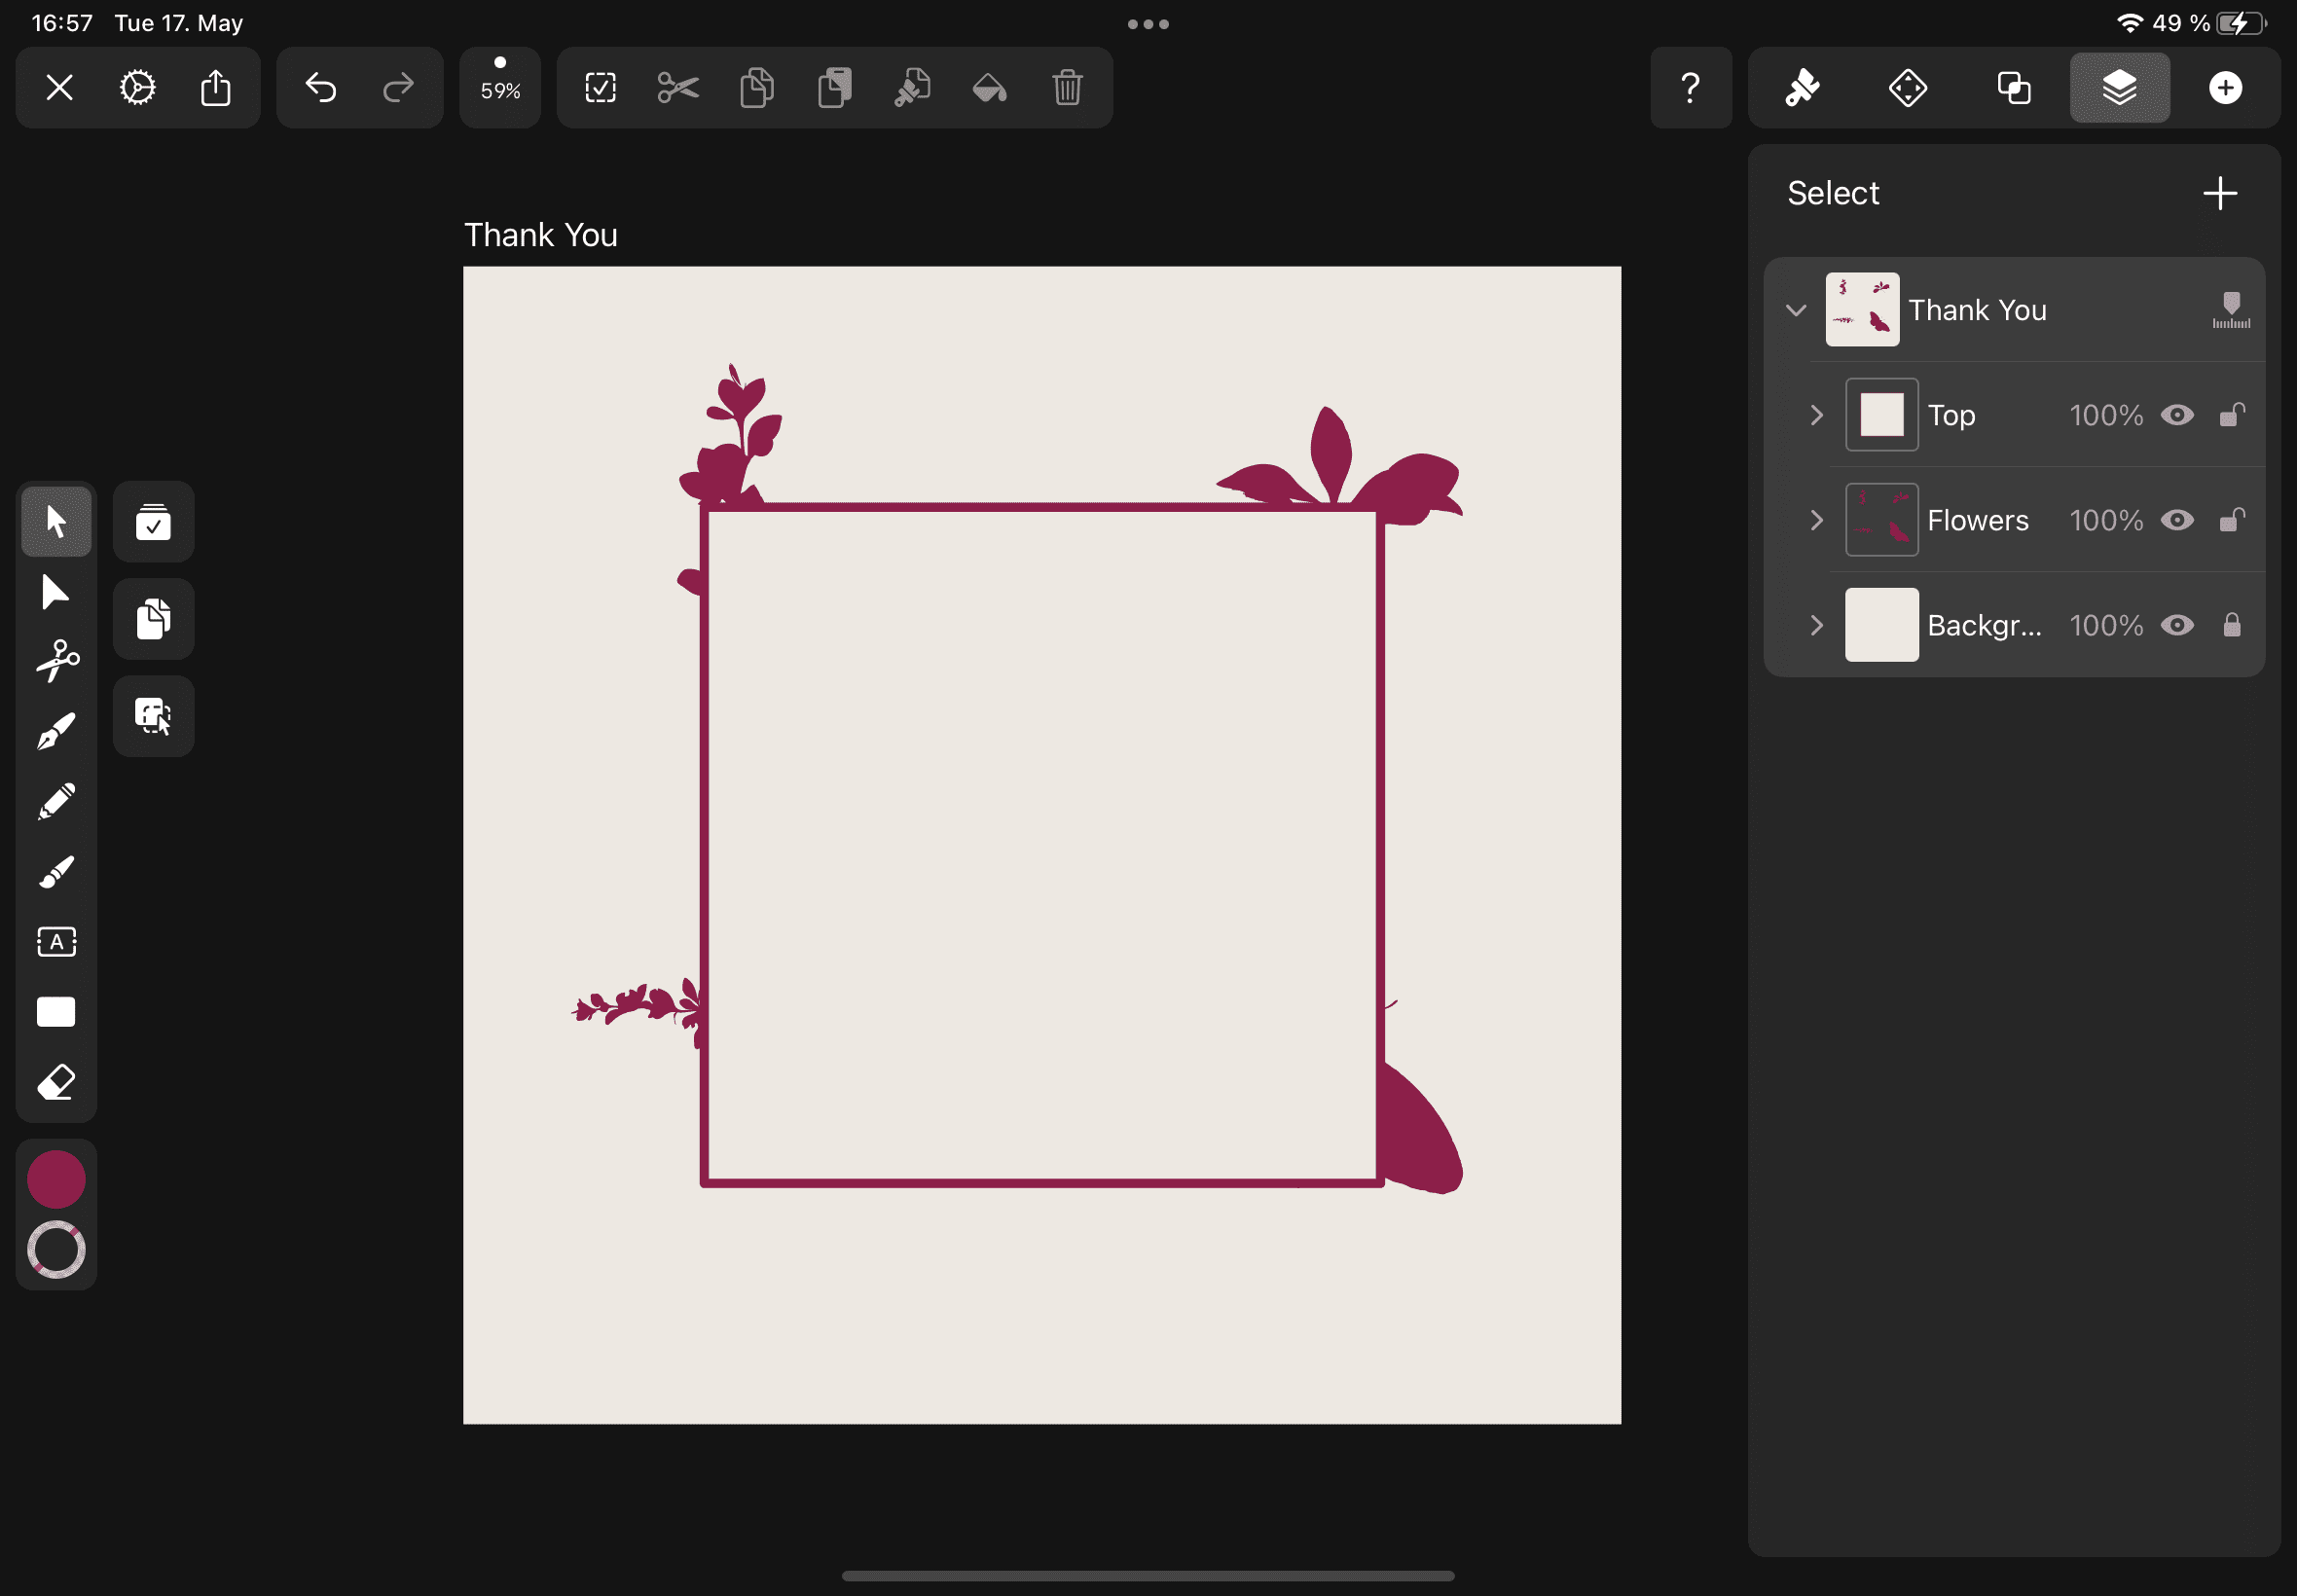
While scaling and moving the shapes, you can activate the Rotate Mode in the Selection Tool and then drag on the orange handle to rotate the shape.
Arrange elements above the inner square
In the next step of our tutorial, we’ll arrange a few flowers and butterfly shapes above the inner square. Select a shape and duplicate it using the Duplicate Mode. The shape needs to be above the internal square shape in the layer hierarchy to create the overlapping effect.
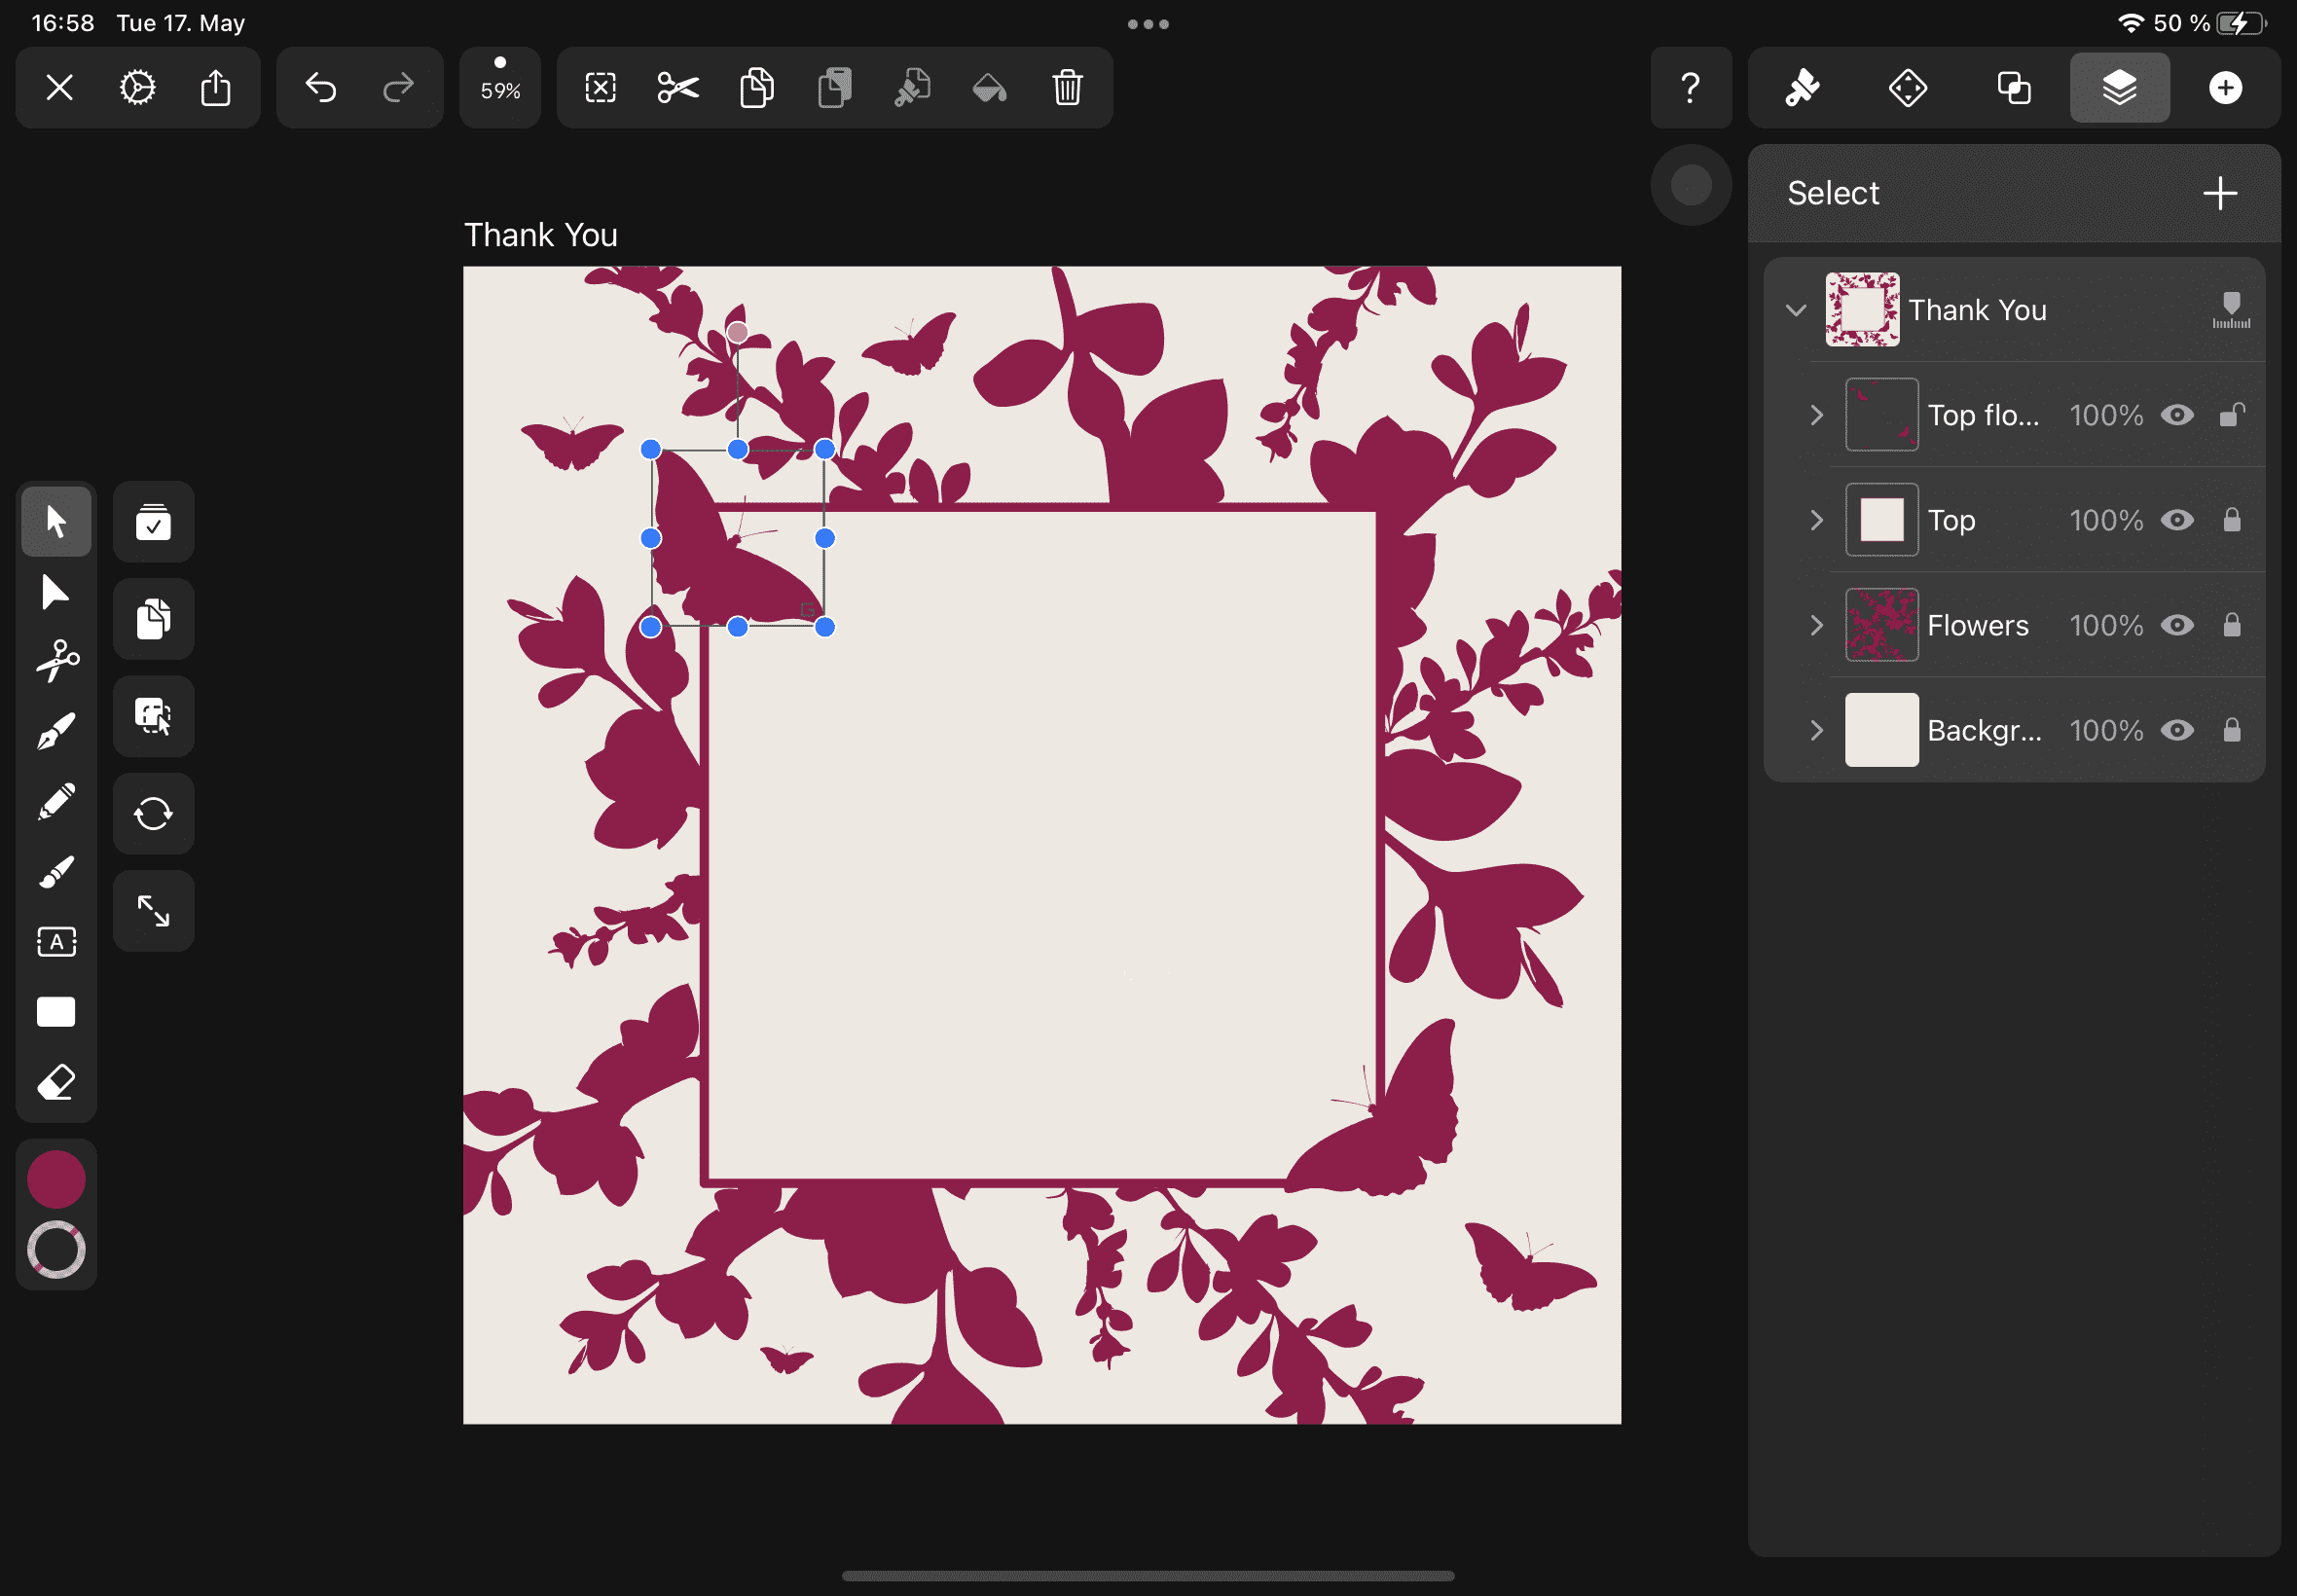
You can move a shape or a layer above another element in the layer hierarchy by dragging it up in the Layers Tab, or by using the Order Gesture in the Arrange Tab or the Quick Actions Bar.
Ready to create brand assets that pack a punch?
Visit our Academy for free vector design courses.
Arrange the flower and butterfly shapes into a beautiful composition.
Create the card text
In the next step of our tutorial, we’ll write the text on our greeting card. Activate the Text Tool in the Toolbar to the left or press T on your external keyboard.
Tap and drag on the canvas to create a text field. Now type the text with your keyboard. Customize your greeting card by writing a personalized message.
You can edit the text attributes such as the color, size, font type, and basic styling in the Text panel at the top of the Inspector. The Text Tool in Vectornator offers you many more options to style and arrange your text elements!
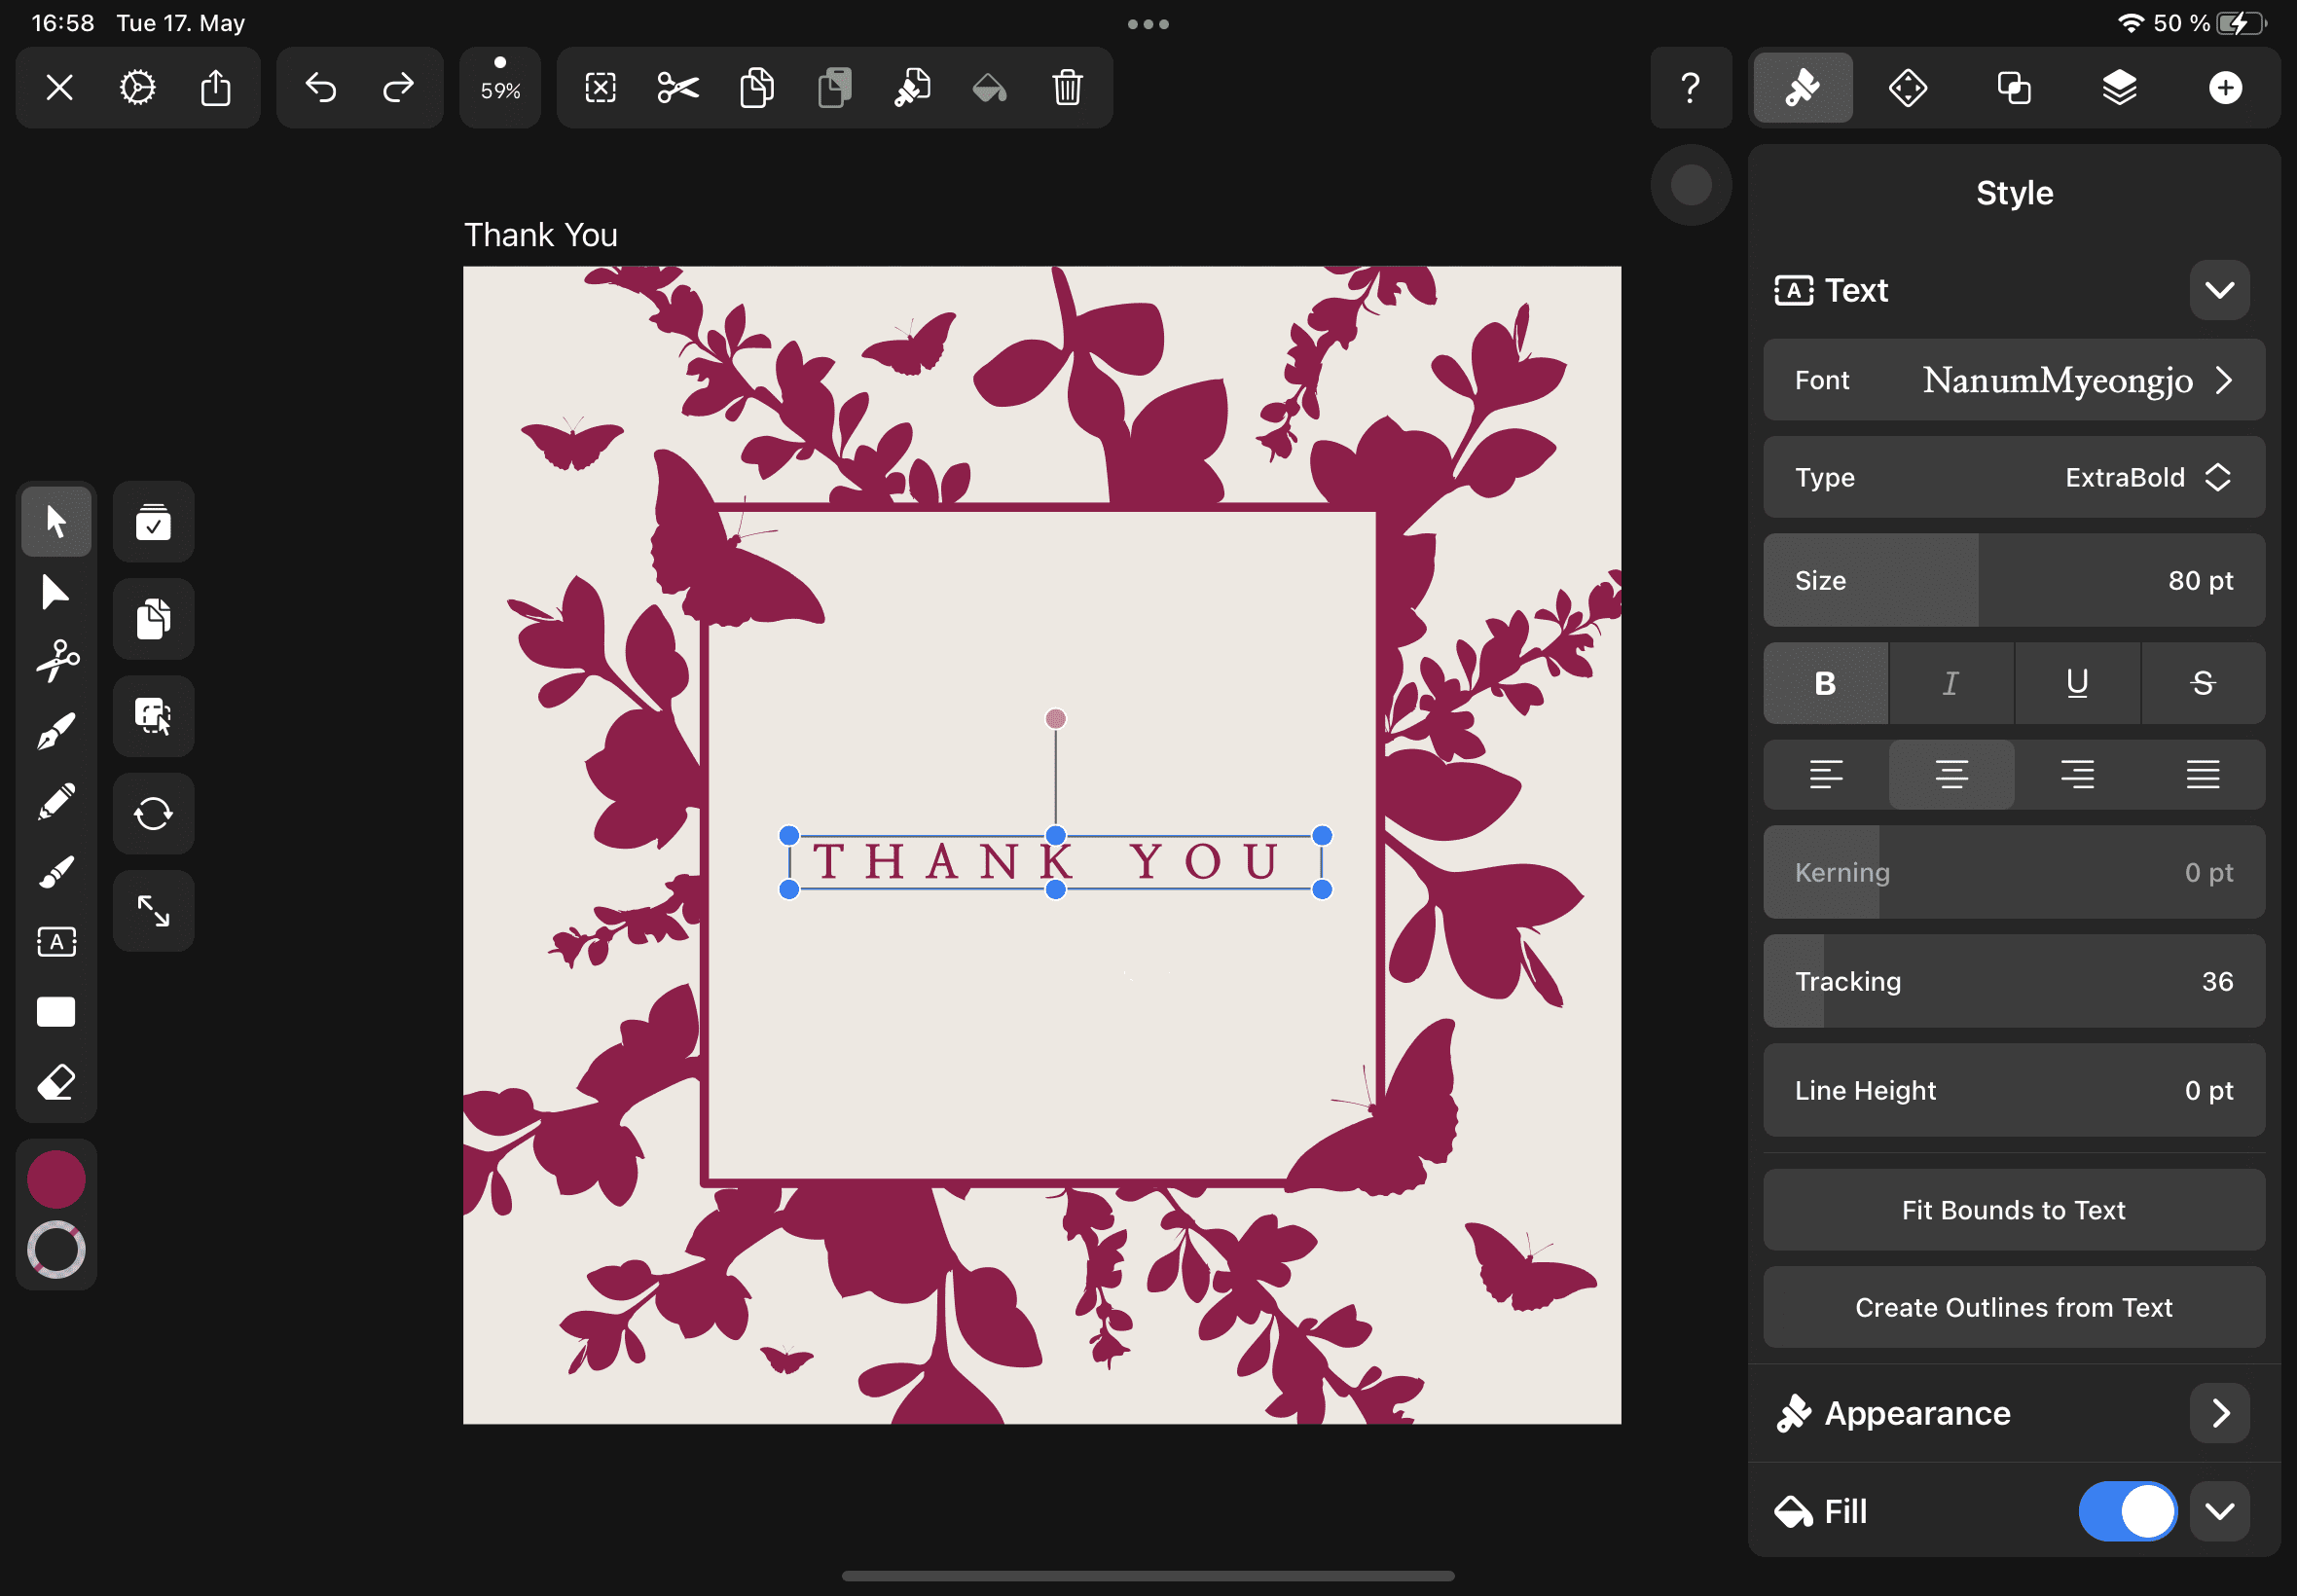
In our example, Berenika adjusted the tracking size and tapped on Fit Bounds to Text Size.
Use the Align options in the Arrange Tab to position the text inside the document. In our tutorial, Berekinka aligned the text to the center.
That's it, everyone! We’re done creating our greeting card without even drawing a single shape! It’s simple, it’s fast, and the results are stunningly beautiful!
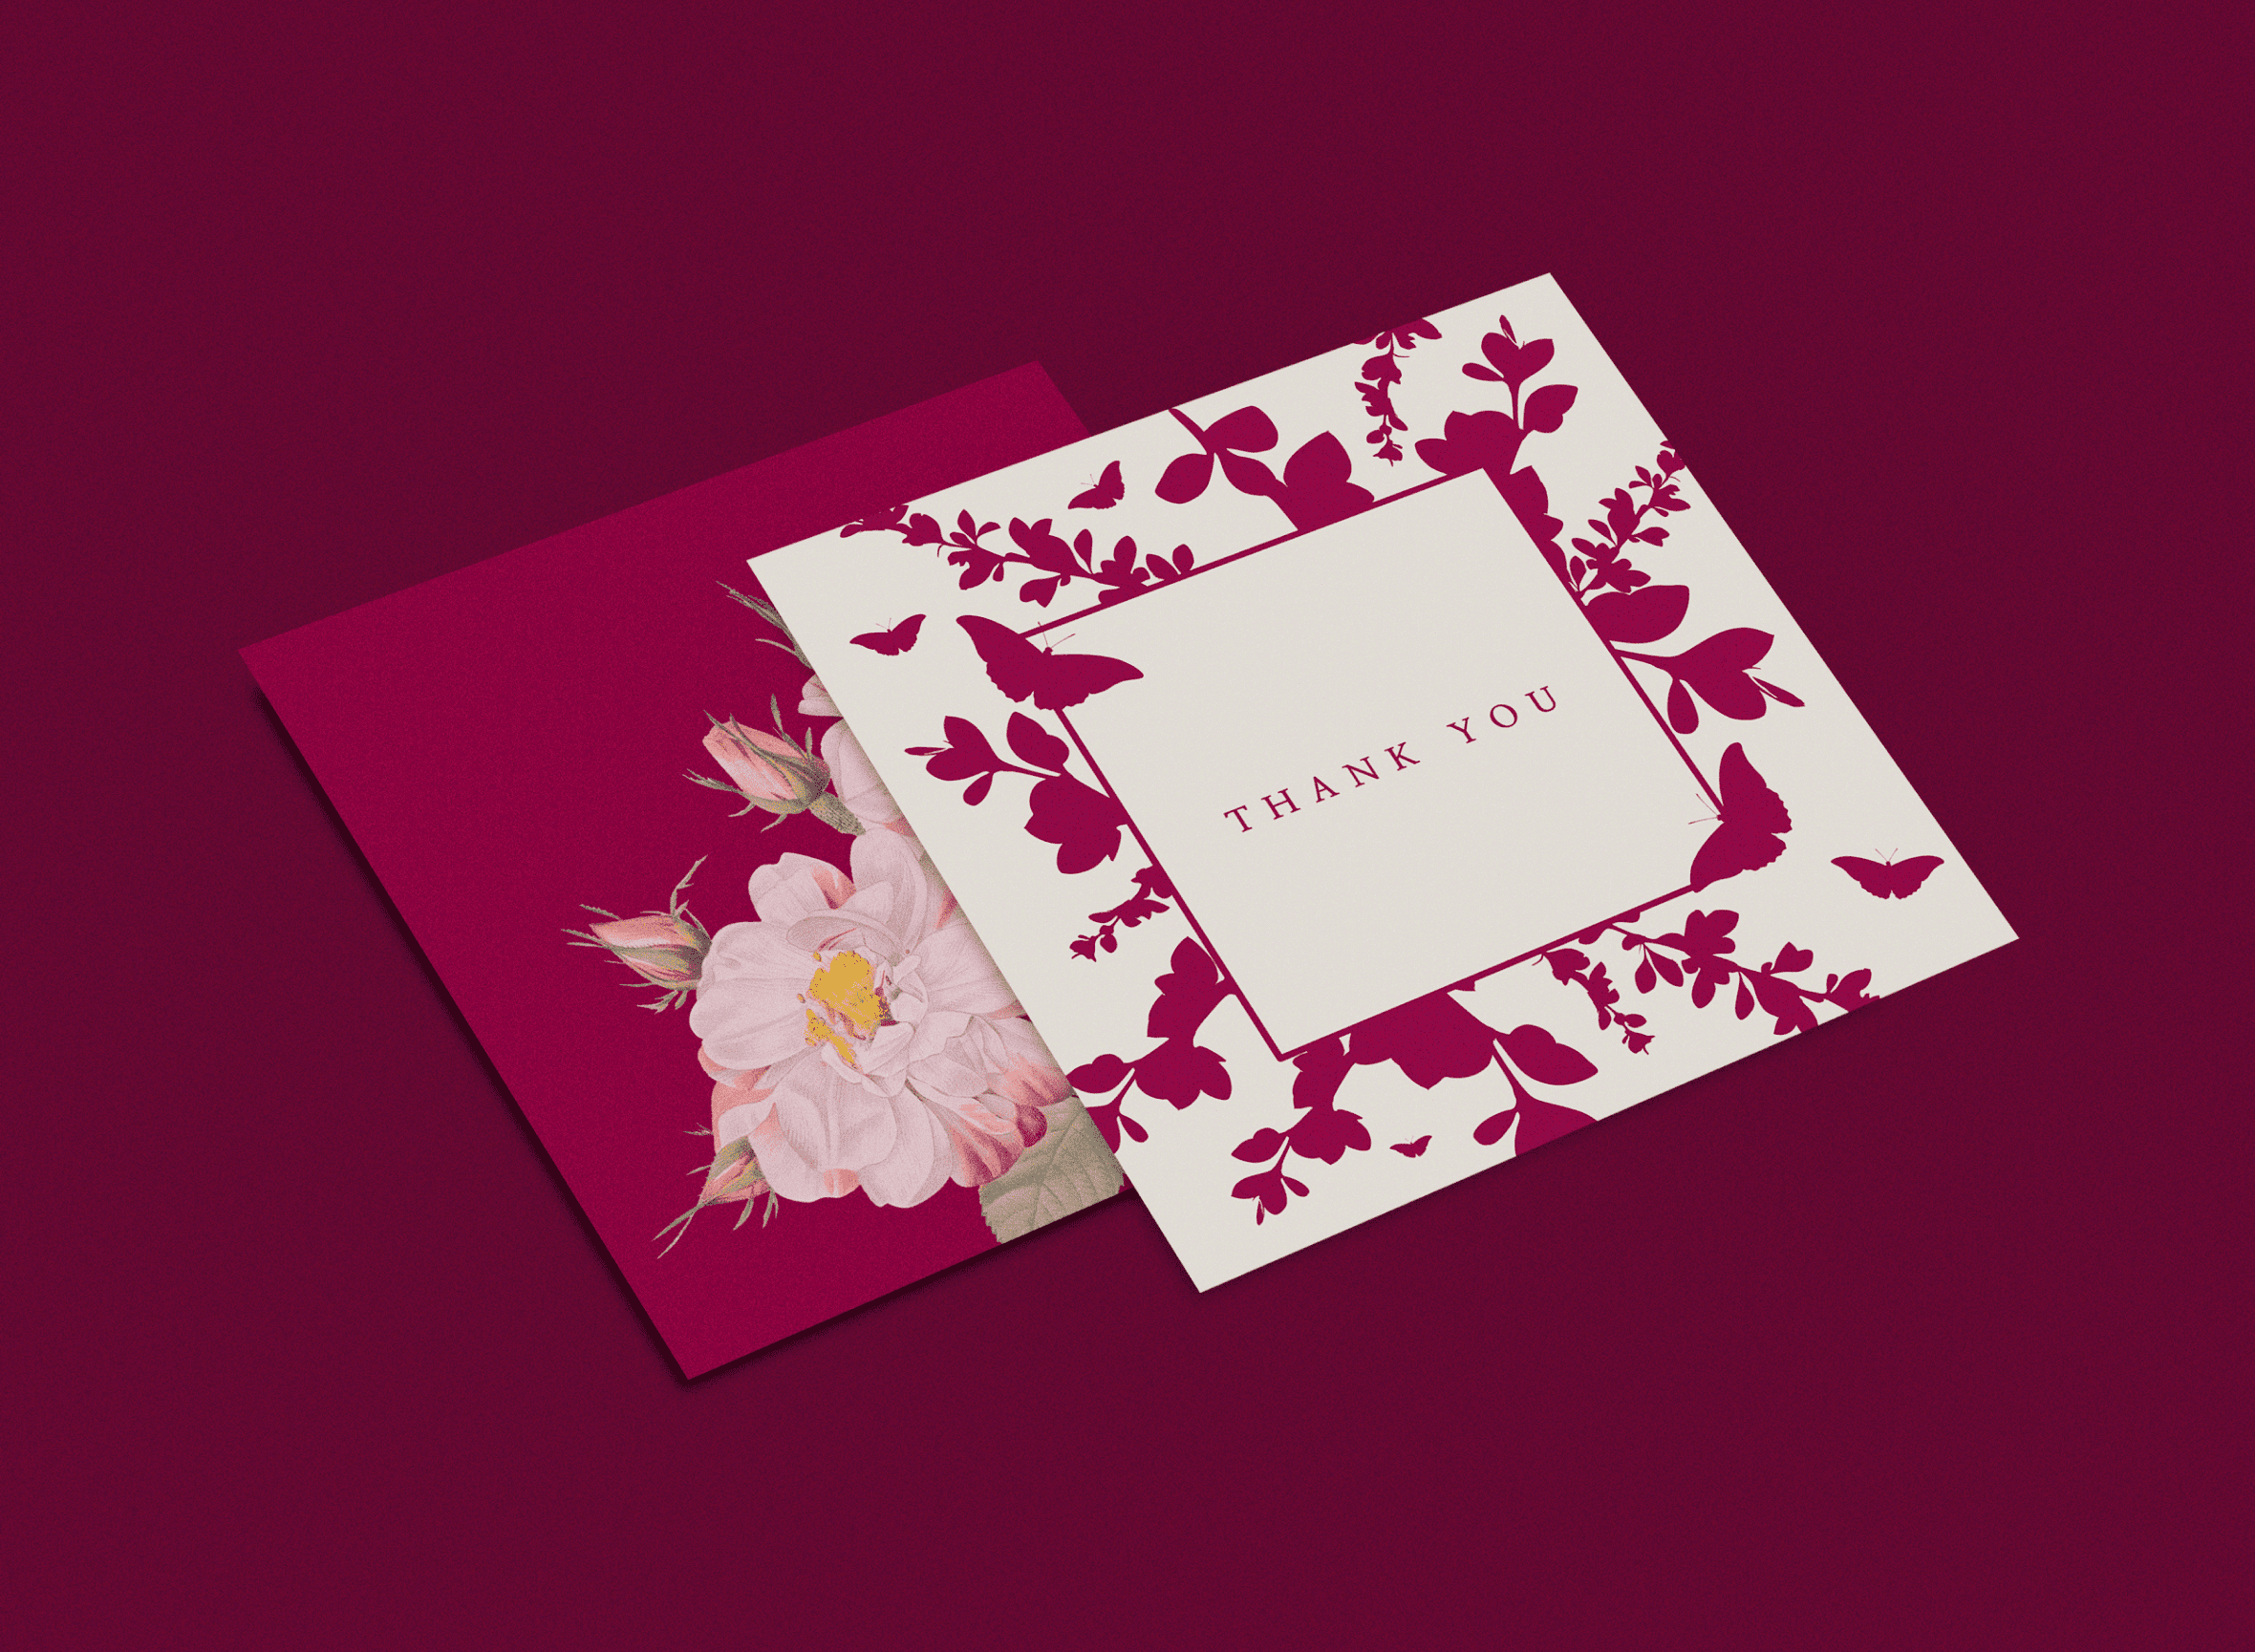

If you want to be fancy, you can print your card design on paper or cardboard and send it via mail the old-fashioned way!
We hope we could inspire you to create designs in seconds with our incredible Auto Trace feature!
Send some love with your greeting cards to your friends and loved ones and us on our social media or community art gallery!
Download the latest version of Vectornator for free, and hone the incredible power and precision of Auto Trace for your designs!
Jumpstart your ideas with Linearity Curve
Take your designs to the next level.
Share this!
Marion Gerlinger
Marion is a contributing writer to the Linearity Blog.