:quality(75))
:quality(75))


:quality(75))
Hello Vectornators!
We've prepared another fantastic tutorial for you today!
This time, we collaborated with talented artist Maddi Zoli again! In the past, we created a step-by-step video tutorial with her on How to Design a Character.
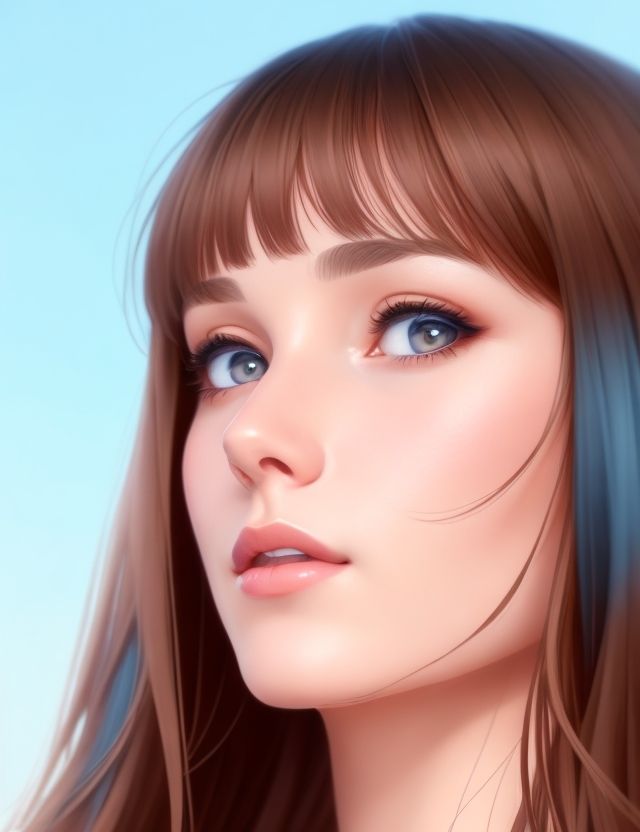
In this tutorial, we'll get into a more detailed aspect of character design by showing you how to draw hair! Yes, you read that correctly; we'll only talk about hair this time!
Jumpstart your ideas with Linearity Curve
Take your designs to the next level.
Hair is an essential part of expressing the personality of your character. Hair can take many colors and shades, from black to brown, gray, blonde, and red to hair that has been colored chemically in all imaginable colors! Especially, Fantasy characters with superpowers tend to have hair colors that are very bold and aren't found naturally in human hair colors.
The types of hairstyles can be short, mid-length, long, styled, and braided with hair types such as straight hair, curly, wavy, or kinky hair with a frizzier texture. Hairstyles can be symmetric or asymmetric and cover or reveal parts of the face and display different hairlines.
The characteristics of hair play a significant role in creating a character.
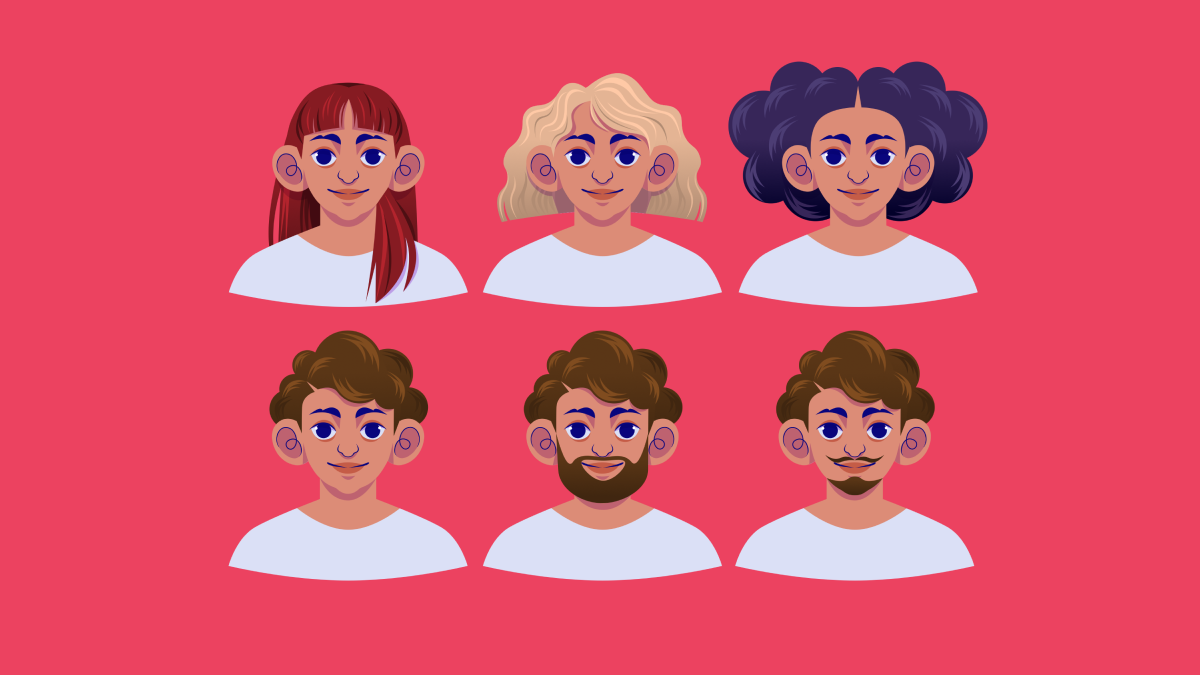
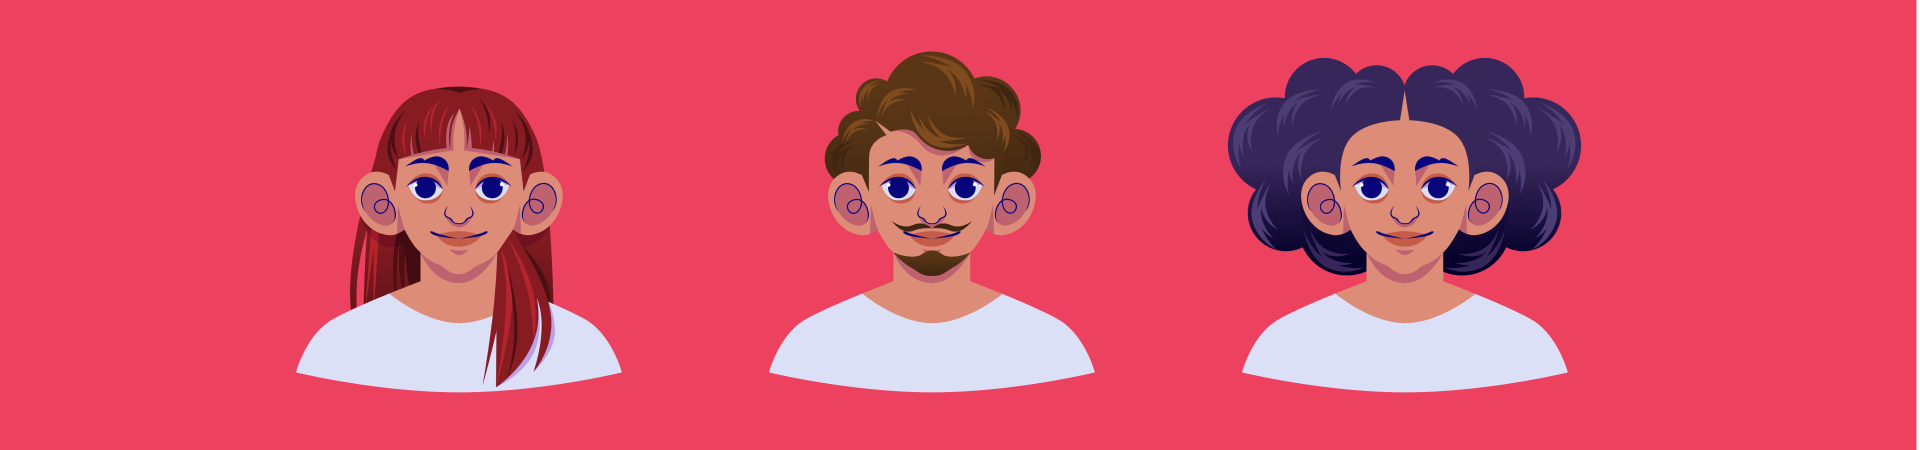
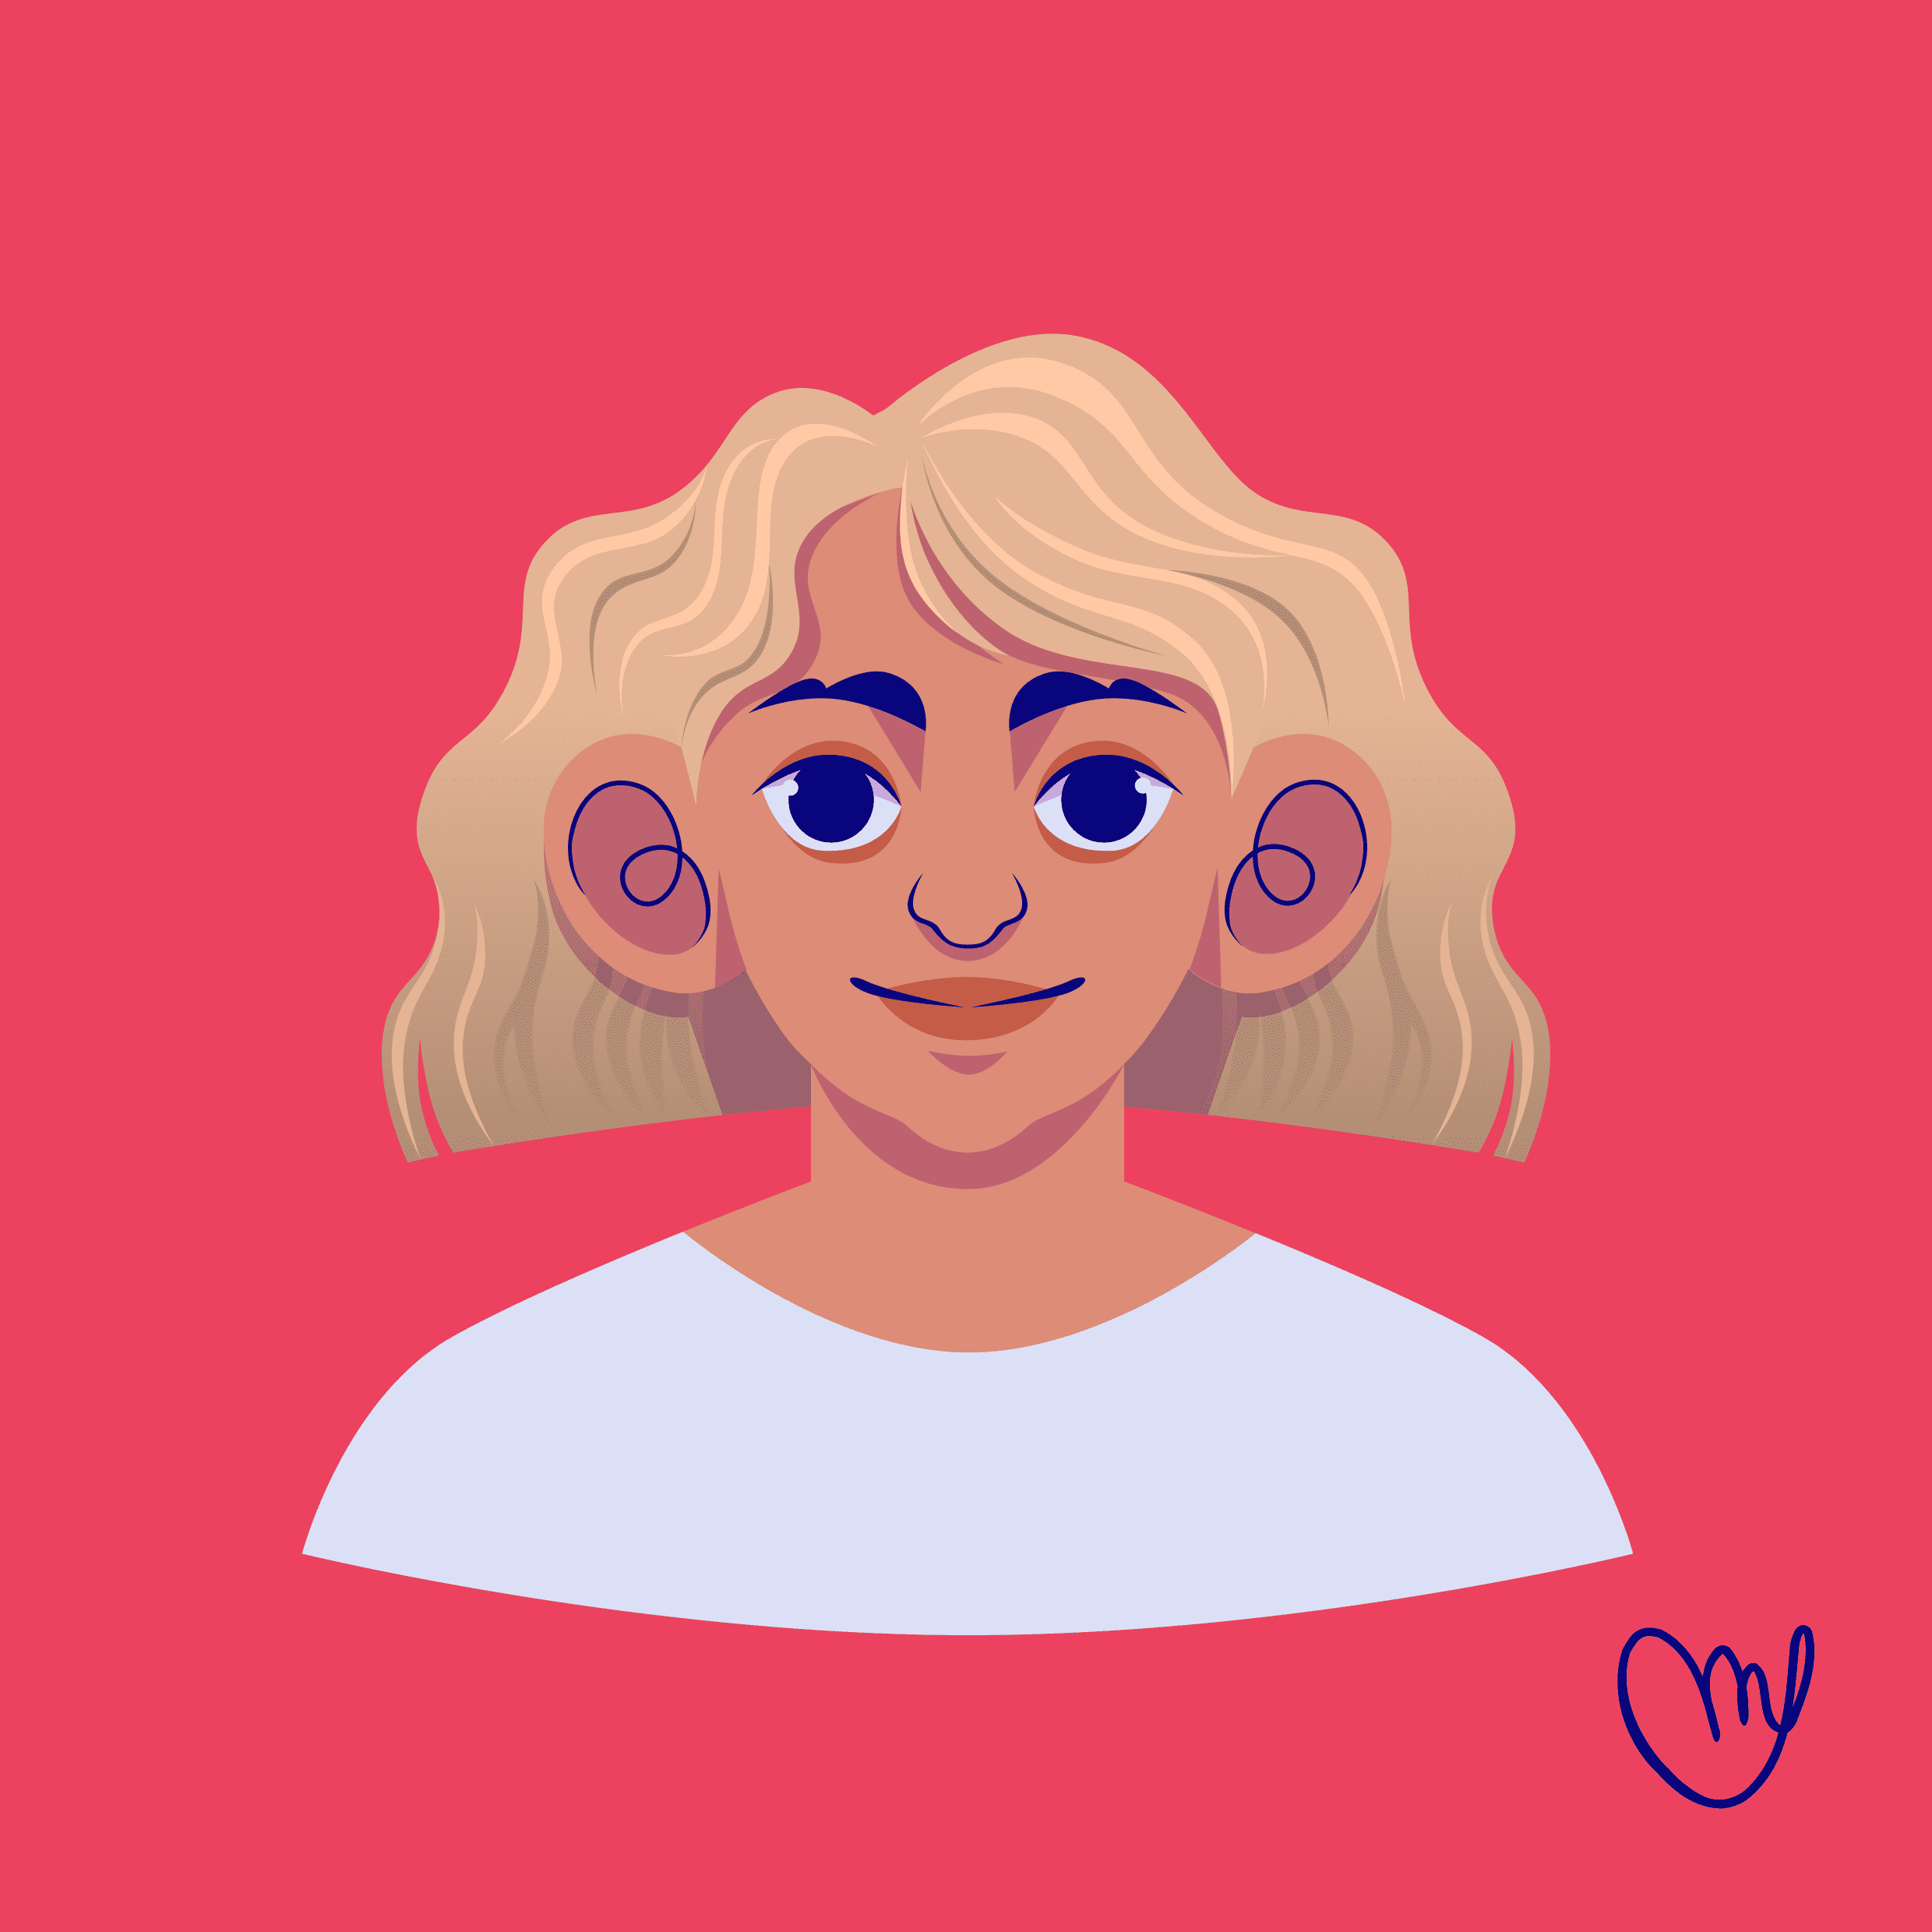
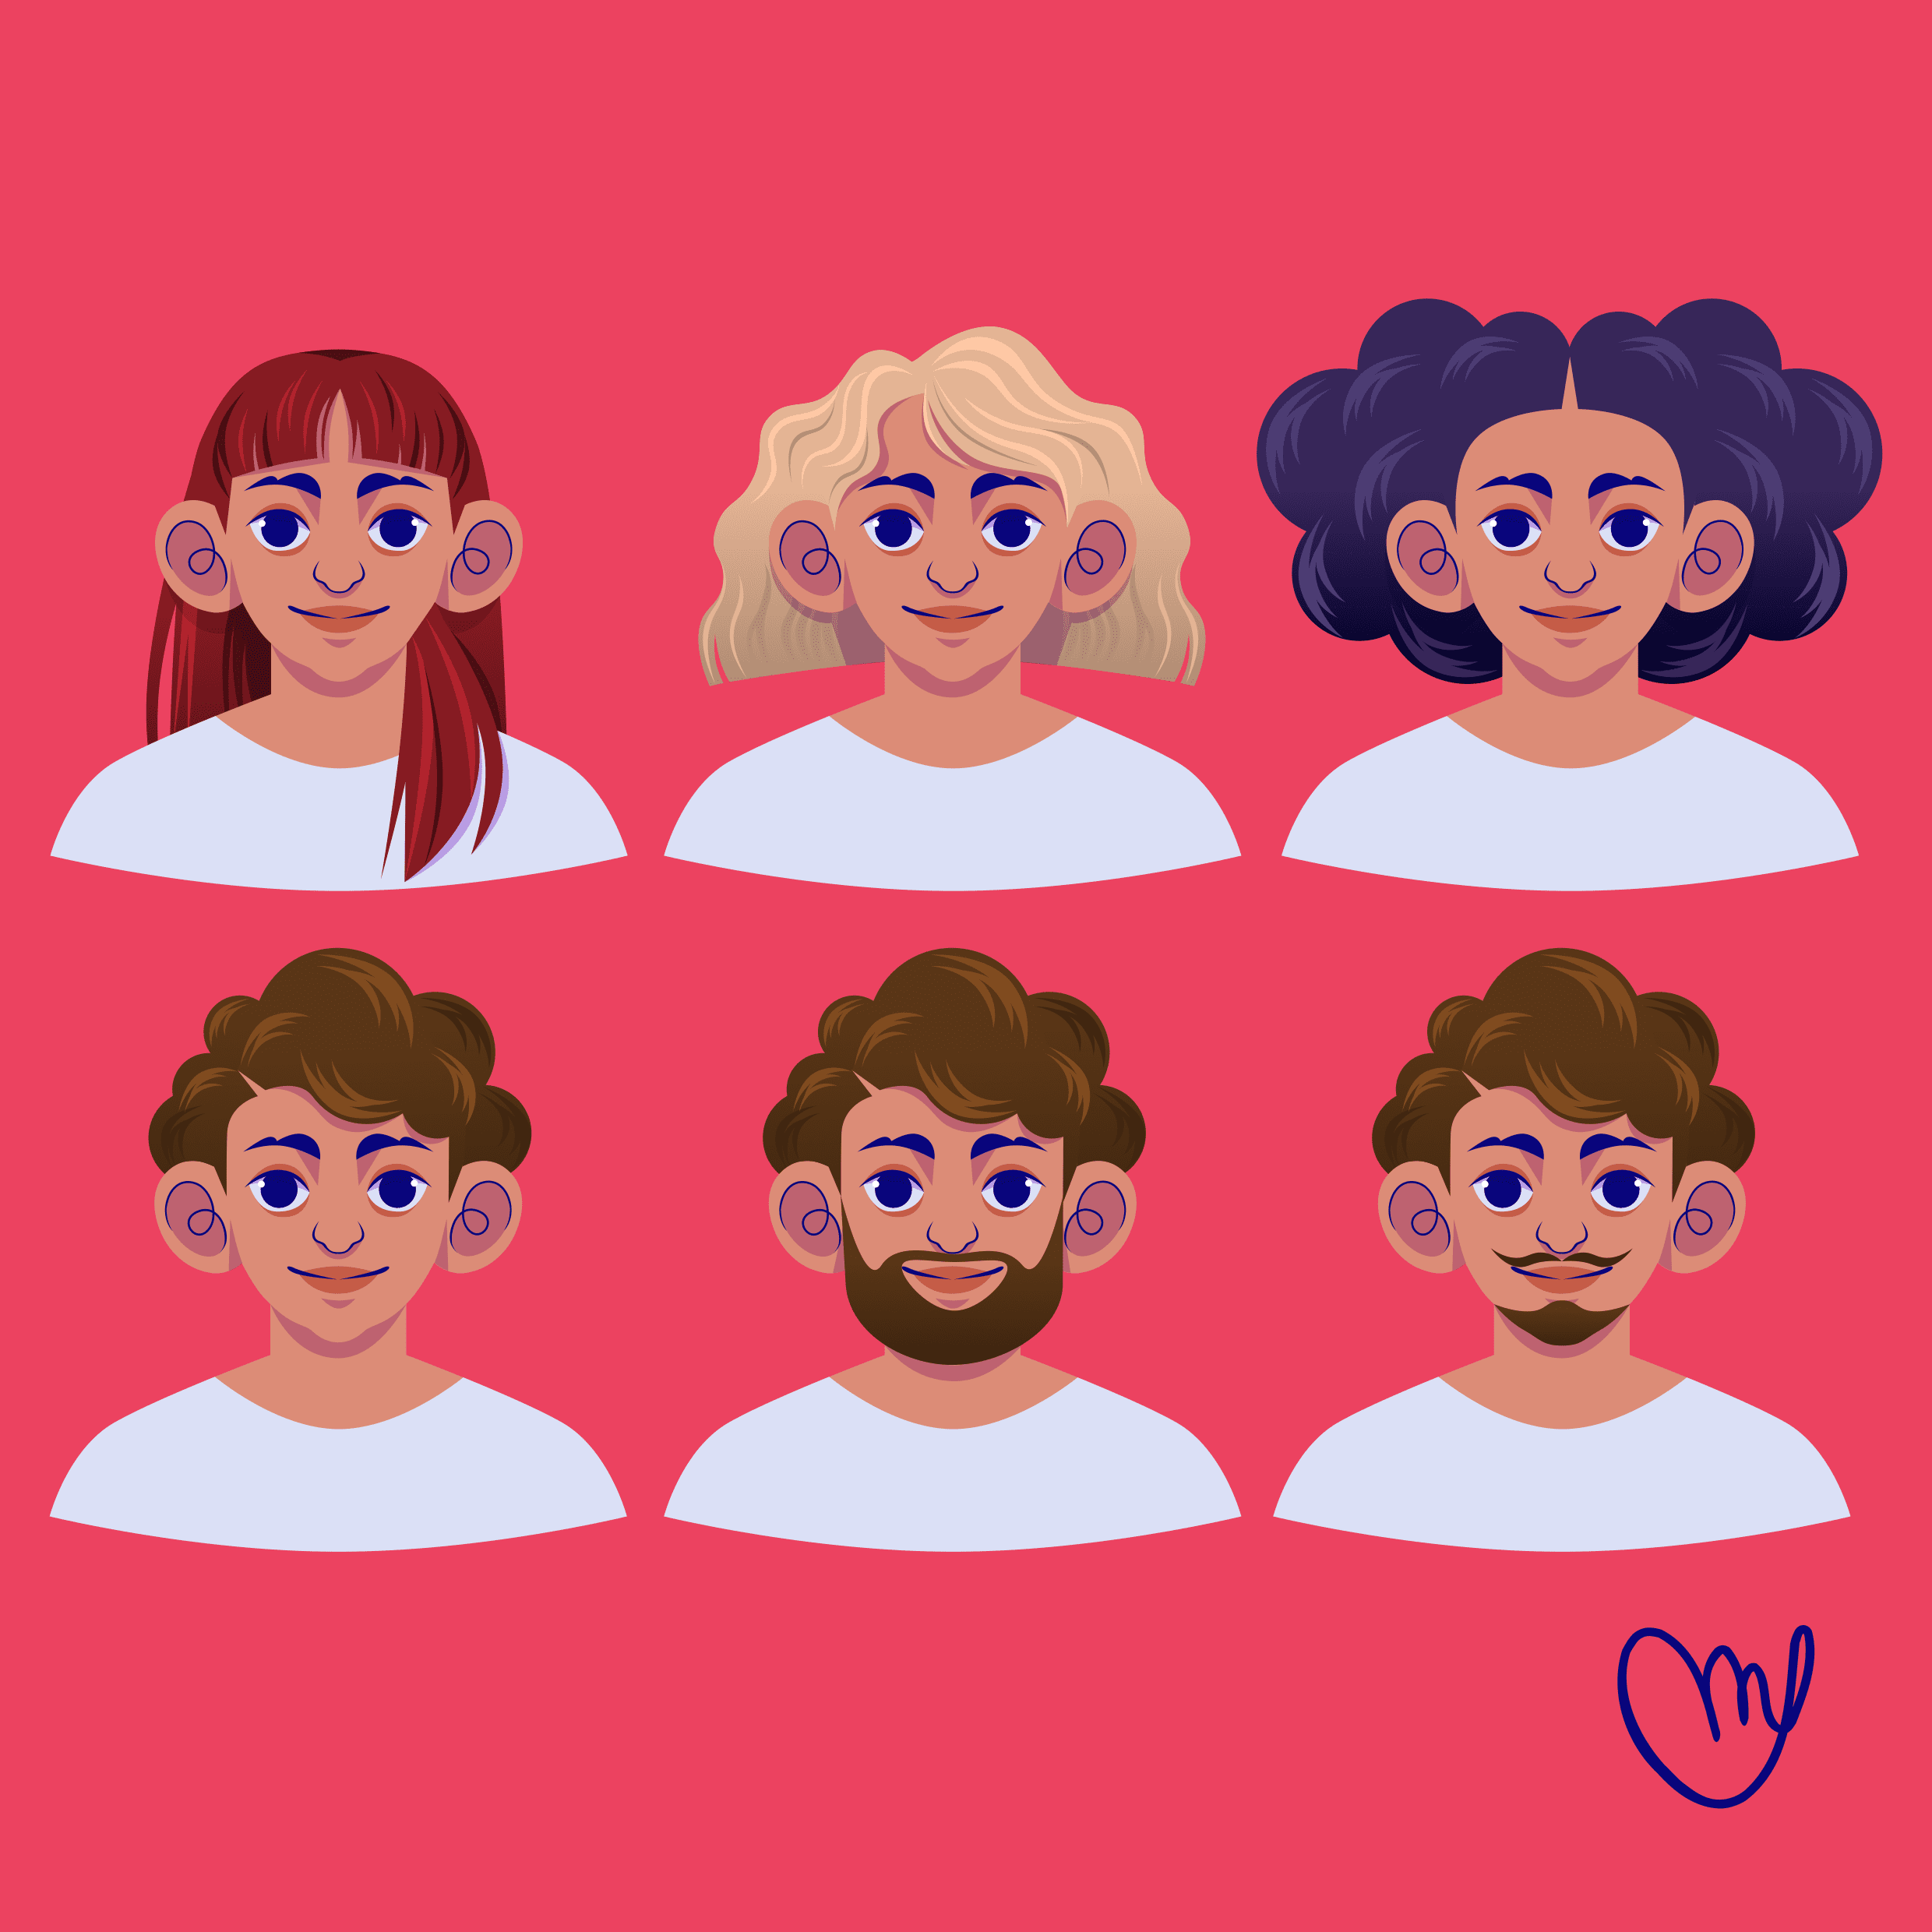
In this helpful tutorial, Maddie will show you in simple steps how to draw long straight hair, short, wavy hair, a cute Afro, short curly hair, and two versions of facial hair.
You can watch the accompanying detailed video tutorial of Maddie performing the steps of our written tutorial to get additional design insights.
• How to use the Pen Tool
• How to use the Pencil Tool
• How to use the Shape Tool
• How to organize Layers
So let's grab our pen and get started, shall we?
The preparation
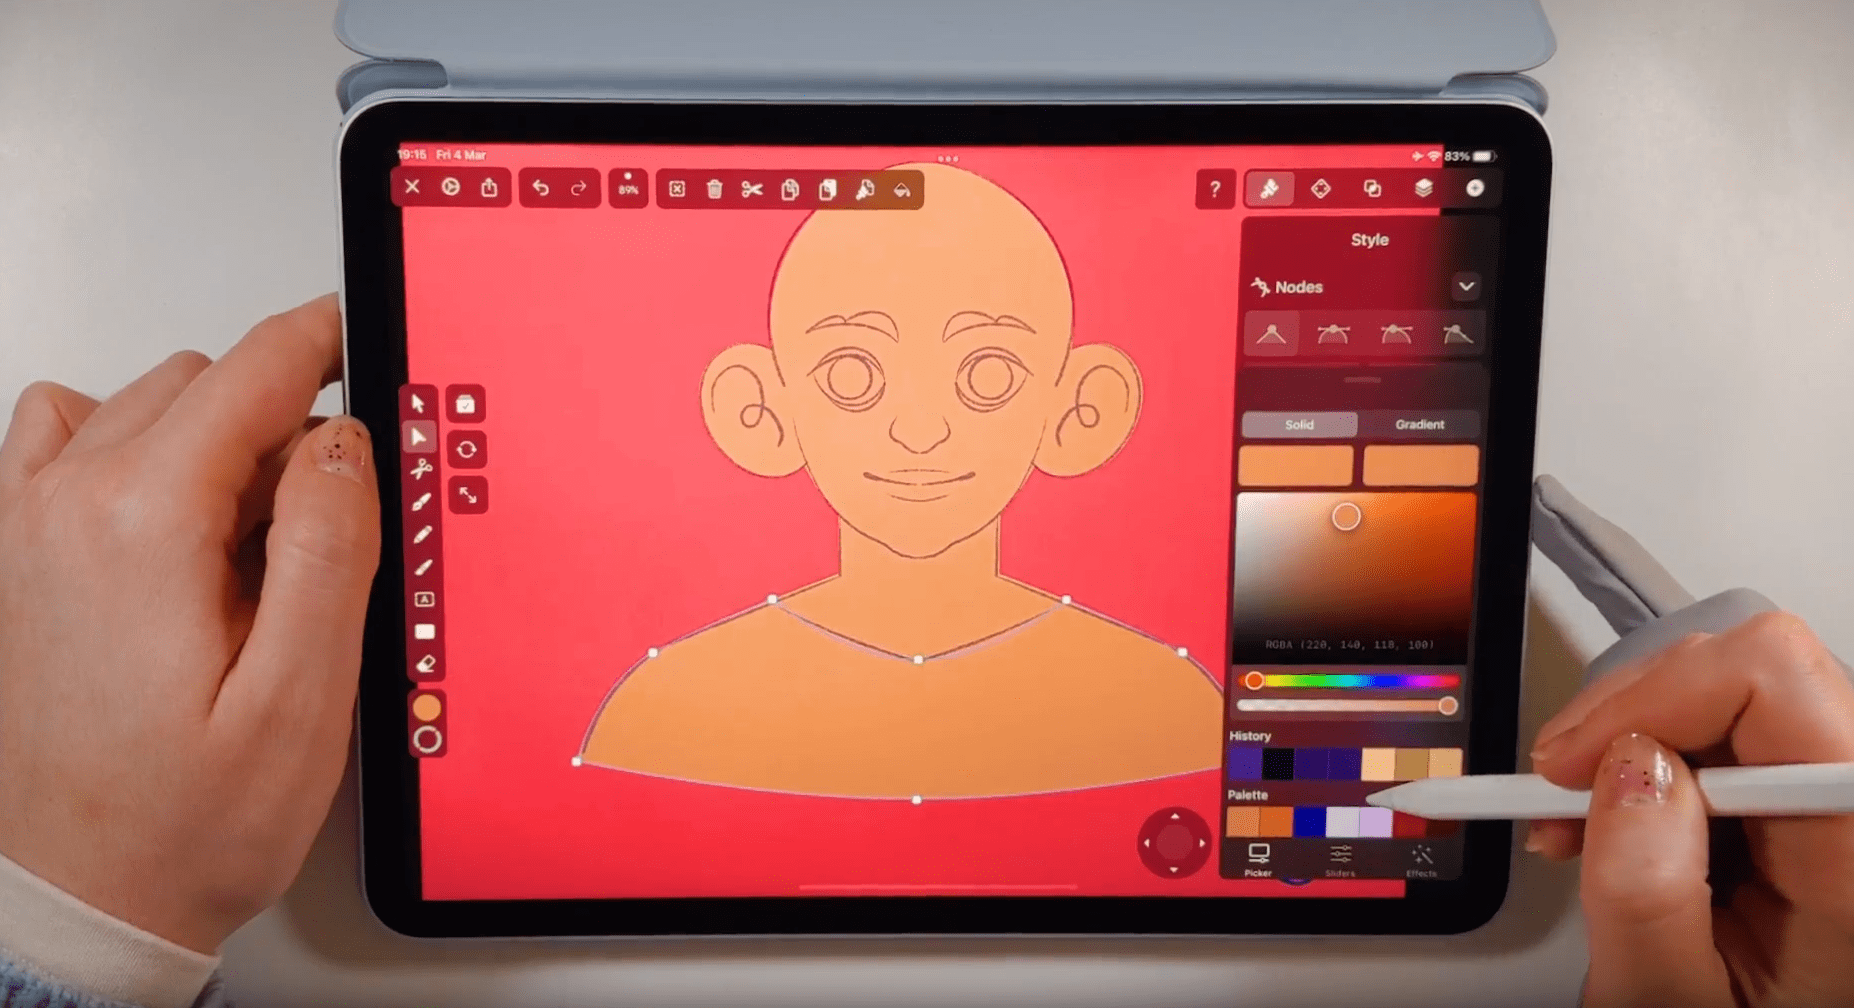
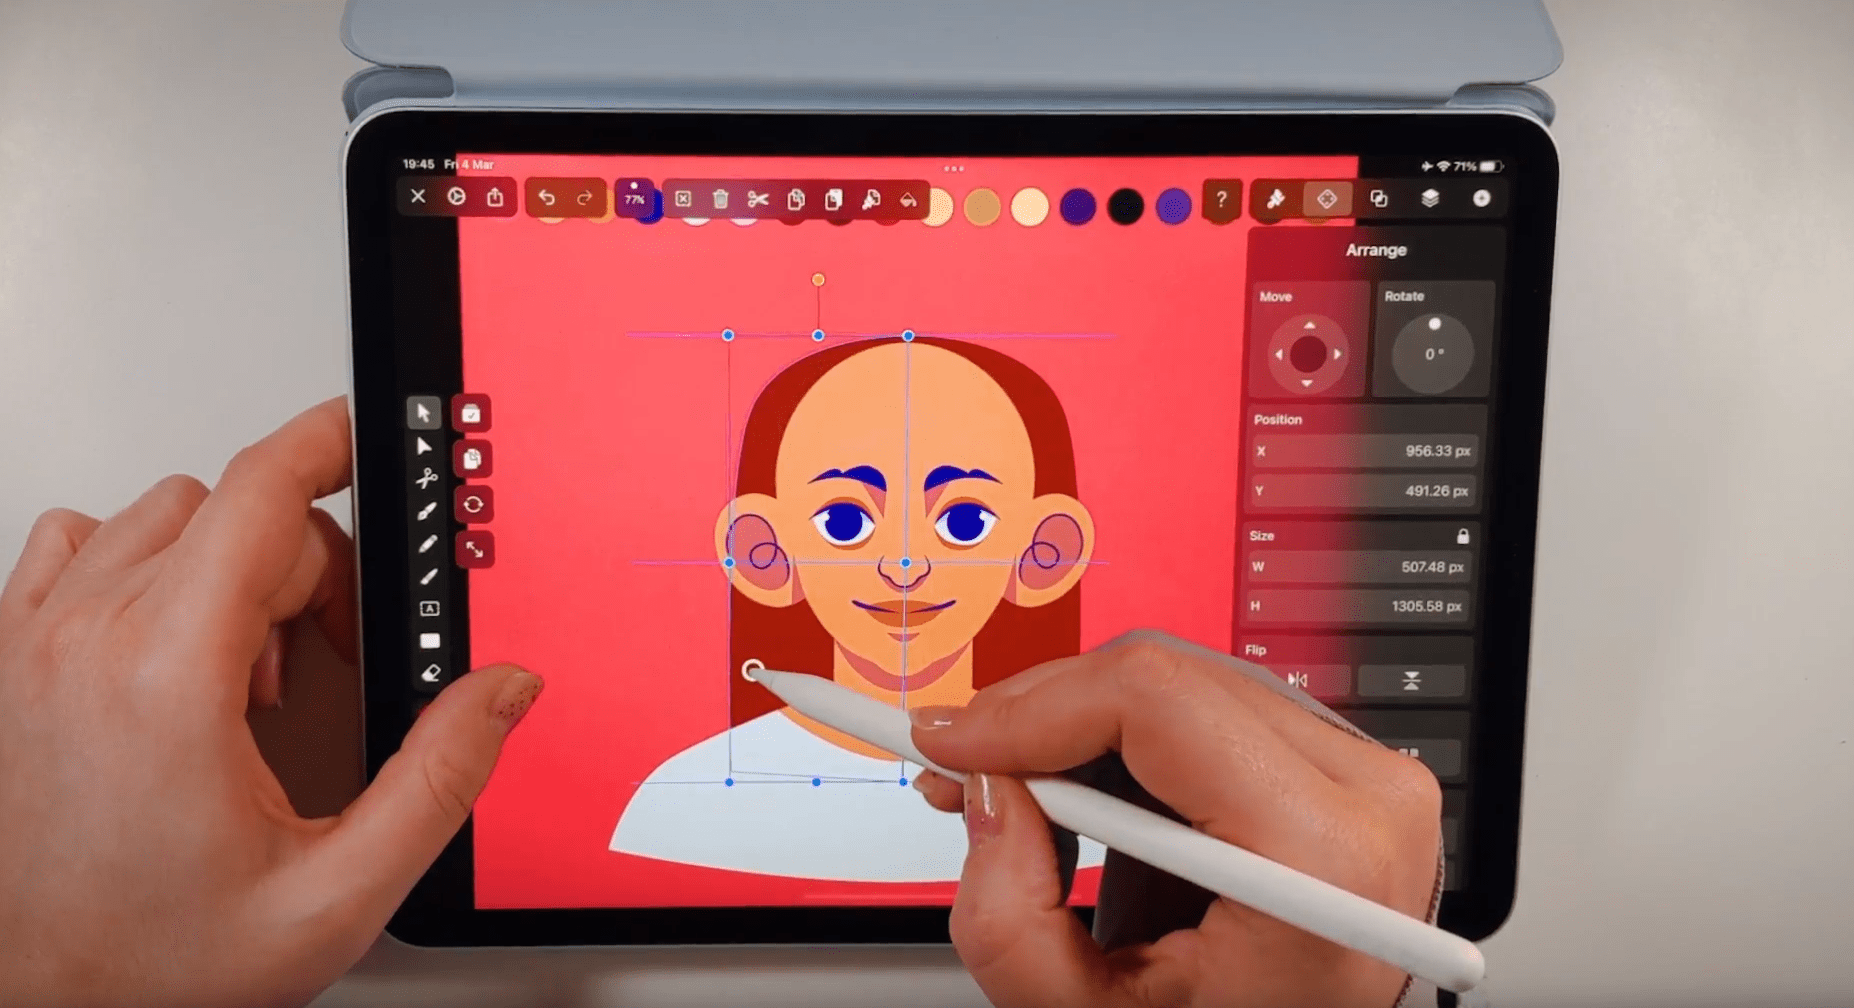
Before we start drawing our hairstyles, we need a neutral base character to draw our hairstyles on. Maddie has created a tutorial where she shows us how to create a character. You can use the tutorial to make your base character.
Create a new document in Vectornator by tapping the + button. Set the size of your document manually or use a template. You can keep a white background or select another color for it. To create a colored background, draw a rectangle that covers the entire artboard and place it on the bottom layer. Rename it as “Background” and lock it by tapping on the correspondent icon. Inside the header section of the Layers Tab, tap the + icon, and in the opening popover menu, select New Layer to add a new Layer.
Now add a new layer in the Layers Tab, and name it "Base Character."
Watch the corresponding video to this tutorial closely from 01:02 min to 1:42, min where you can see how Maddy creates the base character.
If you don't want to waste too much time creating a base character, you can reduce the base shapes. You can even import a drawing or a reference image for your base character; make sure that the base character is entirely bald.
Learn how to create and save a personal color palette in Vectornator before you start drawing.
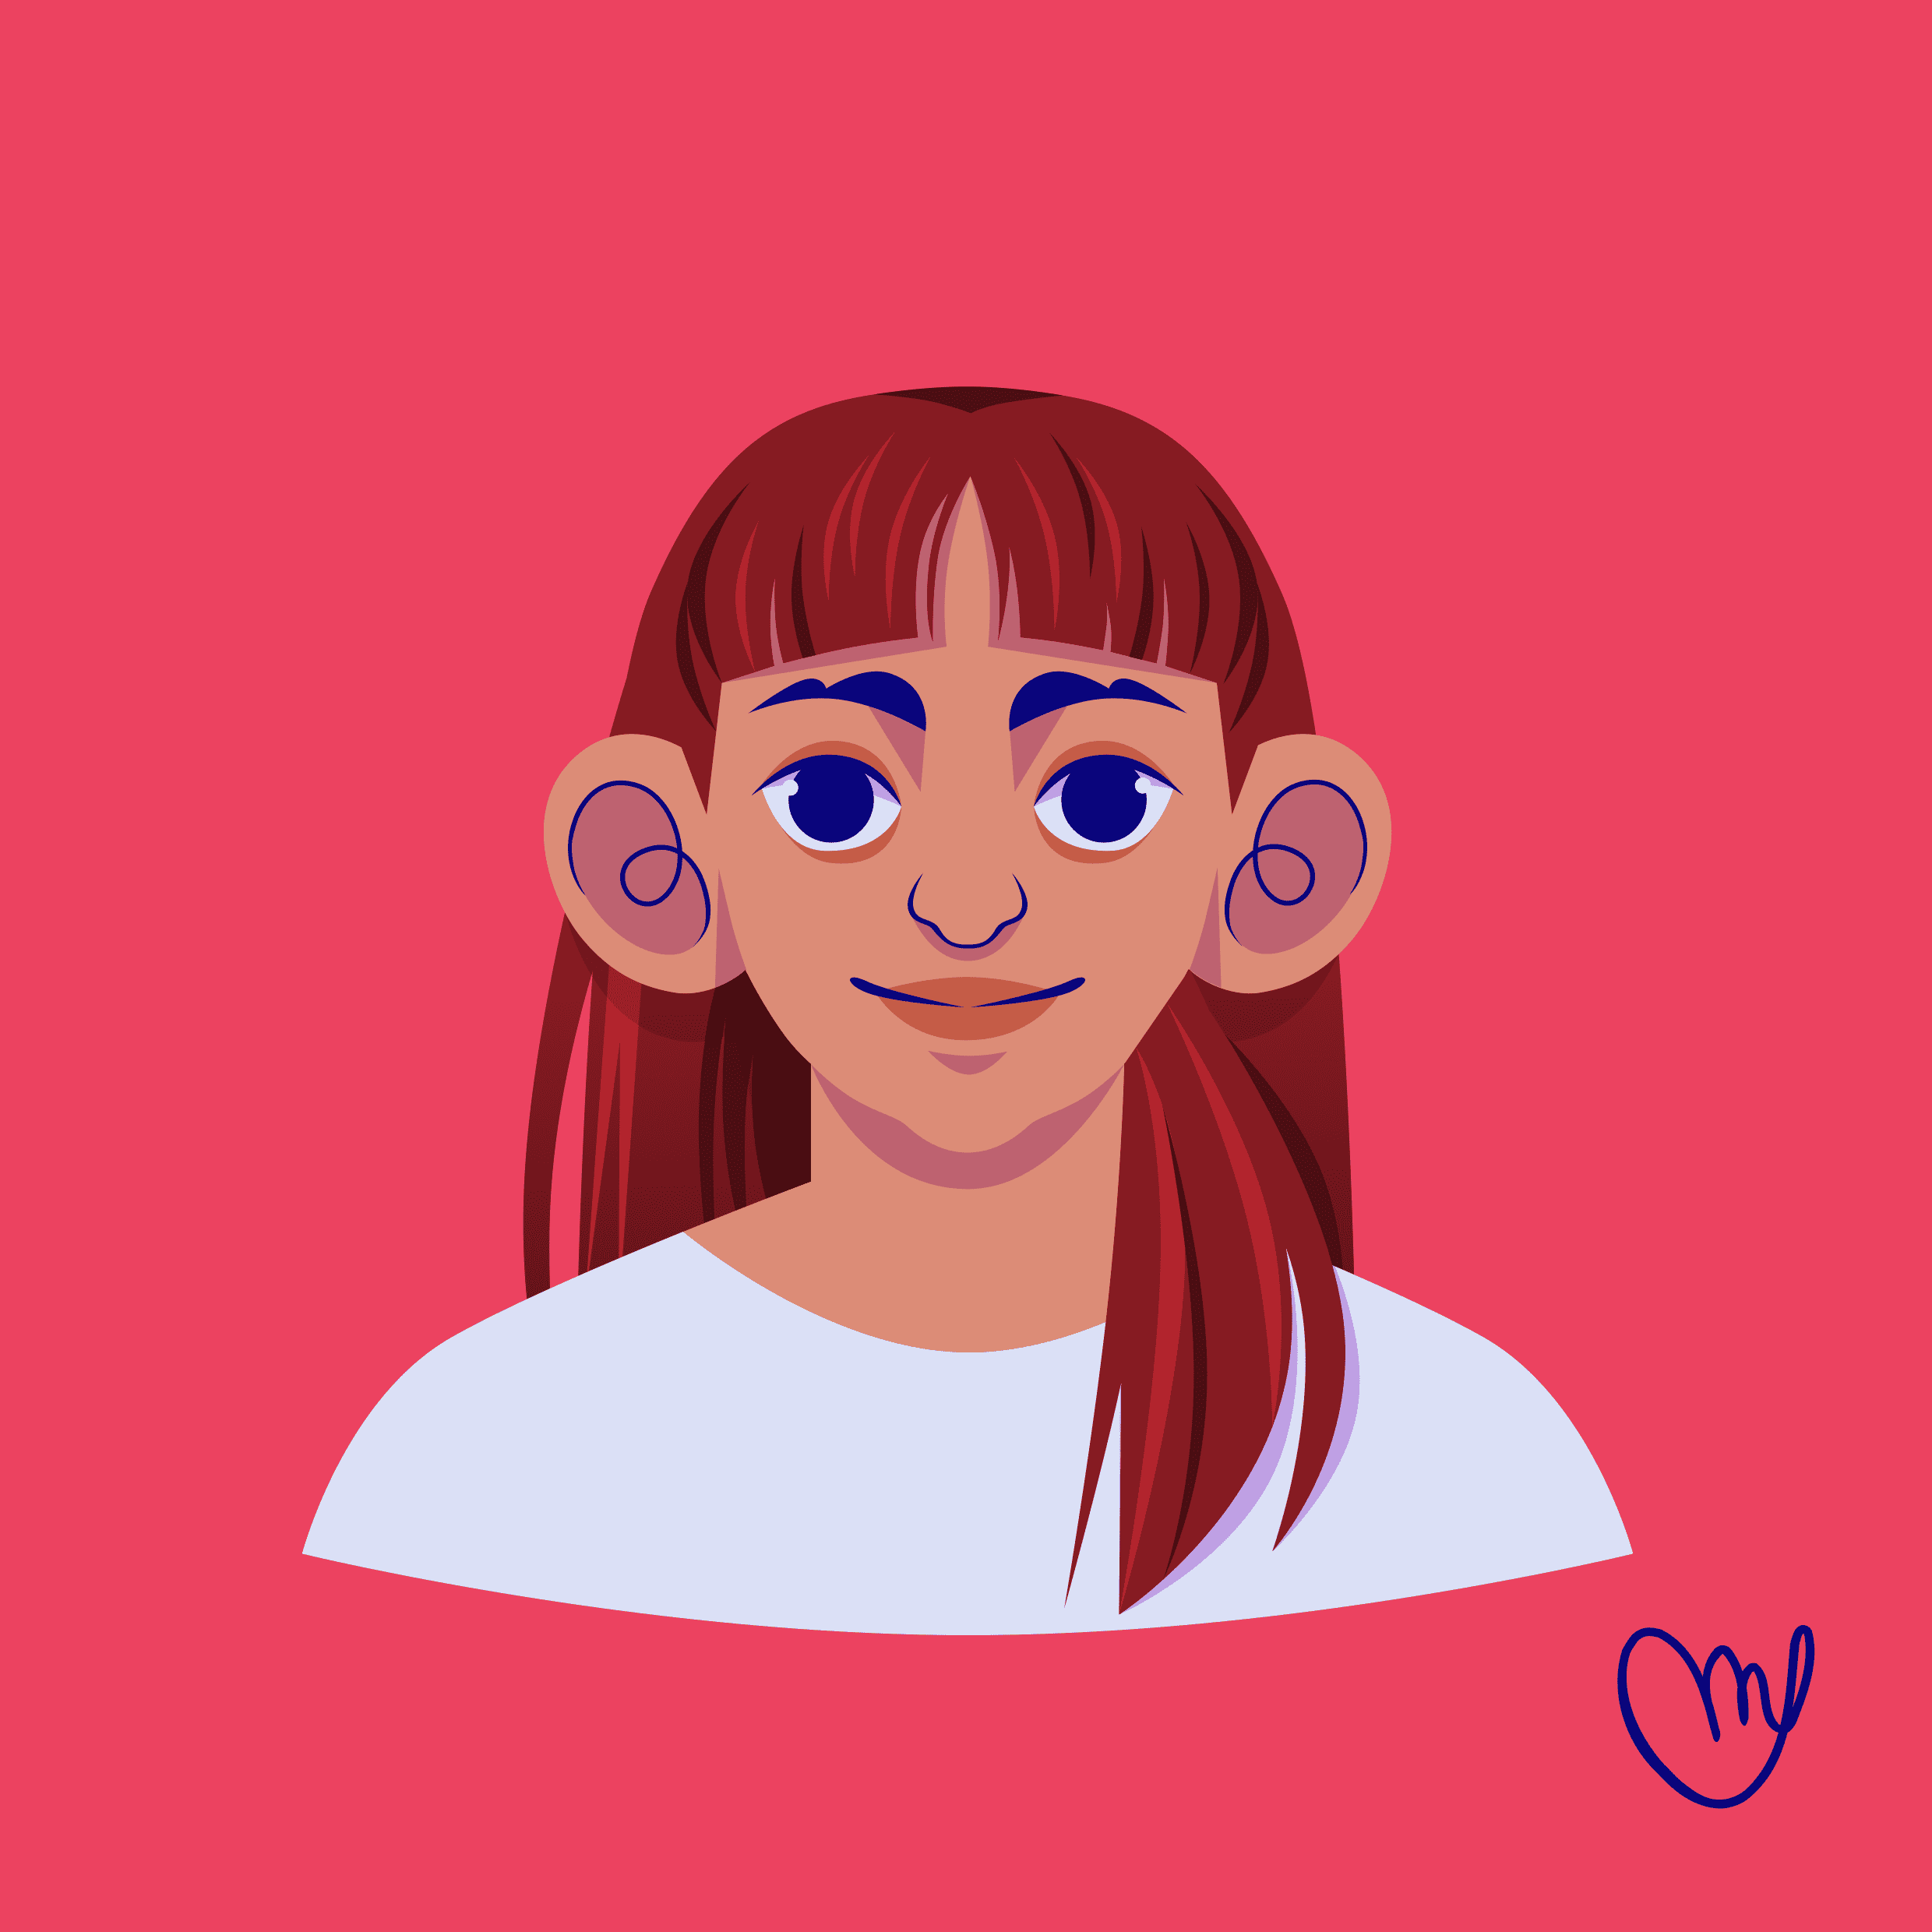
Draw long, straight hair
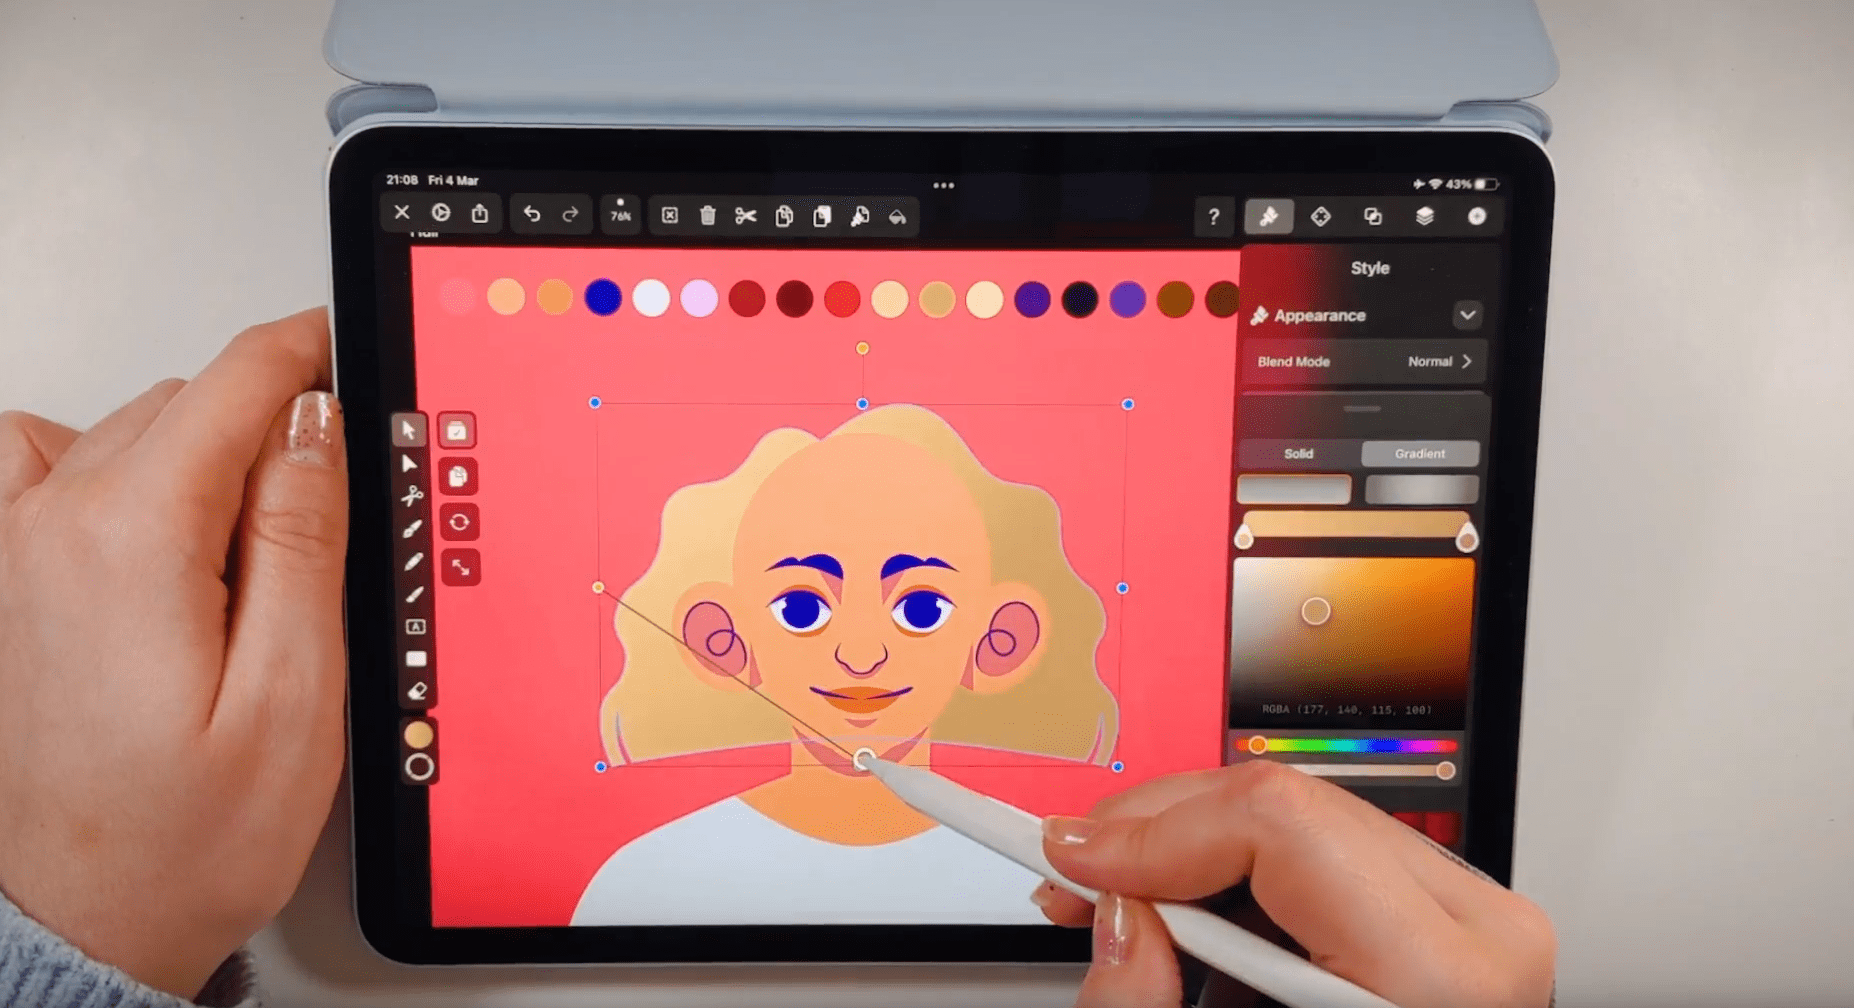
In the next step of our tutorial, we'll create long, straight hair. We'll use the Pen Tool to draw the hair shape. Activate the Pen Tool in the Toolbar on the left side of your screen. Toggle the stroke off and the fill on in the Color Widget or the Style sections.
Set the fill color by manually entering a Hex Color Code or using the Color Picker. Maddie has chosen a brown tone for our hair, but feel free to select any color you want for your hair.
Tap on the canvas to create the first node of your path, and tap again and again to create new nodes that connect and form a path. Tap and drag to use the Bézier curve function.
Ready to create brand assets that pack a punch?
Visit our Academy to learn how to use color palettes.
You can close the path you have created with the Pen Tool by clicking on the Start Bézier Node.
While drawing, consider the hair's shape and volume and the gap between the base head and the hair.
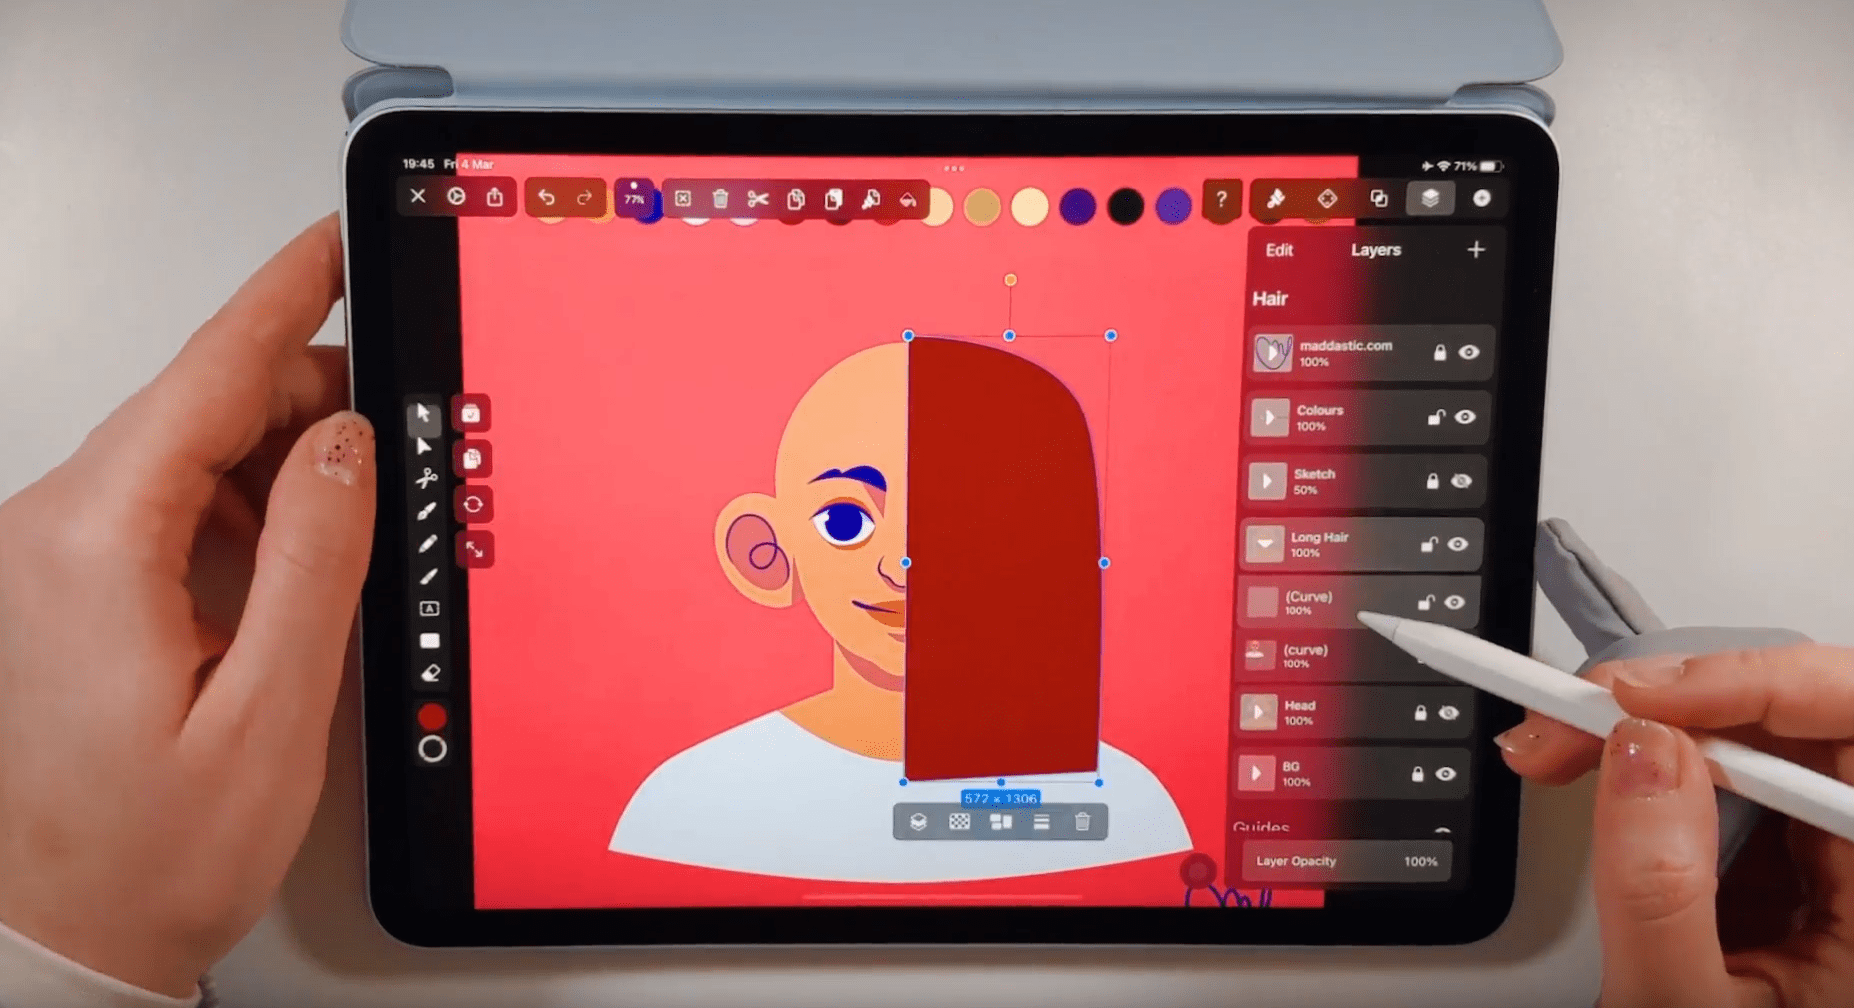
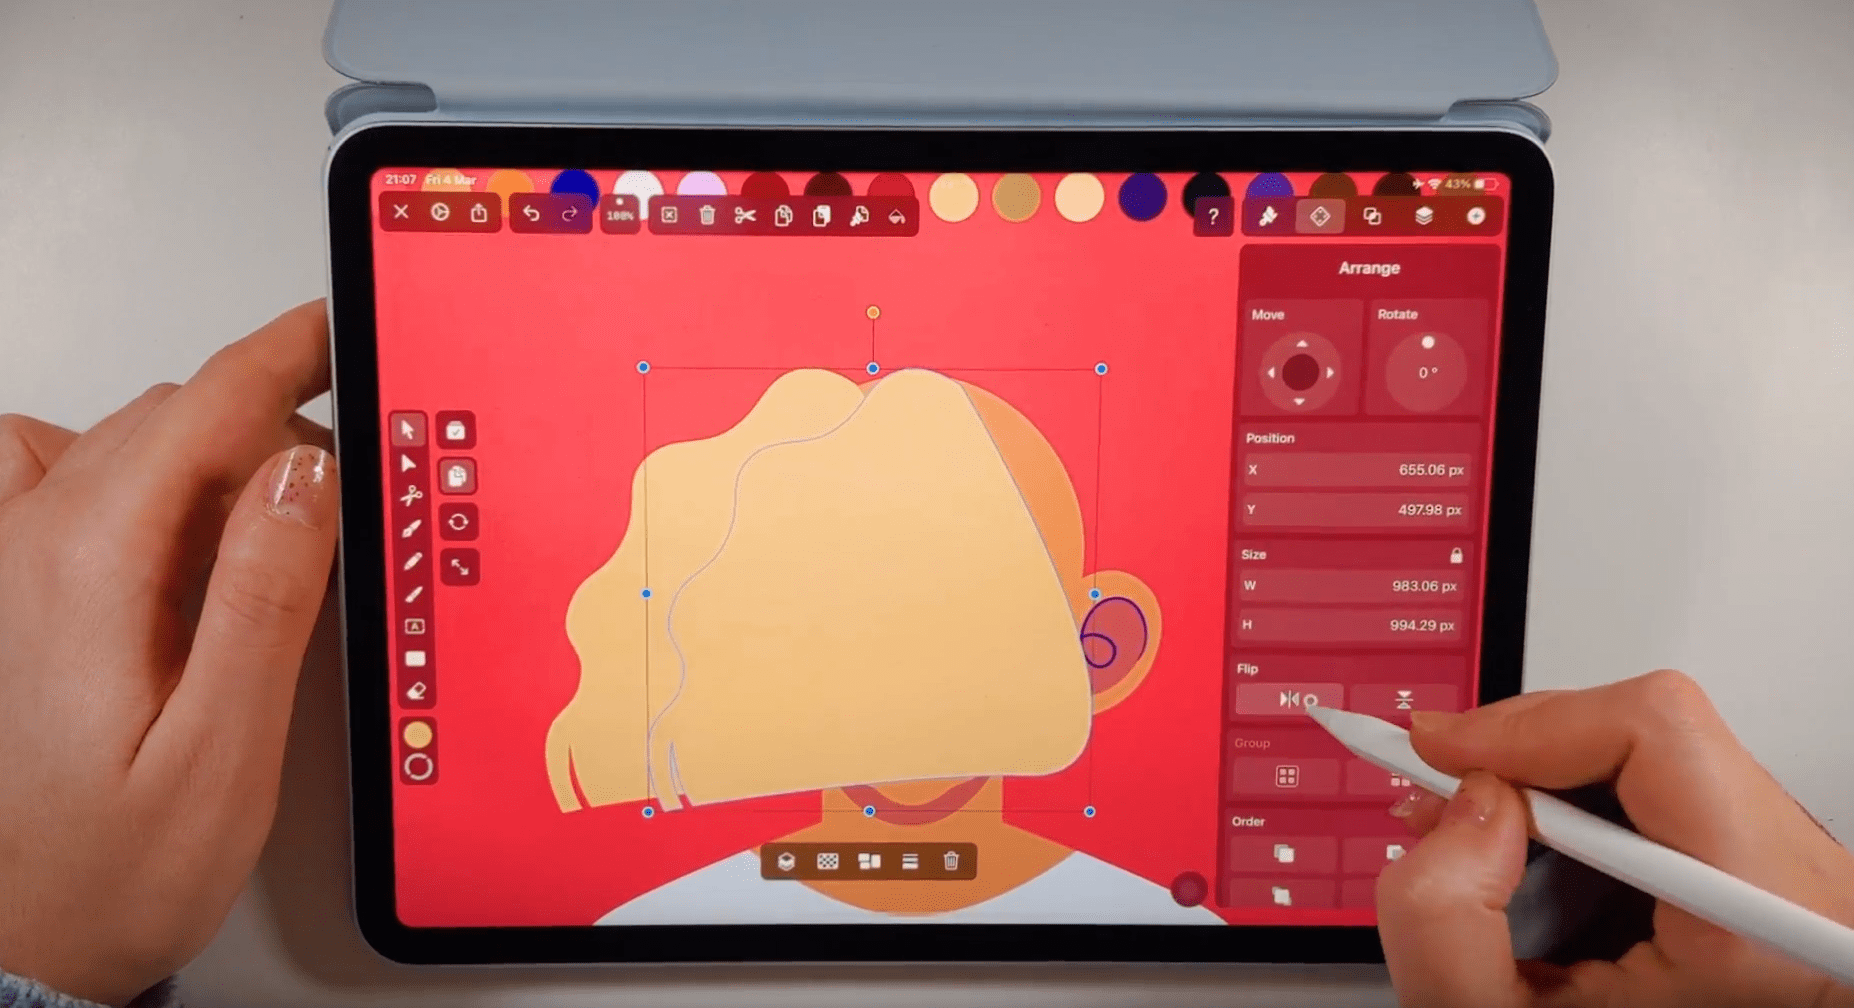
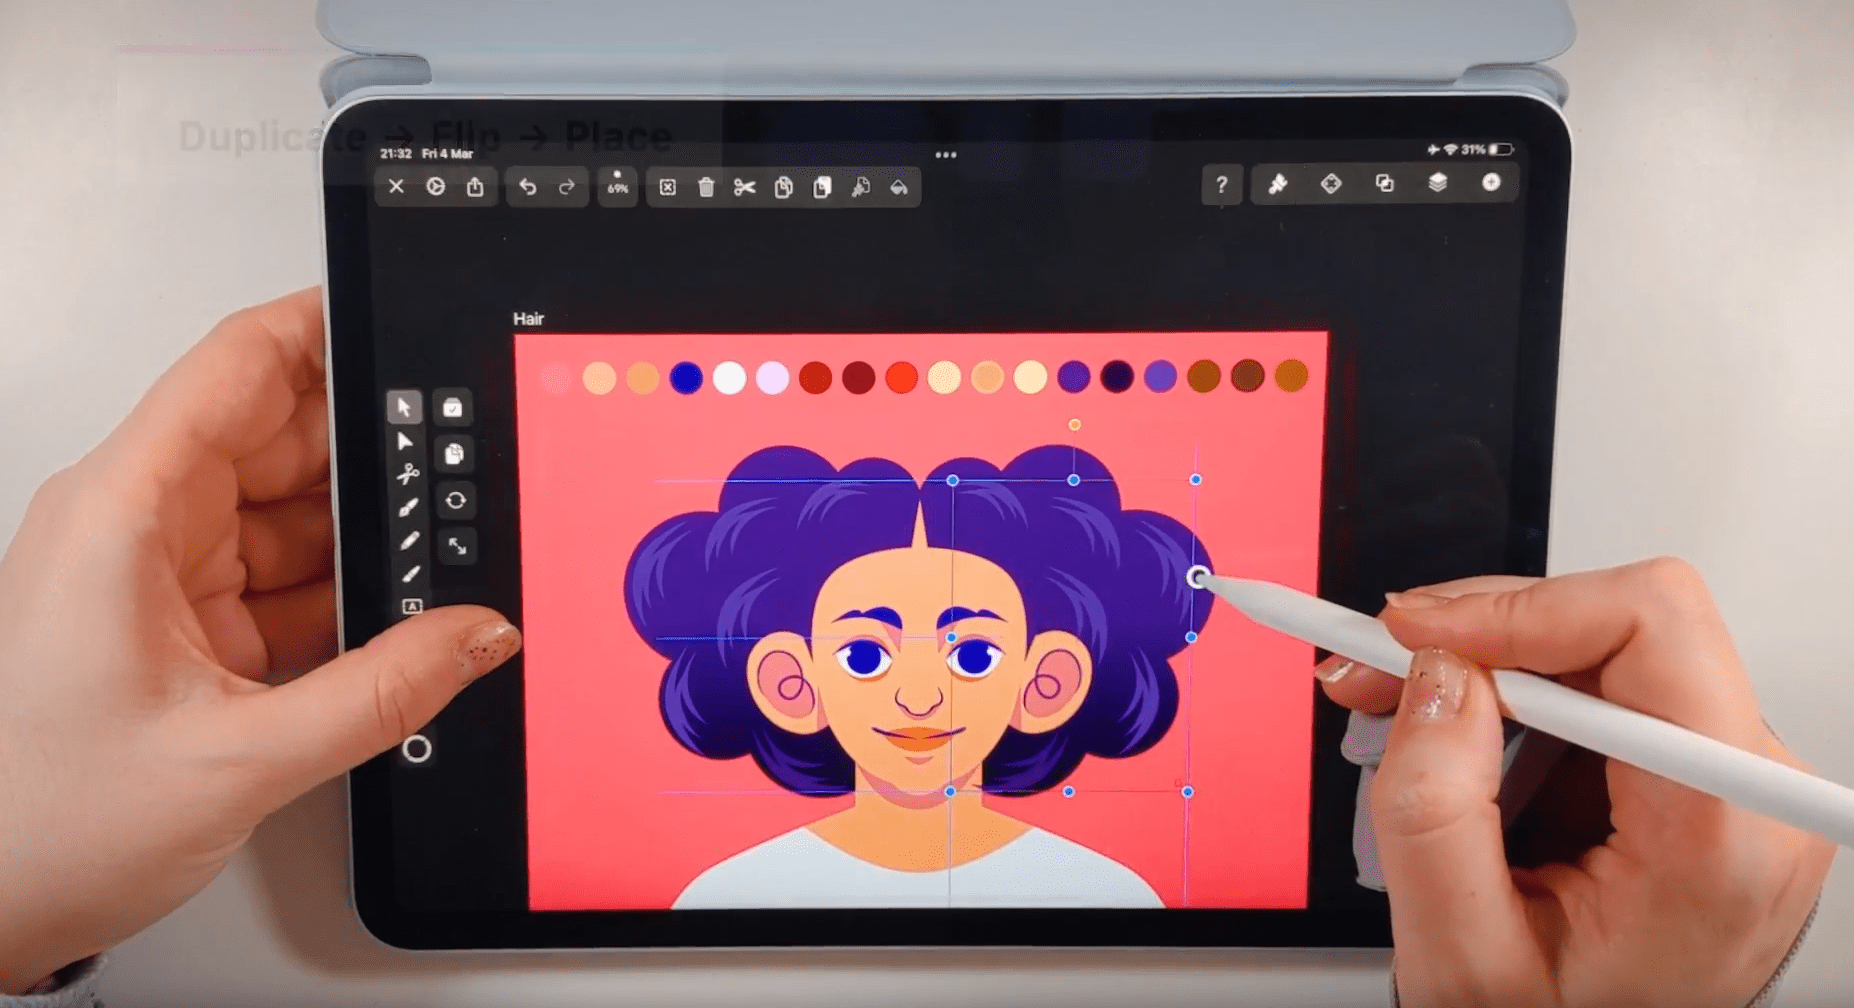
First, draw the basic shape of your hair. Draw only one-half of the hair shape, and then use the Duplicate Mode and flip the duplicated shape horizontally to the other side.
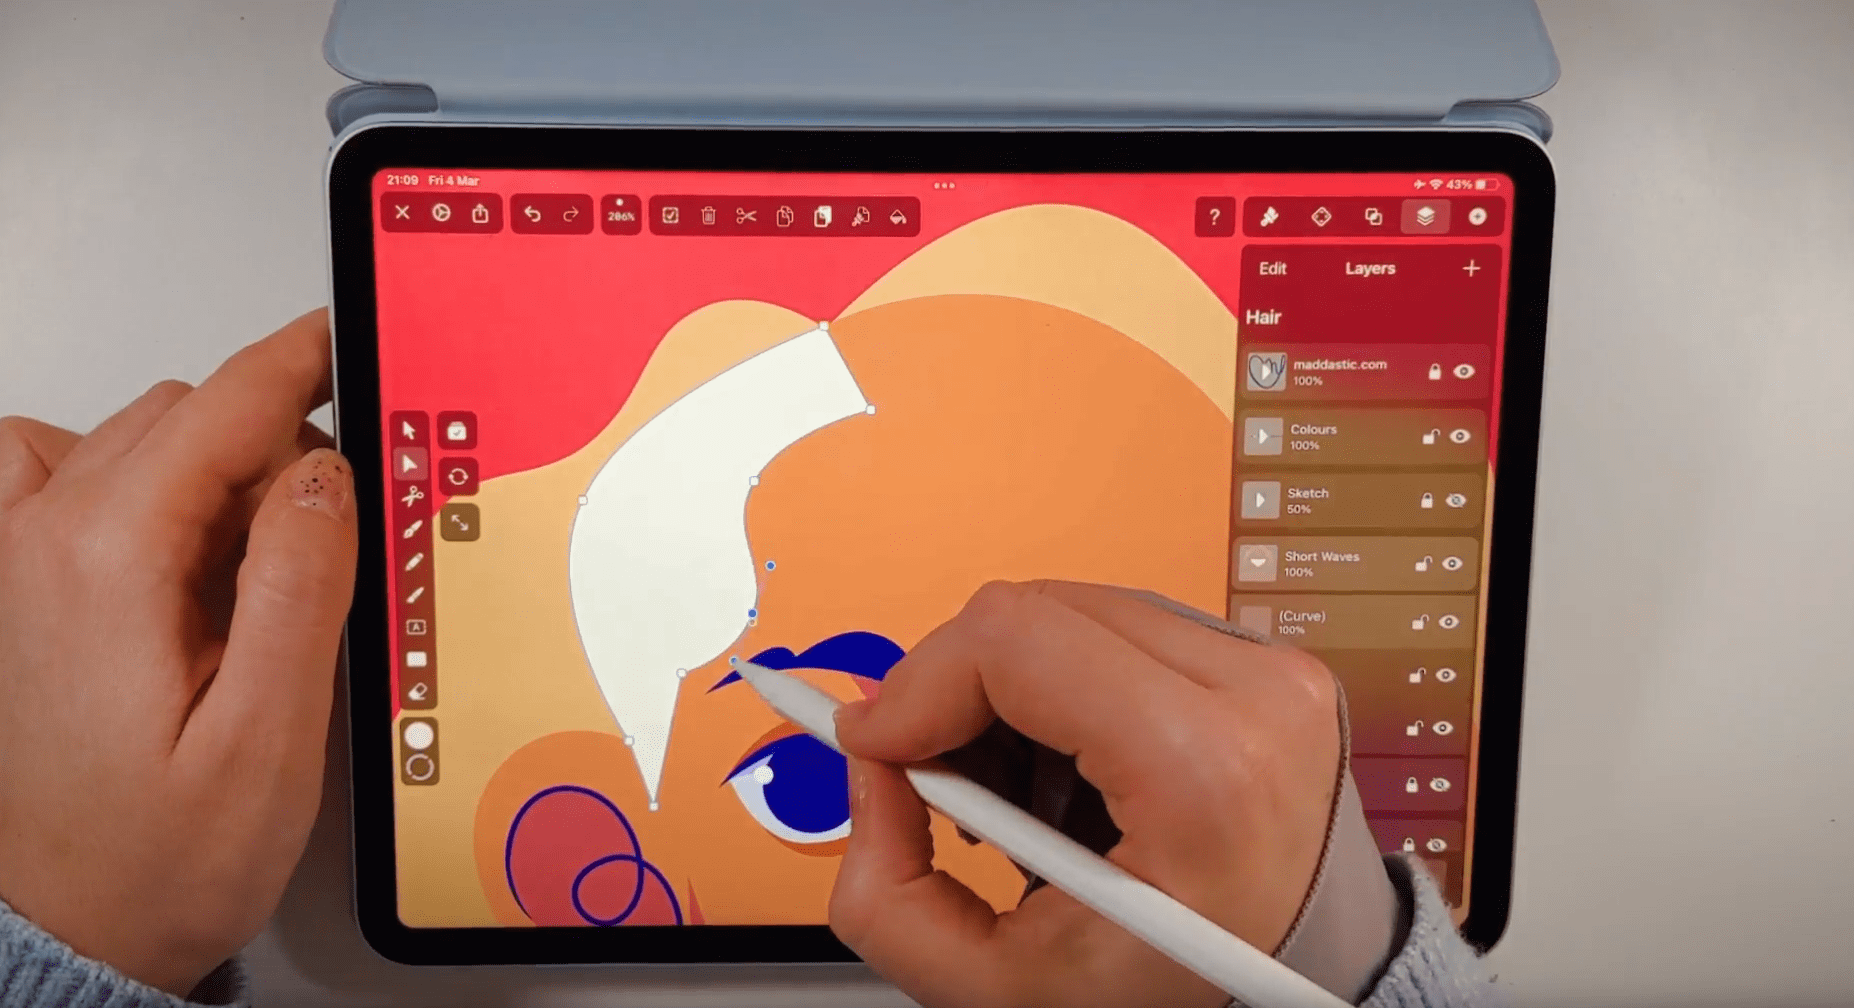
Position the hair base shape behind the base head in the layer hierarchy by selecting the base head shape in the Layers Tab and dragging it above the base hair shape in the layer hierarchy.
Select the base hair shape and create a Linear Gradient in the Gradient Editor, with a darker color at the hair tips. You can use the Gradient Direction Handle to change the orientation of your gradient.
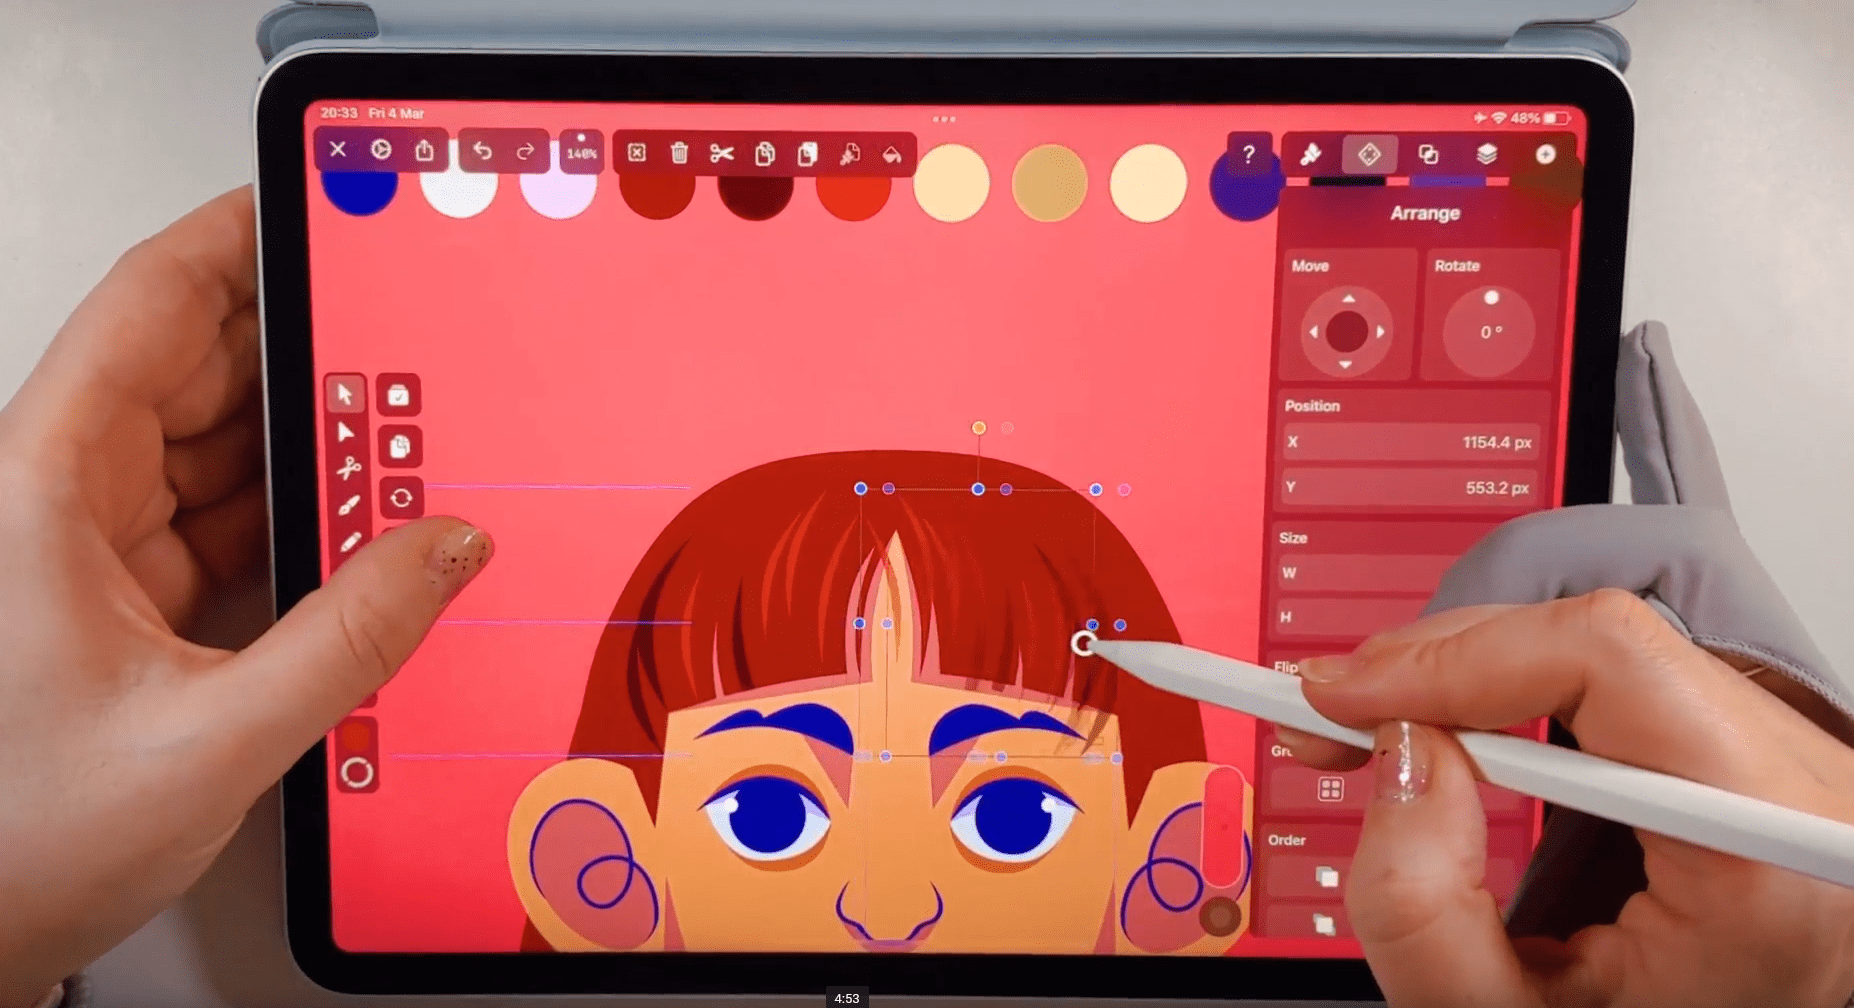
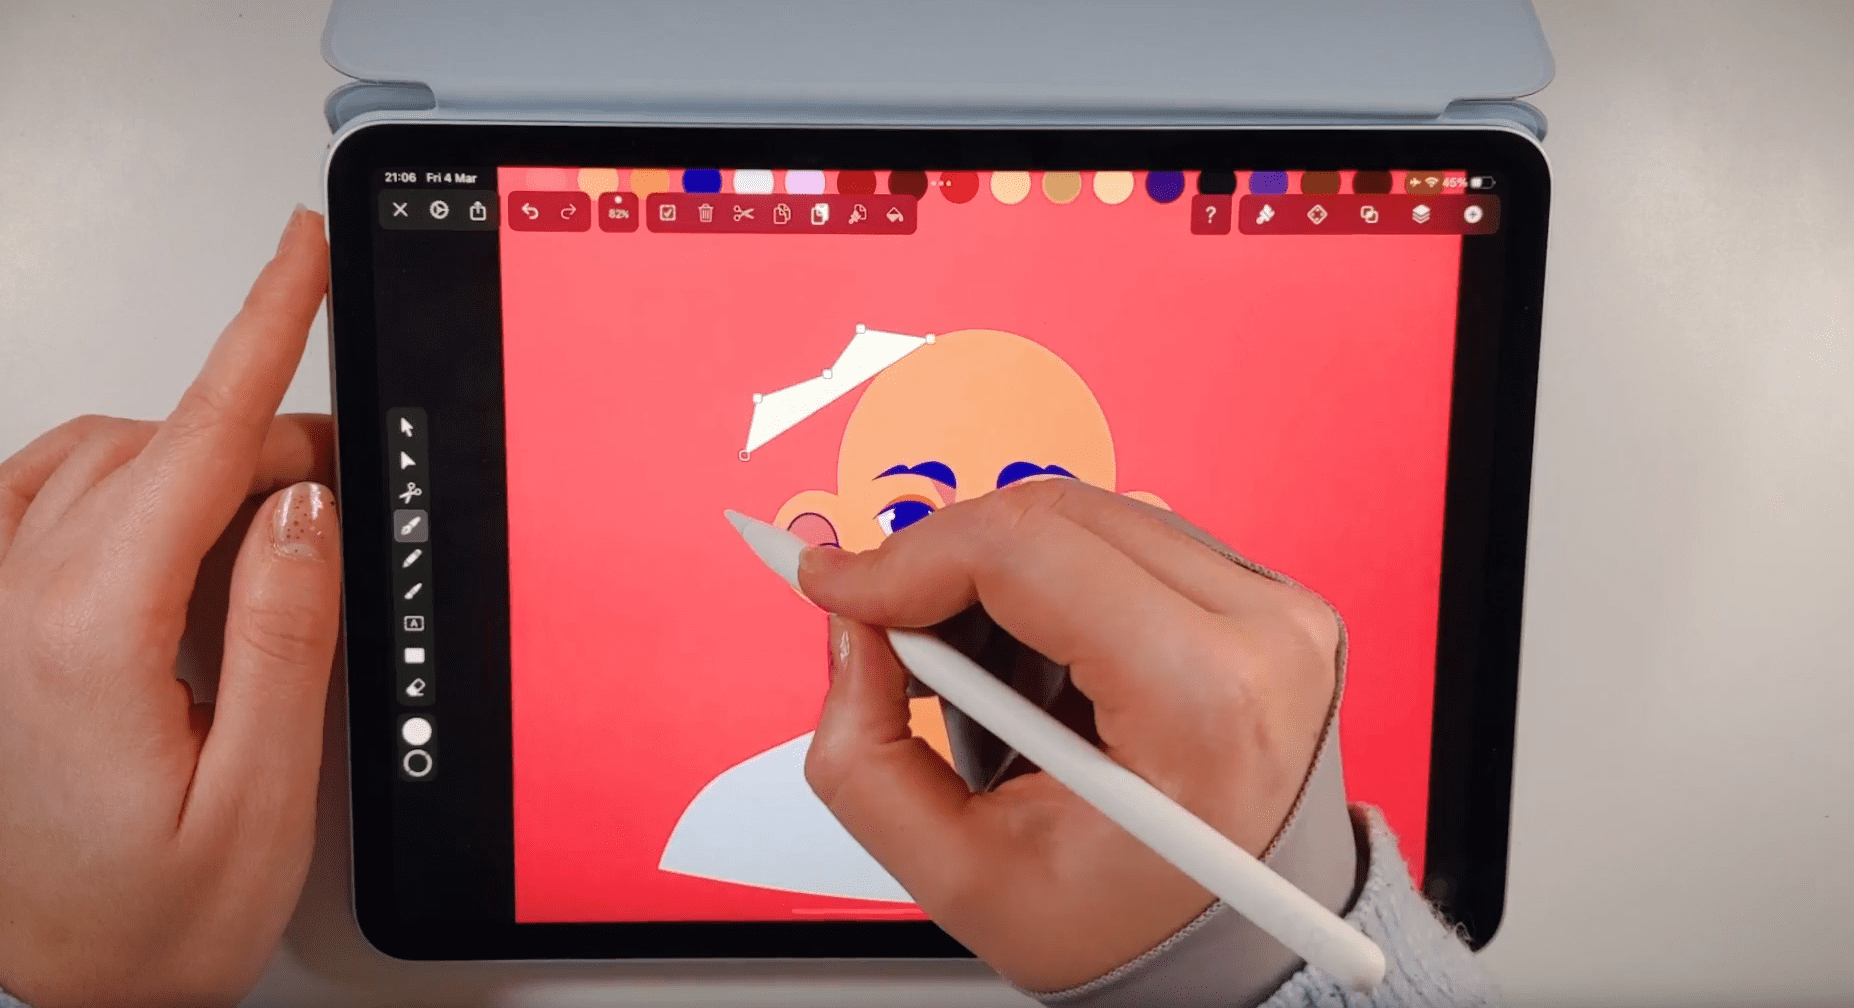
Next, we will create the bangs. With the same fill color, we will draw a small rectangle over the forehead of our character. Again, draw only one-half of the bangs. Don't forget to connect the frontal hair to the ears.
Use the Node Tool to add new nodes to create the natural gaps between the bangs.
Use the Duplicate Mode and flip the duplicated bangs horizontally to the other side. Add some additional strands of hair to create some asymmetry.
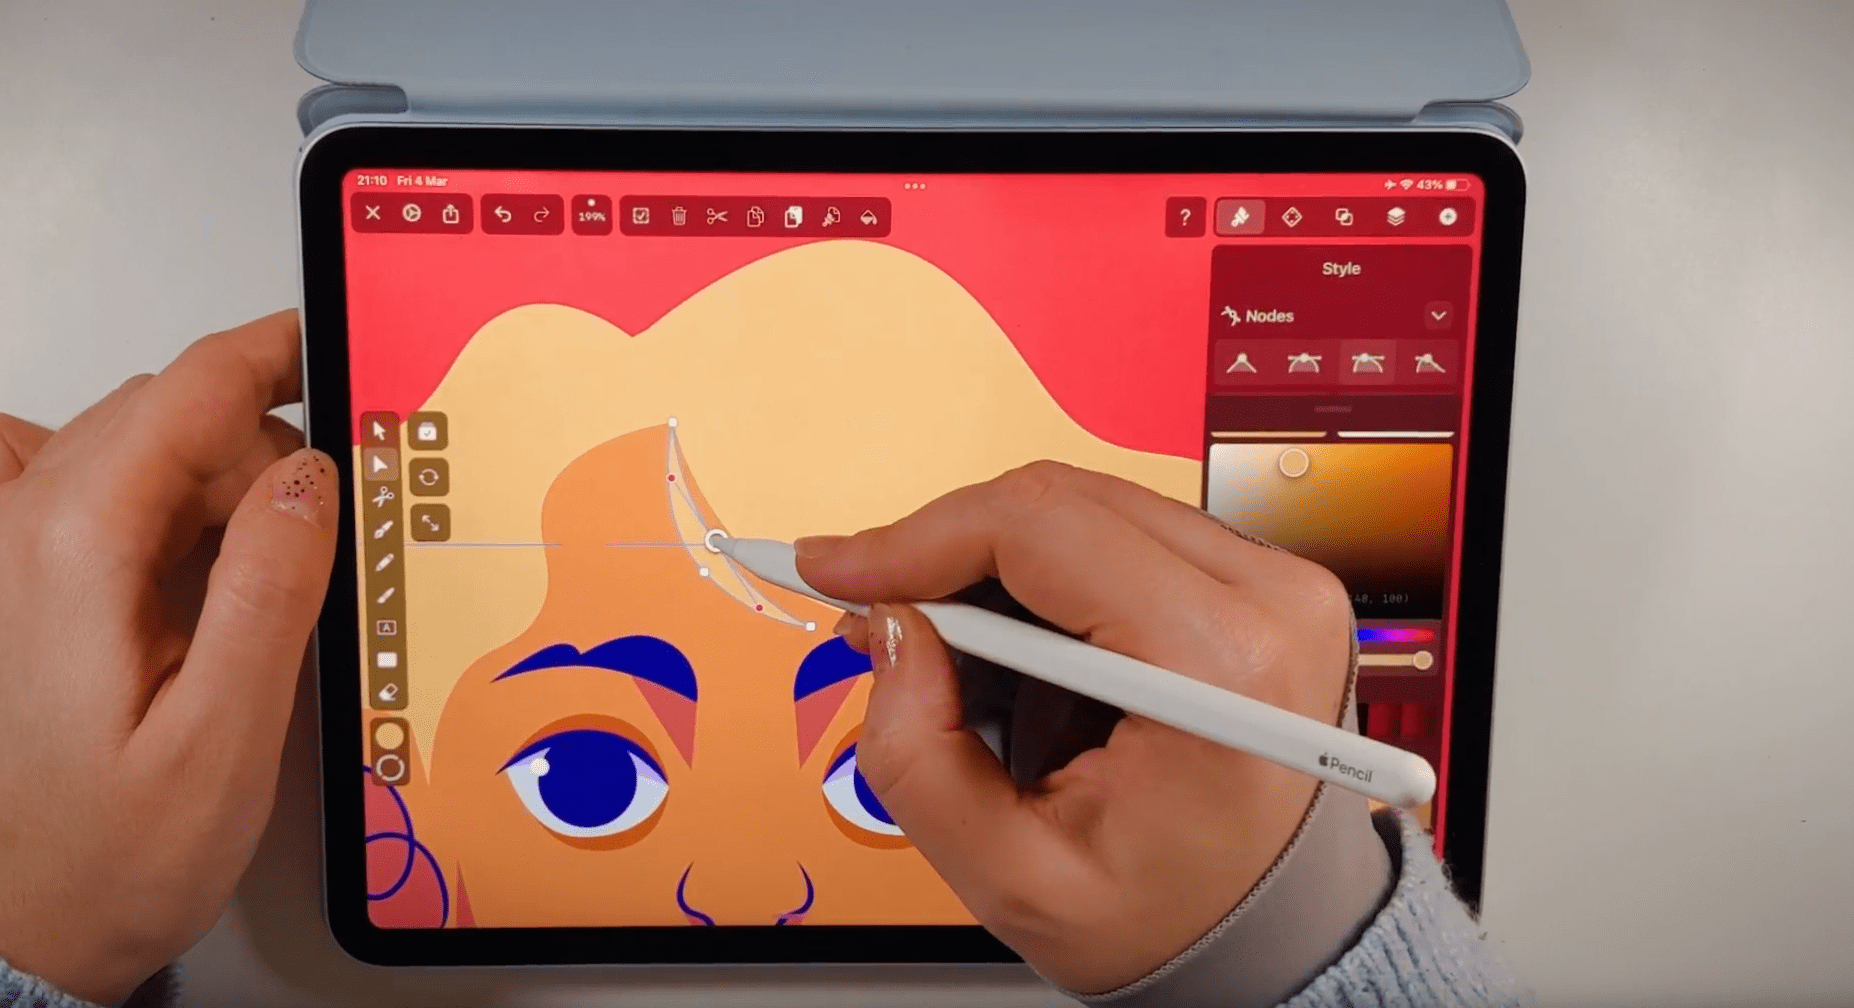
The bangs naturally follow the roundness of the face. Create a curved line with the Pen Tool at the top of the eyebrows as a guide. Align the bottom nodes of your bangs with the Node Tool to the guideline.
Add a couple of loose strands on the shoulders and the neck area.
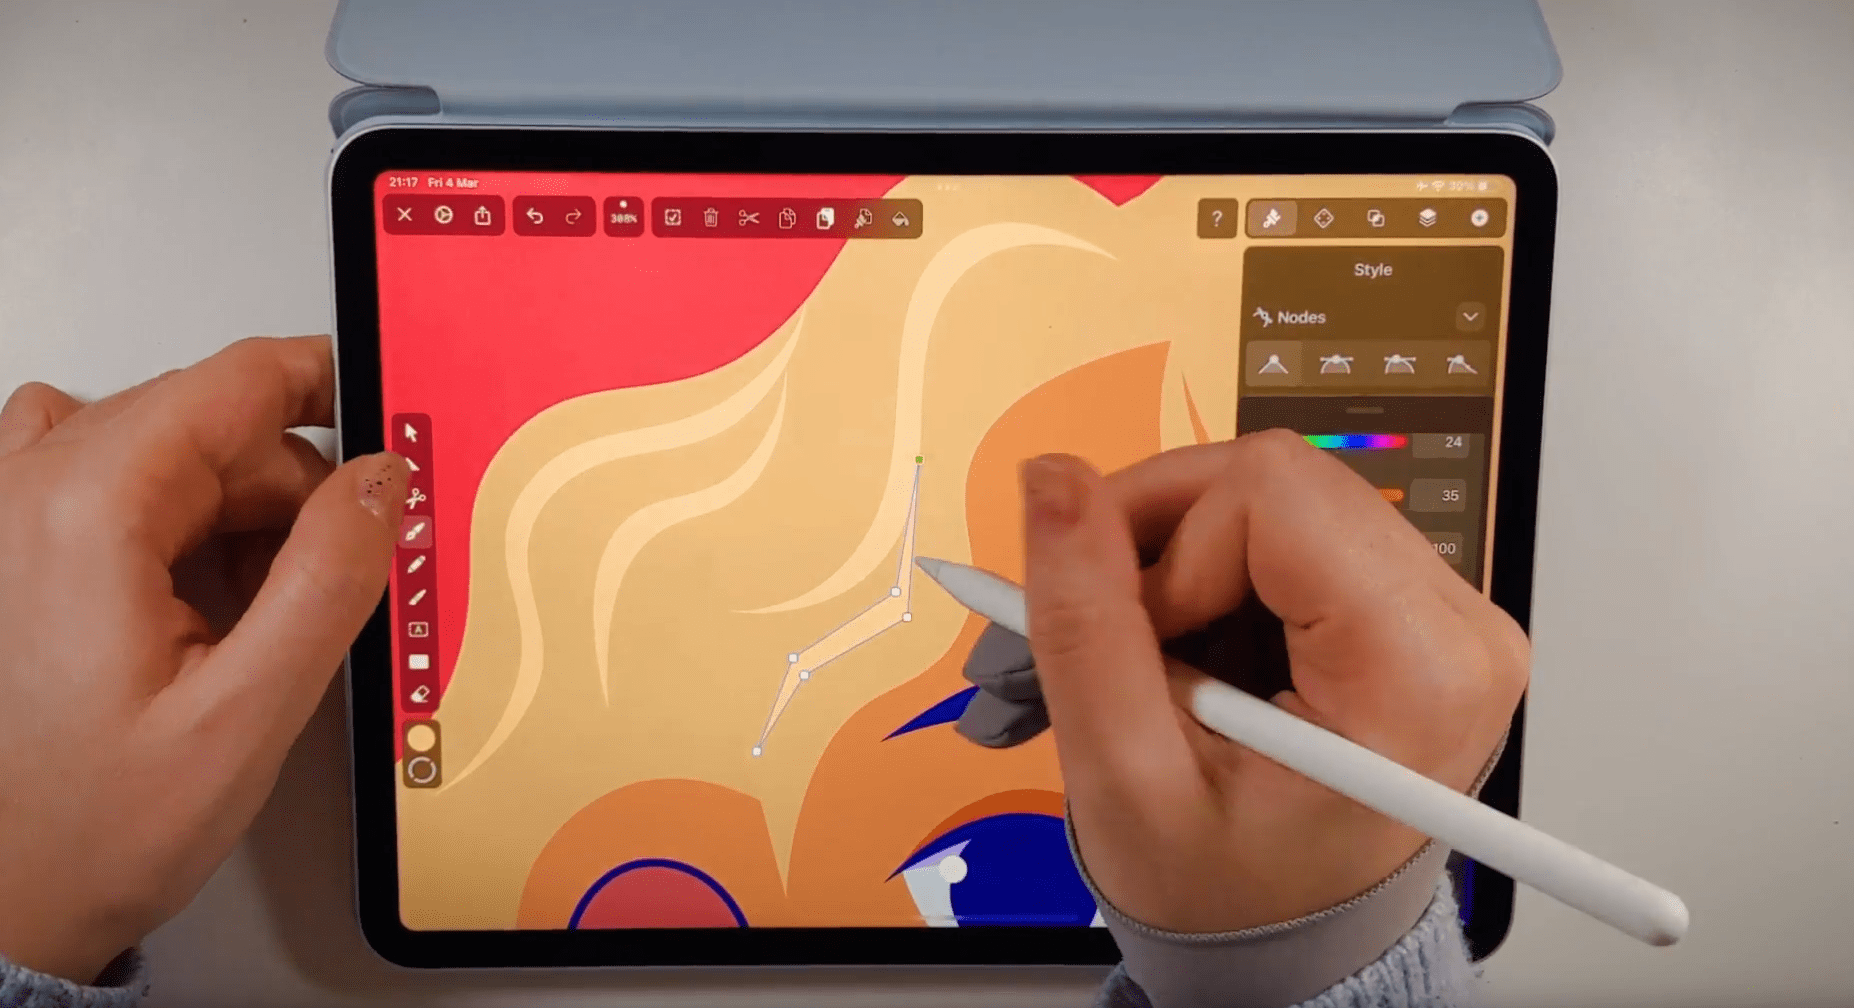
Choose darker and lighter hues of your hair color to create highlights and shadow strands to give your hair dimension and volume.
You can duplicate some strands and flip them horizontally to speed up your workflow. Modify the strands slightly to break the symmetry.
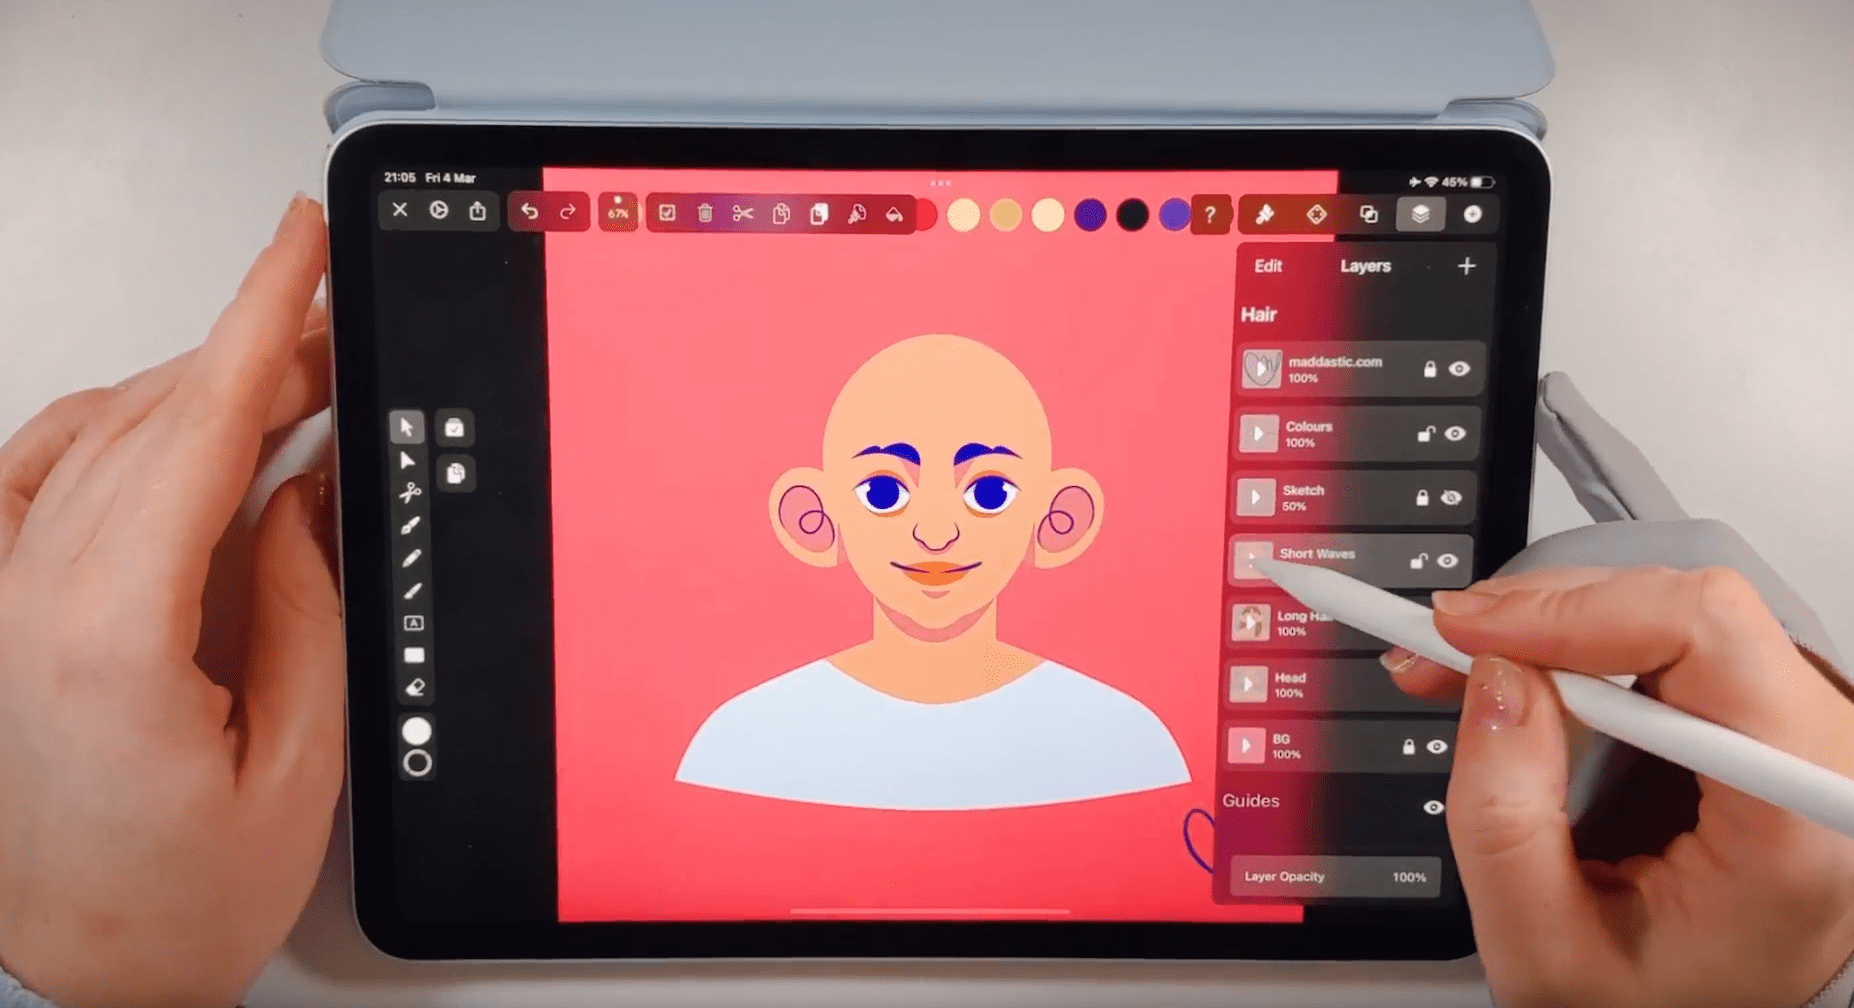
Draw short, wavy hair
In the next step of our tutorial, we'll create short wavy hair for our character. Open the Vectornator file with only the bald base head in it.
For this hairstyle, we use the same technique we've used before by creating first a base hair layer on the back of the head. To draw the wavy paths, we'll use the Pen Tool again. First, draw a zigzag line.
Draw only one-half of the basic back shape of the hair. Then double-tap the nodes to transform the hard edges into soft, rounded curves.
Now that we have created the first half of the back shape, duplicate the shape and flip it horizontally.
If you want to have a side parting, adjust the shapes accordingly with the Node Tool.
Position the hair base shape behind the base head in the layer hierarchy by selecting the base head shape in the Layers Tab and dragging it above the base hair shape in the layer hierarchy. Don't forget that you have the option to unite the two back halves with the Boolean operation Unite. Now that we've created the base hair shape in the back, we'll create the bangs. This time, the bangs are parted sideways. Start drawing the two side-swept parts of your bangs in zigzag lines. Please pay close attention to the side parting in the back shape and repeat while drawing the bangs.
Double-click on the nodes to create a soft wave. Position the bangs shapes on the head using the Selection Tool and adjust the shapes using the Node Tool.
Draw a few additional strands with the Pen Tool.
When you're done with the bangs, apply a Linear Gradient to the base shape with the darker Tone at the tips of the hair. Use the darker tone of the gradient to create additional hair strands in the basic hair shape in the back. Now set a Tint of your base hair color to create some highlights. When creating the highlights, keep in mind that the highlights reside mainly on the top hair strands.
Follow the wavy shapes of the shapes while creating the darker strands and highlights. Select several strands and highlights, and duplicate and flip them horizontally. Adjust the position with the Selection Tool if needed.
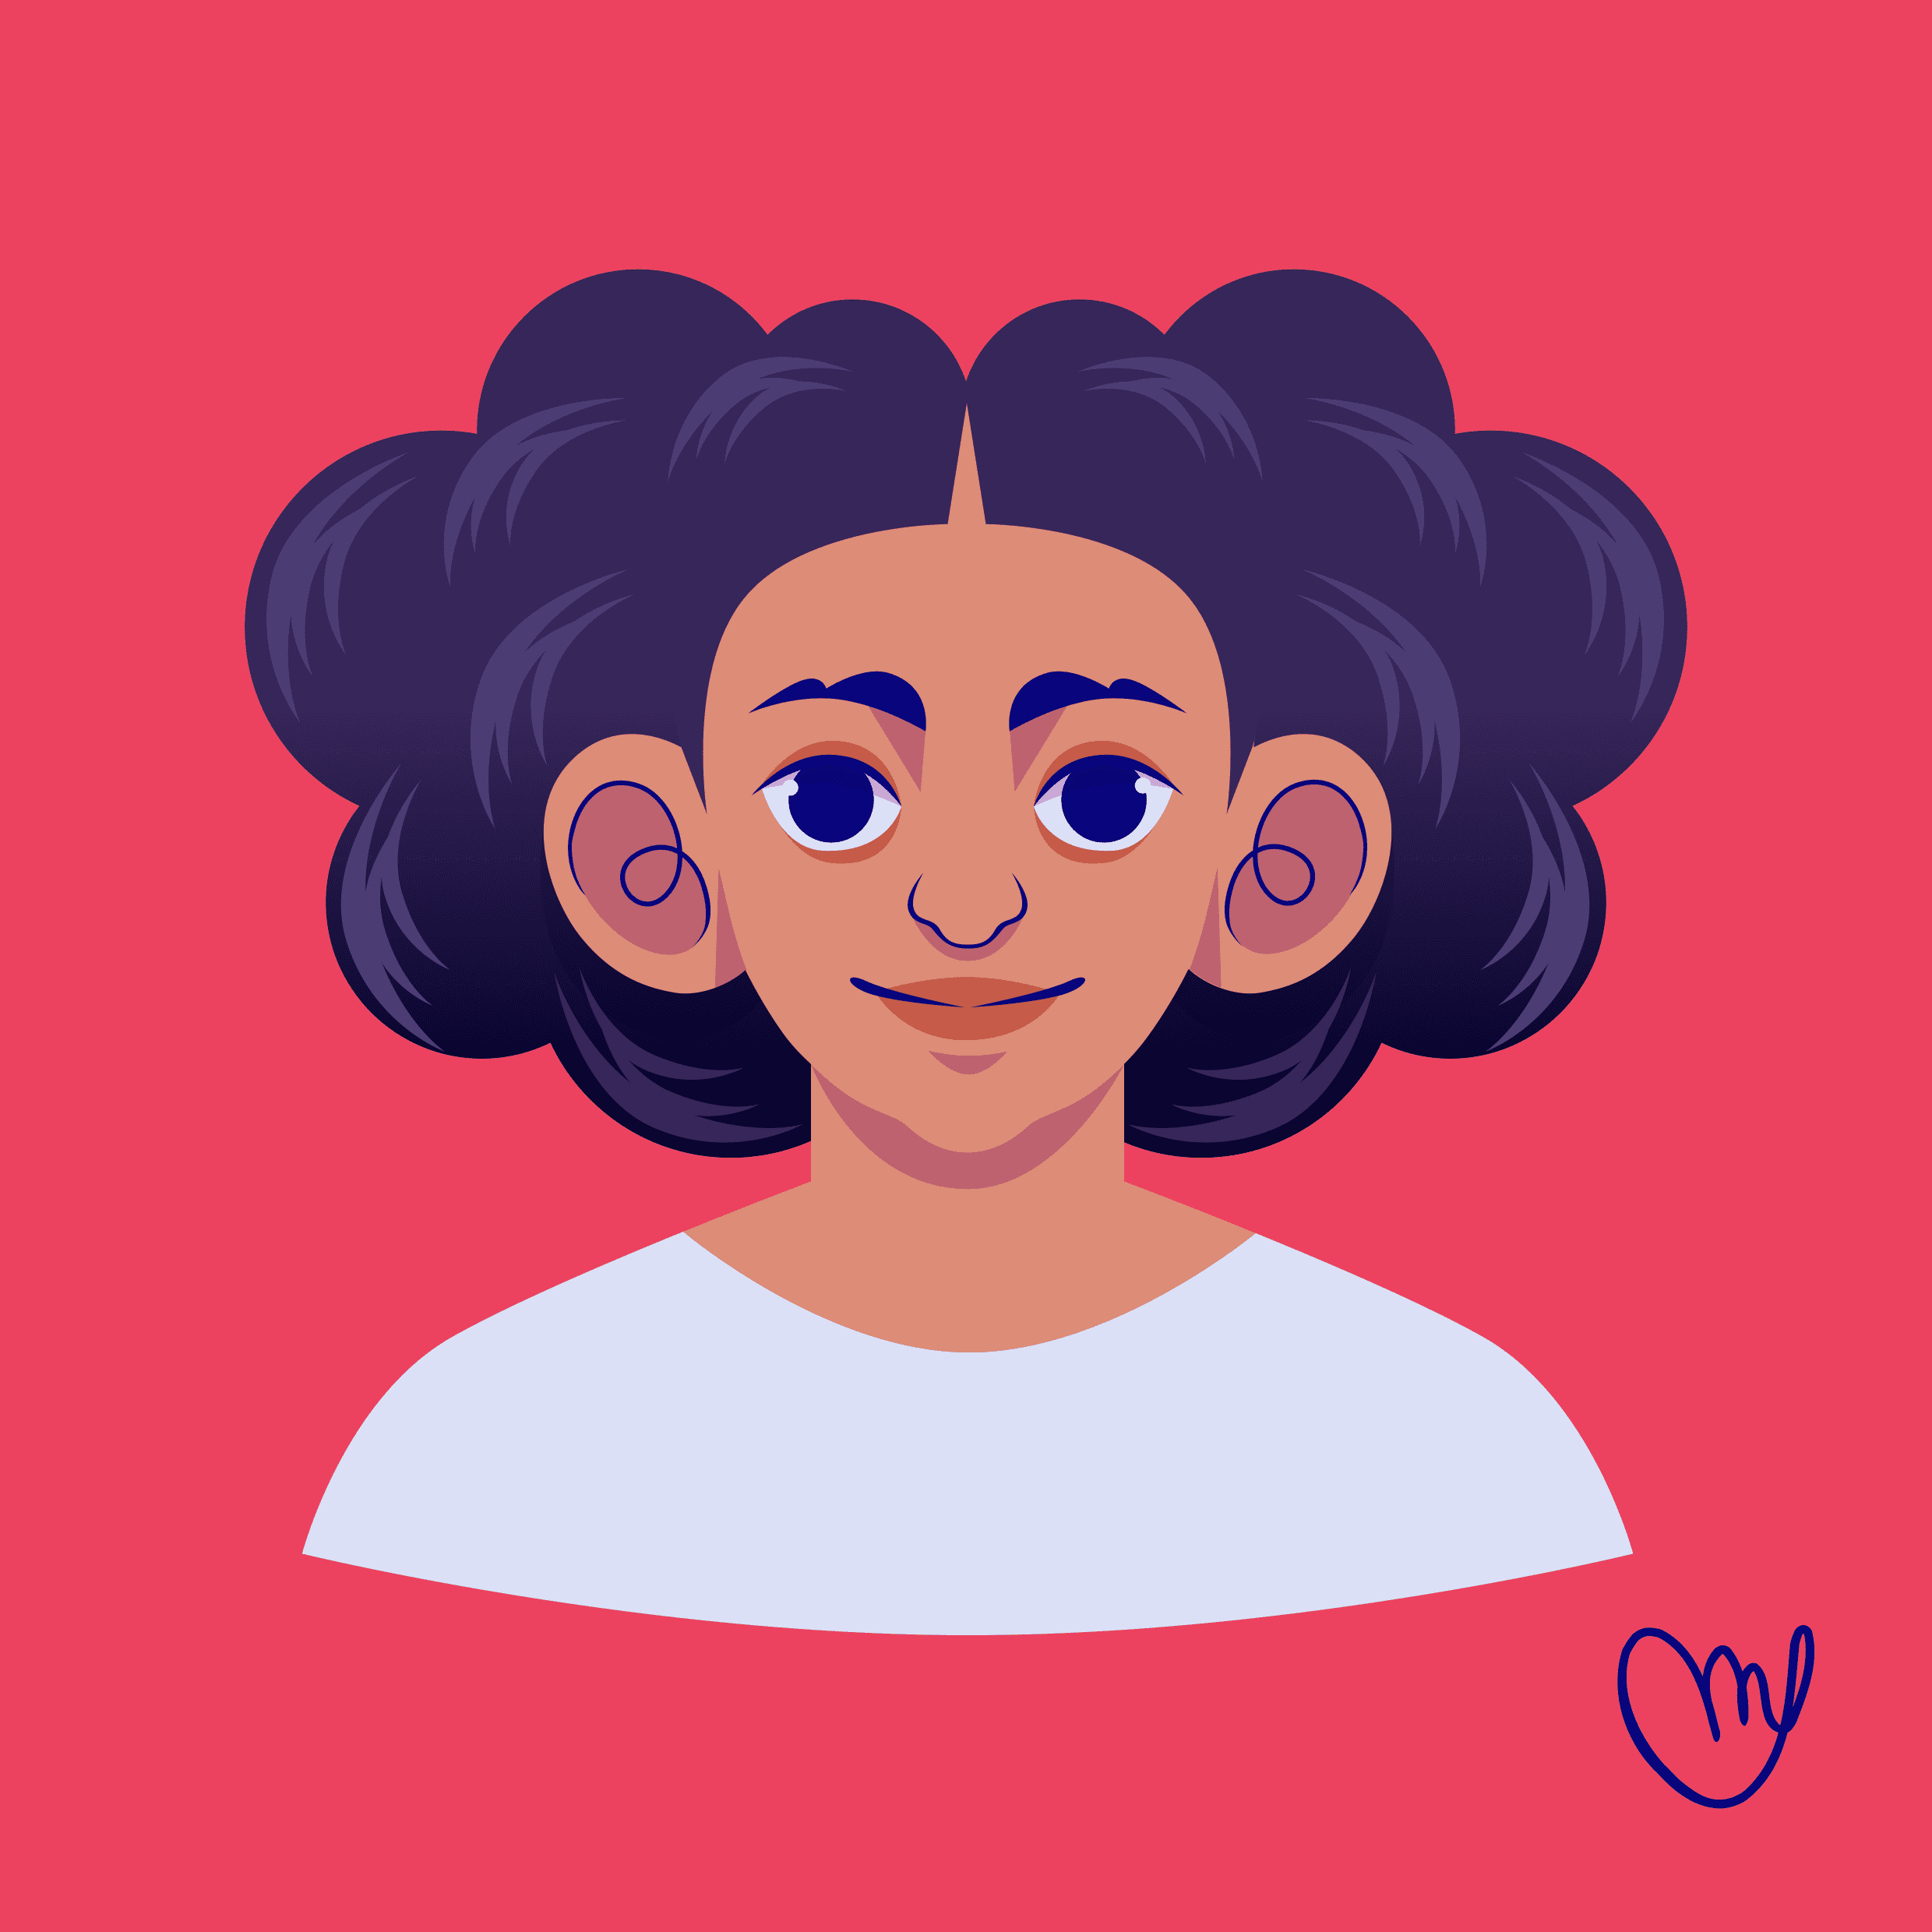
That's it! We have created our second hairstyle!
Draw a cute Afro
In the next step of our tutorial, we'll create a cute Afro.
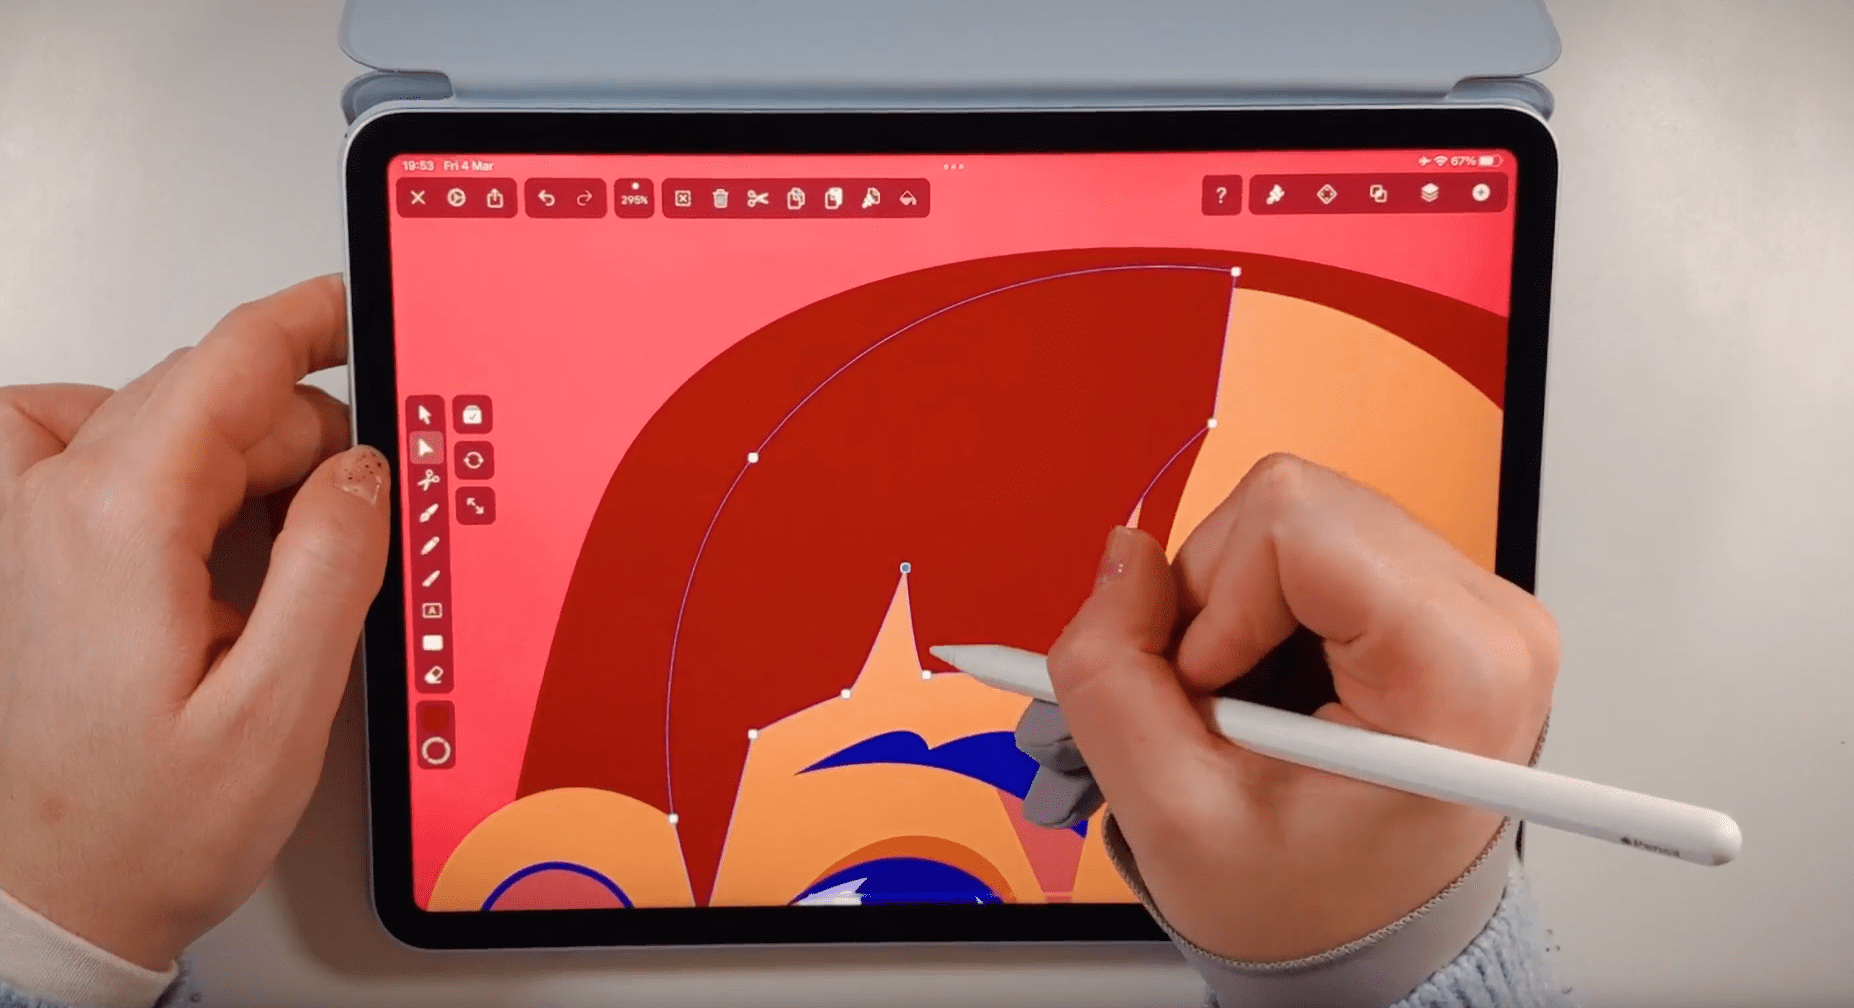
Open the Vectornator file with only the bald base head in it. We will start drawing the base back hair shape with Afro-textured hair. To create more volume for this curly hairstyle, we use the Shape Tool.
:quality(75))
:quality(75))
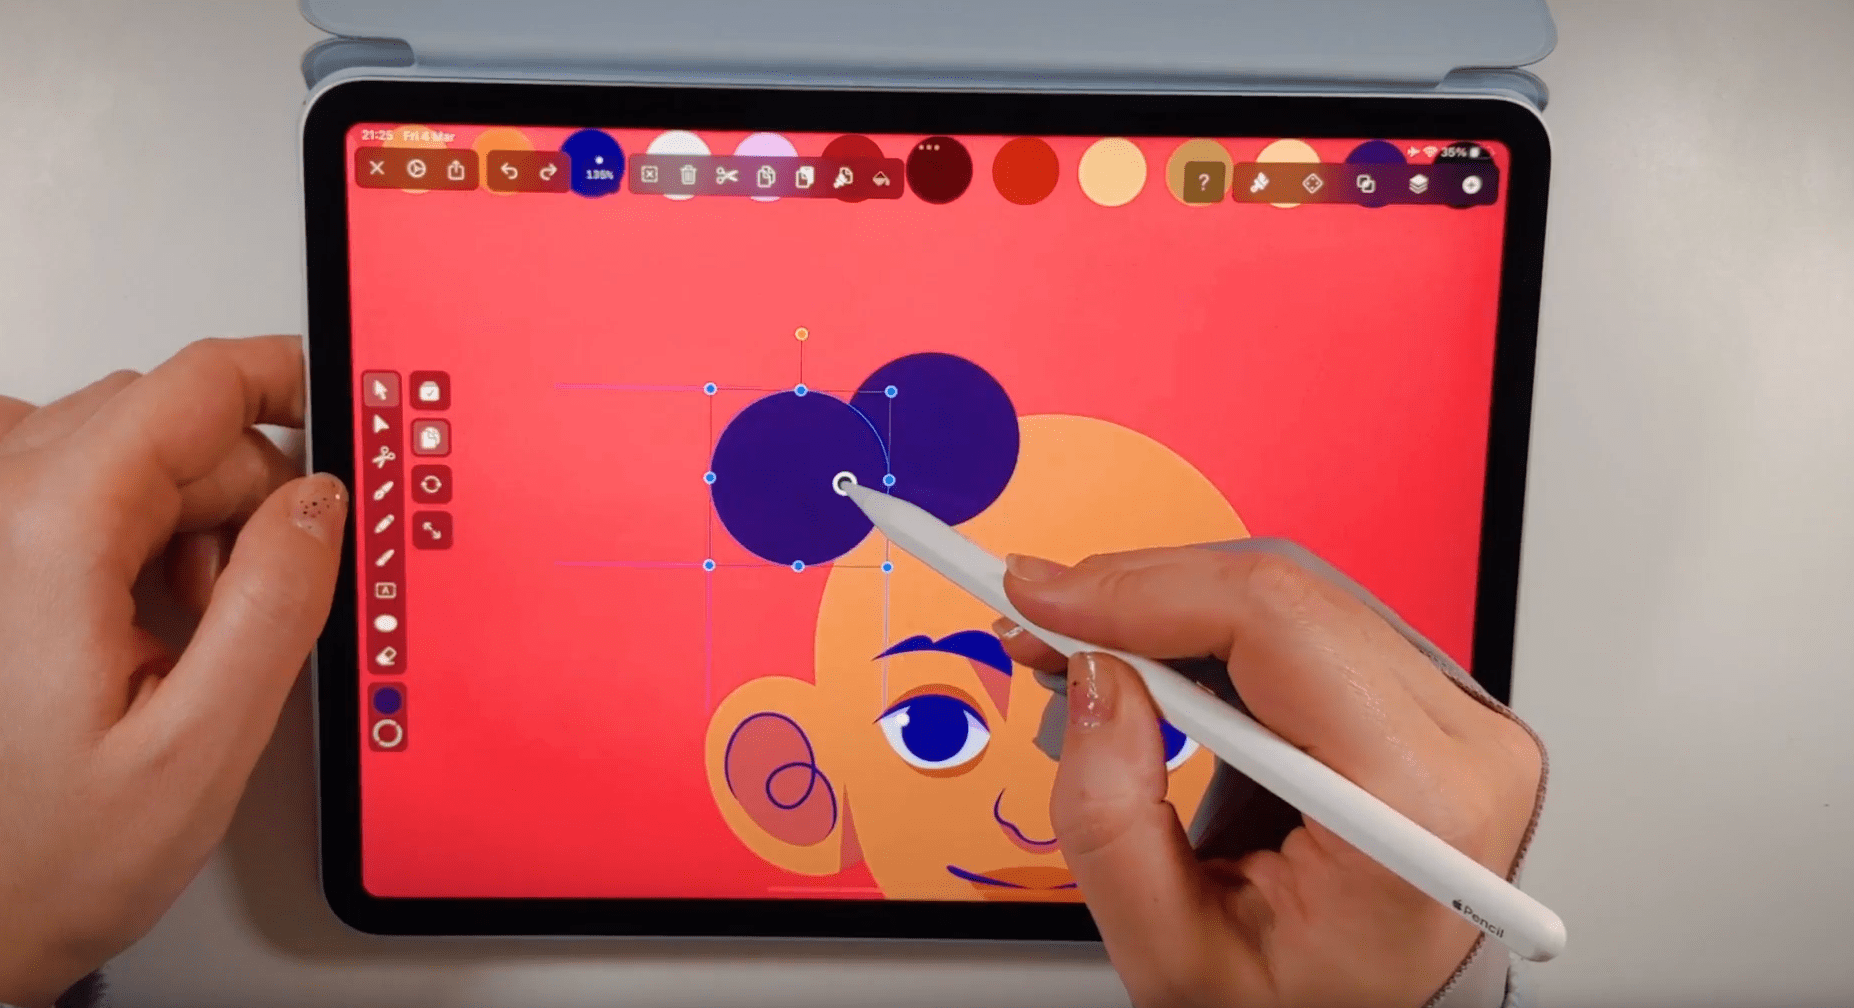
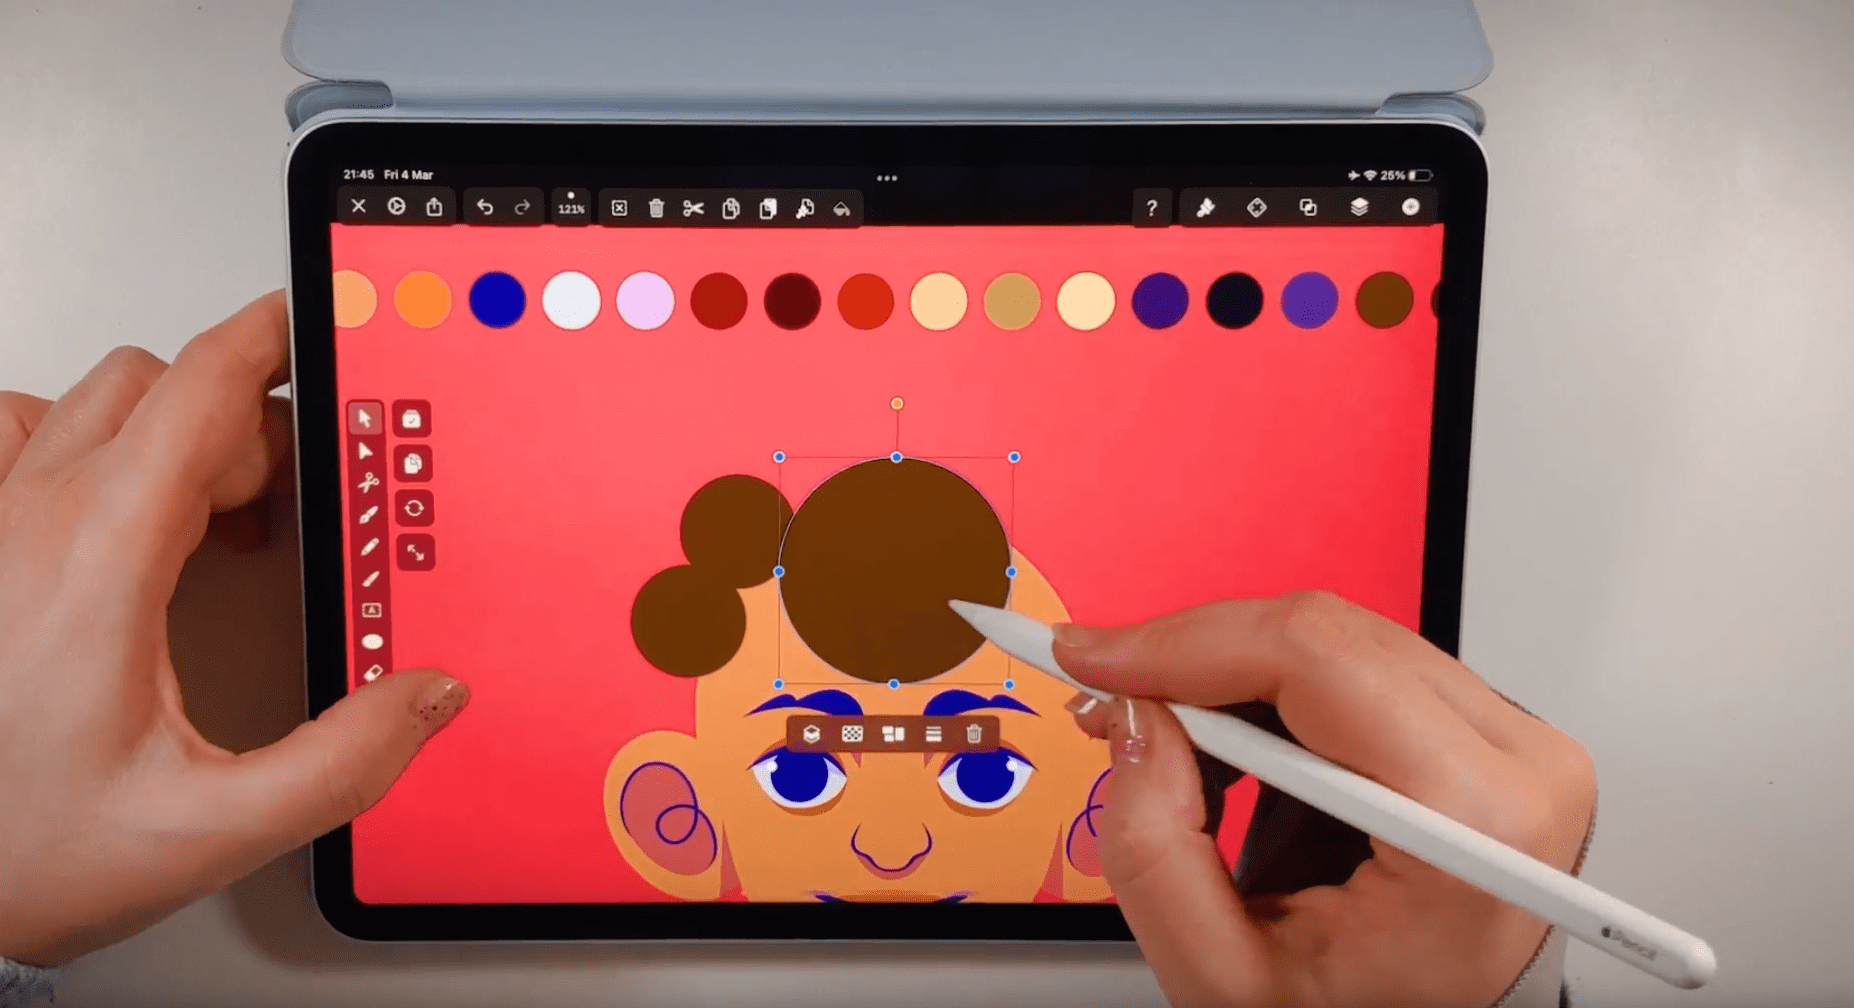
Toggle the stroke off and the fill on, and select a color for your hair in the Color Picker. Activate the Shape Tool in the Toolbar, press the three dots button, and select the Oval Tool.
Click and drag on the canvas to create circles on the bald head. You can duplicate and flip the circles to speed up your workflow.
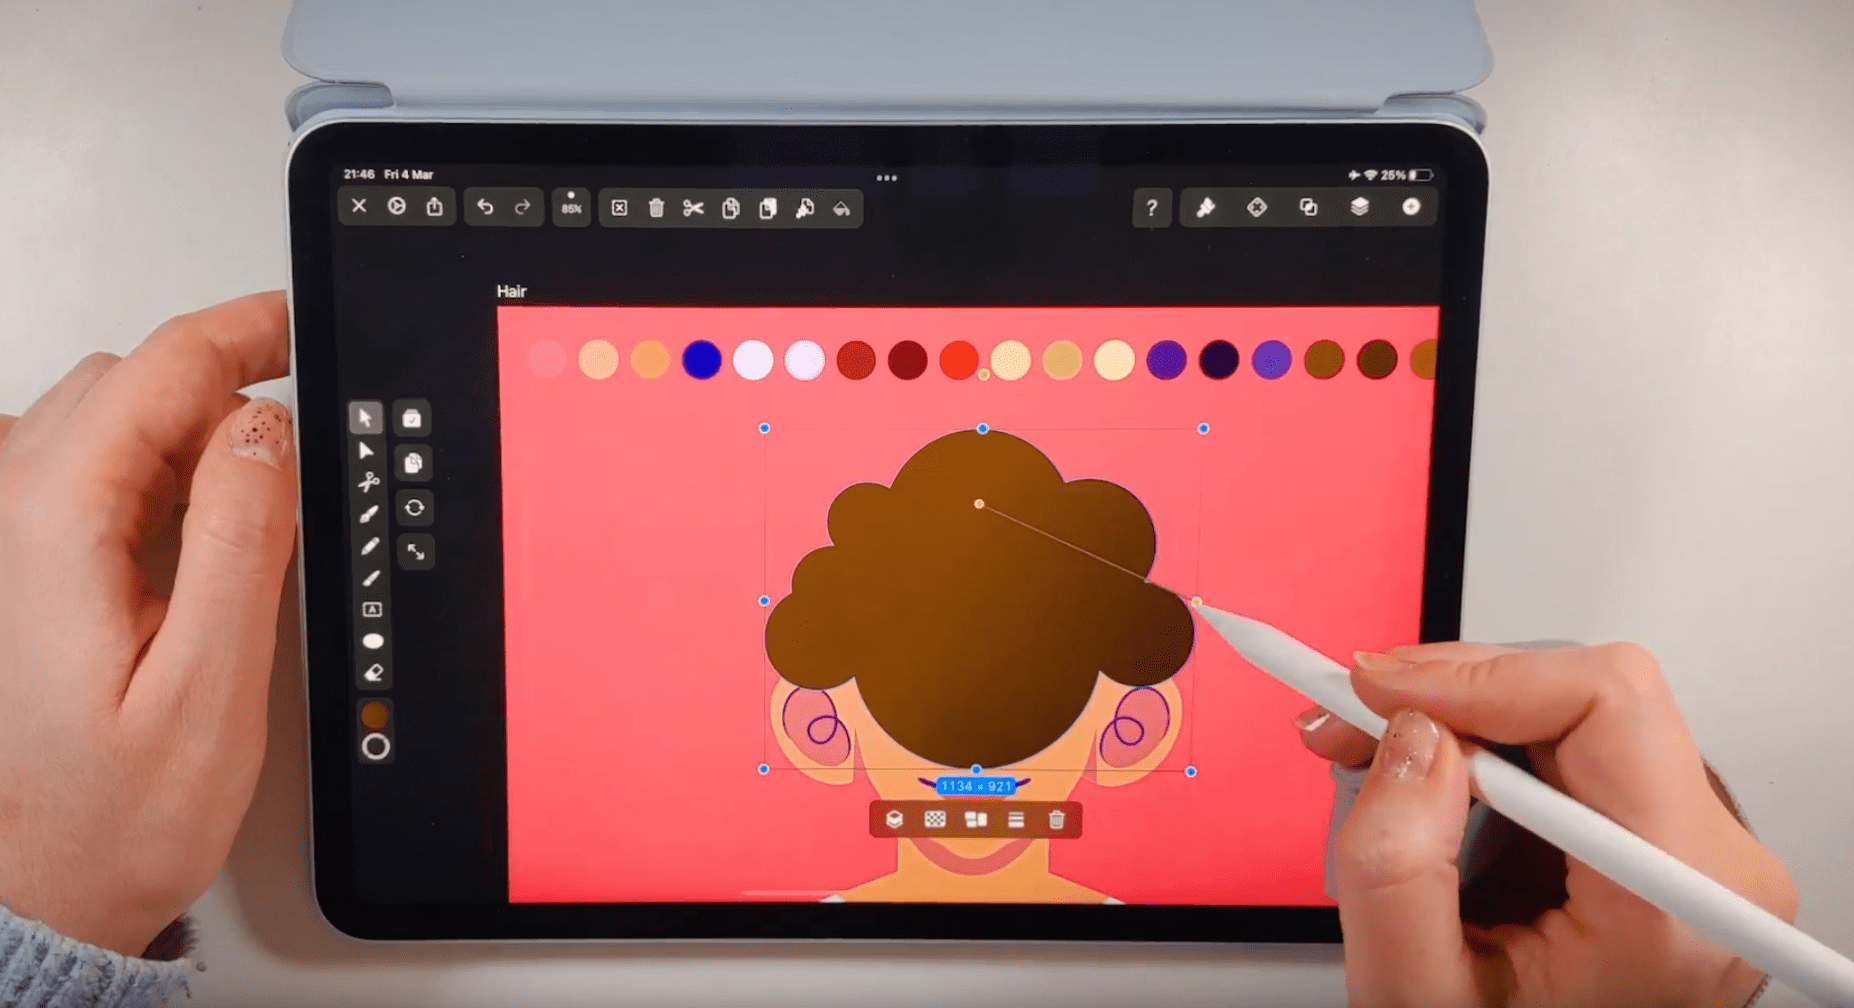
Draw only one-half of the hair shape, and then use the Duplicate Mode and flip the duplicated shape horizontally to the other side.
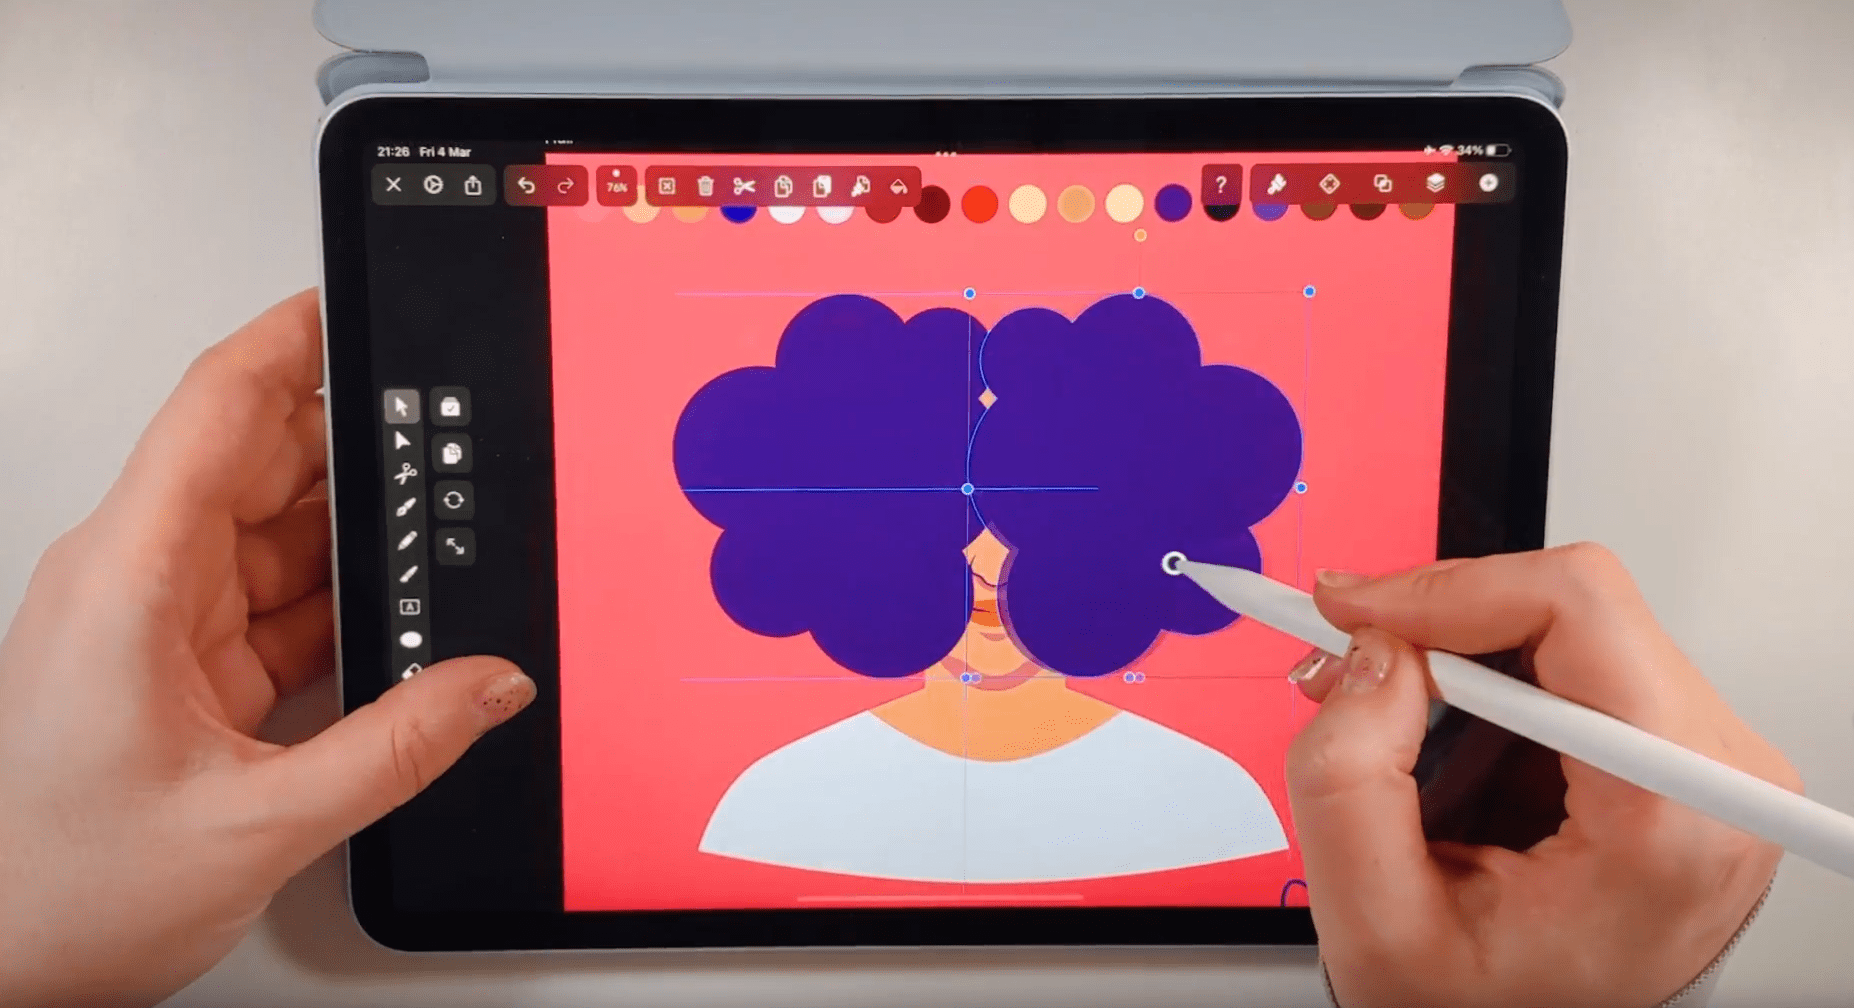
Position the hair base shape behind the base head in the layer hierarchy by selecting the base head shape in the Layers Tab and dragging it above the base hair shape in the layer hierarchy. Don't forget that you have the option to unite the two back halves with the Boolean operation Unite.
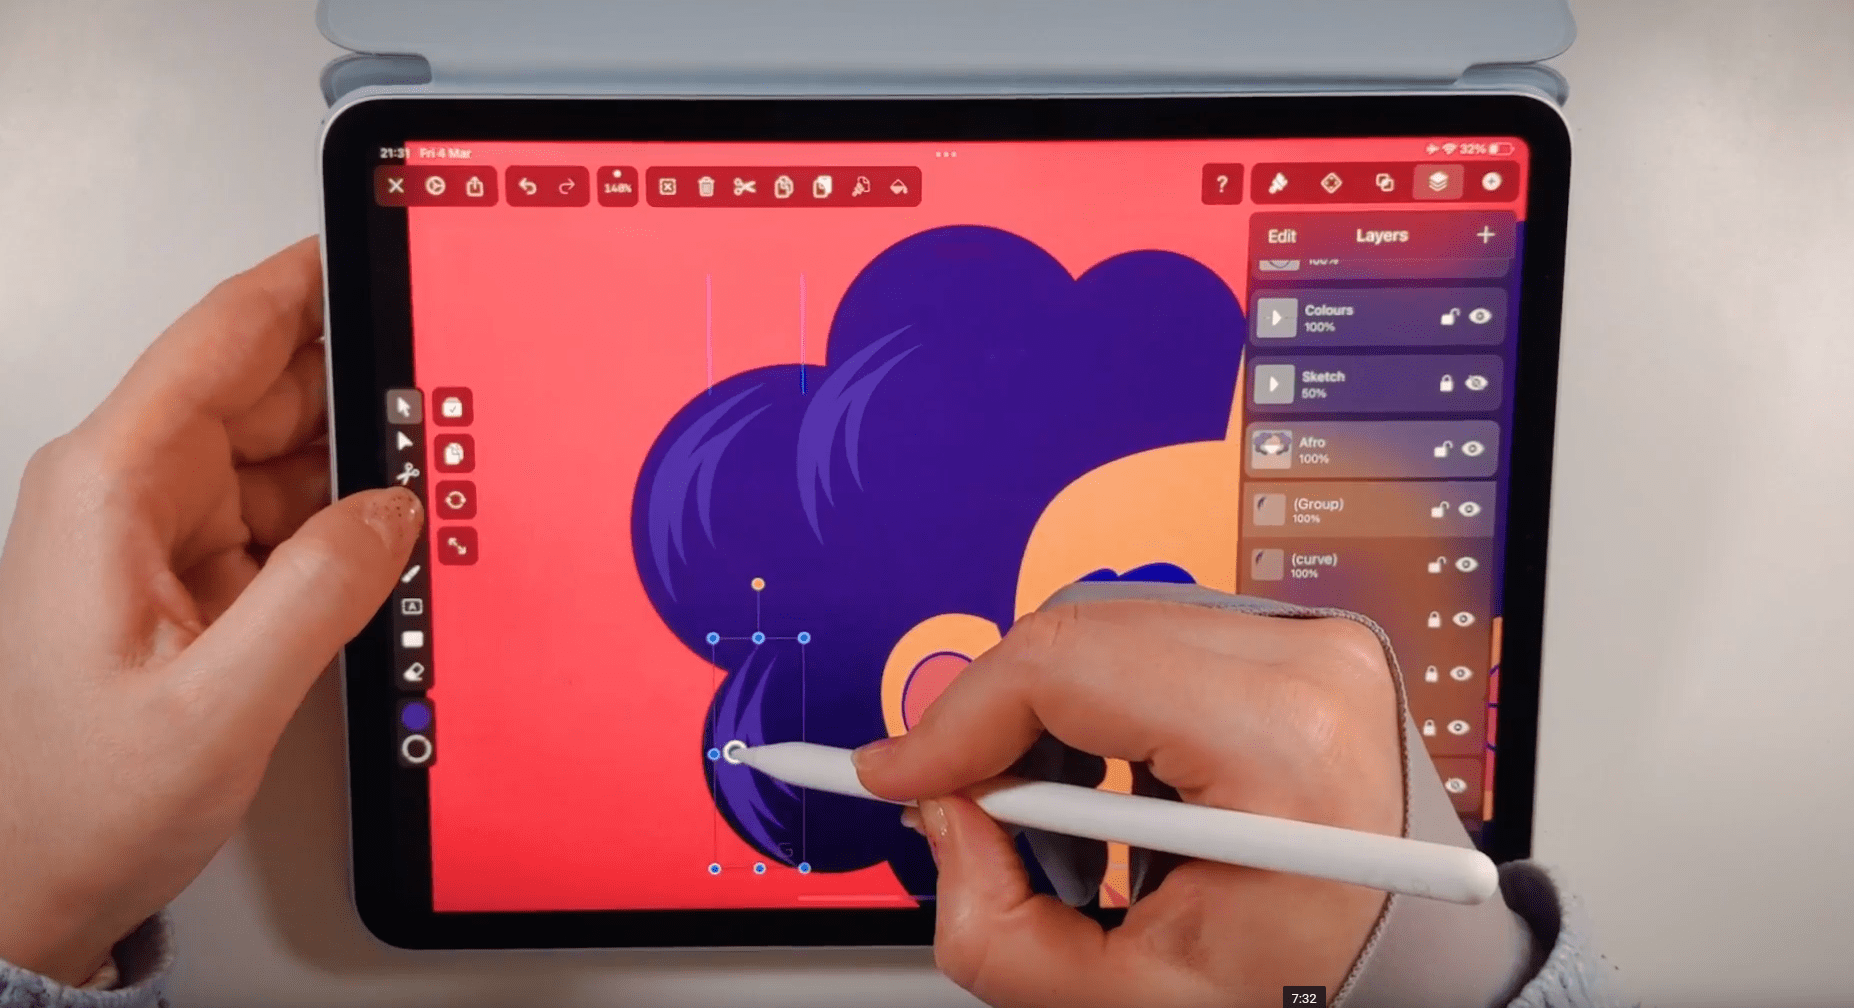
Select the base hair shape and create a Linear Gradient in the Gradient Editor, with a darker color at the hair tips.
In the next step, we'll create the bangs for our cute Afro hairstyle. This time, the bangs are very neat while the curls explode in the head's back.
Draw one-half of the bangs in a soft curve following the forehead, and let the curve end in the middle of the forehead, as we want to create a hairstyle with a middle parting.

Now that we have drawn the first half of the bangs duplicate the shape and flip it horizontally.
As we did in the previous hairstyles, don't forget to add darker shadows and highlights to the hair. Use the Pen Tool and draw little crescent moons that follow the lines of the circular hair shapes.
Duplicate, scale, and move the crescent moon shapes with the Selection Tool. You can even group several shadows and highlights and duplicate and scale them.
Remember that the highlights are positioned at the top of the hair crown, and the shadows are closer to the face, neck, and shoulder region.
Draw a short boyish haircut
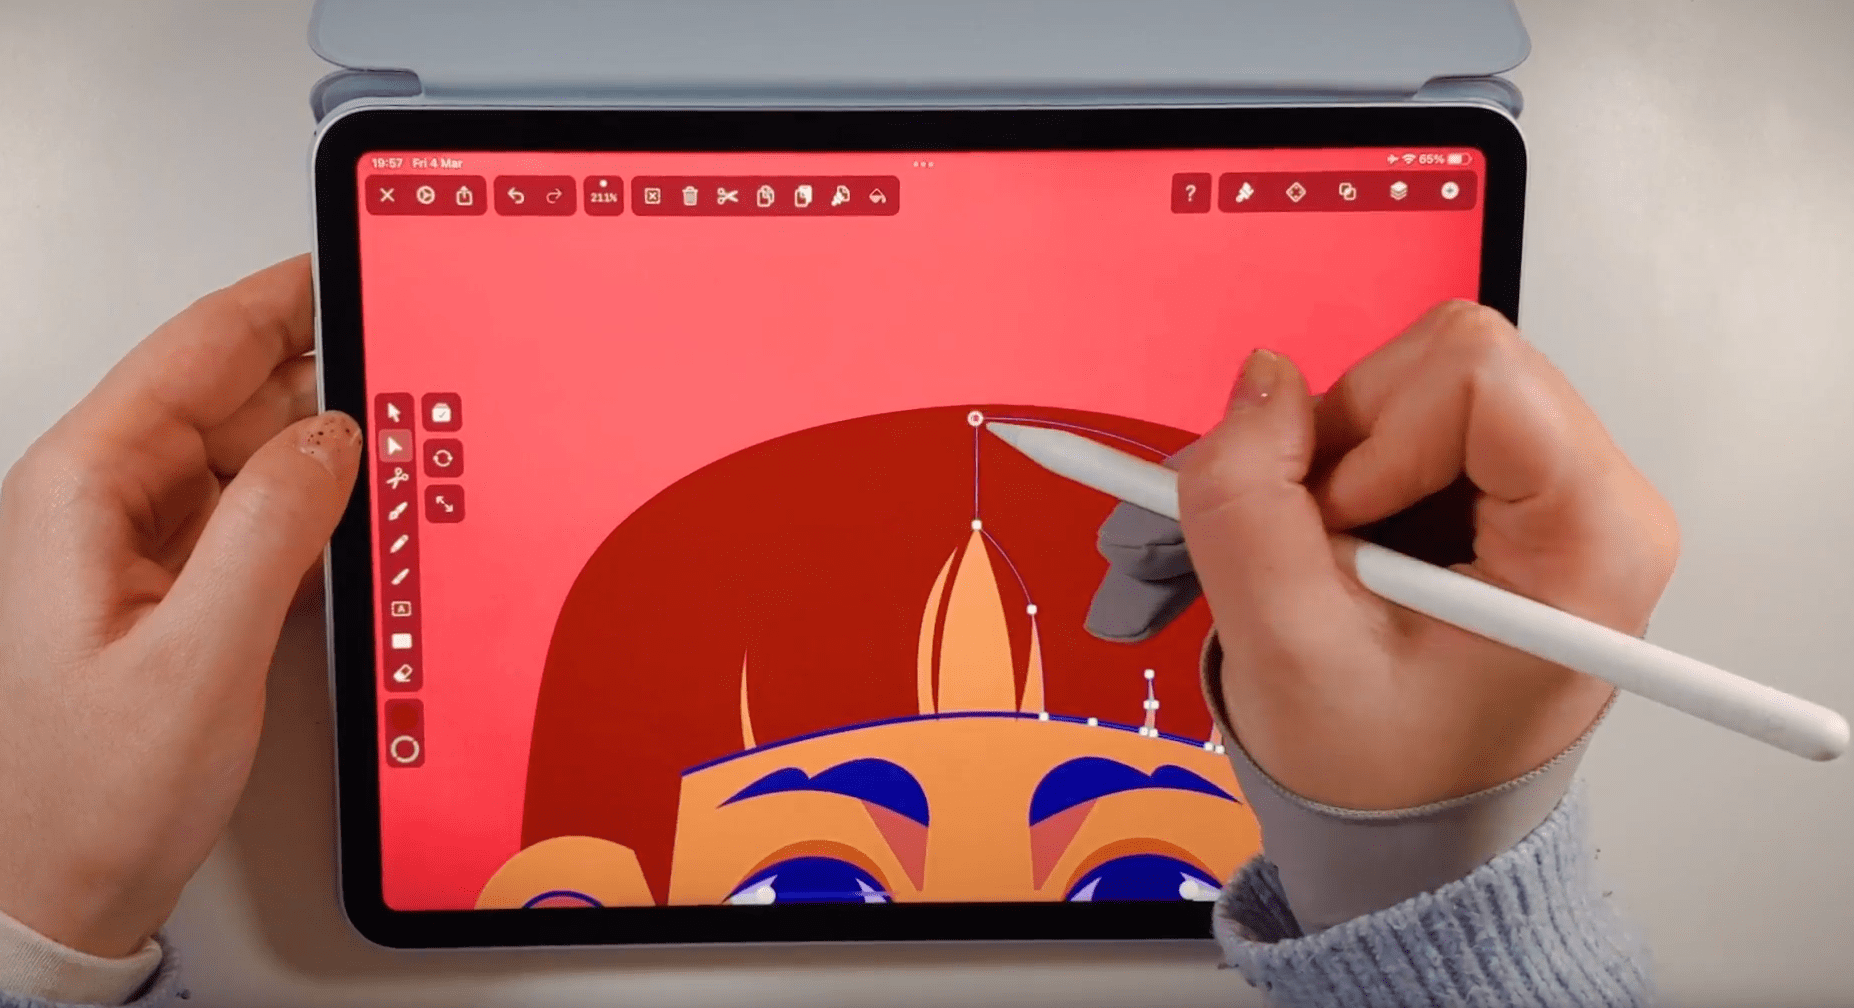
In the next step of our tutorial, we will draw a short boyish haircut. We will use the Oval Shape Tool for this cute hairstyle again, but we'll create smaller curls than in our previous Afro hairstyle.
Toggle the stroke off and the fill on, and set a fill color in the Color Picker or the Style Sections. Start drawing circles on one half of the bald head of our base character.
Duplicate the circles and arrange them around the bald head crown. Draw a slightly bigger circle for the upper-middle head and an even larger one for the lower middle part of the head. Select all the small circles on the side of the head and duplicate and flip them horizontally to the other side. Unite all the circles with the Boolean Operation Unite. Create a Linear Gradient with a darker tone at the bottom of the base hair shape.
Position the hair base shape behind the base head in the layer hierarchy by selecting the base head shape in the Layers Tab and dragging it above the base hair shape in the layer hierarchy. Draw the bangs with severe side parting by using the Pen Tool.
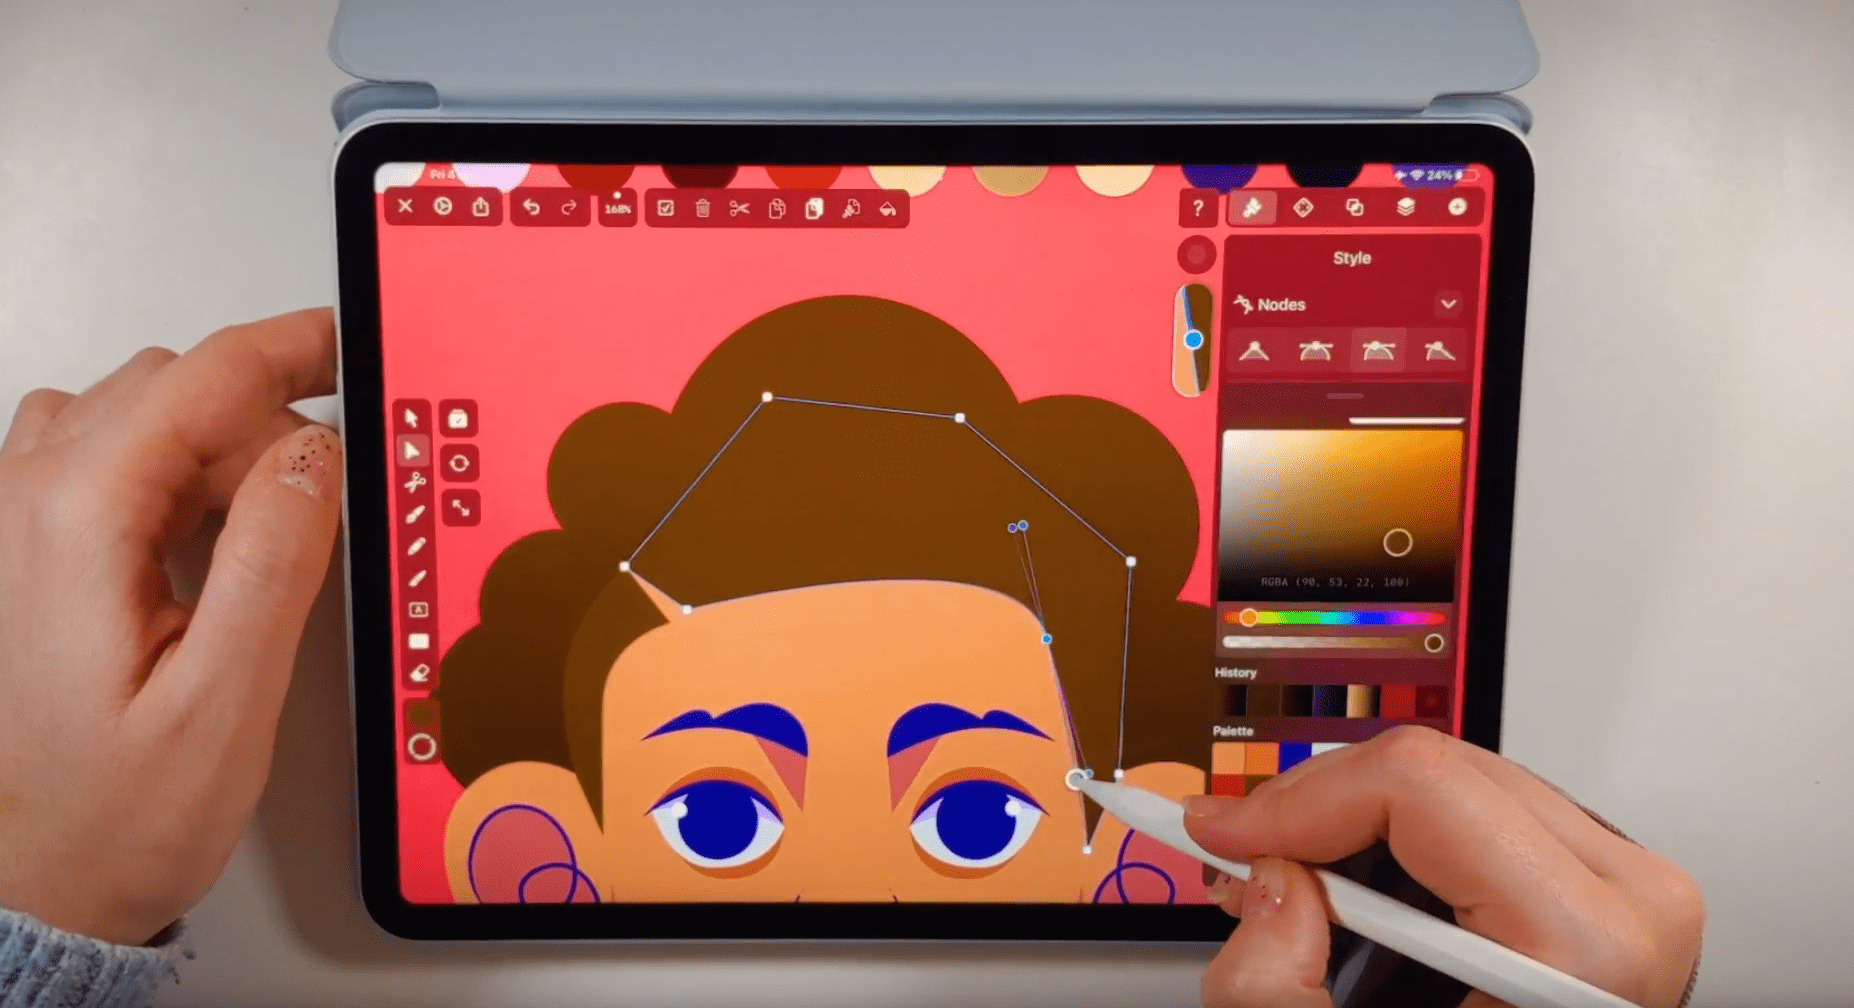
Double-click on the nodes to create soft curves, and use the Node Tool to adjust the shape if necessary.
Create the crescent moon shadows and highlights by following the steps from the cute Afro hairstyle.
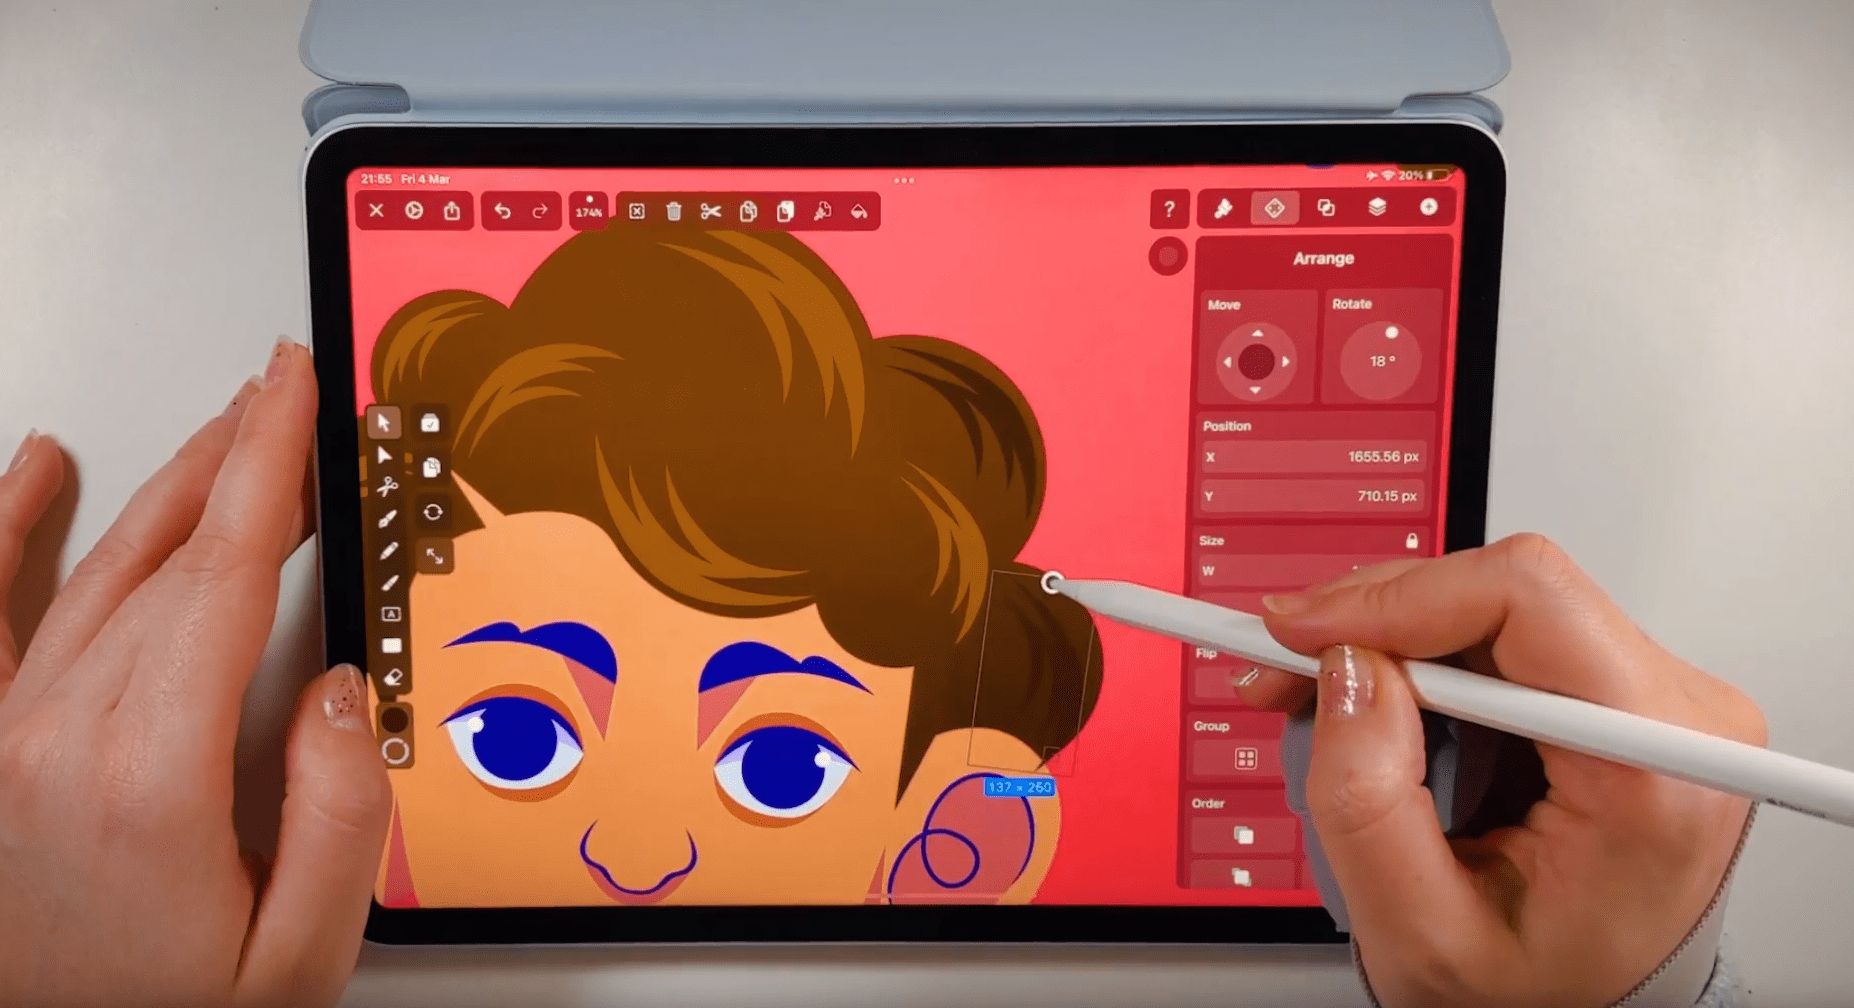
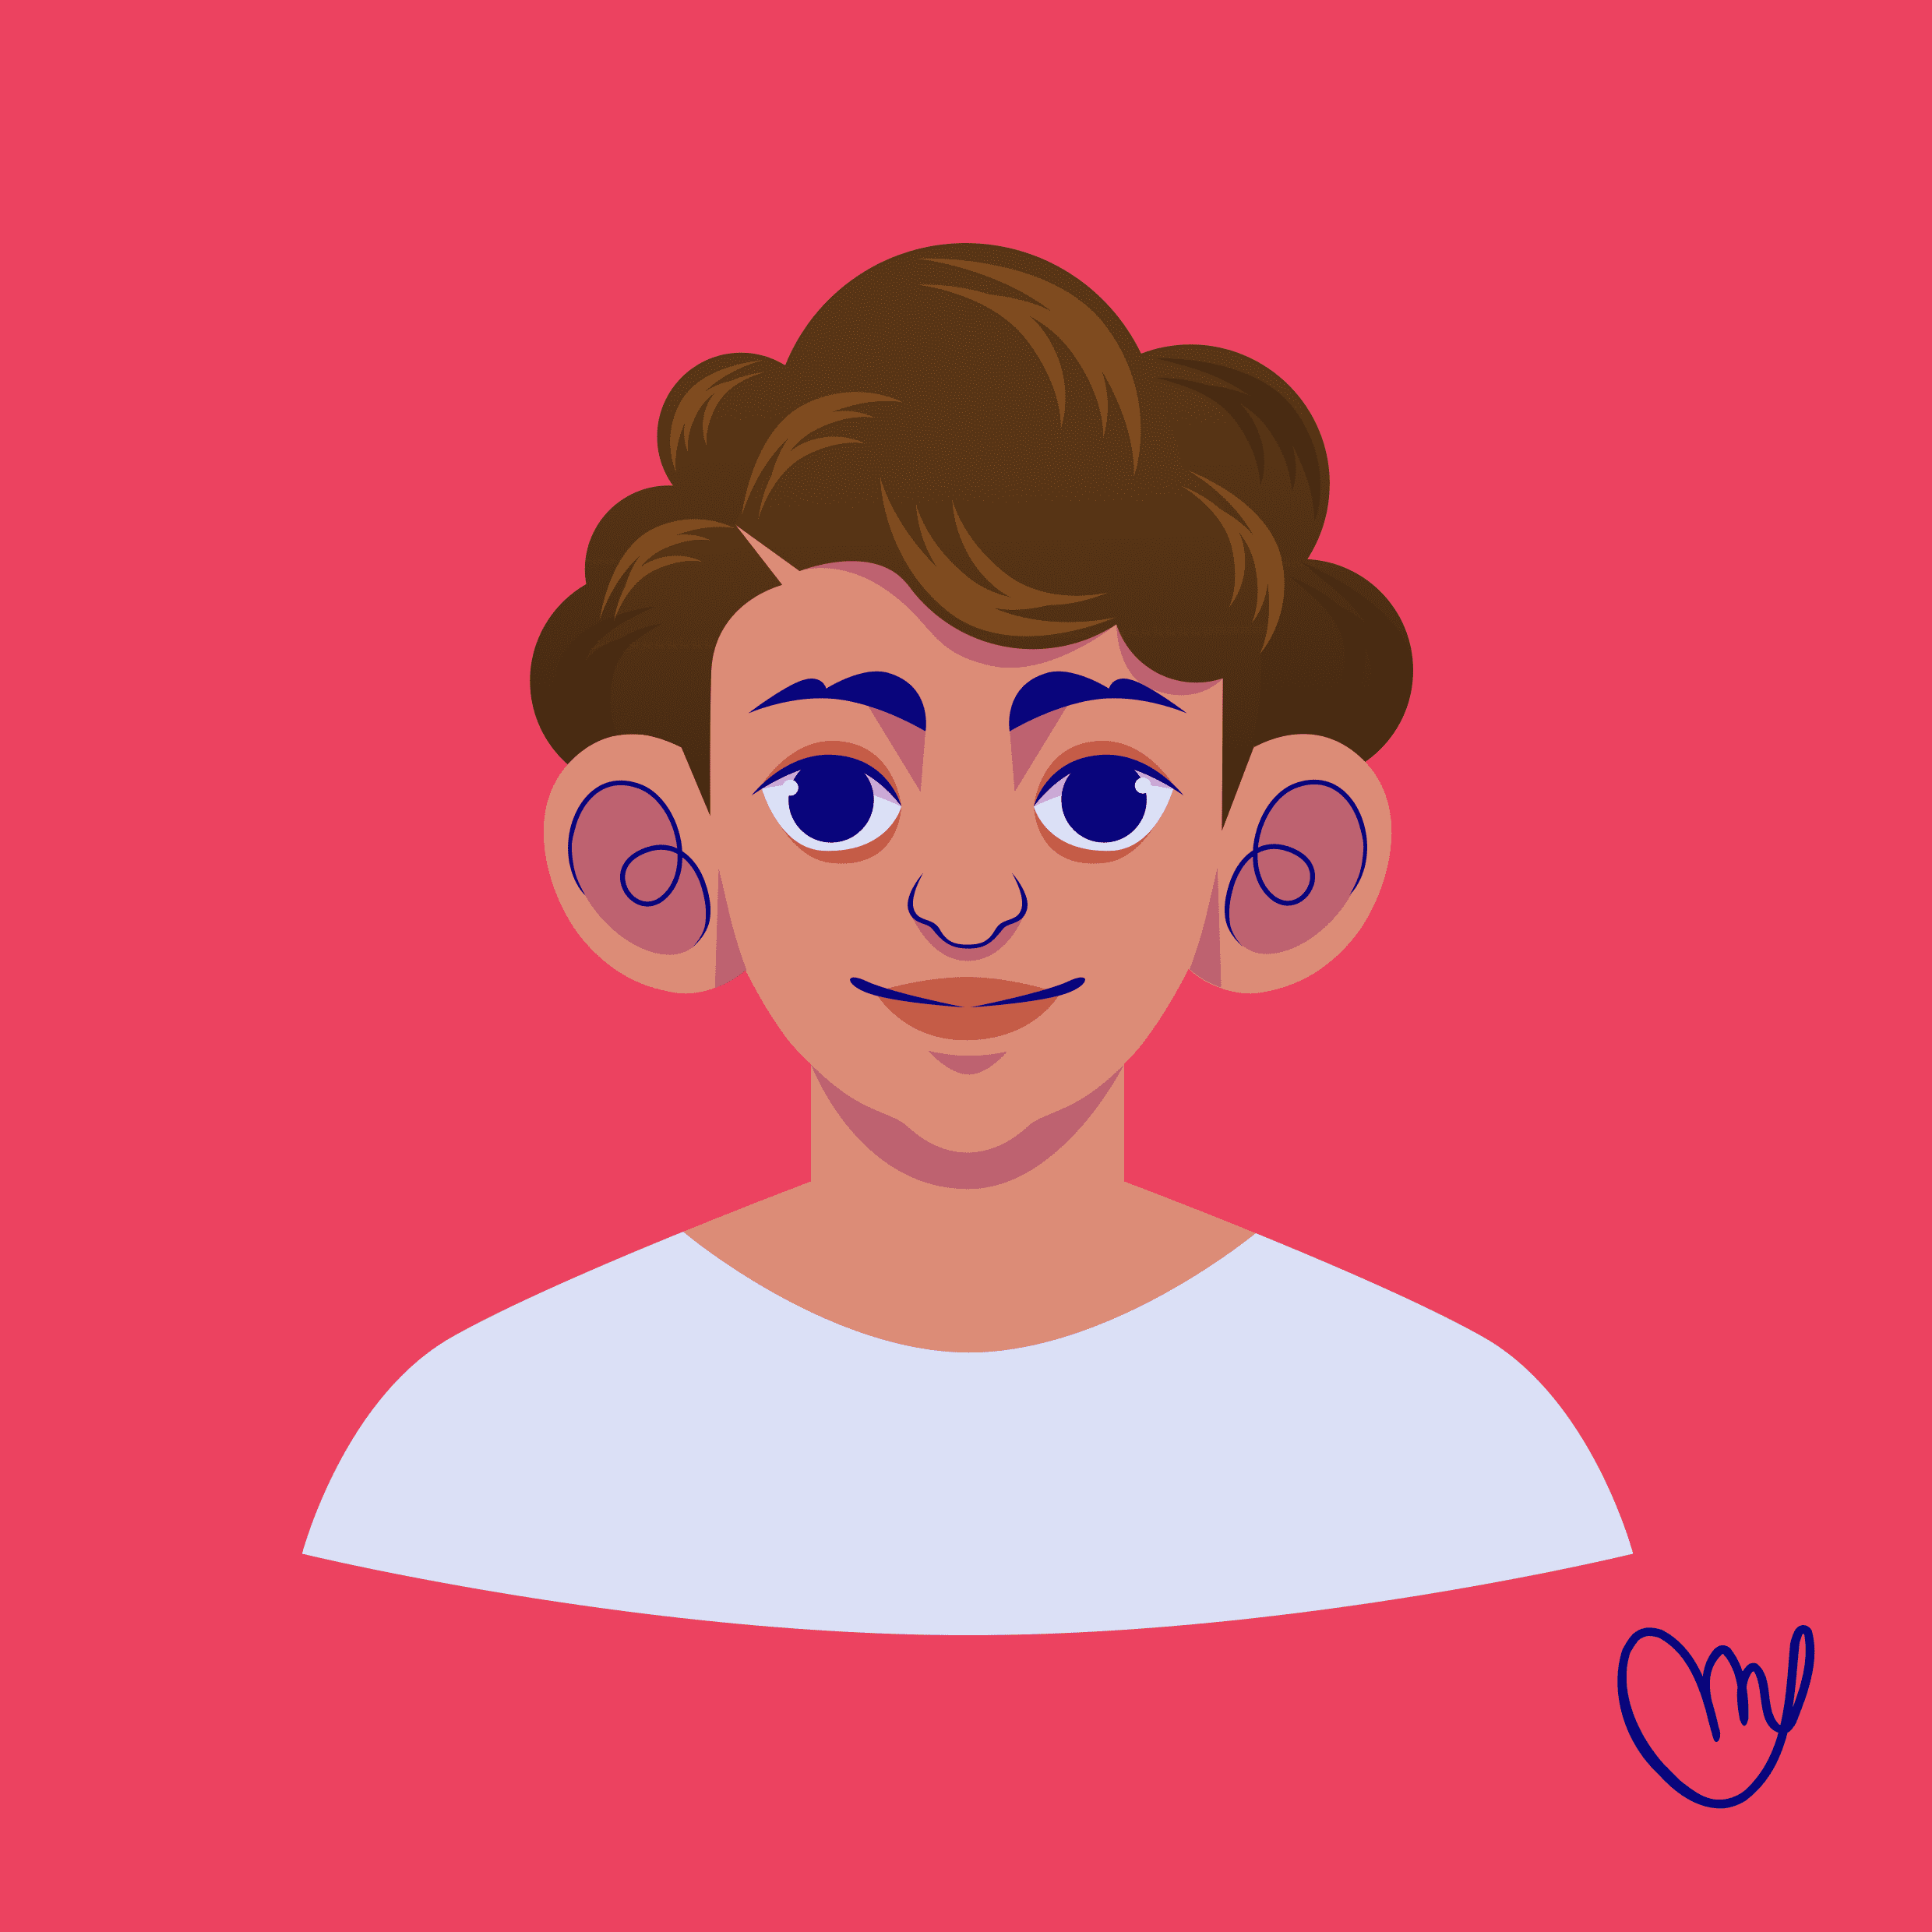
That's it! We've drawn our short boyish haircut!
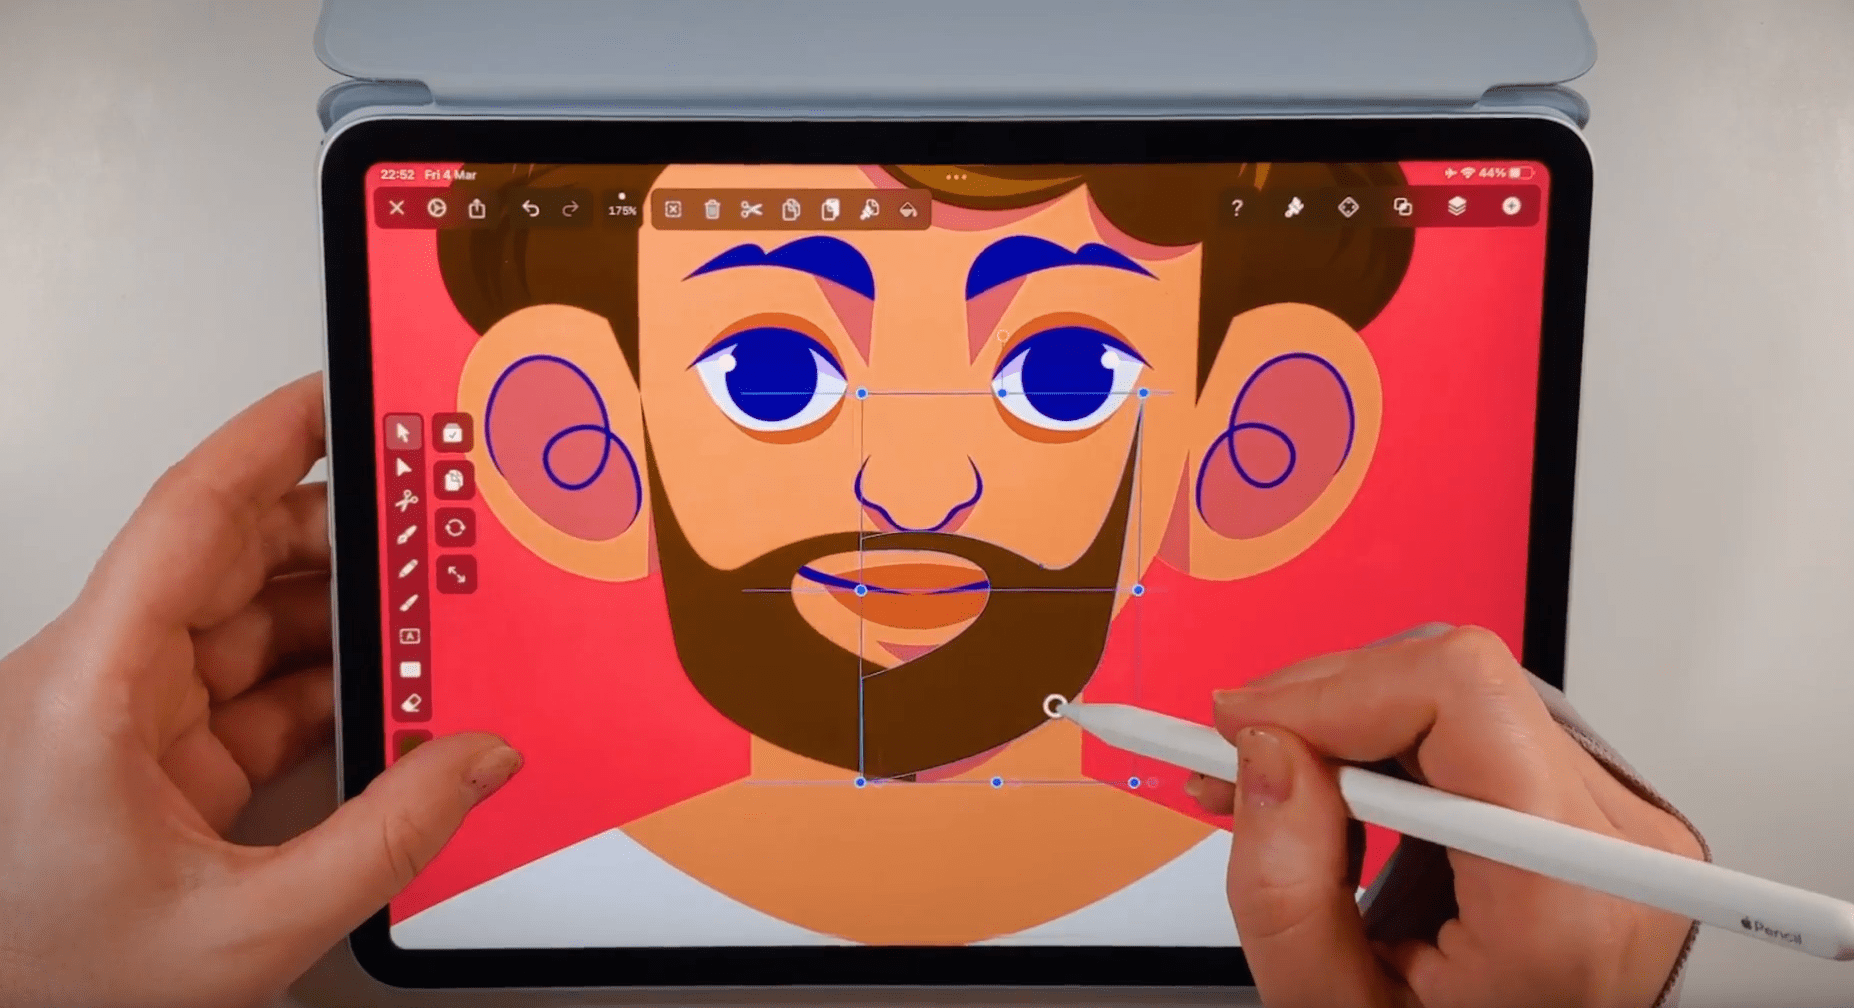
Draw facial hair
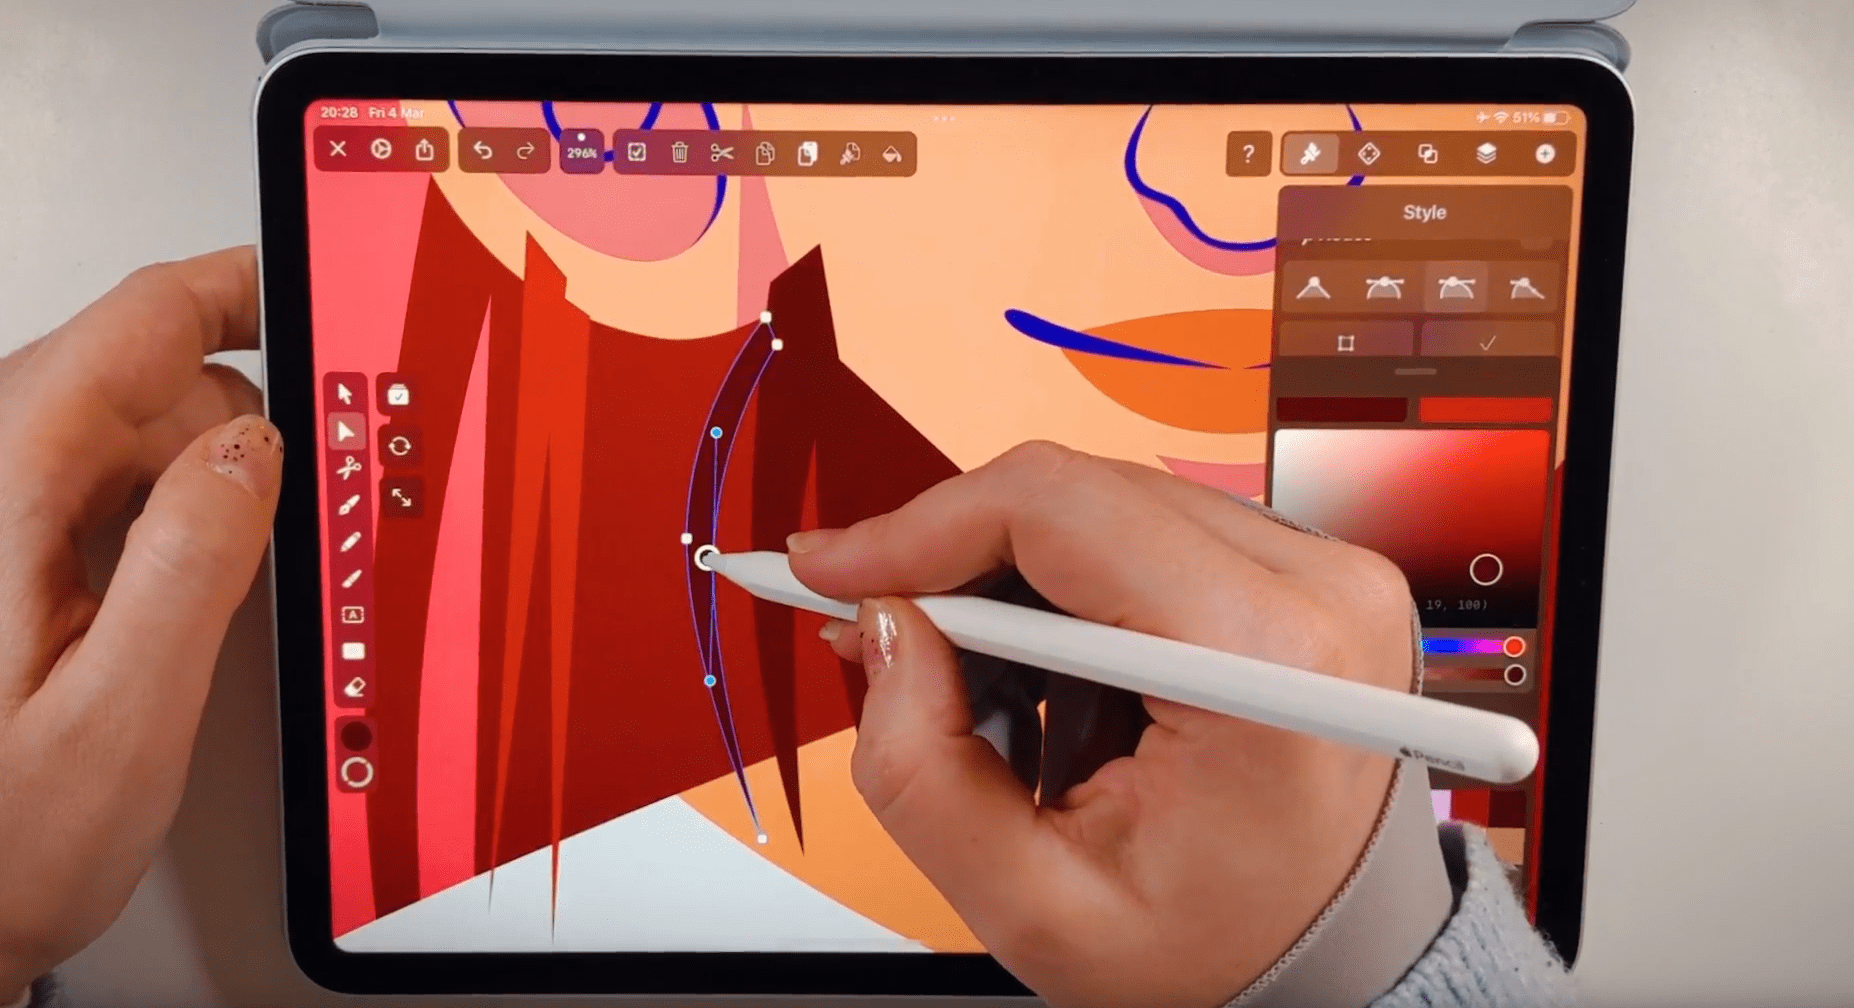
In our tutorial's next and last step, we'll create facial hair. Facial hair is an essential element in character design. So its design has to be carefully considered. Use the Pen Tool to draw one-half of the beard shape. Tap and drag to activate the Bézier Curve function if you want to draw a curve, or double-tap on a node to activate it. Use the Node Tool to adjust the shape if necessary.
Ready to create brand assets that pack a punch?
Visit our Academy for free drawing design courses.
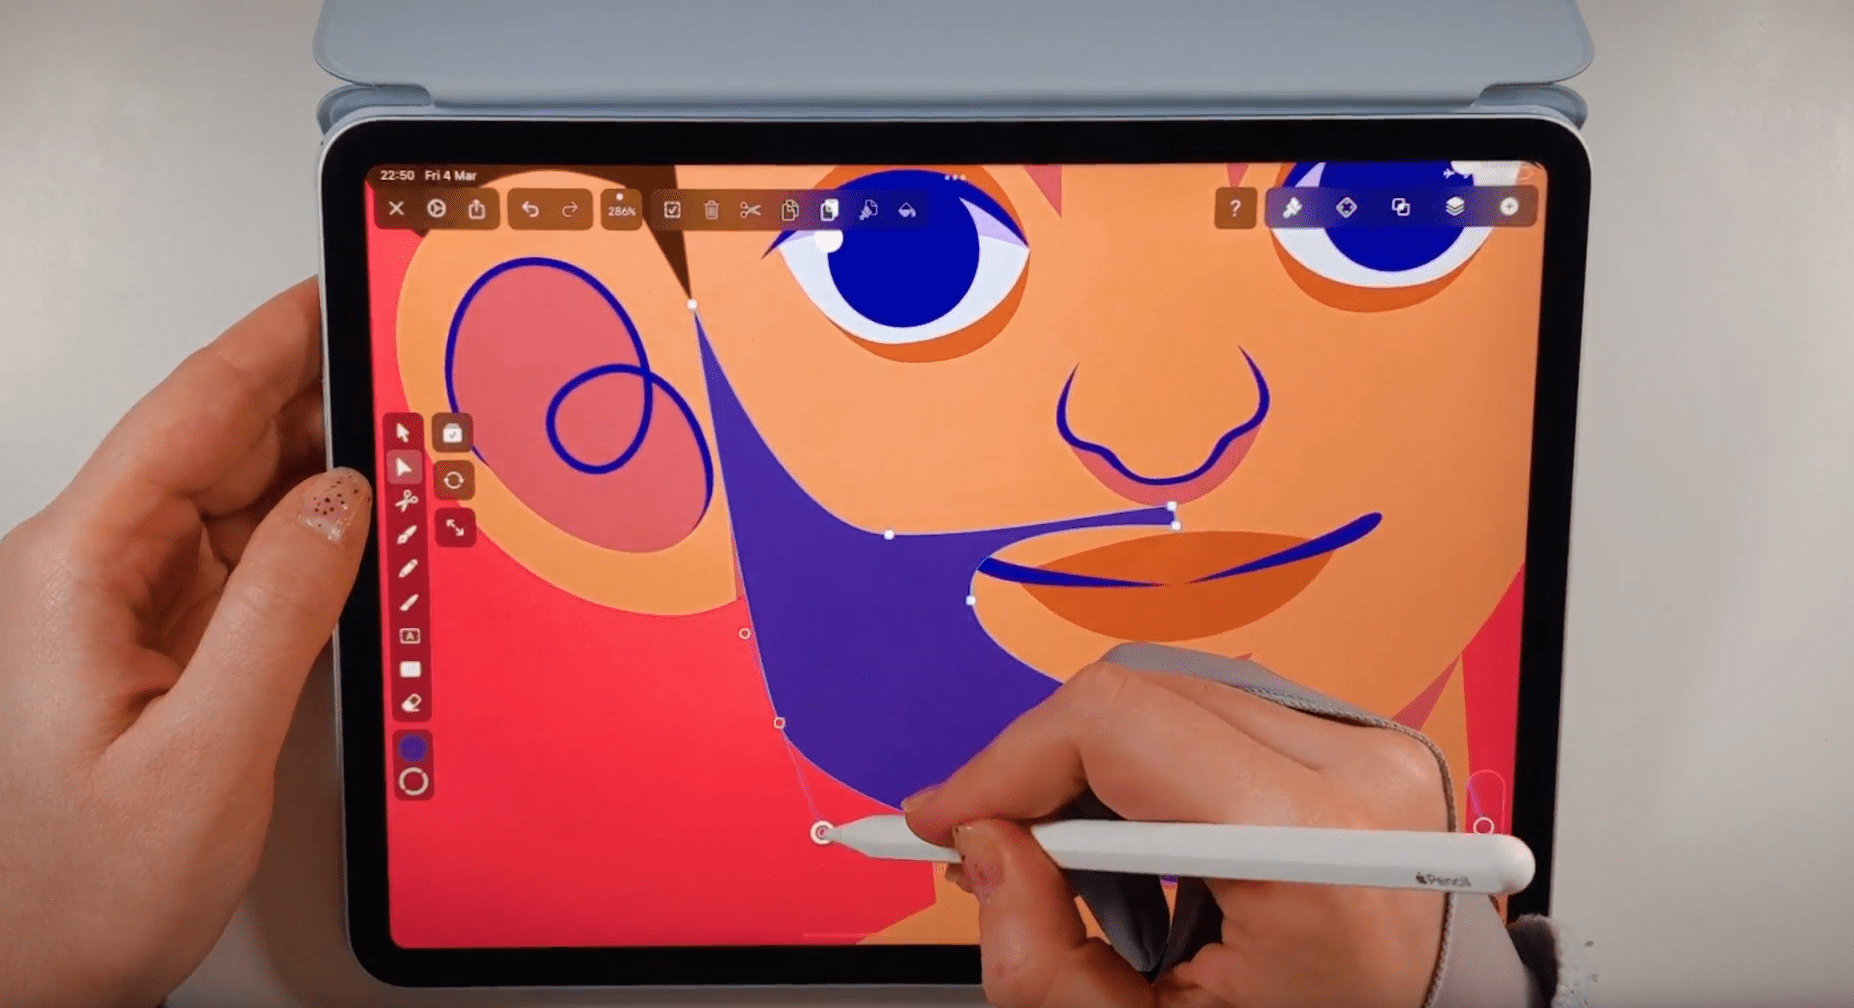
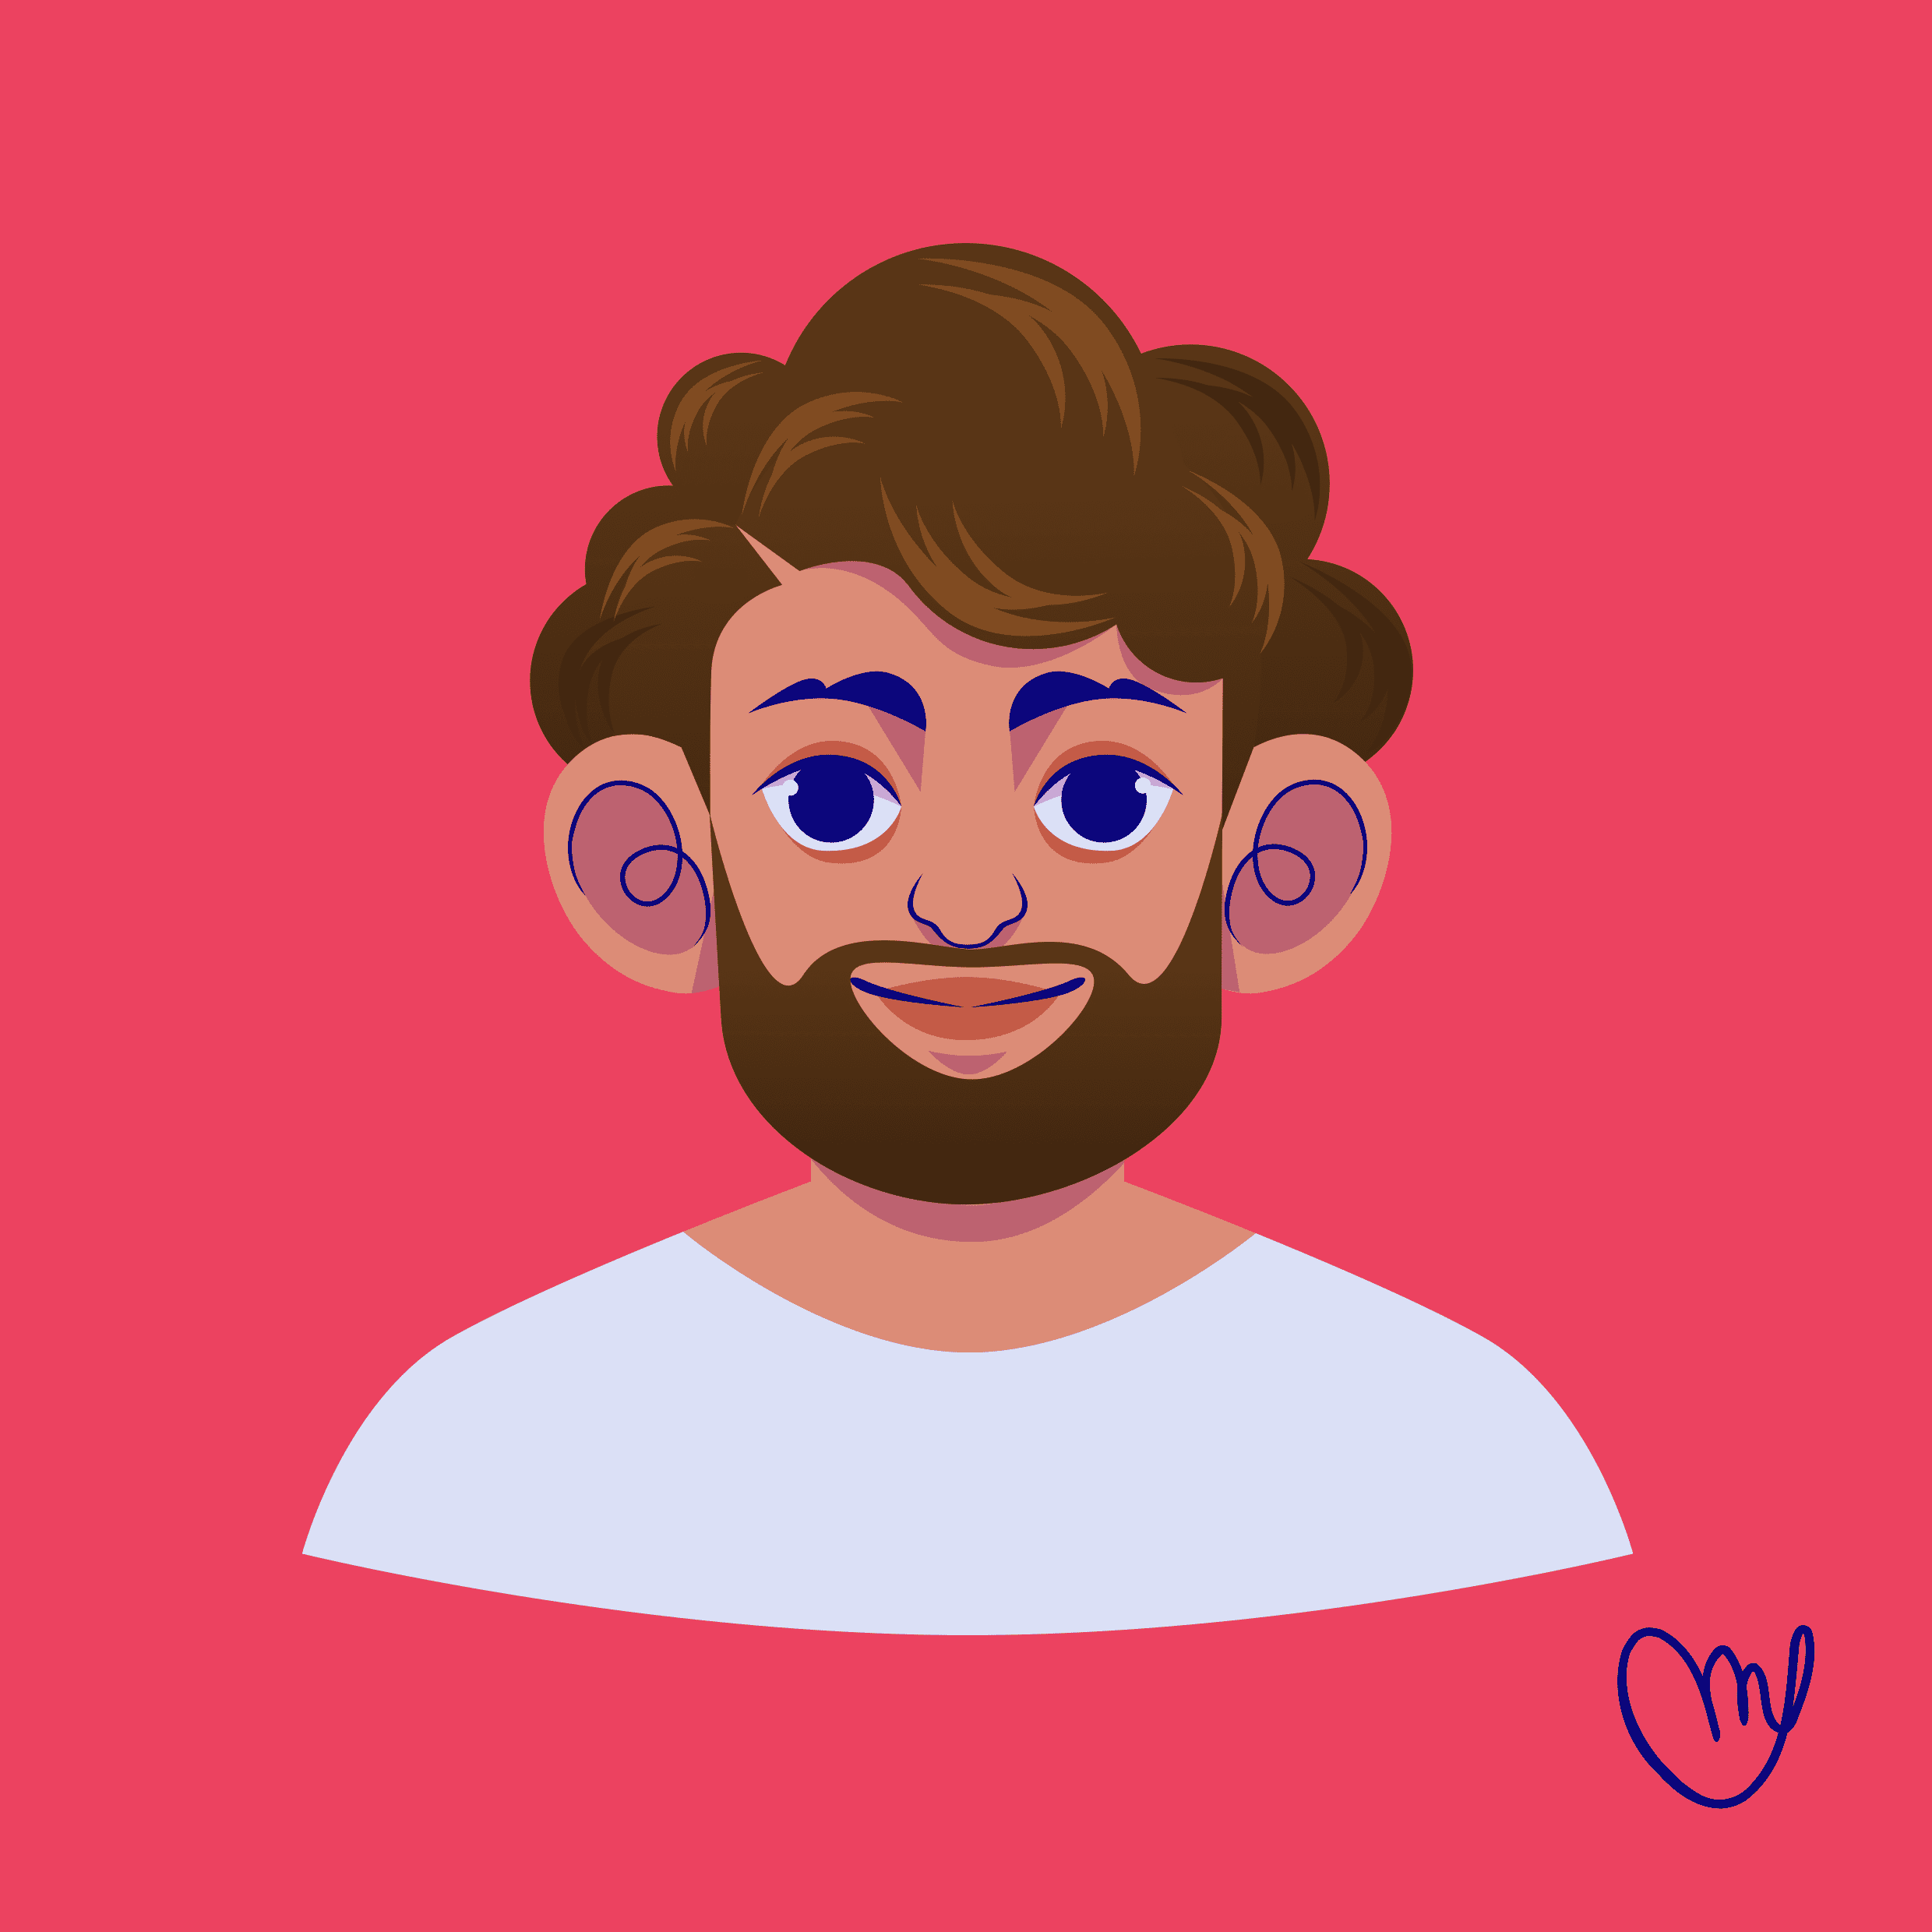
The trickiest part is to match the bearded hairline to the facial contours and leave a natural opening for the ears. Remember that hair grows outward from the face so that the beard shape will have more volume on the chin area. When you are finished, duplicate and flip the shape horizontally and unite it with Boolean Operation Unite.
That's it, we have created a beard for our character!
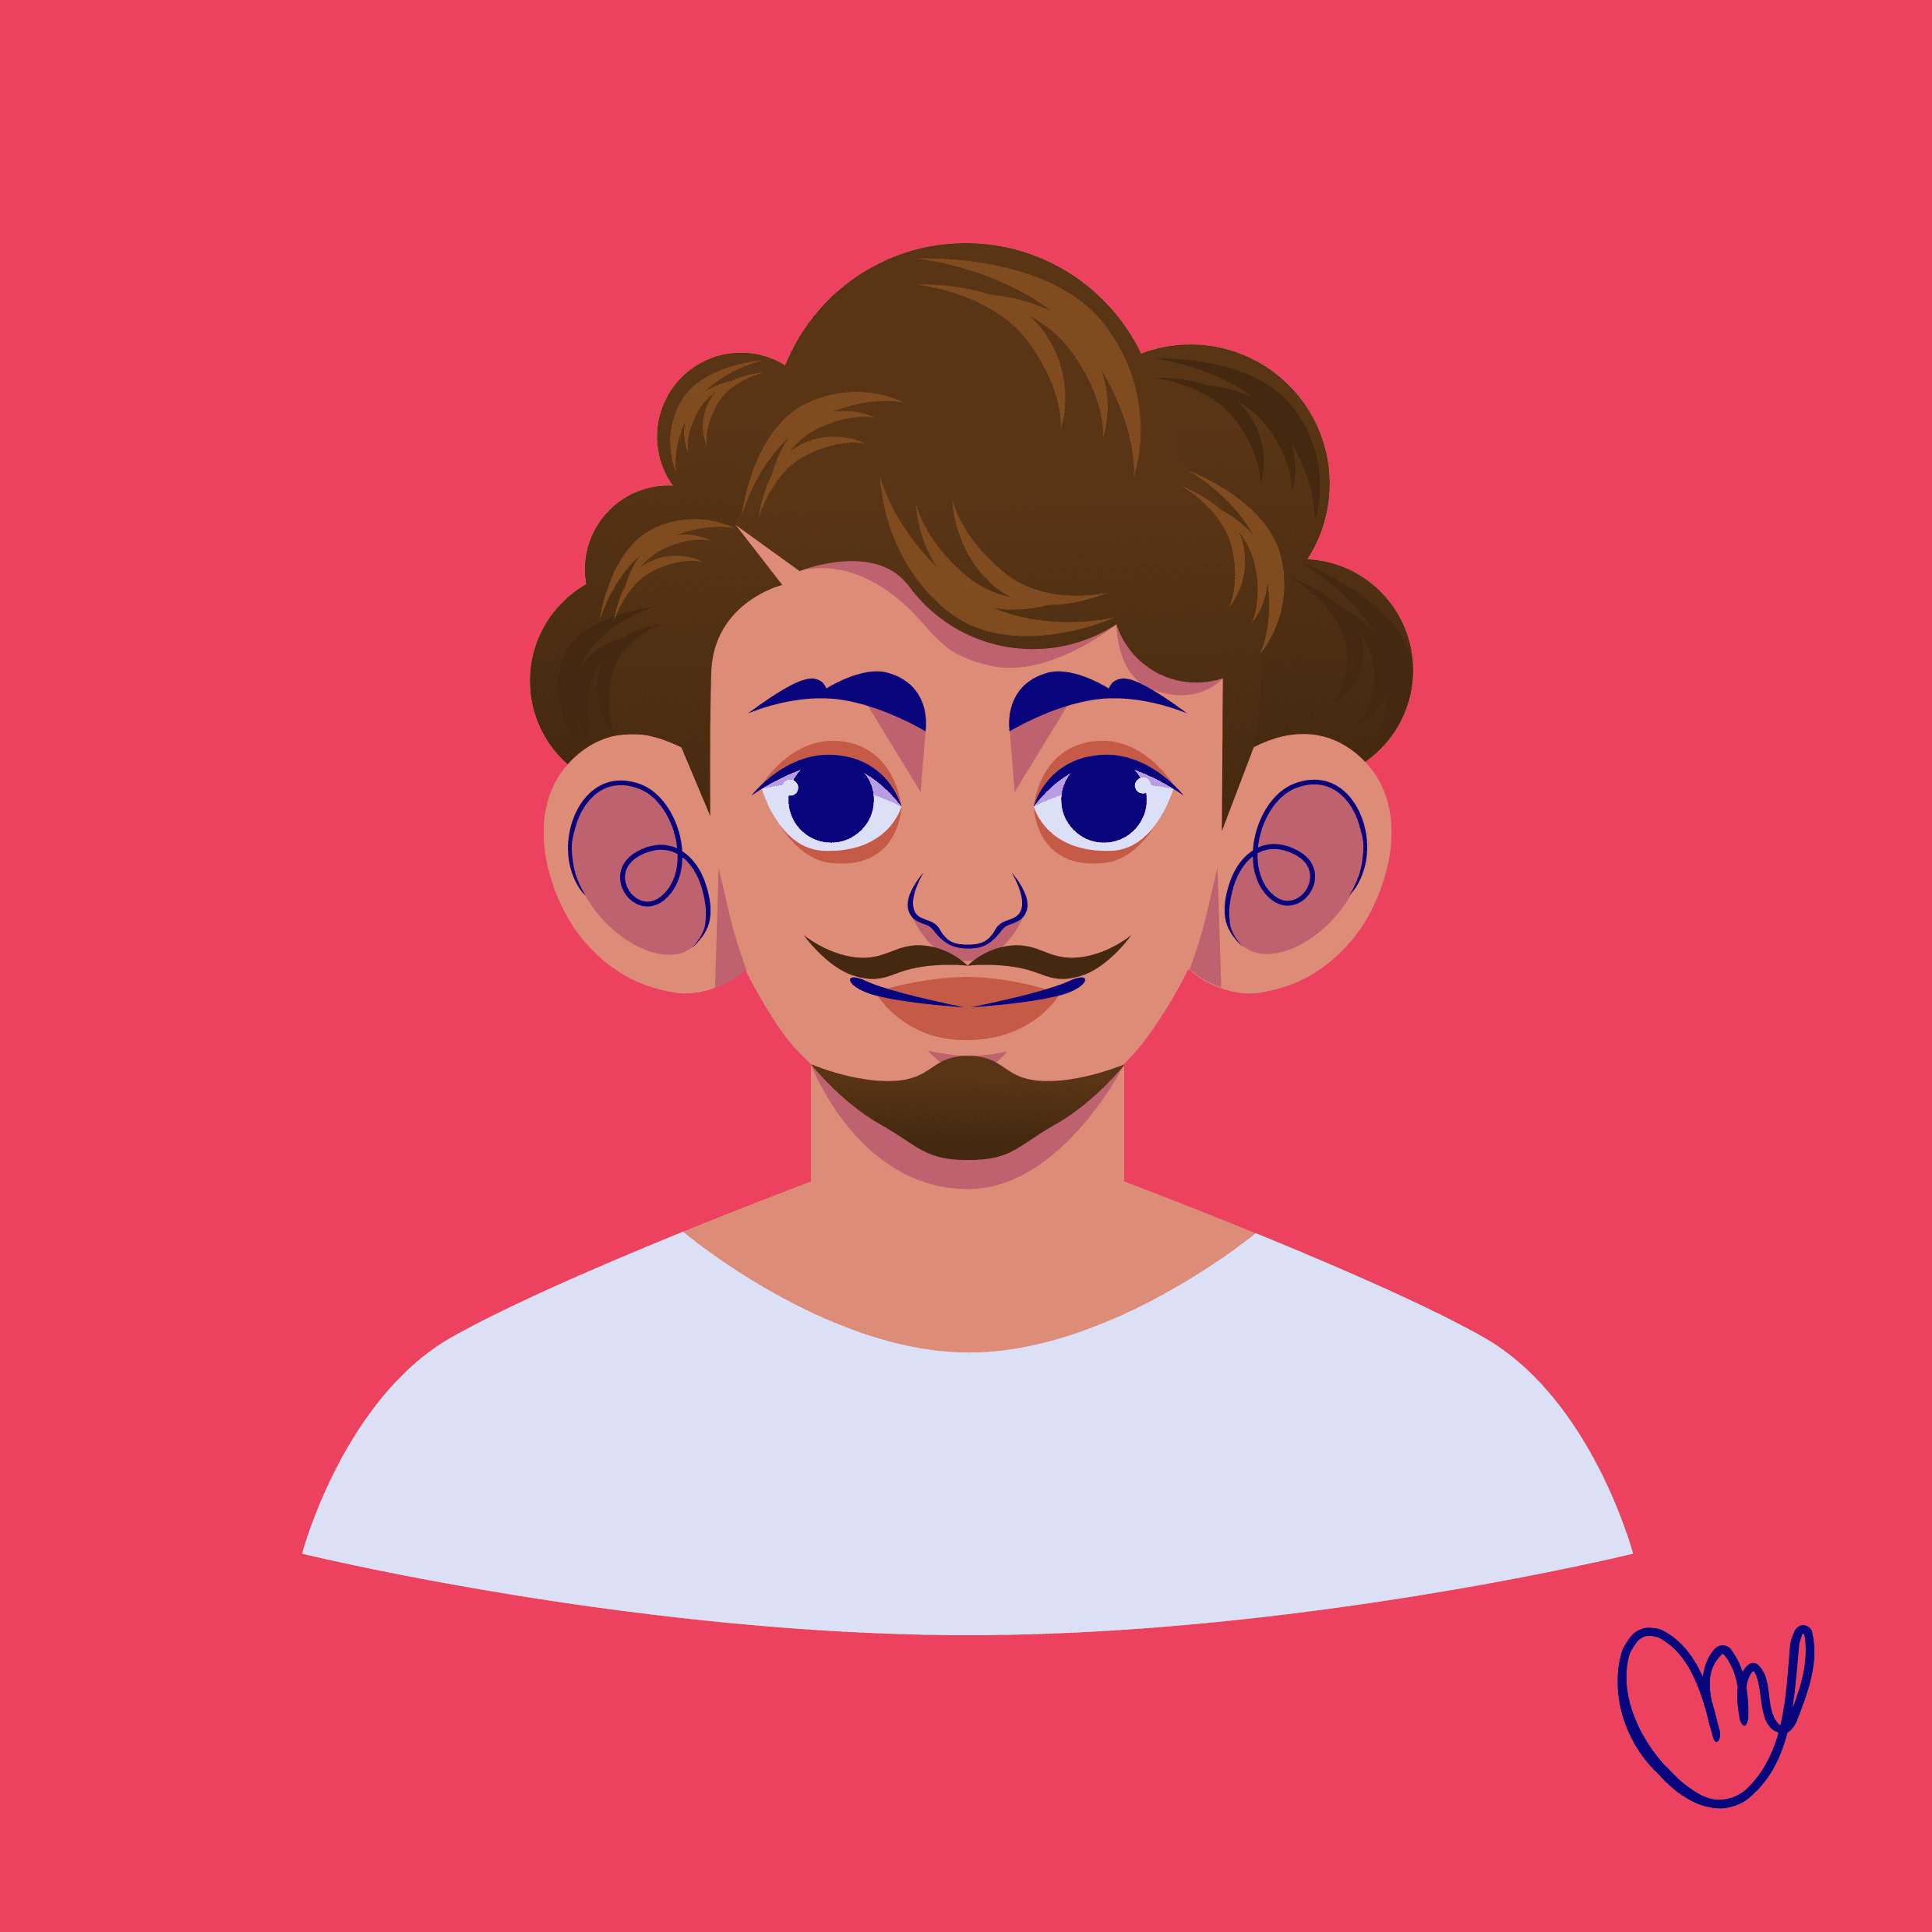
Now we'll move on to drawing a goatee with a mustache. Before you start drawing, study the hairline of goatees with a mustache closely. Start with the Pen Tool at the chin area.
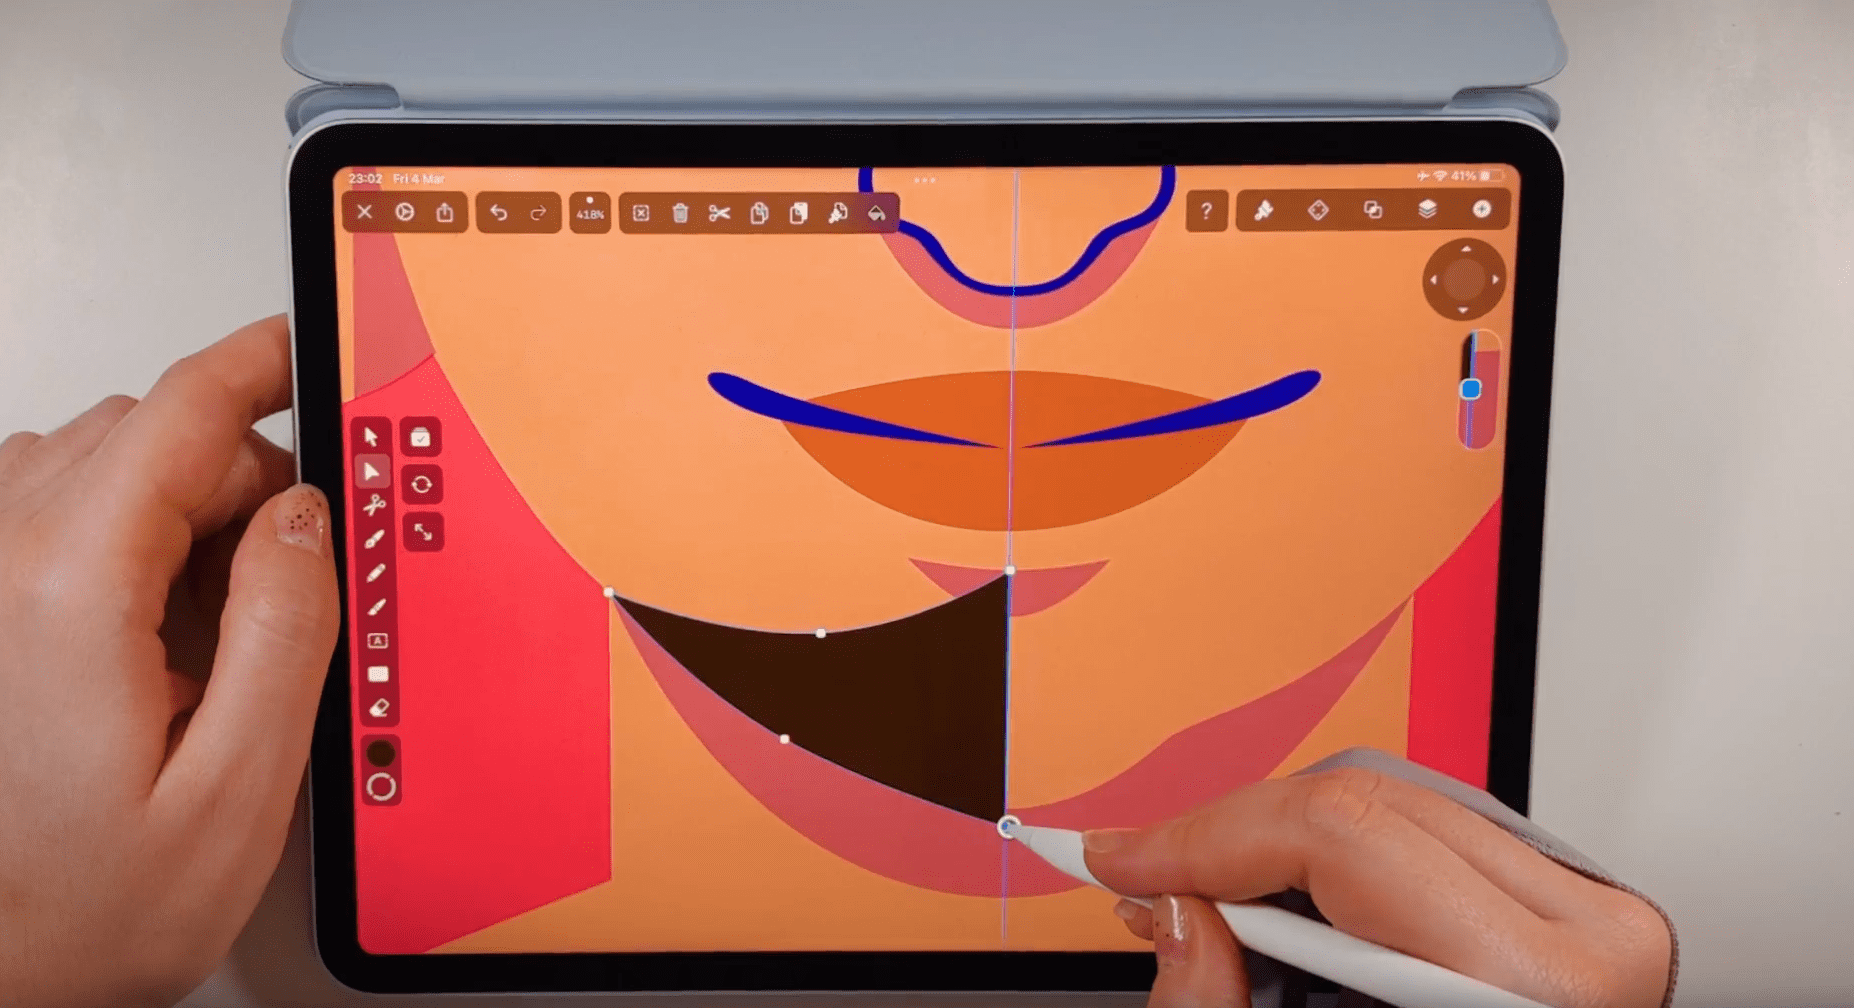
Start at the chin outline and create a curve that ends under the lower lip. Duplicate, flip and unite the shape to the other side.
Now we'll start drawing the mustache as a separate shape. Start drawing a zigzag line on the left half of the upper lip, and double-tap on the nodes to create soft, curved lines. Adjust the nodes with the Node Tool if necessary.
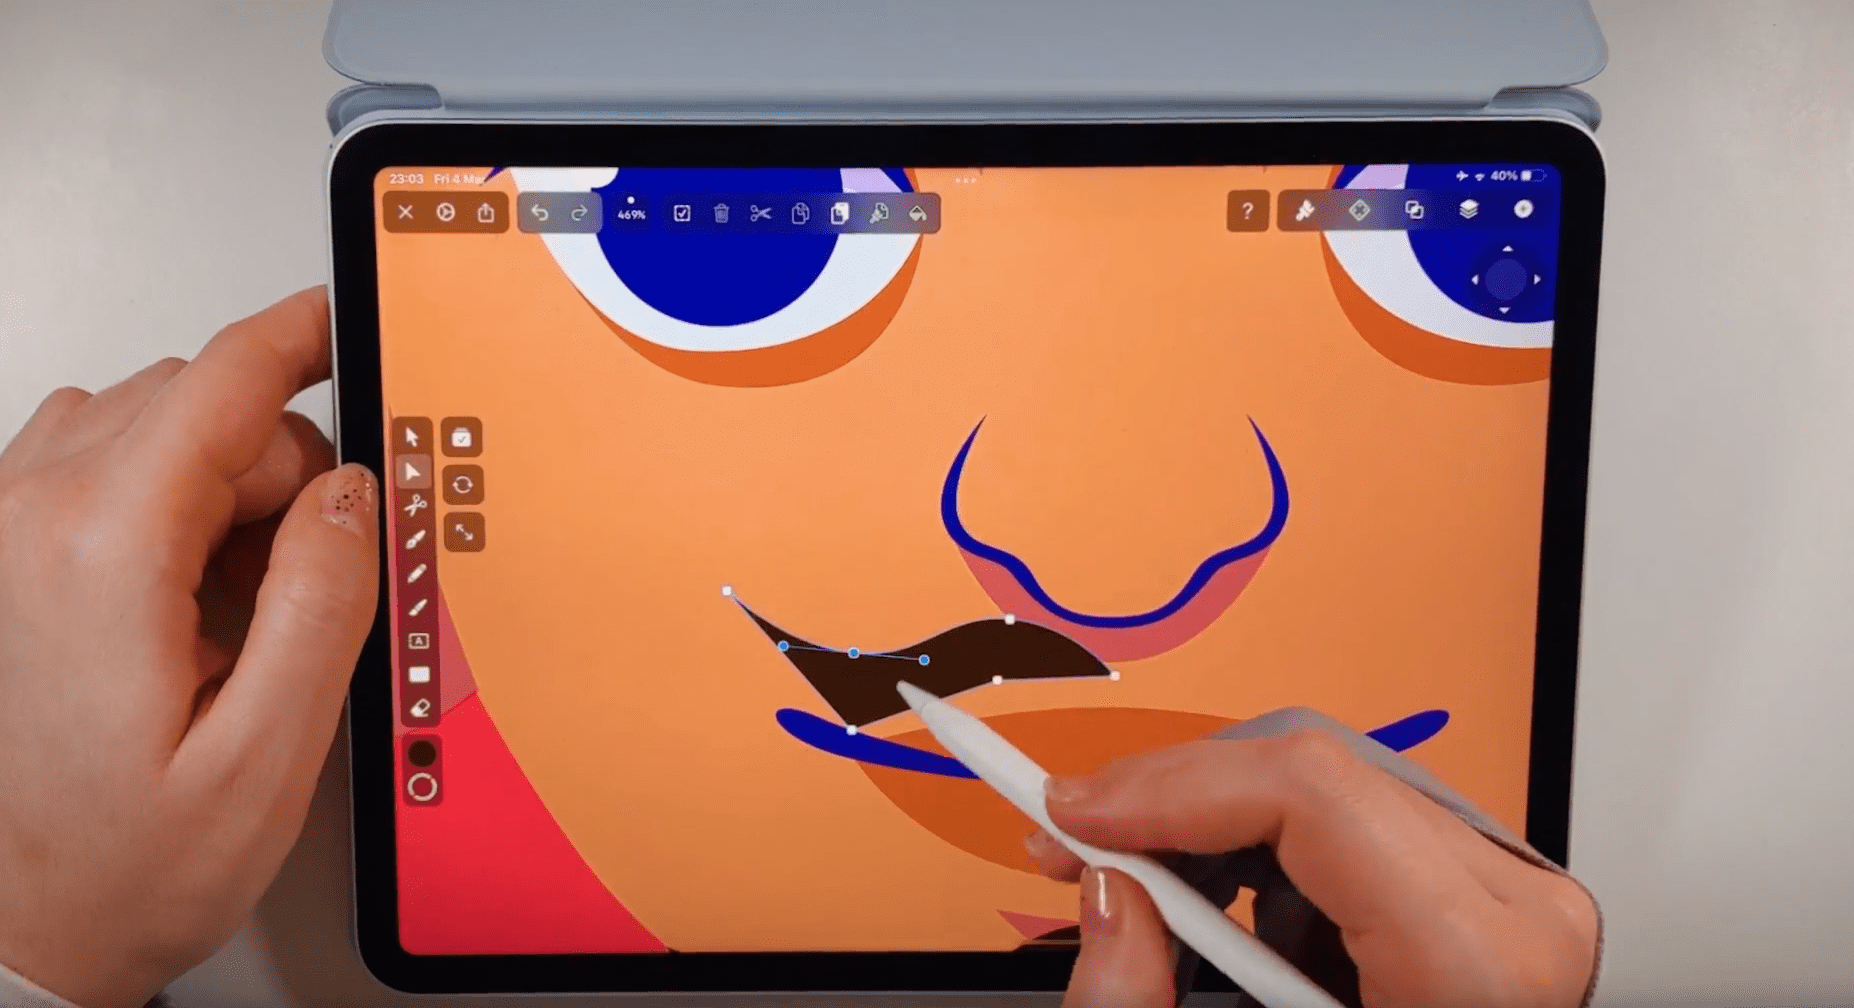
Duplicate, flip and unite the shape to the right side.
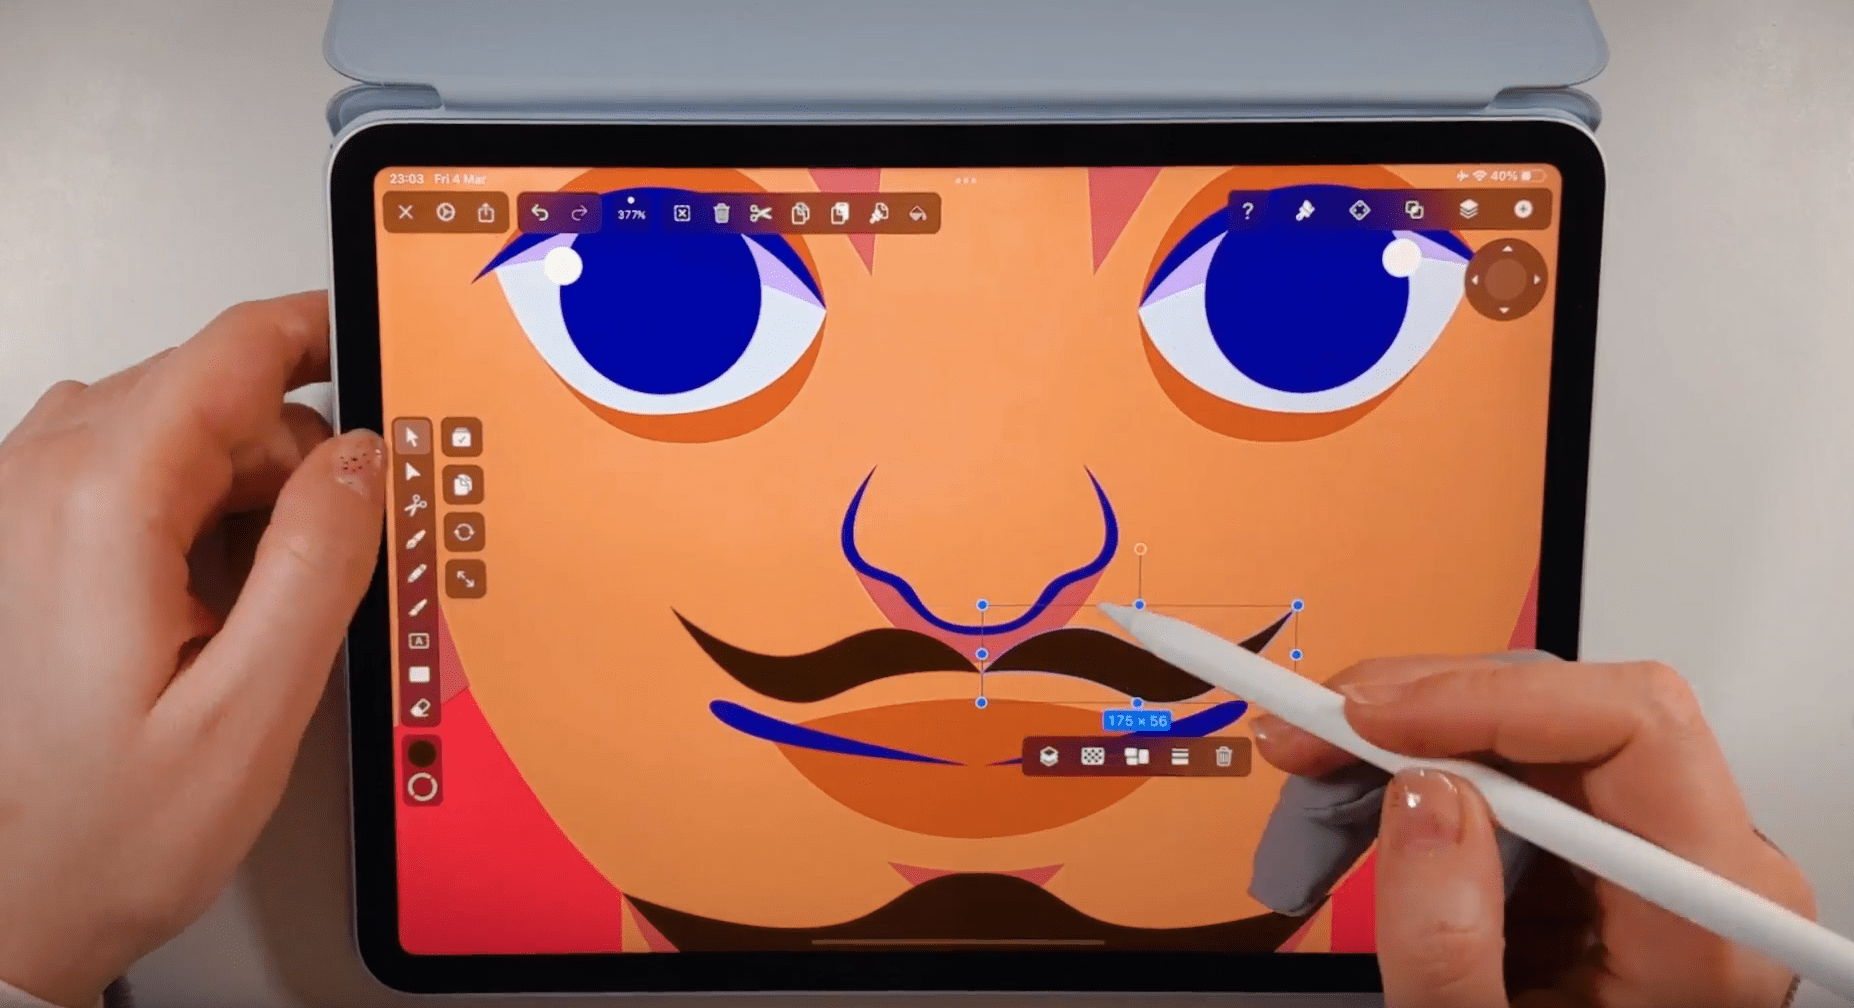
Now you have created your goatee with a mustache!
This concludes our latest tutorial, and we hope that we can inspire you with lots of hairstyle ideas to create your favorite hairstyle to post on our social media or community art gallery!
Download the latest version of Vectornator for free, and let your hair down while drawing!
Jumpstart your ideas with Linearity Curve
Take your designs to the next level.

Share this!
Marion Gerlinger
Marion is a contributing writer to the Linearity Blog.