:quality(75))
:quality(75))


:quality(75))
Can mural arts save a village?
Well, that's what happened in a military settlement in Taichung, Taiwan. A soldier all his life, Huang Yung-Fu retired in 1978 and continued to live happily in his village in the Nantun District. That is, until the Taiwanese government decided they wanted to demolish the concrete village, which was never meant to be a long-term housing solution.
By 2008, all the other residents had left or passed away, and the government took over their housing. Yung-Fu was the last villager left, but he didn't want to lose his beloved home. He was bored, so he started to (literally) paint the town red.
Yung-Fu painted every part of what remained of his concrete neighborhood, and soon it attracted attention. Now, the charmingly decorated "Rainbow Village" is a well-loved tourist attraction, and the Taiwanese government has put aside its plans to destroy it!
From cave paintings and ancient frescos to Mexican Muralism and contemporary street art, drawing on walls is one of the oldest artistic practices in the world. And contemporary wall painting is growing in popularity as standalone artworks and broader community-based art projects.
Mural artists are often highly involved with the surrounding community, painting murals both locally and internationally. Famous street artists such as Shepard Fairey, Banksy, Lady Pink, Keith Haring, and Thierry Noir have created masterpieces that address socio-political issues in cities all over the world.
Murals can be paint-based but also include mosaics (ceramic tile murals), marouflage (gluing a painted piece of canvas to a wall), and billboards. They can appear on any fixed surface and are not limited to walls.
We'll give you a step-by-step guide on the various ways you can translate your digital illustrations into mural projects.
Jumpstart your ideas with Linearity Curve
Take your designs to the next level.
Drawing a digital mural
Illustrators can greatly benefit from creating multiple income streams to stabilize their cash flow.
These days, there are many opportunities for artists to gain corporate client commissions for murals. Companies have become more open to supporting individuals and small teams of local artists to create bespoke signage and décor instead of relying on commercial agencies.
We even have our very own hand-painted mural at the Linearity office in Berlin, created by the talented illustrator Mega.

Once you've mastered mural painting, you can also consider hosting a mural painting class online or in real life to teach enthusiasts the essential aspects of mural painting.
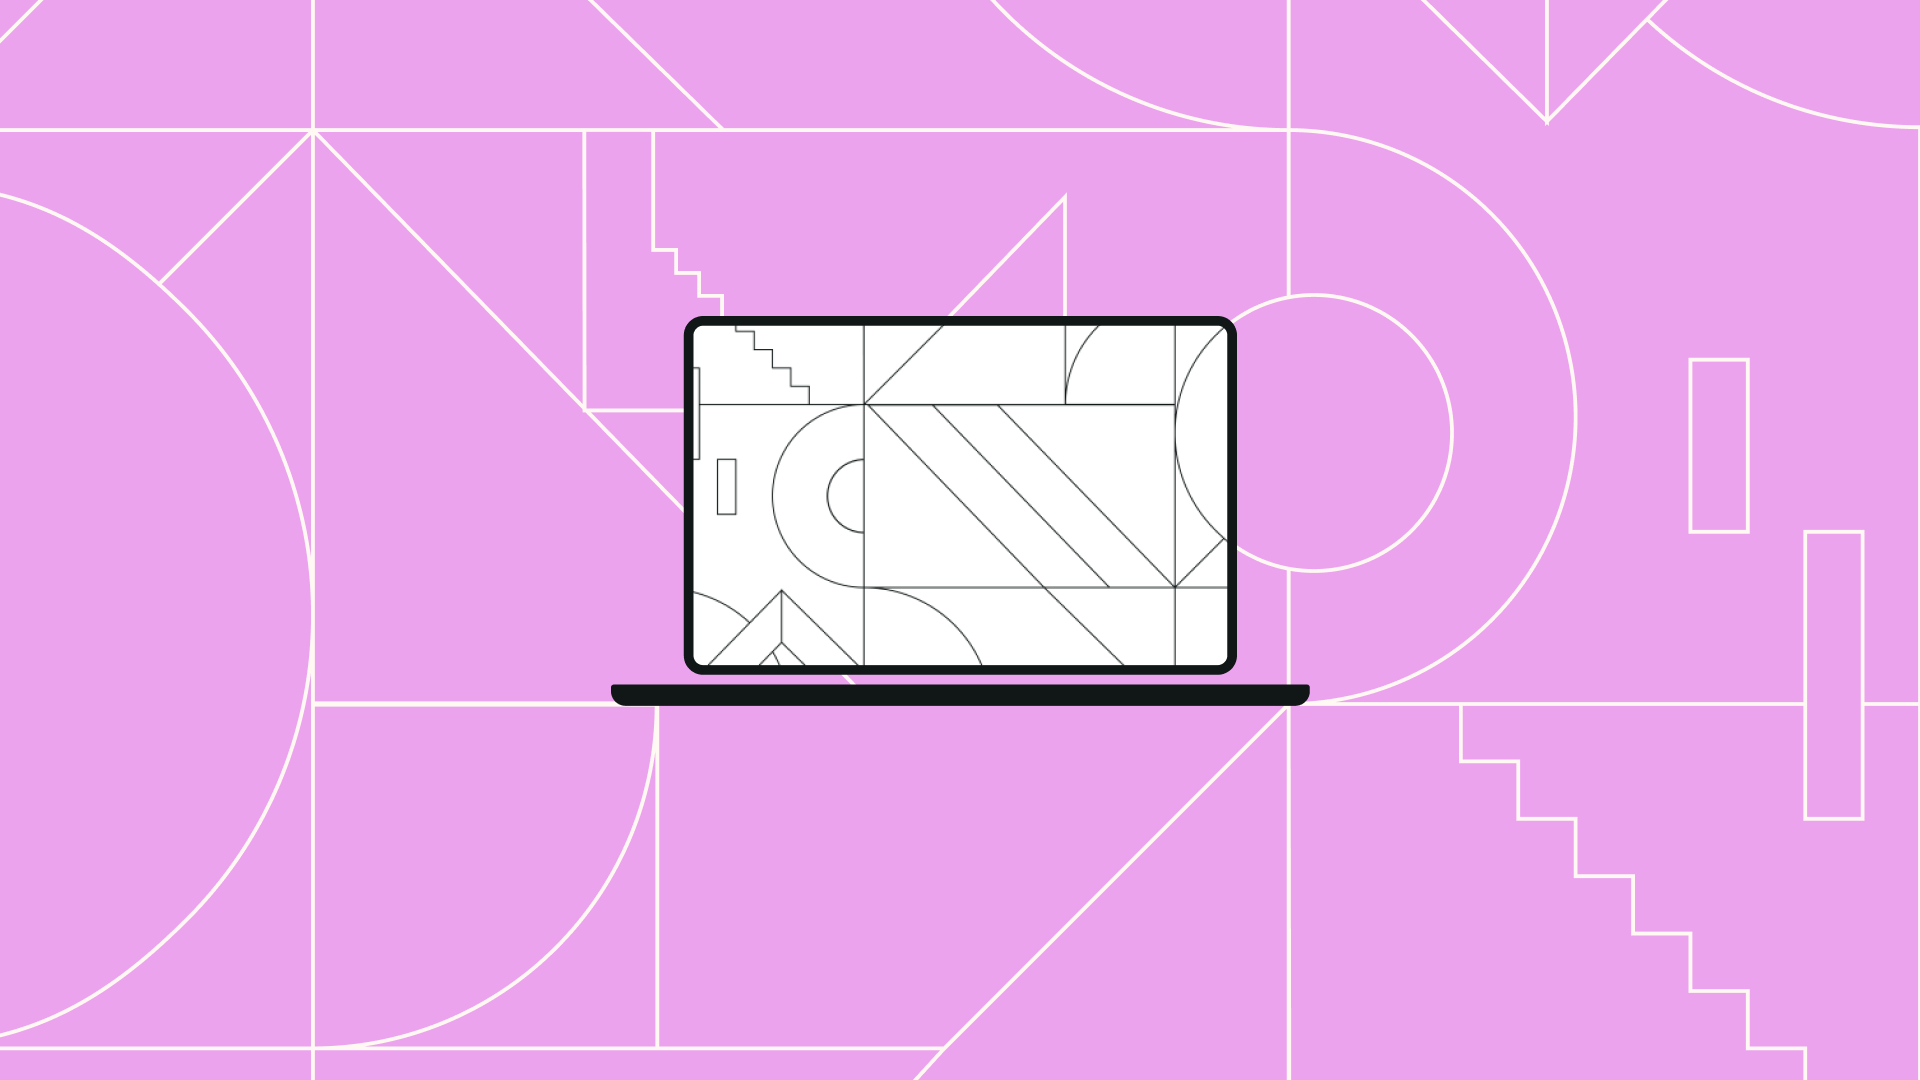
You can create your mural drawings using digital tools such as Linearity Curve (formerly Vectornator), which allow you to bring your initial ideas through to finished vector drawings. Vector illustrations are well-suited for designing murals because you can scale them up infinitely - especially when you need to cover a large surface area without losing image quality!
Digital drawing opens up so many possibilities for illustrators and muralists. You can take paper sketches, paintings, found images, photographs, stills from movies and video games, and photocopy scans and turn them into digital art.
Step 1: measure the mural area
Before you start your design, it's a good idea to get the measurements of your mural area so you can get the Artboard size right.
Now, you definitely don't want to work on a 1:1 scale, so make sure you get the ratio. For instance, if your mural area is 4 x 8 meters (13 x 26 feet), you can scale it down to a 400 x 800 mm (15.7 x 31.5 inches) Artboard.
You should also consider any facets or protrusions on the surface that must be covered with the mural design.
Step 2: create your digital drawing
There’s a quiver of tools that you can use to create an awesome mural illustration. The Pen Tool enables you to create precise lines and curves that you can adjust using the Node Tool. You can also create freeform lines using the Pencil Tool and Brush Tool.
Curve makes it super easy to draw perfect shapes using the Shape Tool, and you can join them together to form more complex shapes using the Shape Builder Tool.
Whether creating a political mural for a personal project or painting a fun cartoon mural to fulfill a client's commission, you want to choose a unique color palette that will be eye-catching and stand the test of time.

Step 3: export your file
Depending on the mural medium that you've decided on (more detail about this in the next section), you want to make sure that your exported file is saved in the right color space (CMYK for printing, RGB for screens) and file type (JPG, PNG, PDF, or SVG).
Turning your digital art into a mural (with examples)
Once you have the digital files of your designs ready, there's a wide range of applications you can use them for, not to mention as a medium for mural projects!
Get creative with our ready-to-use templates.
Linearity Curve offers templates for every social media platform and various use case templates for posters, business cards, slides, app store screenshots, and more.
Let's look at the many ways you can turn a digital illustration into a mural artwork.
1. Freehand wall painting
Perhaps the easiest and most accessible way to get your eye-popping design onto your urban canvas is to pick up a brush and paint as Rainbow Grandpa did!
Graffiti artists often hastily execute their tags, throw-ups, and pieces using spray paint, markers, and even some homemade painting tools. They practice their designs on paper so that they can replicate the shapes precisely when the time comes to put them up on a surface. Some of the coolest old-school graffiti was done freehand, like the piece below by New York graffiti legend Dondi:
There are a few things you can do to create a great-looking painted mural, though. Here are our pro tips:
- Clean: Clean the mural surface before you start and remove any obstacles that may be a hazard when you start painting. Make sure the surface is completely dry before you apply any primer or paint.
- Mask: Use masking tape, newspaper, or reusable plastic to cover any large areas that shouldn’t get painted, such as the sidewalk, doors, or windows.
- Prime: If you want your mural art to last extra long, first coat the surface with a paint primer (you can get this from your local paint or hardware store).
- Outline: Once your wall is clean and dry, you can draw basic shapes with light pencil lines to get the proportions and placement right.
- Test your colors: Test your color palette in the space - you may want to tweak a few colors when you see them in the light.
- Color blocking: Use a roller or large paintbrush and bulk paint mixes to fill the biggest areas of color on your mural. This will be the background that you'll work on, adding more detail as you go. Use an acrylic medium to stretch your acrylic paint further and get a flat, even finish.
- Seal: If you want to ensure your mural is protected from atmospheric conditions, you can finish with a clear varnish to seal the artwork (ask your local hardware store or paint shop for advice).
Keep a digital or printed copy of your design with you or pasted up somewhere so you can keep referring to it to get the composition and colors right.
2. The grid method
Going freehand on a large-scale project like a mural can be daunting, and you may not be pleased with the results if you've never tried a specific design on a big surface.
It's also easy to lose perspective when you're up close, and once you step back, you may notice you got the proportions wrong or that your lettering is slightly skewed.
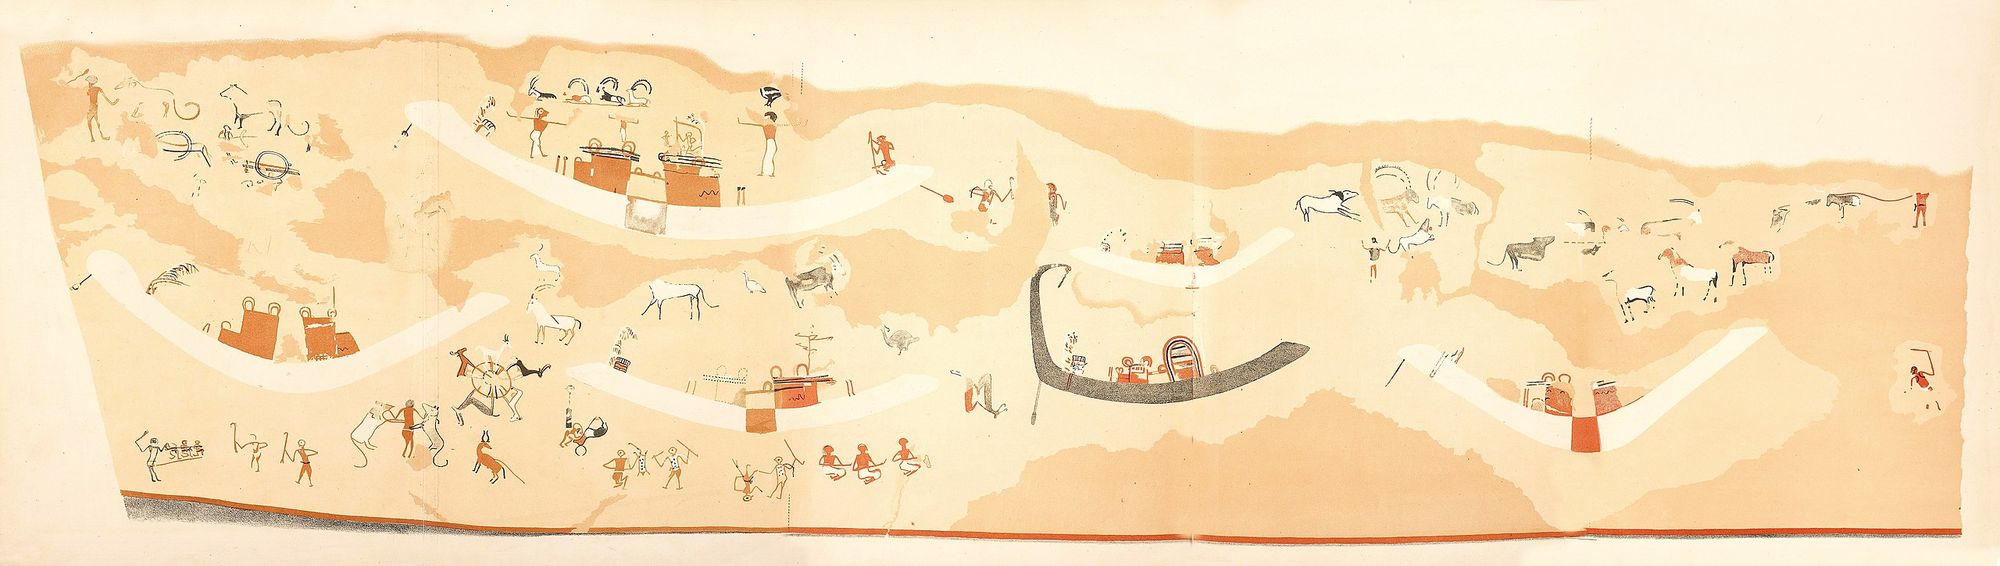
Fortunately, there have been many muralists before you (including the ancient Egyptians and 15th-century artistic geniuses like Leonardo Da Vinci), and they found ways to make more accurate large-scale artworks.
One of the ways to more accurately scale up a picture to a large format is to use the grid method. How this works is to divide your illustration into a grid of squares and then draw a grid of equal ratio on your mural surface.
This makes it easier to scale the illustration to a large surface by focusing on the position and proportion of elements block by block.
You can add grid lines on your Artboard using our Guides feature. Then, after you’ve finished your drawing, create Line Shapes using the Shape Tool to add a printable grid to your image.
3. Stencil mural arts
Using stencils is another popular method for creating mural art, especially in the street art scene. Stencils have been used since ancient times to create cave wall paintings, decorate tombs, and create signage. In Japan, dye-resistant rice paste stenciling was used to create delicate patterns on silk cloth. Stenciling saw a modern resurgence in the Art Deco movement to duplicate intricate decorative patterns.
In the 1960s, these qualities - fine detail, accurate replication, and quick application - came in handy when illegally applying political messages to walls and other public property. One of the first artists who used stencils for protest was Ernest Pignon-Ernest, who spray painted a stencil of a nuclear bomb victim in public spaces in France in the 1960s.
When making your own stencils, you can either print your design on paper and then trace it onto a substrate like an acetate or stencil board or have your designs cut out with a laser cutter.
There are additional steps and considerations when you use stencils, as you need to add bridges between the stencil's islands (the parts blocking out color) to keep the pieces together. The more complex your piece, the more bridges you'll need.
You'll also need to create multiple stencils for multiple designs and for each layer of a design that has a different color.
Stencils can be applied using paintbrushes, spray paint, airbrush, or even rollers if the design is large enough.
4. Vinyl decals
One of the most popular ways to create stunning mural art is by using self-adhesive vinyl decals. You can send your design to a printer that offers vinyl cutting and apply it yourself or have their professional team do this for you.
Vinyl decals can be an excellent choice for a large corporate commission if you don't have the time and resources to paint a mural yourself. Before the client approves your digital designs, get the file specifications from the vinyl-cutting supplier and make sure your design file is in a suitable format.
Another benefit of using vinyl decals is that they're durable and waterproof but can also easily be removed when a new design is needed. However, decals are not suitable for rough exterior surfaces.
5. Custom wallpaper
Because of modern digital design technology, there are many customization options for personal projects. If your mural must cover a large, flat area, you can have your own custom wallpaper printed and delivered to your door.
Ready to create brand assets that pack a punch?
Visit our Academy for free marketing design courses.
This is a fantastic option if you want to create an interior mural with photographic elements, gold foiling, embossed textures, or intricate designs. Yes, you could paint it, but if you're more confident in your design skills than your large-format painting skills, then a custom wallpaper will be your best bet.
6. Using an analog projector
A cool way to accurately scale your illustration to a large surface without the complication of drawing a grid or the potential for mistakes when painting freehand is to use an analog artist's projector.
These projectors use light, have mirrors or prisms inside that magnify the drawing underneath, and project this enlarged image onto a vertical surface. Analog projectors have been a favorite tool for painting on canvas as well as mural arts.
Here's how to use one for your mural painting:
- Print your digital illustration in full color at a small size. Ensure the resolution is set to a minimum of 300 dpi to avoid pixelation.
- Place your drawing on a table, put the analog projector over it, and point the lens to the wall you'll paint. Move the projector further away to enlarge the projected picture or closer to make it smaller, and adjust the lens to focus.
- Trace the projected picture onto the mural surface using a pencil, or paint directly onto the surface.

7. Using a digital projector
Similarly, you can use a digital projector to throw your illustration image onto a wall and enlarge it.
The main difference between analog and digital projectors is that you don't have to print your design first. You can connect the digital projector directly to your laptop, iPad, or phone via VGA, HDMI, or USB connection.
Some digital projectors are also Bluetooth enabled or can connect wirelessly over an internet connection, which makes it even easier to splash your beautiful digital illustrations onto your mural surface.
You can also make real-time adjustments if you want to tweak your digital design instead of running down to the printer each time you make a change.
The only downside to using either analog or digital projectors for mural painting is that they won't work well outside in the daylight!
8. Fresco methods
Fresco painting is an integral part of the long history of mural arts. This medium has proven to be particularly long-lasting, with some of the oldest remaining frescos originally painted around 3500 BC.
There are different types of fresco painting, but the most common type - or "true fresco" - is done by applying wet pigment on wet lime plaster. The pigment bonds to the lime plaster through a chemical reaction that takes place as the plaster dries and cures.

Other methods of fresco painting include a secco (tempera painting, or pigment mixed with egg yolk, applied to dry lime plaster) and mezzo-fresco, which is done on semi-dry plaster.
Although you'd study famous 16th-century European frescos in any Art History department at a university, fresco painting experienced a modern revival in the 1920s with the Mexican Muralism movement.
The Mexican government commissioned these 20th-century ethnic murals to mobilize people toward social change after the revolution. Mexican Muralism inspired the Chicano art movement in Los Angeles, which played an important role in developing the Hip Hop street art styles we see today.
Fresco also has a sculptural element to it because you can apply the plaster thicker in some areas or scrape parts of it away to create more texture. This can produce amazing depth in your mural, especially if you want to create a 3D-effect illusionary wall painting.
Remember that you'll have to work fast with fresco painting as the lime plaster dries quickly. You'll need to work section by section to complete your mural, which will take some practice to get it right.
Check out the video below for a quick tutorial on how to create a fresco painting:
9. Custom-printed tile mural
Another wonderful tradition in the mural arts is mosaics. After you've completed your digital design, you can translate this into a ceramic tile mural by using the colors of the tiles as your palette. Mosaic takes a lot of preparation time, as you’ll need to calculate how much of each color tile you need and have them cut to shape.
A cool option for you to consider is incorporating custom-printed tiles in your mural, which you can also design and export as individual files using Curve.
10. Digital mural painting
So far, we've looked at how you can turn a digital drawing into a physical mural painting or mosaic, but what about using the digital technologies we now have available in daily life, such as virtual reality (VR)?
There are online platforms available for you to turn your digital drawing into a digital mural using 3D tools and VR.
At the most basic level, you can upload your illustrations to platforms like Kunstmatrix or VR-All-Art to create a 3D exhibition space that viewers can "walk" through online to experience the mural artwork.
On a higher level, you can experiment with immersive VR painting using a head-mounted display (HMD) and VR gloves. Search for VR painting apps that enable you to use virtual walls, canvases, and brushes to create original artworks in the metaverse.
11. Augmented reality mural
An exciting development for mural arts, augmented reality (AR) apps can be used to make your public art come to life! Using AR, you can have your mural live in a physical space and incorporate digital animations to delight your viewers.
Also known as AR graffiti or AR street art, a digitally augmented mural has all the positive aspects of mural painting. It uplifts the broader community or fulfills the corporate client brief and makes the most of the benefits of the latest technology to bring a message across and share information.
On the one end of the spectrum, you can paint a mural and create a complementary AR experience that animates the mural on the viewer's phone. On the other end, you could create an interactive mural using animated digital projections and sensors.
Materials you need for mural painting
Now that you know about the many options you have for putting your work out in the real world, let's look at a list of the materials you might need for creating mural art.
- Digital design equipment: Laptop, iPad, Apple Pencil, and printer. For AR/VR, you'll need a mobile phone, VR headset, and haptic gloves.
- Software: Design software such as Curve. For AR/VR, you'll need to use online platforms.
- The humble pencil: There's nothing quite like a pencil and paper for putting your ideas down or starting your sketches on the mural surface.
- Masking tape: The best way to mask areas that must not be painted. Masking tape sticks well to most surfaces but doesn't damage the surface underneath once you remove it.
- Paint: You can use premixed exterior paints for large areas and tubes of art paint for mixing specific colors for small areas. One gallon (3.8 L) of paint usually covers approximately 350 square feet (32.5 sqm) of surface area.
- Painting materials: Depending on the technique and size of the area to be painted, you'll need small and large brushes, rollers, sponges, spray paint cans, airbrush equipment, etc.
- Safety: Invest in your safety! Use goggles, gloves, overalls, and a mask. For large murals, you'll need a safety ladder, a cherry picker or scaffolding, and a safety helmet. You may also need to put up signage to notify passersby and take out third-party life insurance in case of an injury.
Get your wall art out there!
There's a long history of mural arts you can learn more about to inspire your next mural project. Whether you’re painting for personal expression or completing a paid commission, mural painting can be enjoyable and enriching.
Digital art is opening up more possibilities for physical artworks and community-based projects such as murals, as it allows you to design anywhere and edit and scale your work more efficiently for any kind of surface.
When it comes to the commissions of murals, it's essential to consider all the tools you have at hand, from paint and vinyl decals to virtual exhibition spaces and AR. Choosing the most suitable medium comes down to the client brief, budget, audience, purpose of the mural, and your personal preference.
If you're ready to try your hand at digital illustration and mural design, check out Curve's awesome tools and how easy it is to create scalable vector graphics.
Don't forget to share your work with us via social media and the Curve Community!
Jumpstart your ideas with Linearity Curve
Take your designs to the next level.
Share this!
Sharné McDonald
Sharné is a contributing writer to the Linearity Blog. She has 10+ years' experience in graphic design and marketing and holds a Master's degree in Art Education.

