:quality(75))
:quality(75))


:quality(75))
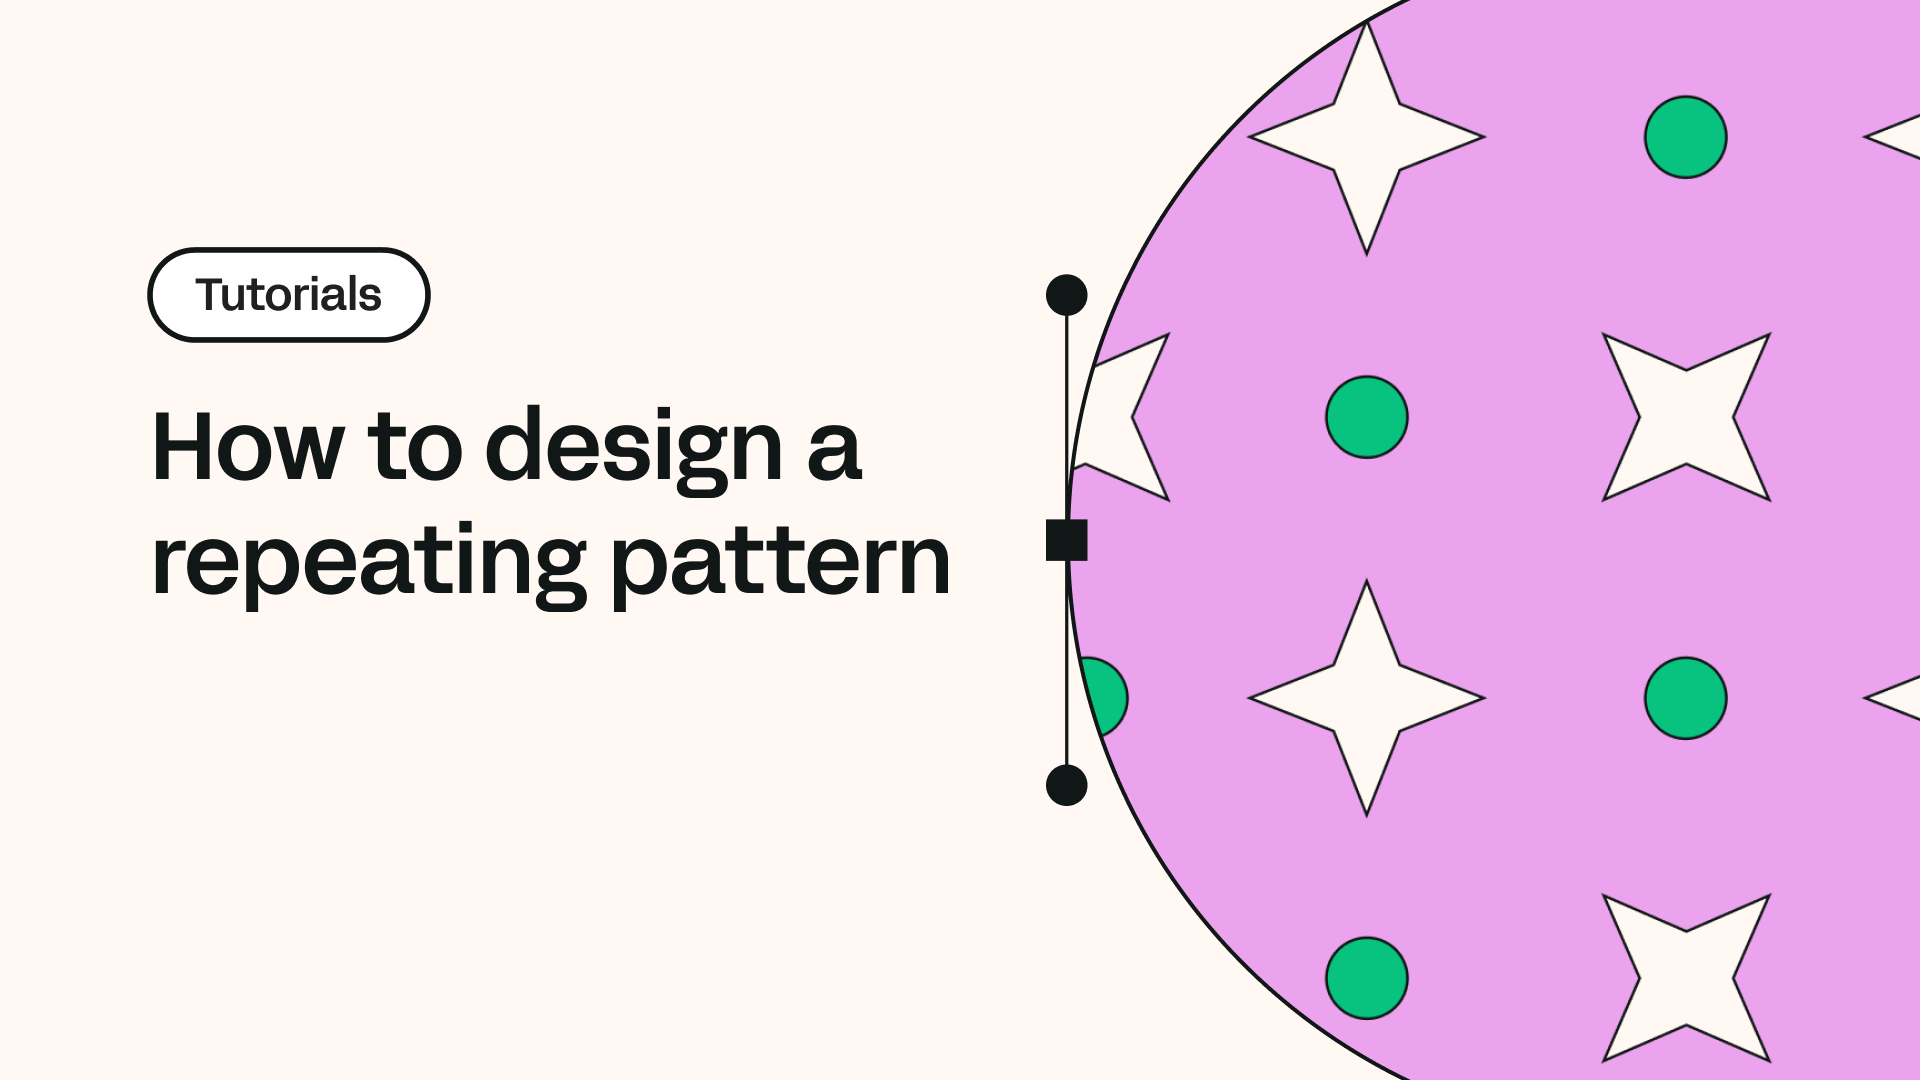
Have you always wanted to design your own wrapping paper but never really wrapped your head around how to create repeating patterns? Well, we've put together this advanced tutorial just for you!
In this tutorial, you'll learn how to use Linearity Curve (formerly Vectornator) to turn your beautiful illustrations into infinitely repeating visual patterns that you can print on any surface, from wrapping paper to rugs, mugs, cloth, and more.
Warning: You may start noticing patterns everywhere once you're done with this tutorial!
Jumpstart your ideas with Linearity Curve
Take your designs to the next level.
How to design a digital pattern
• iPad
• Apple Pencil
• The latest version of Curve
• Being in a Christmas mood
What you'll learn
• How to use the Shape Tool
• How to use the Pen Tool
• How to perform a Boolean Operation
• How to use Artboards
🎨 Hex color codes used in this tutorial
#FFFFFF (RGB 255, 255, 255) white
#22EFF4 (RGB 34, 239, 244) turquoise
#FFEB00 (RGB 255, 235, 0) yellow
#F1A2C8 (RGB 241, 162, 200) light pink
#603876 (RGB 96, 56, 118) purple
#65B265 (RGB 101, 178, 101) light green
#67B366 (RGB 103, 179, 102) tree green
#0B8F36 (RGB 11, 143, 54) dark green
#099ED6 (RGB 9, 158, 214) background blue
#2A93C9 (RGB 42, 147, 201) dark blue
#001D5F (RGB 0, 29, 95) ultra dark blue
🎨 Read more about the Hex Color Code on our Blog and Learning Hub.
⚙️ Artboard settings
• 210 x 210 mm for the arrangement of elements
• 210 x 297 mm for the repeating pattern
🚧 With the iPadOS 16 updates, we unified the iPad Inspector for a simplified interface. Instead of five tabs, the updated Inspector now contains the following tabs: The Style Tab ~ic-style-tab~~ic-style-tab~, Layers Tab ~ic-layers-tab~~ic-layers-tab~, and the Library Tab ~ic-library-tab~~ic-library-tab~.
Some links to the Learning Hub posted here refer to the pre-update Inspector layout, and others to the updated Inspector layout.
The video was filmed using the Curve version with the updated Inspector layout; thus, the screenshots taken from the video display the updated Inspector interface in this tutorial.
Prepare the document
In this tutorial, Jaye Kang will guide you through the steps to create a repeating Christmas pattern.
We advise you to draw the pattern elements on one or several Artboards ic-artboardic-artboard so that you can drag every pattern element from Artboard to Artboard later, where all the pattern elements will be arranged.
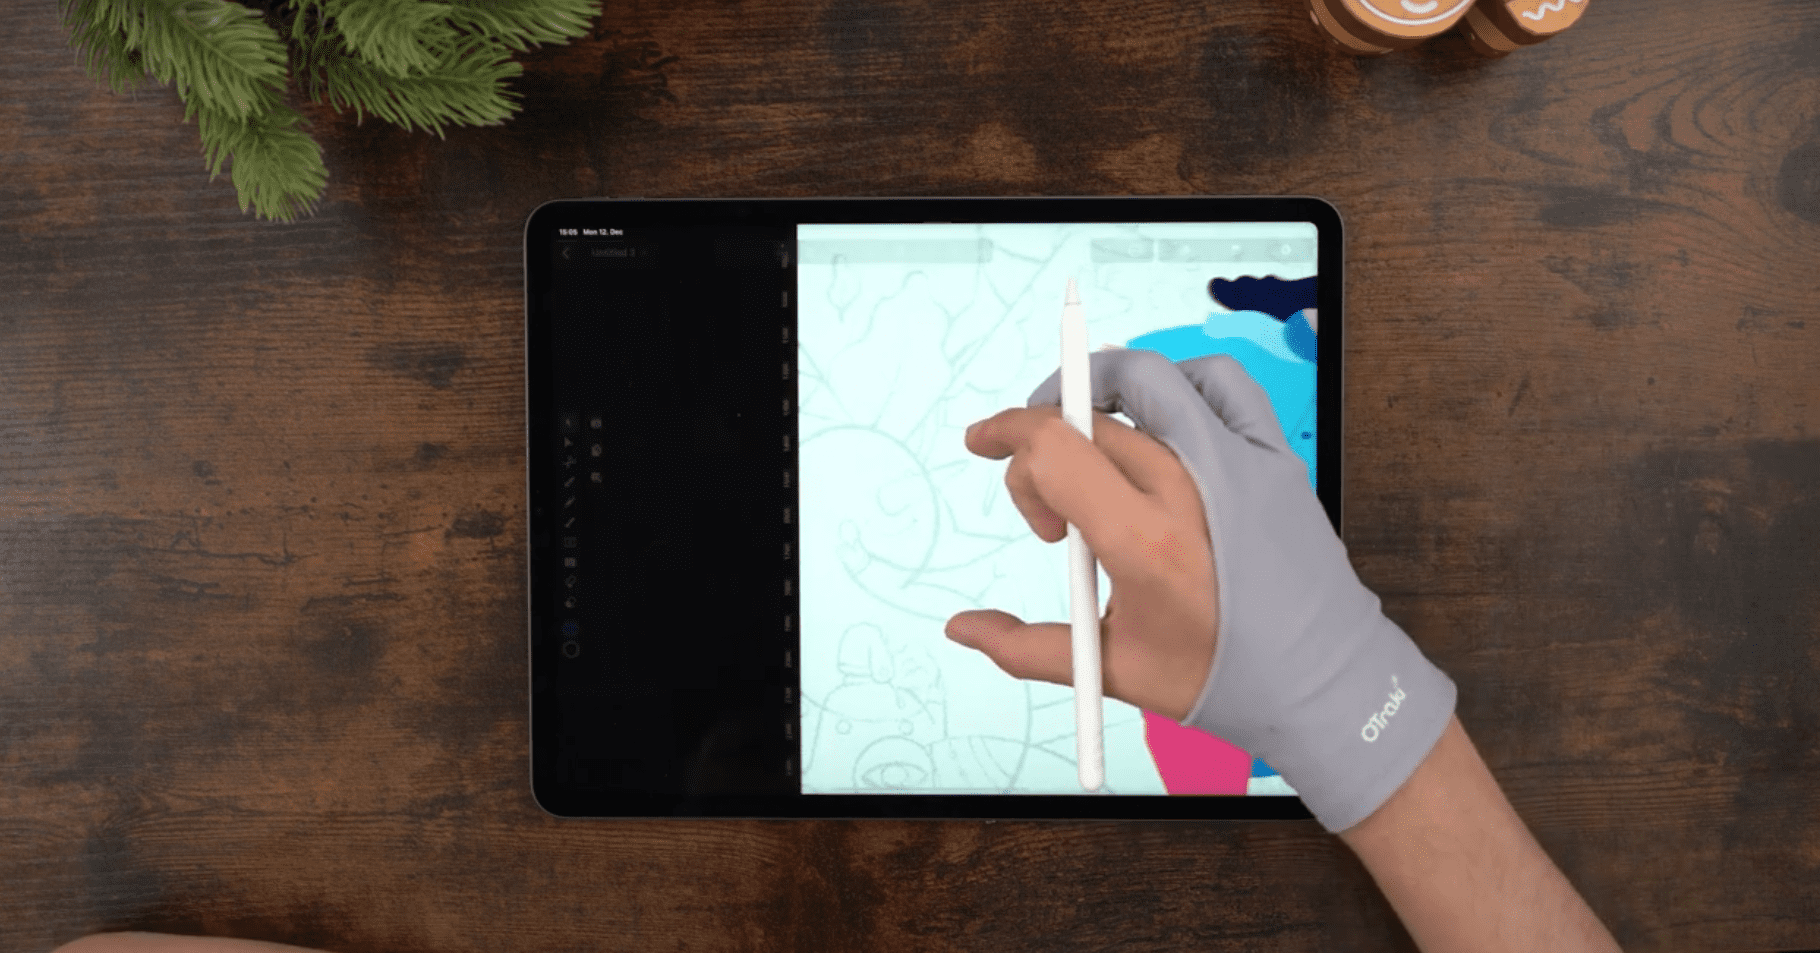
Start creating the pattern by first drawing the snowman. Jaye, in our tutorial, begins drawing the pattern element inside an illustration he has opened and prepared already in Linearity Curve.
You have several options to draw the snowman pattern element. You can import an image of a snowman, draw a snowman on a piece of paper and then import it into Linearity Curve or draw it on a separate layer inside an illustration that you have already prepared in Linearity Curve, as Jay is doing in the tutorial.
Create a document by tapping the ic-create-docic-create-doc button at the top-right corner of the Gallery. In the popover menu, you can import a document ic-import-tabic-import-tab or create a new document ic-new-documentic-new-document by tapping one of your five most recently used templates ic-doc-templatesic-doc-templates.
As you can see in the screenshot, Jaye uses gestures ic-gestures-shortcutsic-gestures-shortcuts to zoom in ic-zoom-inic-zoom-in and out ic-zoom-outic-zoom-out, pan, and rotate the canvas to better access the shapes.
Draw the snowman
Before you start drawing, please prepare a custom color palette in Linearity Curve containing all the colors from our Hex color codes list above.
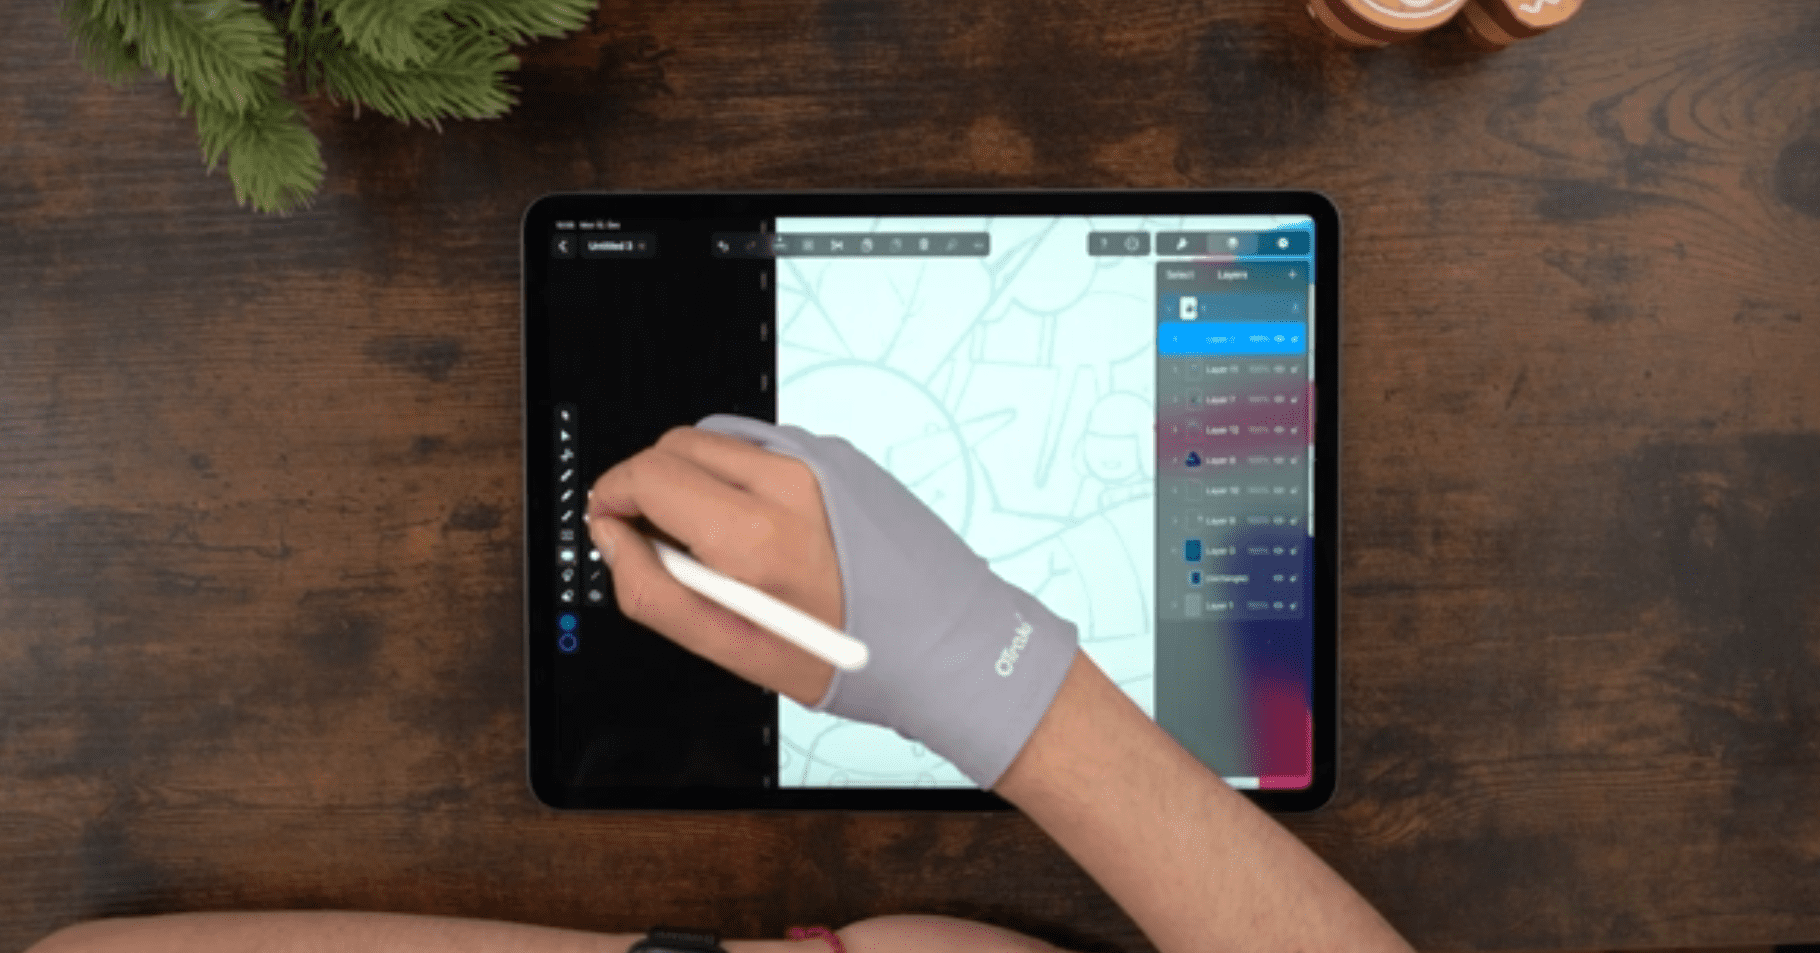
Before drawing the snowman, create a new layer ic-add-layeric-add-layer to keep the elements of your Christmas pattern illustration organized. Every newly drawn shape will automatically be organized as a new element within the selected layer. The elements can be accessed separately in the layer hierarchy organized in the Layers Tab ic-layers-tabic-layers-tab.
To create the basic snowman shapes, Jaye used the Shape Tool ic-rectangleic-rectangle.
In the Toolbar to the left side of your screen, activate the Shape Tool ic-rectangleic-rectangle by tapping on the corresponding tool icon. You can access the available pre-made shapes by tapping the Shape Tool icon again, or the three dots button.
Use the Selection Tool ic-selectionic-selection to select and move the shape you created to its desired position on the canvas.
We don't plan on drawing a blueish robot snowman but a traditional white one, so we need to change the fill color of the circular head shape from blue to white.
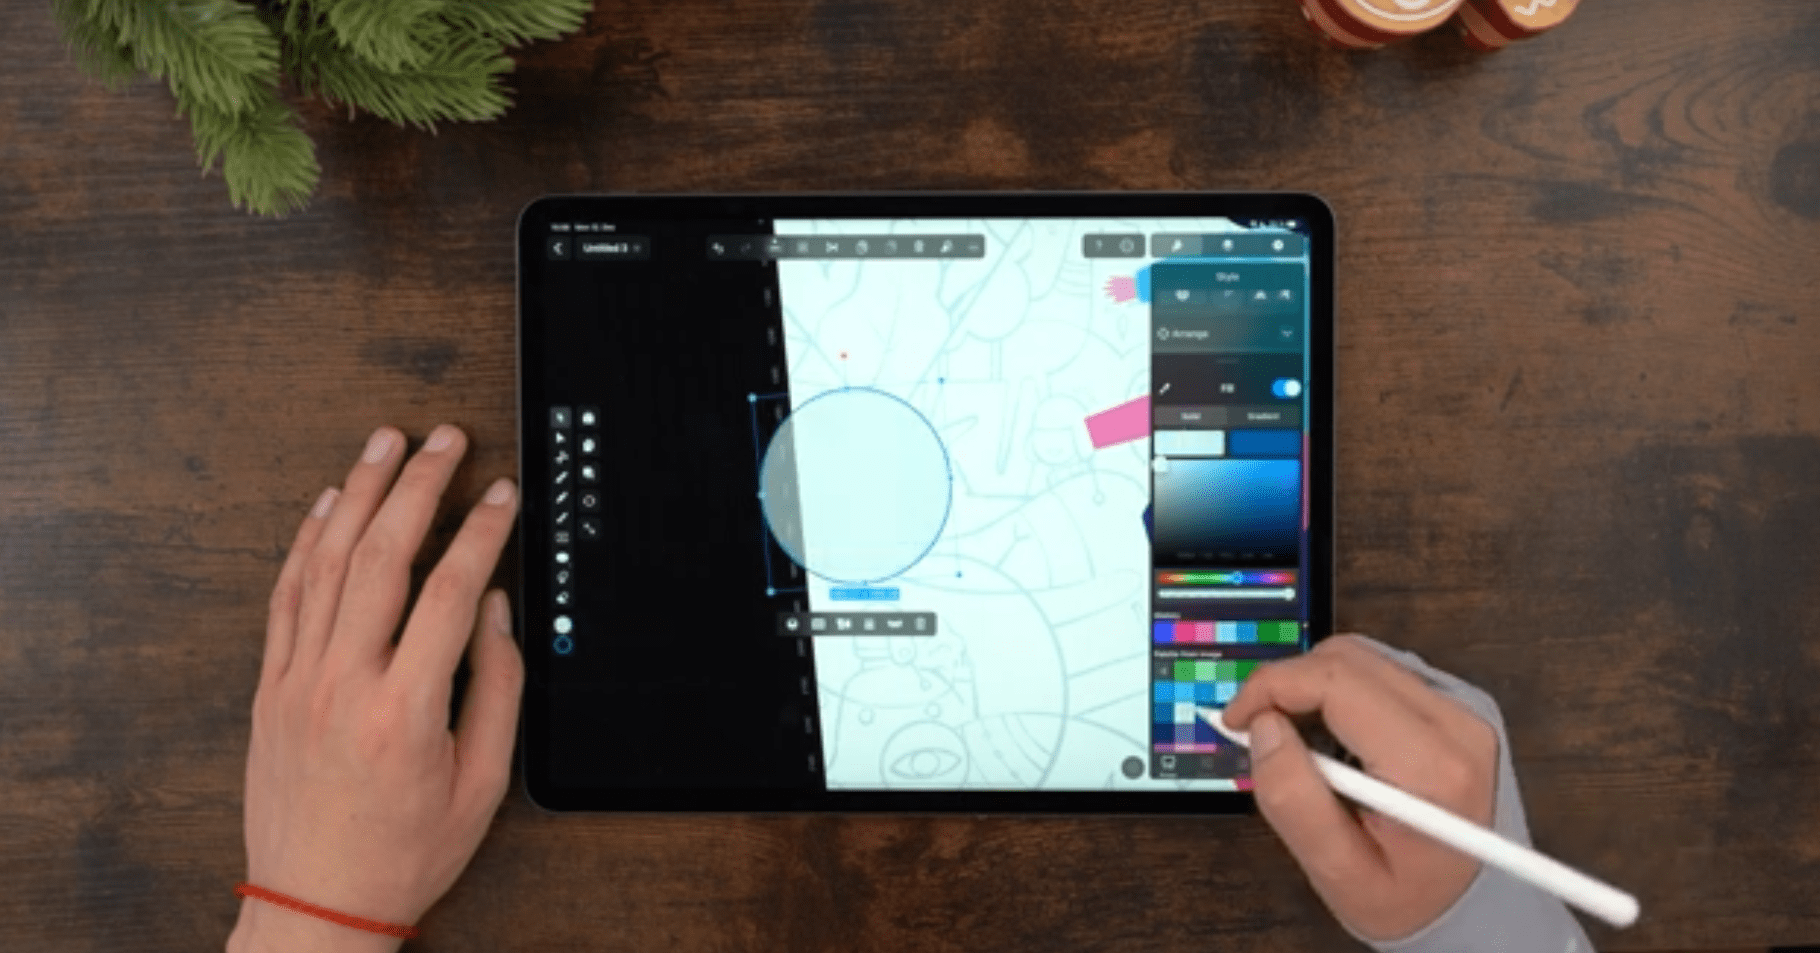
You can change the fill color and stroke color of your selected shape with the Color Widget Tool located at the bottom of the Toolbar or the Color Picker Tool ic-color-pickeric-color-picker, accessible in the Style Tab ic-style-tabic-style-tab of the Inspector.
Select the shape and then access the already saved color palette in the Style Tab ic-style-tabic-style-tab of the Inspector. Tap on the target color, and the source color will be automatically replaced with it.
Reduce the opacity of the circle fill, as it allows you to see the reference drawing or image while drawing.
You can reduce the opacity of your fill by using the Opacity Slider ic-opacityic-opacity in the Appearance Section or the Quick Actions Menu ic-quick-actionsic-quick-actions displayed at the bottom of your selected shape.
Another option is to toggle the fill ic-fillic-fill of your shape off in the Color Picker ic-color-pickeric-color-picker or the Appearance Section ic-appearance-tabic-appearance-tab to view the underlying reference artwork.
Unleash Your Creativity with Illustration
Explore a world where art meets functionality. Discover how our illustration tools can transform your creative ideas into stunning visuals.
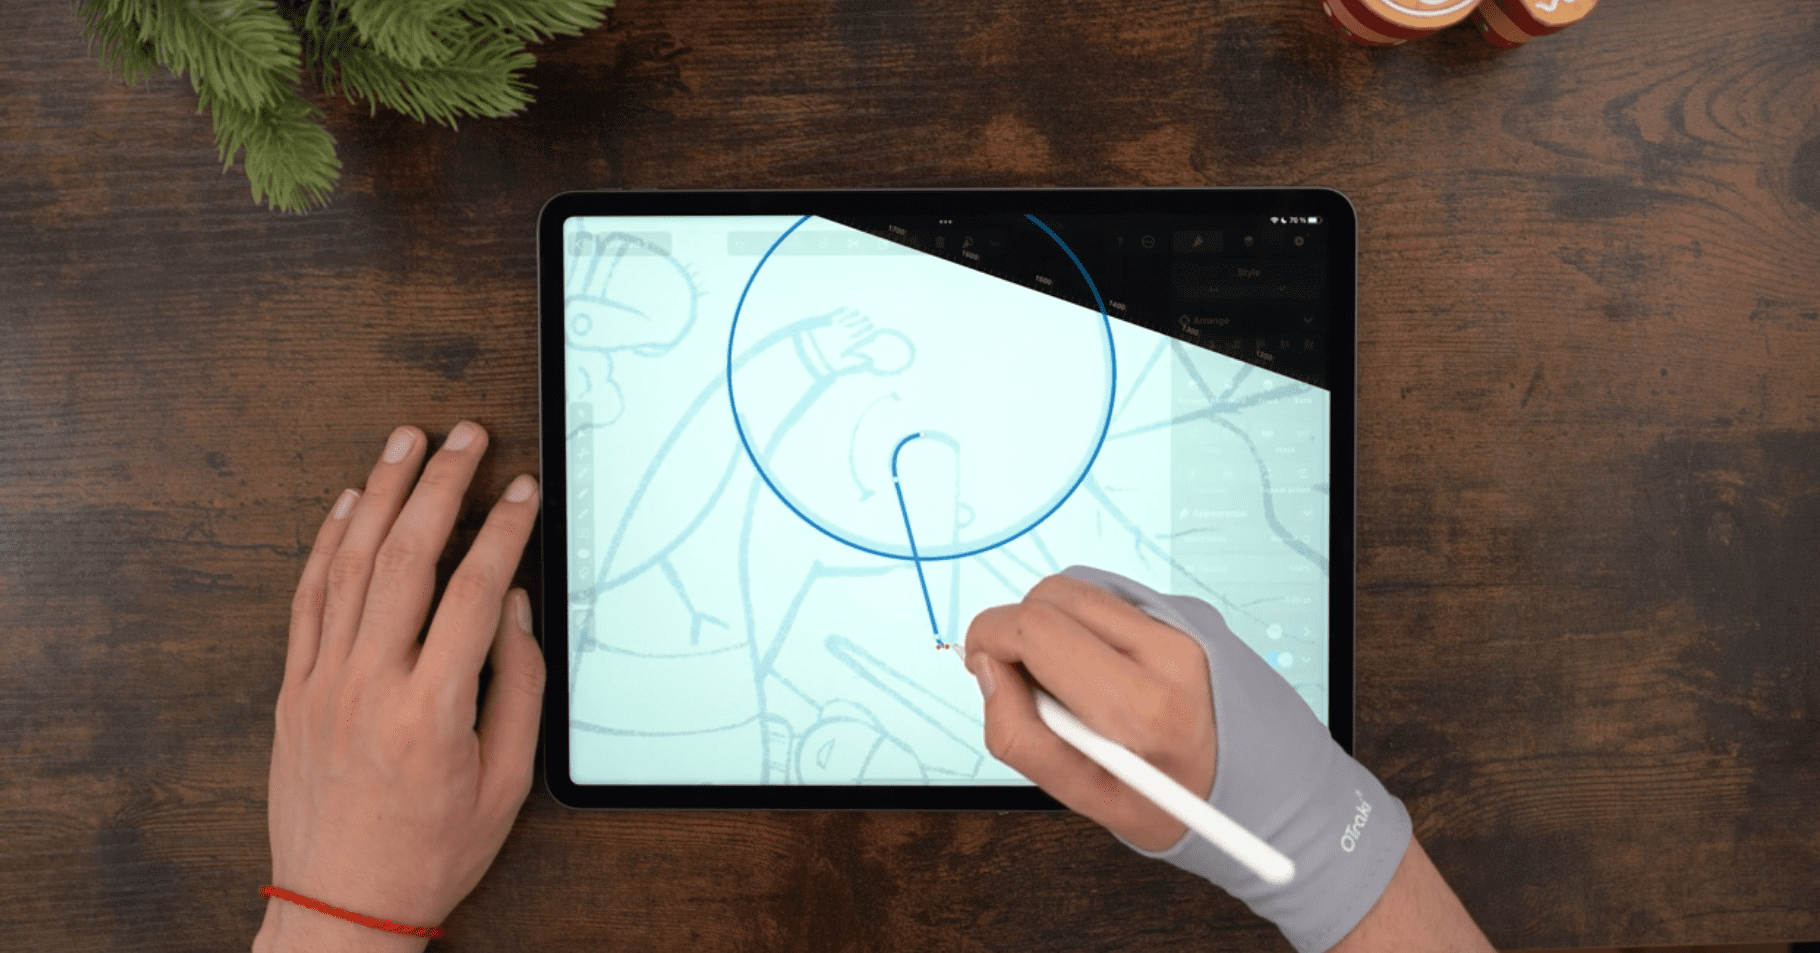
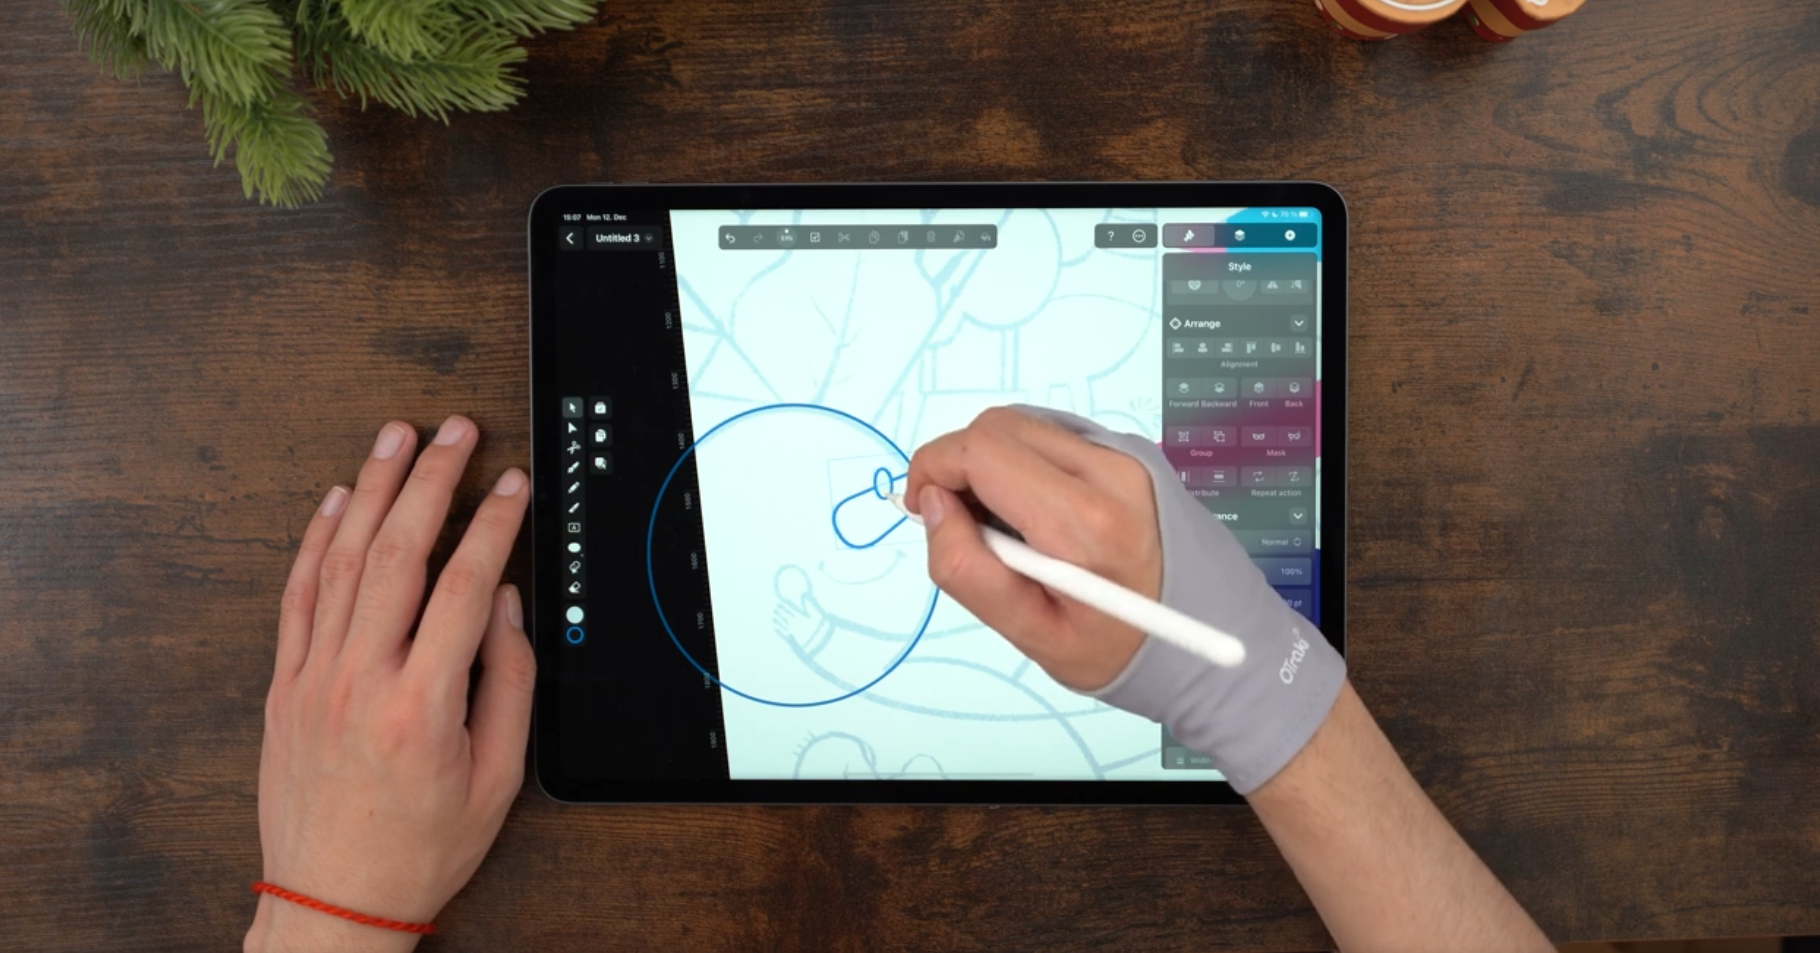
To create the nose shape of the snowman, use the Pen Tool ic-penic-pen. Activate it in Toolbar and start drawing. Set the points by tapping along the sketched line. Adjust the curve by tapping, holding, and dragging the Node Handles. Release when you're satisfied with the result. Tap once on the last node to create sharp angles or deep curves.
To create the eyes of the snowman, we’ll revert to the Shape Tool ic-rectangleic-rectangle. Activate it in the Toolbar, and in the tool options, choose the Oval Tool ic-ovalic-oval.
Tap and drag the oval on the head shape. Adjust the eye placement on the canvas with the Selection Tool ic-selectionic-selection if necessary.
To create the second eye, duplicate it by selecting the original eye shape and copy-paste it or use the Duplicate Mode ic-duplicateic-duplicate, which can be activated on the right side of the activated Selection Tool ic-selectionic-selection.
One trick that Jaye used is to scale the eye closer to the viewer a bit bigger to emphasize the perspective view of the eyes.
Next, we will create the mouth of our snowman by using the Pen Tool ic-penic-pen. Tap once for the first mouth corner and then tap again and hold and drag to create the smiling curve for the mouth with the Bézier Handle.
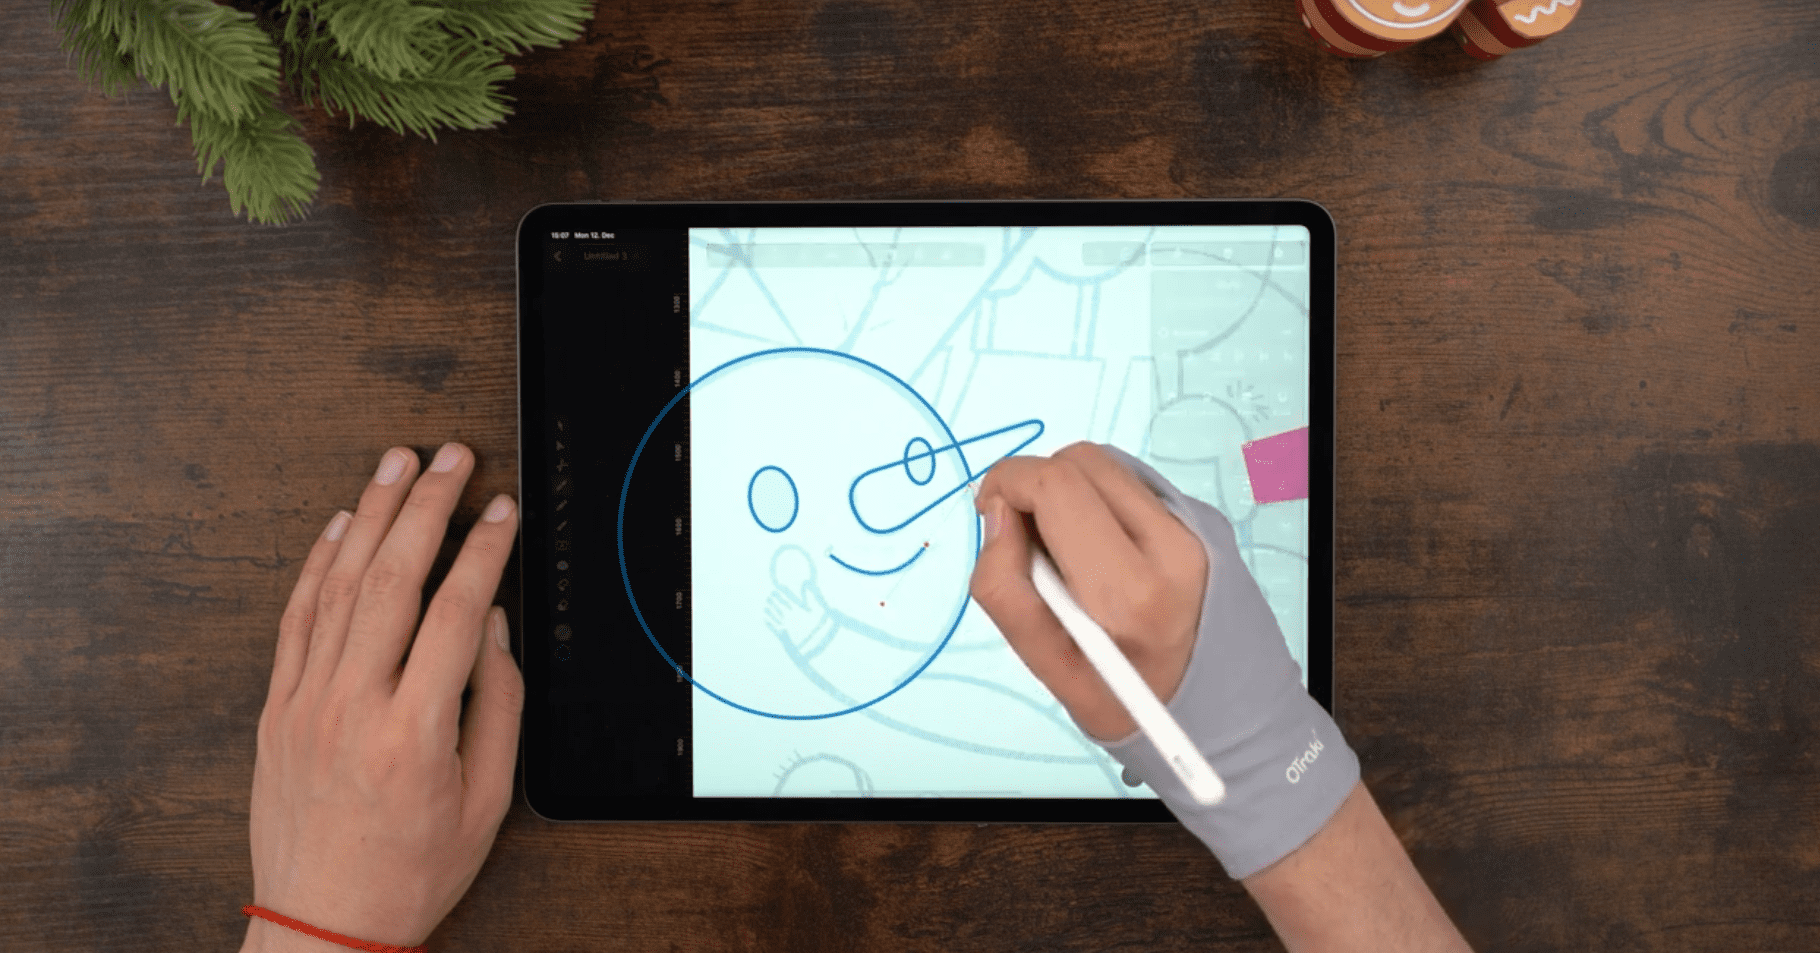
We will finish the mouth by adding small circles on each mouth corner by creating a circle with the Shape Tool ic-ovalic-oval, duplicating it, and placing both elements accordingly.

Next, we will create a small triangular hat for the snowman using the Pen Tool ic-penic-pen. Tap three times to draw the rectangular hat.
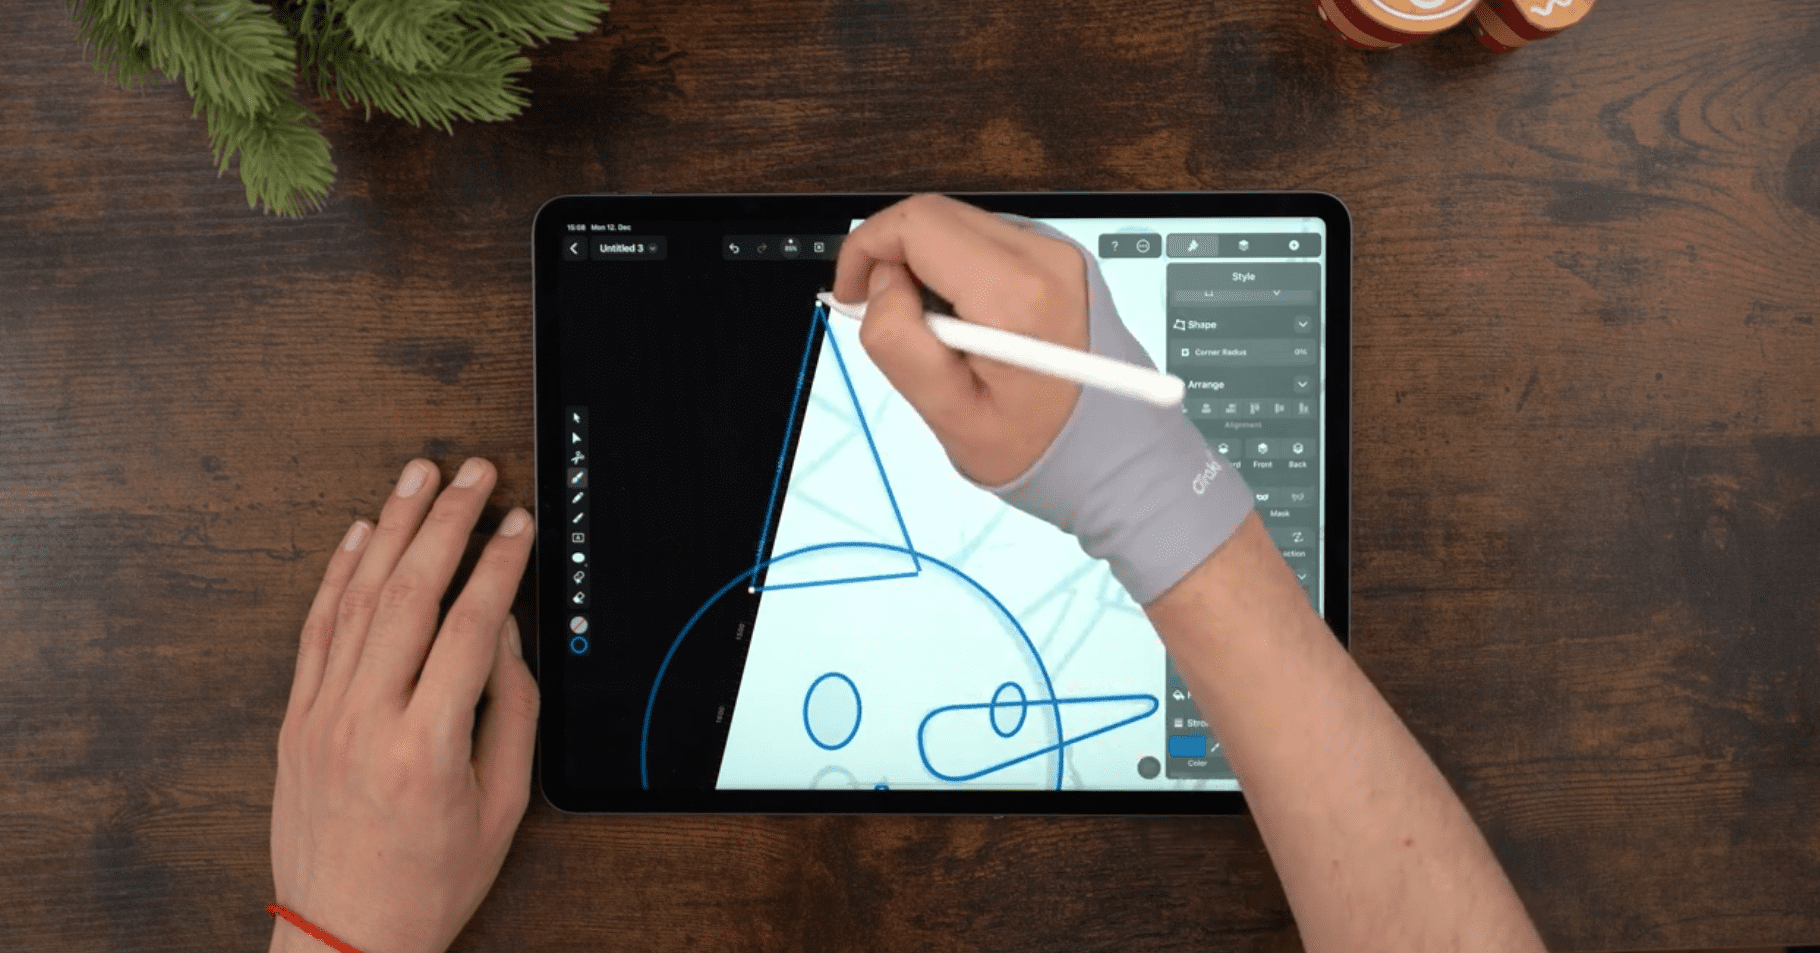
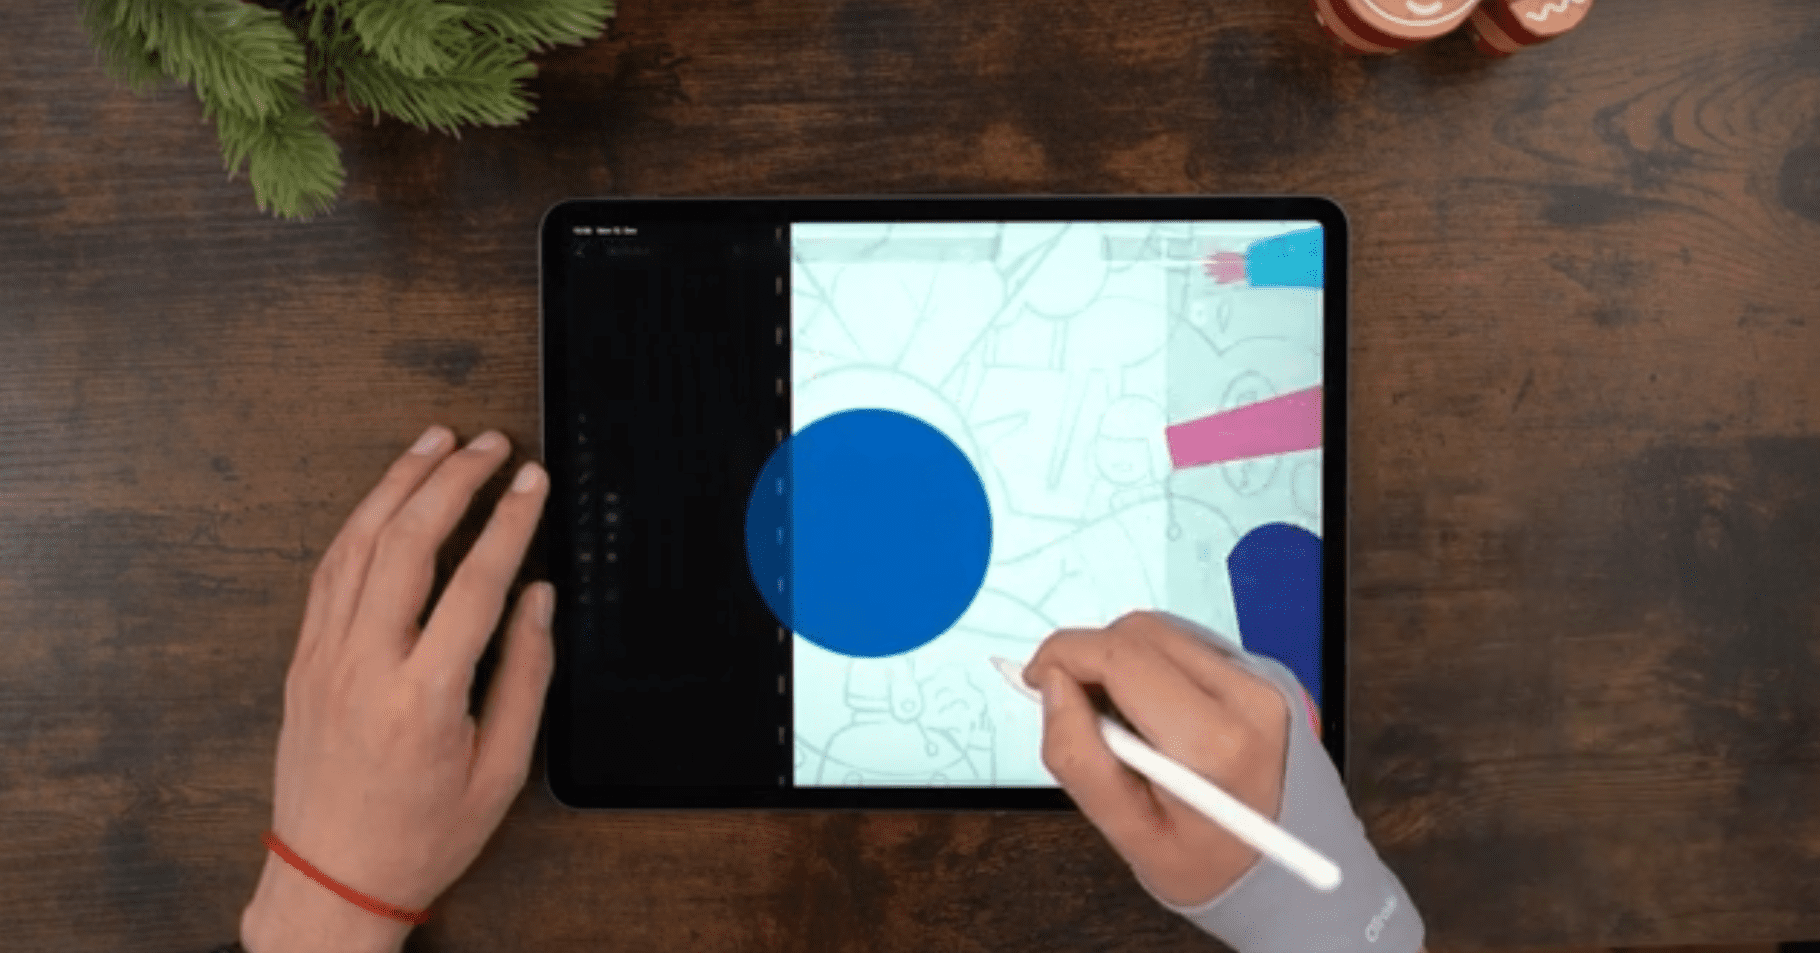
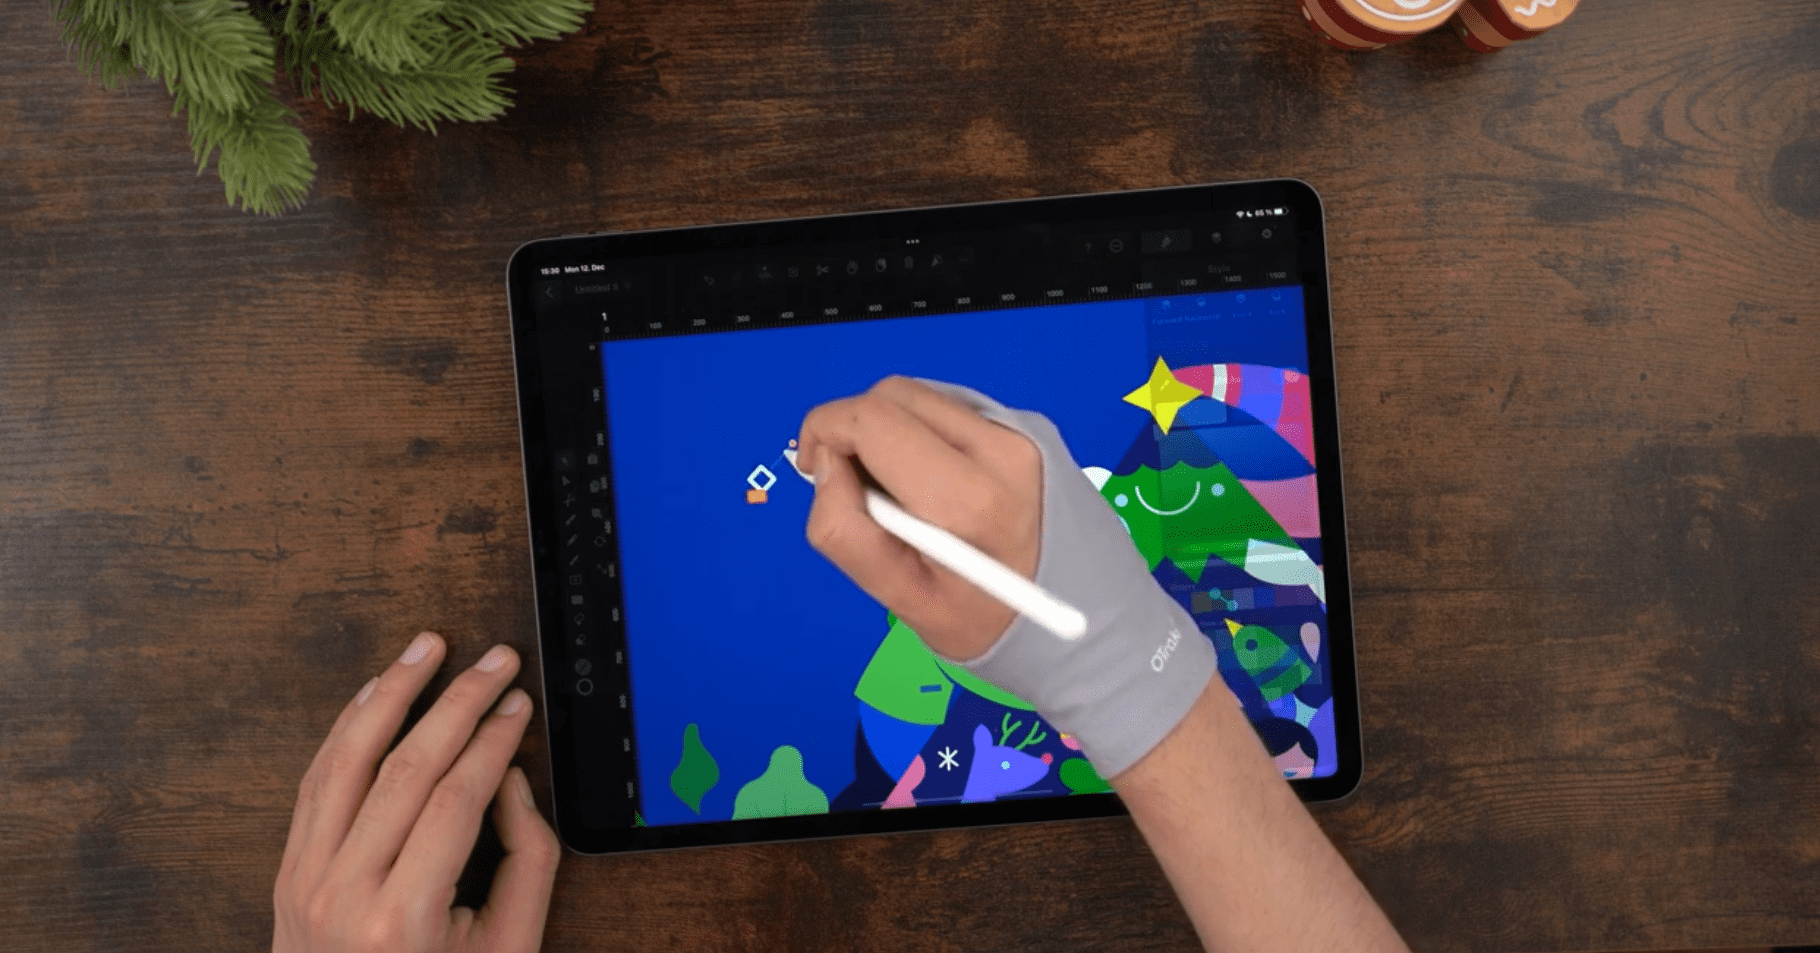
We then create the snowman's body by drawing a circle with the Shape Tool ic-ovalic-oval. When you create the body shape, it will overlap the head shape.
You can let the head shape overlap the body shape or vice versa. To change the overlapping behavior of these two shapes, you need to rearrange the hierarchy of the drawn shapes in the layer hierarchy. You can use the Bring Forward ic-bring-forwardic-bring-forward or Bring Backward ic-bring-backwardic-bring-backward commands, accessible in the Arrange Section ic-arrange-tabic-arrange-tab, or the context-sensitive Quick Actions Bar ic-quick-actionsic-quick-actions.
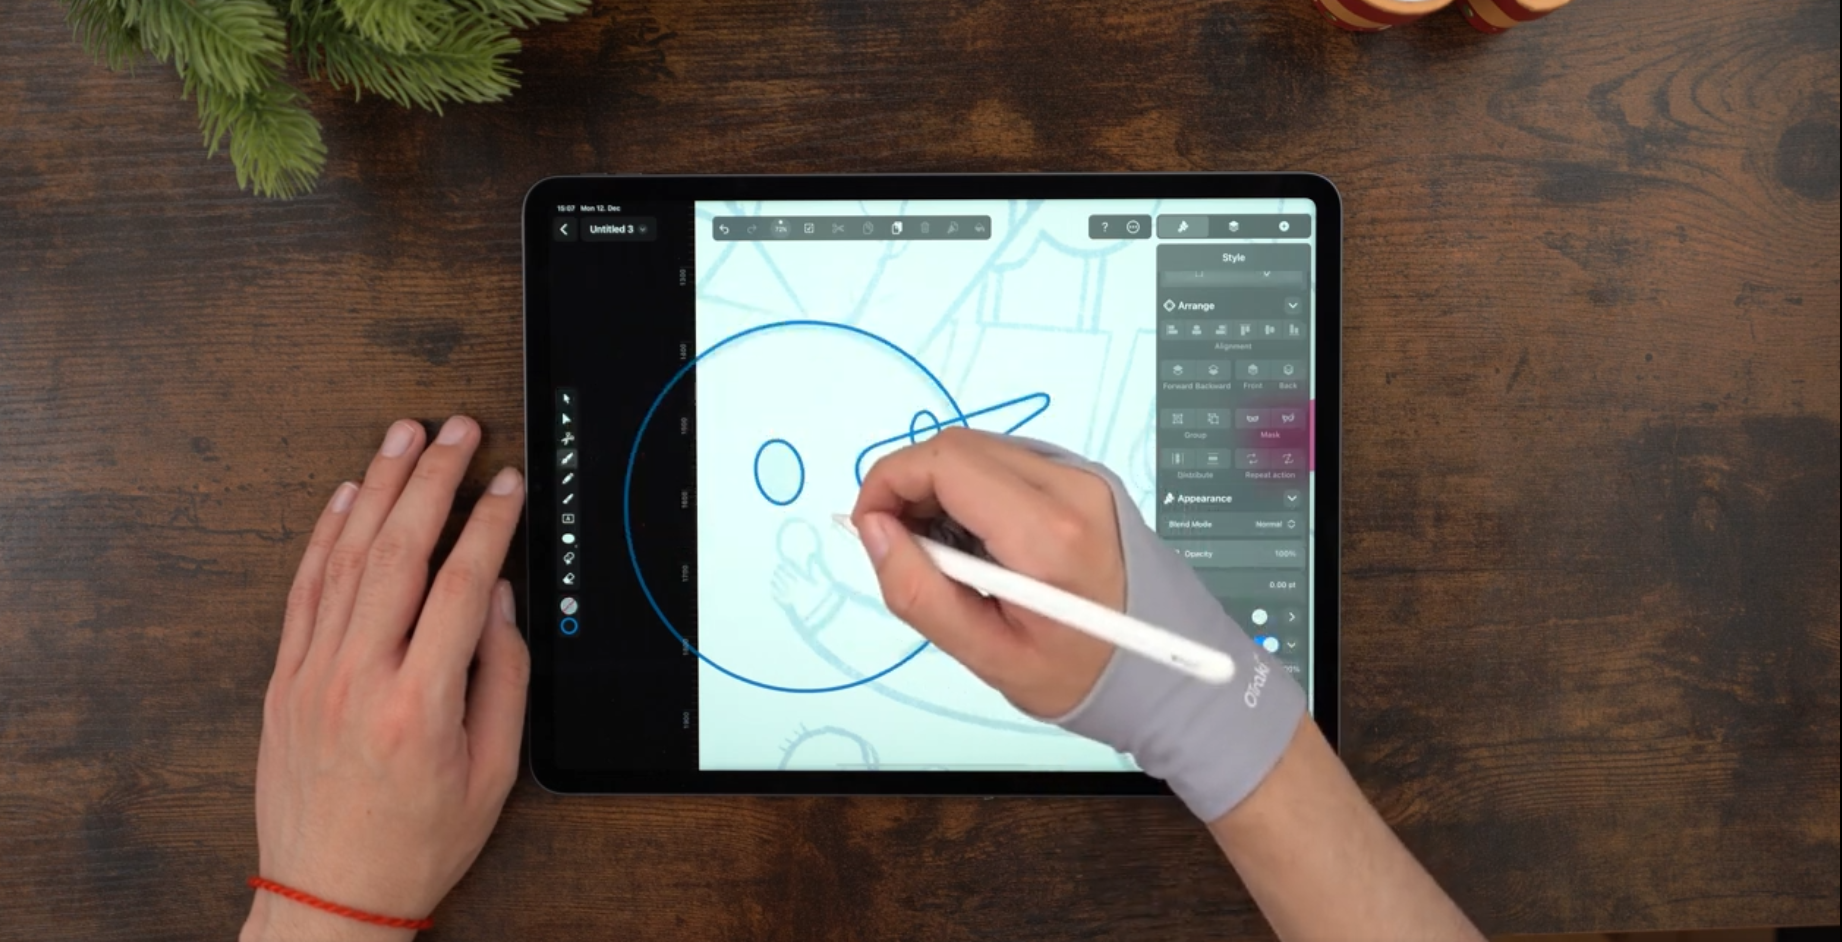
Next, draw some zigzag details of the snowman's hat with the Pen Tool ic-penic-pen. The lines don't need to match the underlying hat base shape perfectly; we will fix that later with a Boolean Operation ic-booleanic-boolean.
To perform a Boolean Operation ic-booleanic-boolean between the base shape of the hat and the zigzag detail, the paths of these shapes need to be closed. You can close a path using the Close Path Button ic-close-pathic-close-path in the Path Section ic-path-tabic-path-tab.
Select both shapes, the base hat shape, and the zigzag detail, and perform the Boolean Operation Divide ic-boolean-divideic-boolean-divide.
You can select multiple shapes by activating the Selection Tool ic-selectionic-selection and then using the Multi Select Mode ic-multiselectic-multiselect or tapping, holding, and dragging a selection square that encompasses the elements you want to select simultaneously.
You can access the Boolean Operation ic-booleanic-boolean controls via the Quick Actions Bar ic-quick-actionsic-quick-actions or the Path Section ic-path-tabic-path-tab.
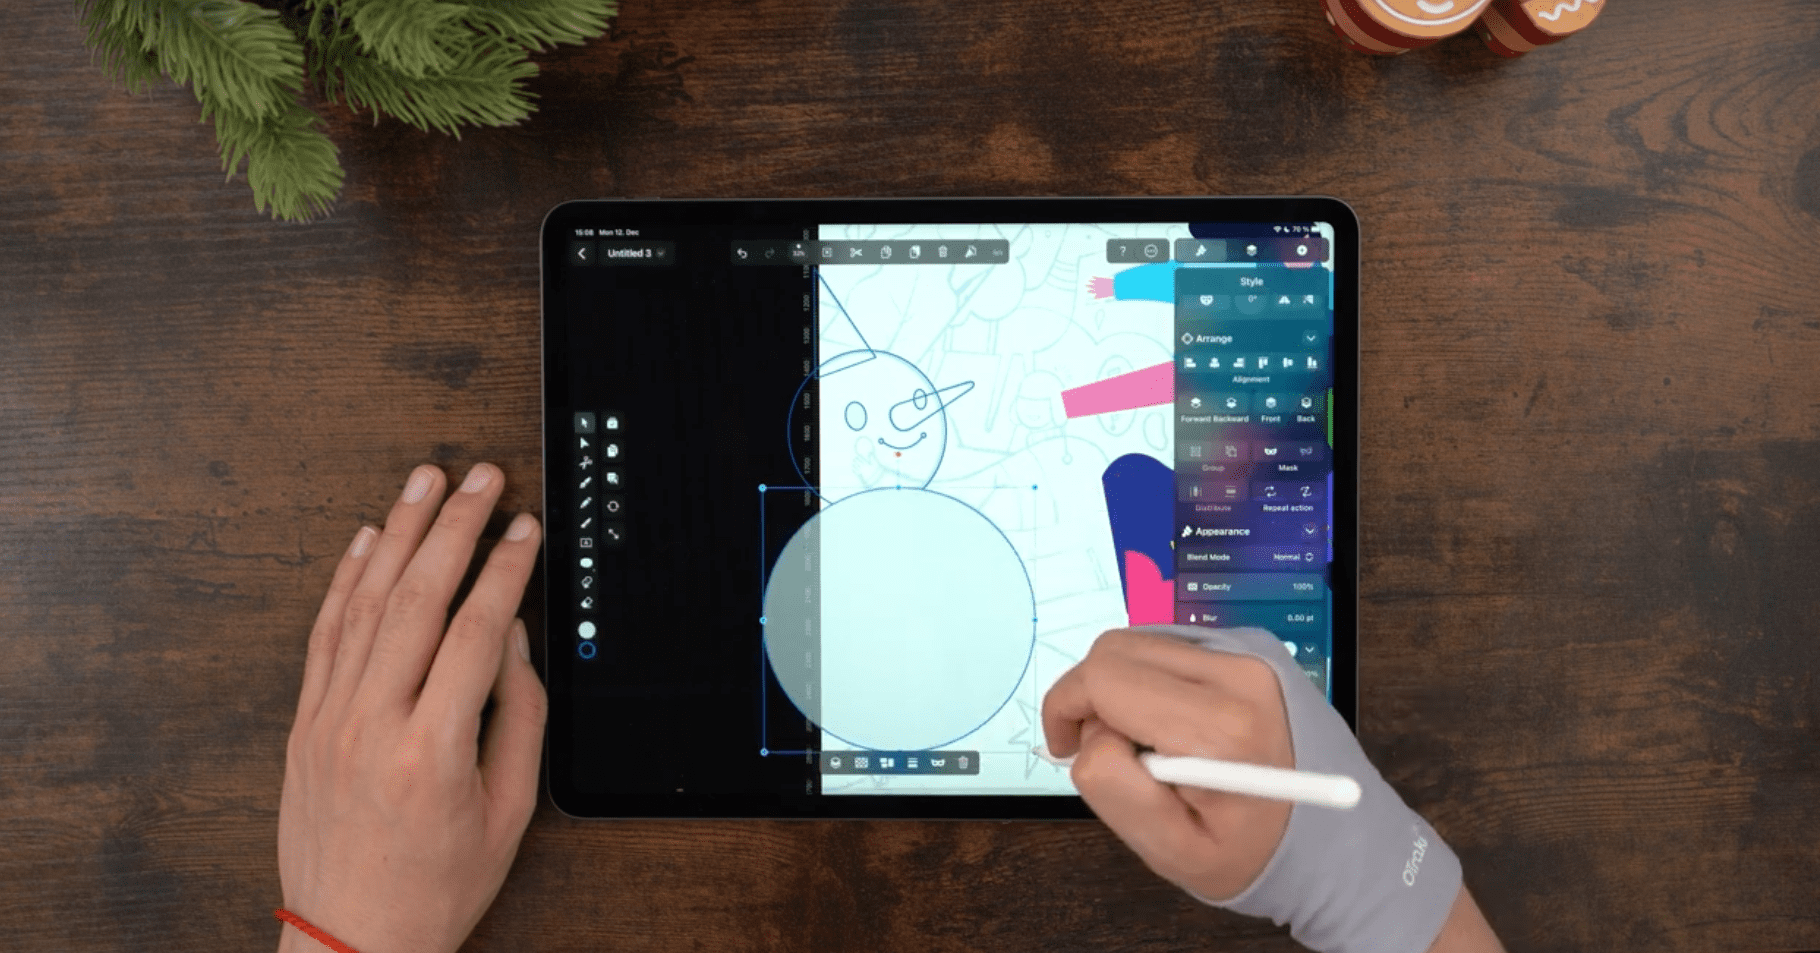
Next, we will add some detail to the body of the snowman.
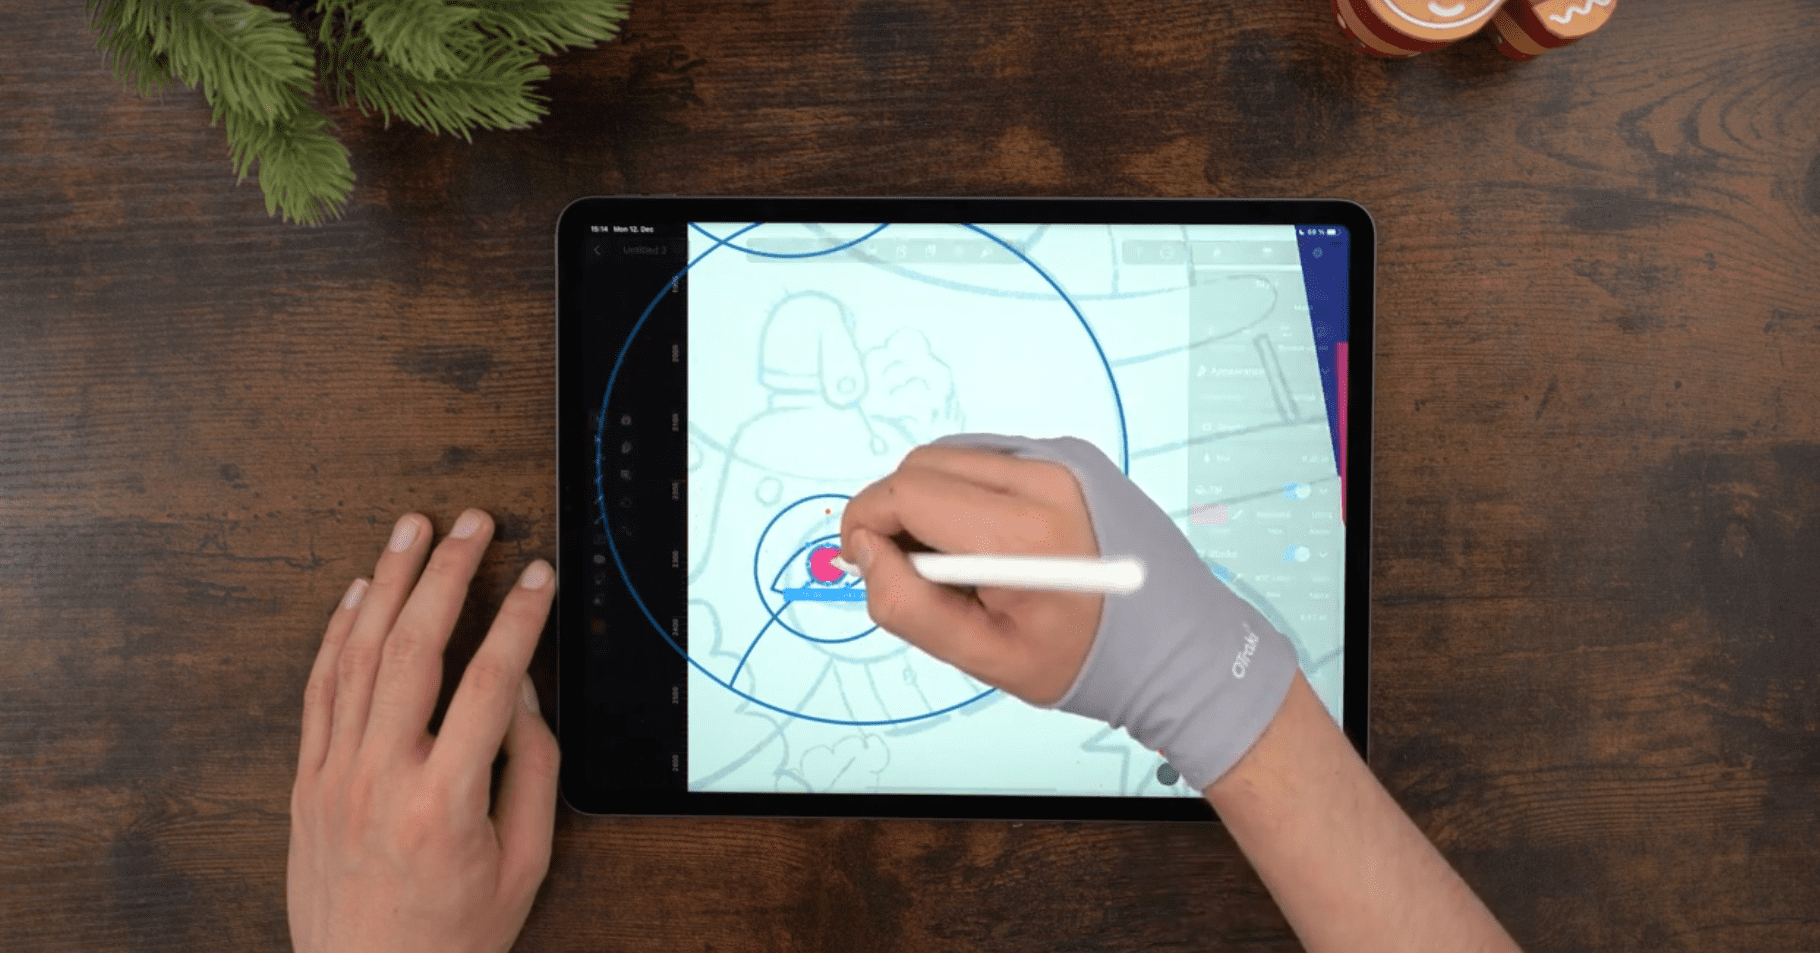
Select the Shape Tool ic-ovalic-oval and draw a circle holding one finger down simultaneously. Place the circle so that it intersects with the snowman's body.
Select the newly created circle and the circular body of the snowman and perform the Boolean Operation Divide ic-boolean-divideic-boolean-divide. The pink shape now forms a half-moon shape contained within the outline of the snowman's body. Please note that Jaye, later on, switches the color of the half-moon shape to blue.
Draw little wood branches as arms of the snowman with the ic-penic-pen Pen Tool.

Create the eye symbol
Jaye has included an eye symbol in the pattern. The eye symbol symbolizes for him that Christmas is an important holiday that draws the attention of the masses.
First, draw a circle while simultaneously holding down one finger with the Shape Tool ic-ovalic-oval. After that, draw the almond-shaped eye on it. Jaye used only four taps to create the shape. Tap once in every eye corner and tap and drag to create the curve. Position the almond shape in the center of the circle with the Selection Tool ic-selectionic-selection on the canvas.
For the last element, the eye pupil, draw a circle with the Shape Tool ic-ovalic-oval while simultaneously holding a finger down to create a circle.
Position the circular pupil in the center of the almond shape with the Selection Tool ic-selectionic-selection.
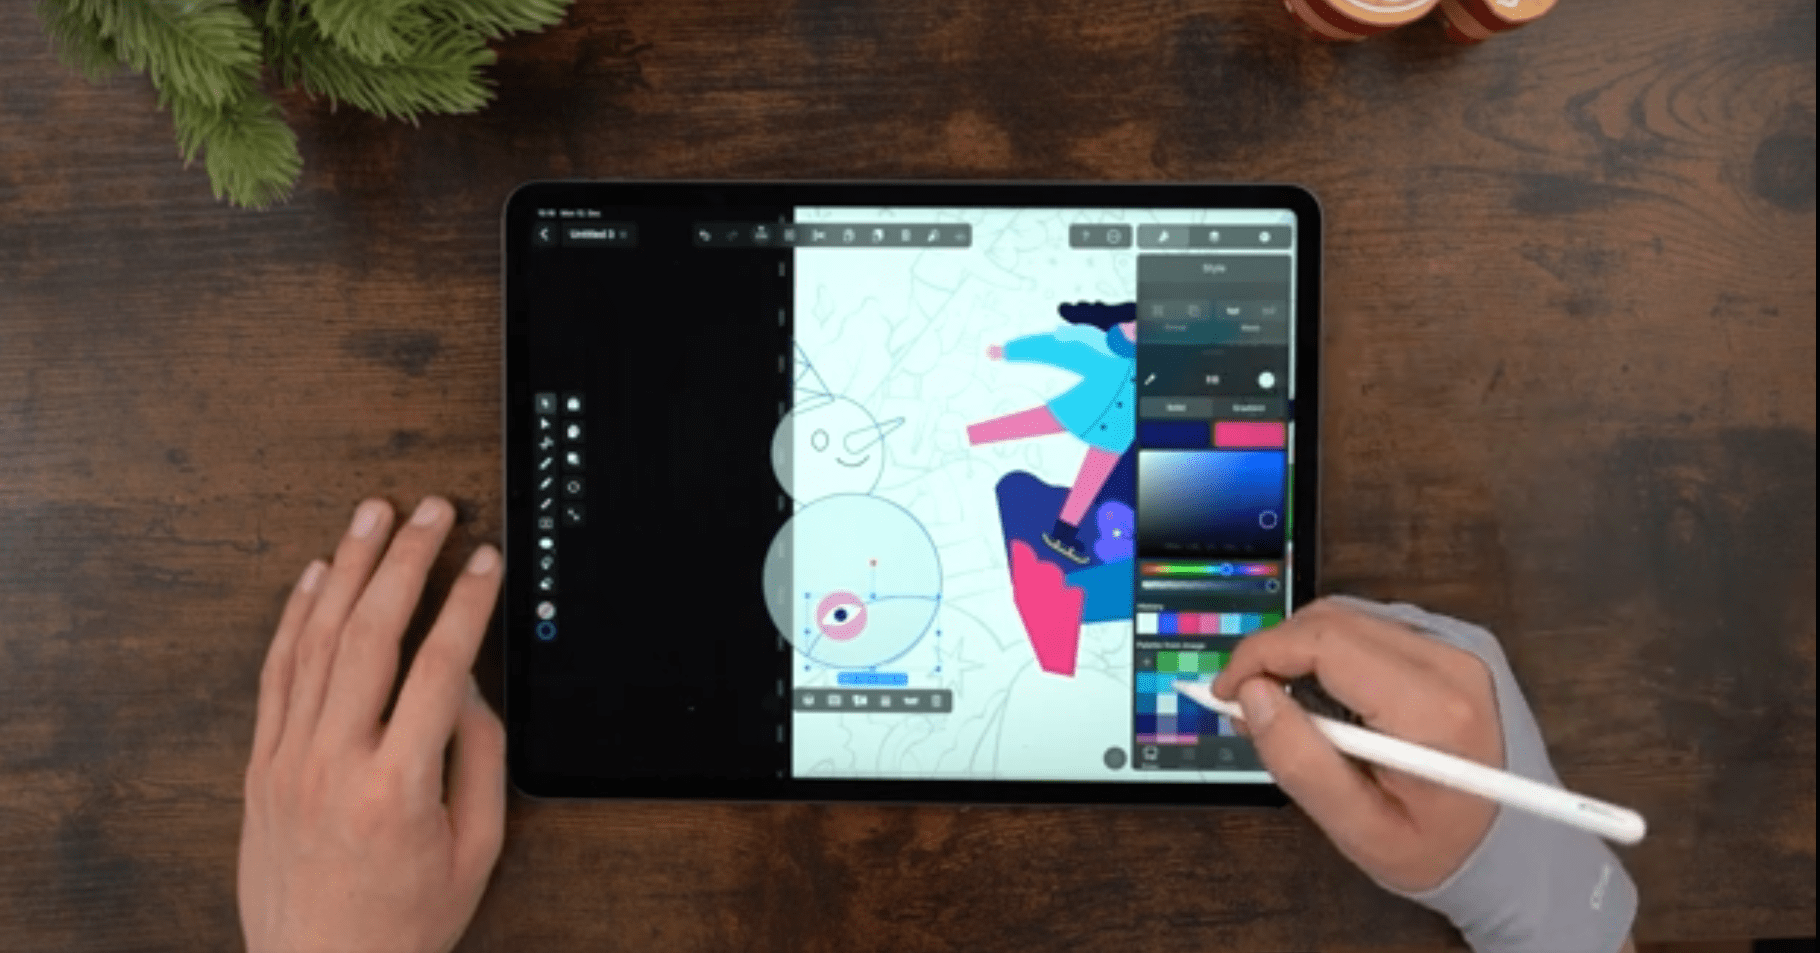
Colorize the shapes
In the next step, we will breathe colorful life into our Christmas shapes.
Jaye decided to spice up the traditional Christmas color palette of red, green, and gold by infusing the design with daring and bold neon colors.
We will color our shapes using the Fill ic-fillic-fill and Stroke ic-stroke-widthic-stroke-width Sections. At the beginning of this tutorial, we have listed all the Hex Color Codes so that you can fill every shape with the identical colors Jaye has used in the tutorial.
:quality(75))
:quality(75))
Select the shape with the Selection Tool ic-selectionic-selection and set the opacity of the Fill ic-fillic-fill or Stroke ic-stroke-widthic-stroke-width to 100% with the Opacity Slider ic-opacityic-opacity. Toggle the Fill ic-fillic-fill and Stroke ic-stroke-widthic-stroke-width on and choose the color with the Color Picker ic-color-pickeric-color-picker or set the Hex Color manually by copying the Hex Color Codes from the list at the beginning of the tutorial. Another option is to pick the color directly from your personal color palette that you prepared with the Hex Color Codes before starting the tutorial.
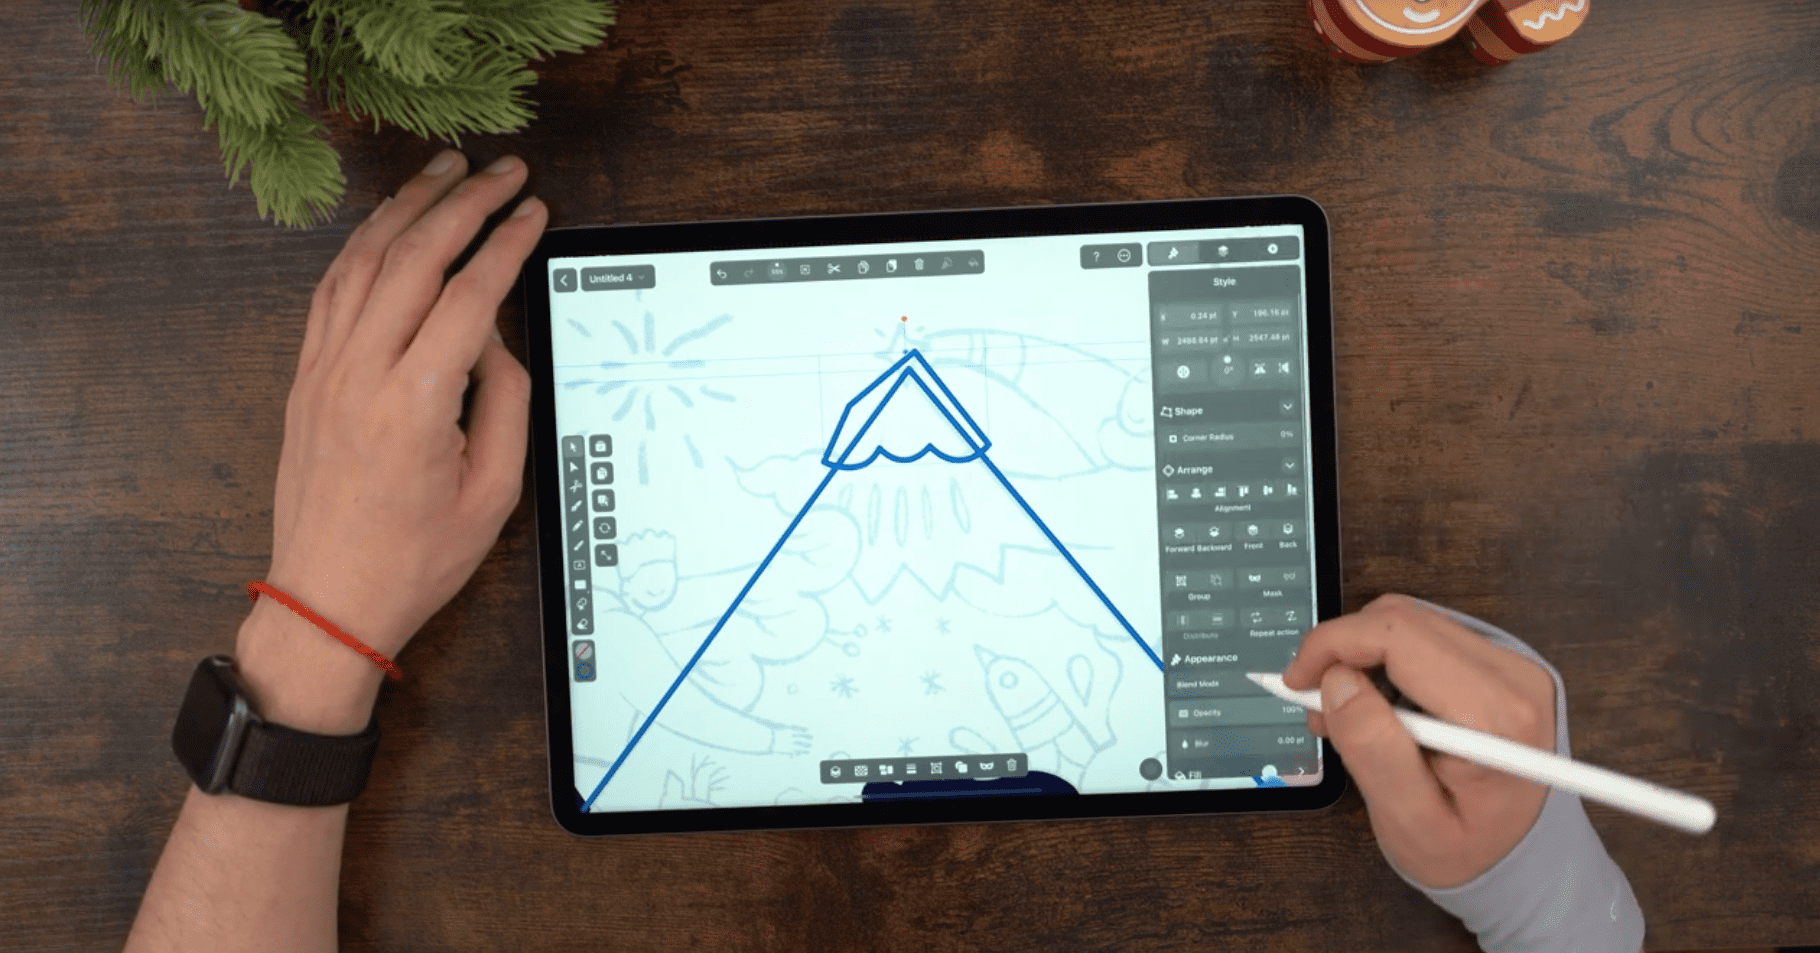
Draw the Christmas tree
In the next step of our tutorial, we'll draw one of the most traditional symbols of Christmas, the Christmas tree. Jaye has used exact and sharp lines for the Christmas tree. The tree shape is a triangle with sharp zigzag lines at the bottom.
We'll use the Pen Tool ic-penic-pen to create the base shape, which is ideal for creating a triangle with sharp zigzag lines. Select the Pen Tool ic-penic-pen in the Toolbar and outline the tree shape. Set a node for every sharp turn of the path.
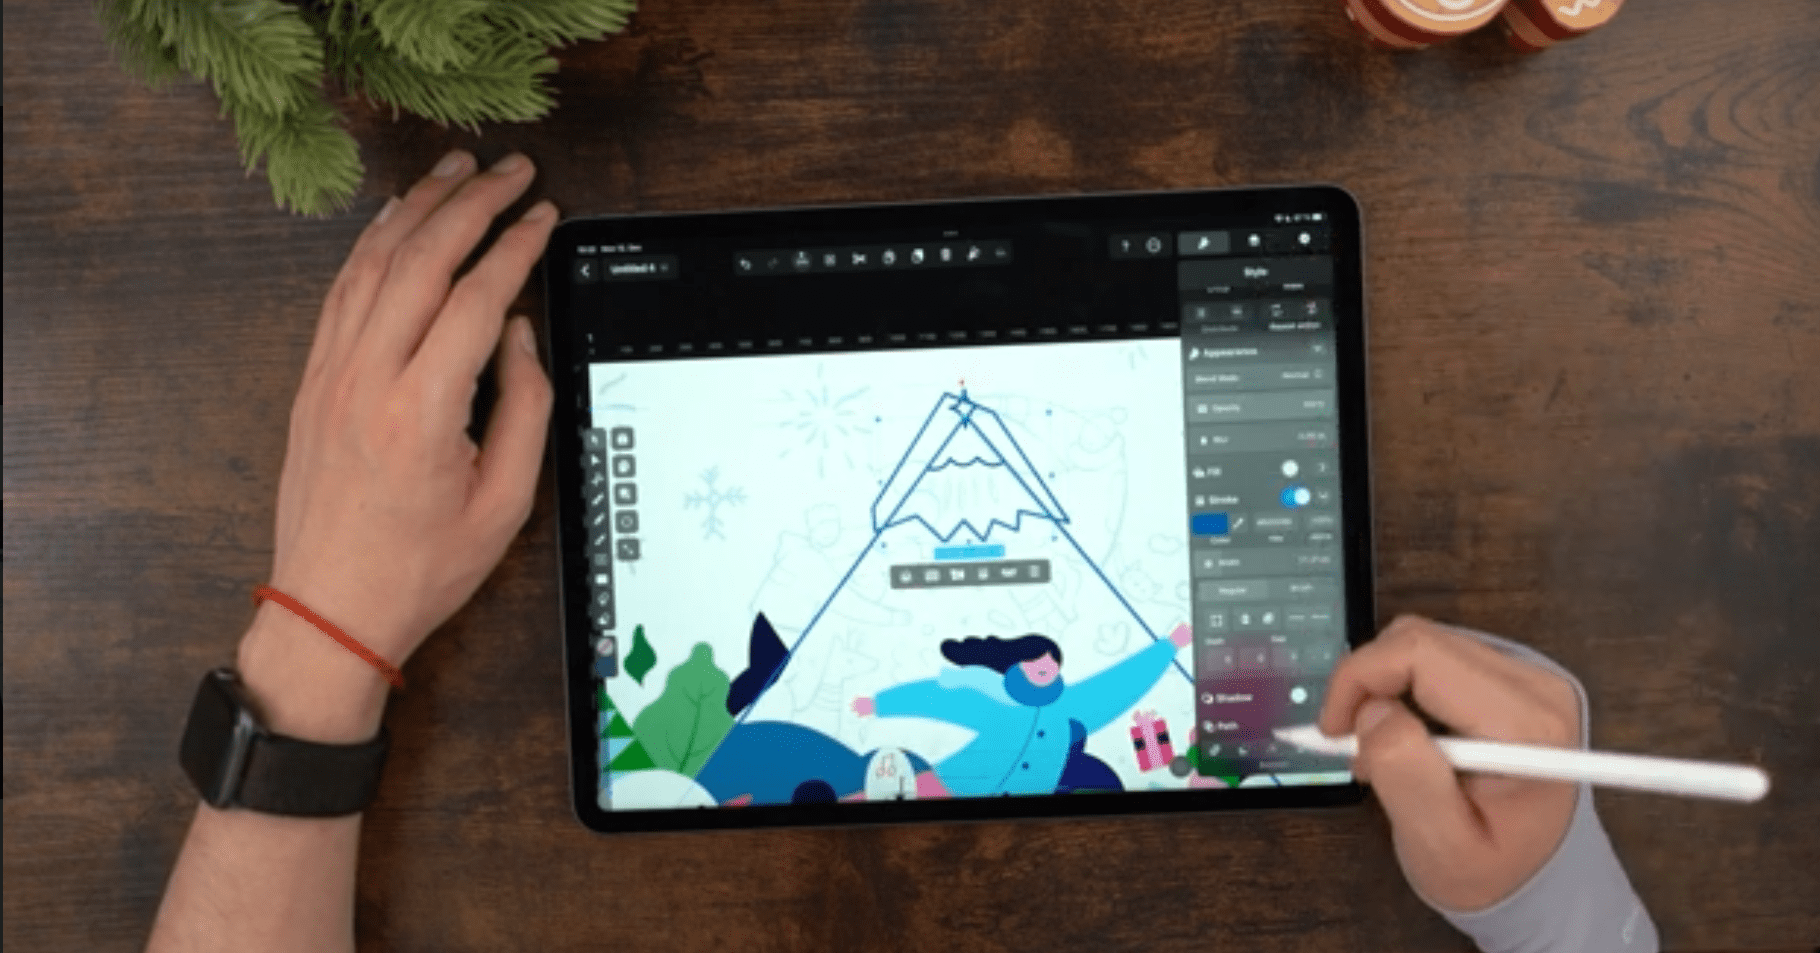
Now that we have fleshed out the basic tree shape, let's create the details of the tree shape.
First, create the curved lines at the tip of the tree. With the Pen Tool ic-penic-pen, draw three curves by tapping and holding to activate the Bézier Handles and then drag to curve the path with the Bézier Handles.
After drawing the curves, close the path by creating the triangular tip. Don't worry if you overdraw, as we will fix the issue using a Boolean Operation ic-booleanic-boolean.
Select the tree base shape and the curved tip shape and perform the Boolean Operation Divide ic-boolean-divideic-boolean-divide.
Next, we will draw the star at the tip of the tree with the Pen Tool ic-penic-pen. Tap four times to create the four tips of the star shape and hold and drag after each tap to soften the curve between nodes with the Bézier Curve Handle.
Keep the Pen Tool ic-penic-pen selected, draw a zigzag line below the curved line with a triangular tip, and close the shape. Perform the Boolean Operation Divide ic-boolean-divideic-boolean-divide so that the zigzag shape fits seamlessly into the basic tree shape.
The last detail we'll add to the Christmas tree will be its mouth and eyes.
With the Shape Tool ic-ovalic-oval, create a circle for the eye, and duplicate it. Position the duplicated eye shape with the Selection Tool ic-selectionic-selection on the tree. Select the Pen Tool ic-penic-pen and tap for each mouth corner. When you tap the second time, hold and drag to create the mouth curve with the Bézier Handle.
Another option to create the mouth is to create a circle with the Shape Tool ic-ovalic-oval and split the circle in half with the Scissors Tool ic-scissoric-scissor. Select one of the split half-circles and toggle the Fill ic-fillic-fill off so that the curved stroke of the half-circle is only visible. Select the mouth shape and position it on the tree with the Selection Tool ic-selectionic-selection. Reduce the stroke width in the Style Tab ic-style-tabic-style-tab. Select the eye and mouth shapes and change the color in the Style Tab ic-style-tabic-style-tab.
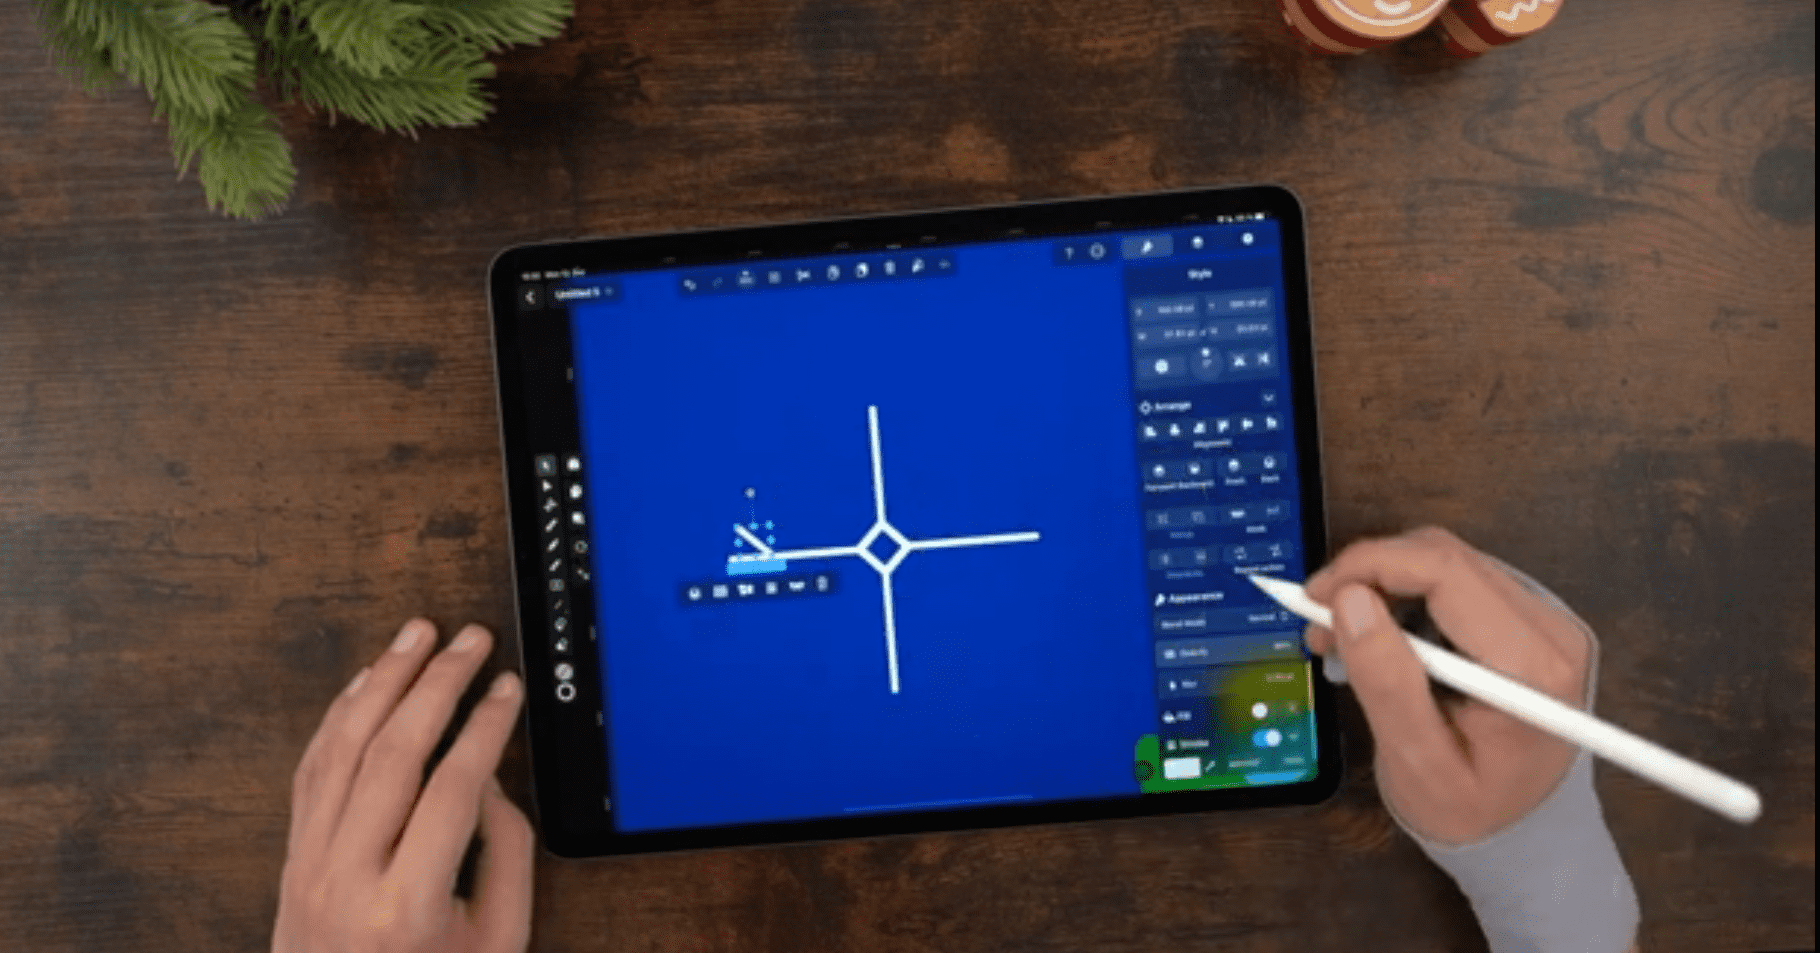
Draw the snowflake
To draw the snowflake, activate the Shape Tool ic-ovalic-oval and select the Rectangle Shape ic-rectangleic-rectangle. Hold a finger down to draw a square, then rotate the square with the Selection Tool ic-selectionic-selection to display it as a rhombus.
To draw the snowflake structure, we will use the Guides and Snapping to Guides features in Linearity Curve.
Choose the Horizontal and Vertical Guides ic-guidesic-guides to draw the snowflake structure. Additionally, we will activate the Snapping to Guides ic-snap-guidesic-snap-guides feature.
Tap on the Ruler ic-rulersic-rulers and drag the Horizontal and Vertical Guides ic-guidesic-guides (they are dragged out directly from the Ruler) to the tips of the rhombus. Select the Pen Tool ic-penic-pen and draw a straight line outward from the rhombus tips. Duplicate the horizontal and vertical lines and position them on the opposing rhombus tip on the canvas.

After we have drawn the basic cross shape of the snowflake, we will draw the branches of the basic snowflake structure with the Pen Tool ic-penic-pen.
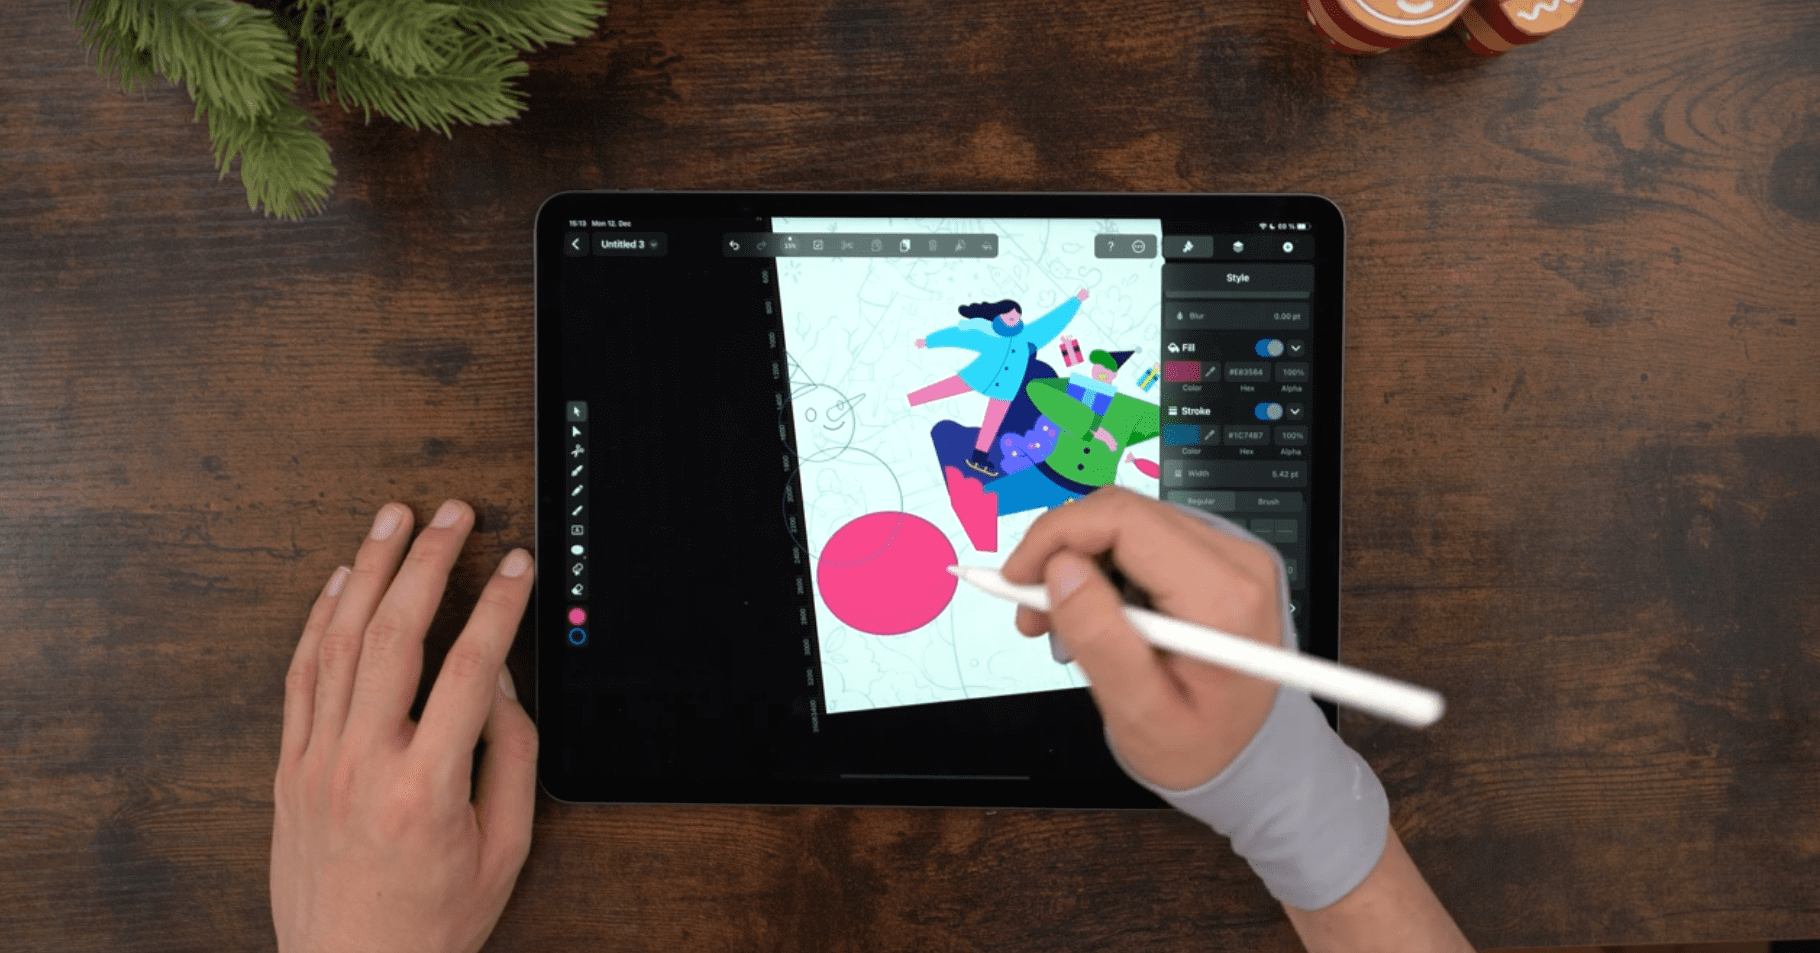
Jaye added a few more elements to the repeating pattern, such as a small tulip flower, a star, a smaller snowflake, a blue-yellow gift box, and pink candy. He took these elements from a Christmas illustration he had previously created.
You can quickly draw these elements, as we have given you all the knowledge and tools to recreate the shapes in this tutorial. Alternatively, you can use only the elements we have drawn in this tutorial together for your repeating pattern.

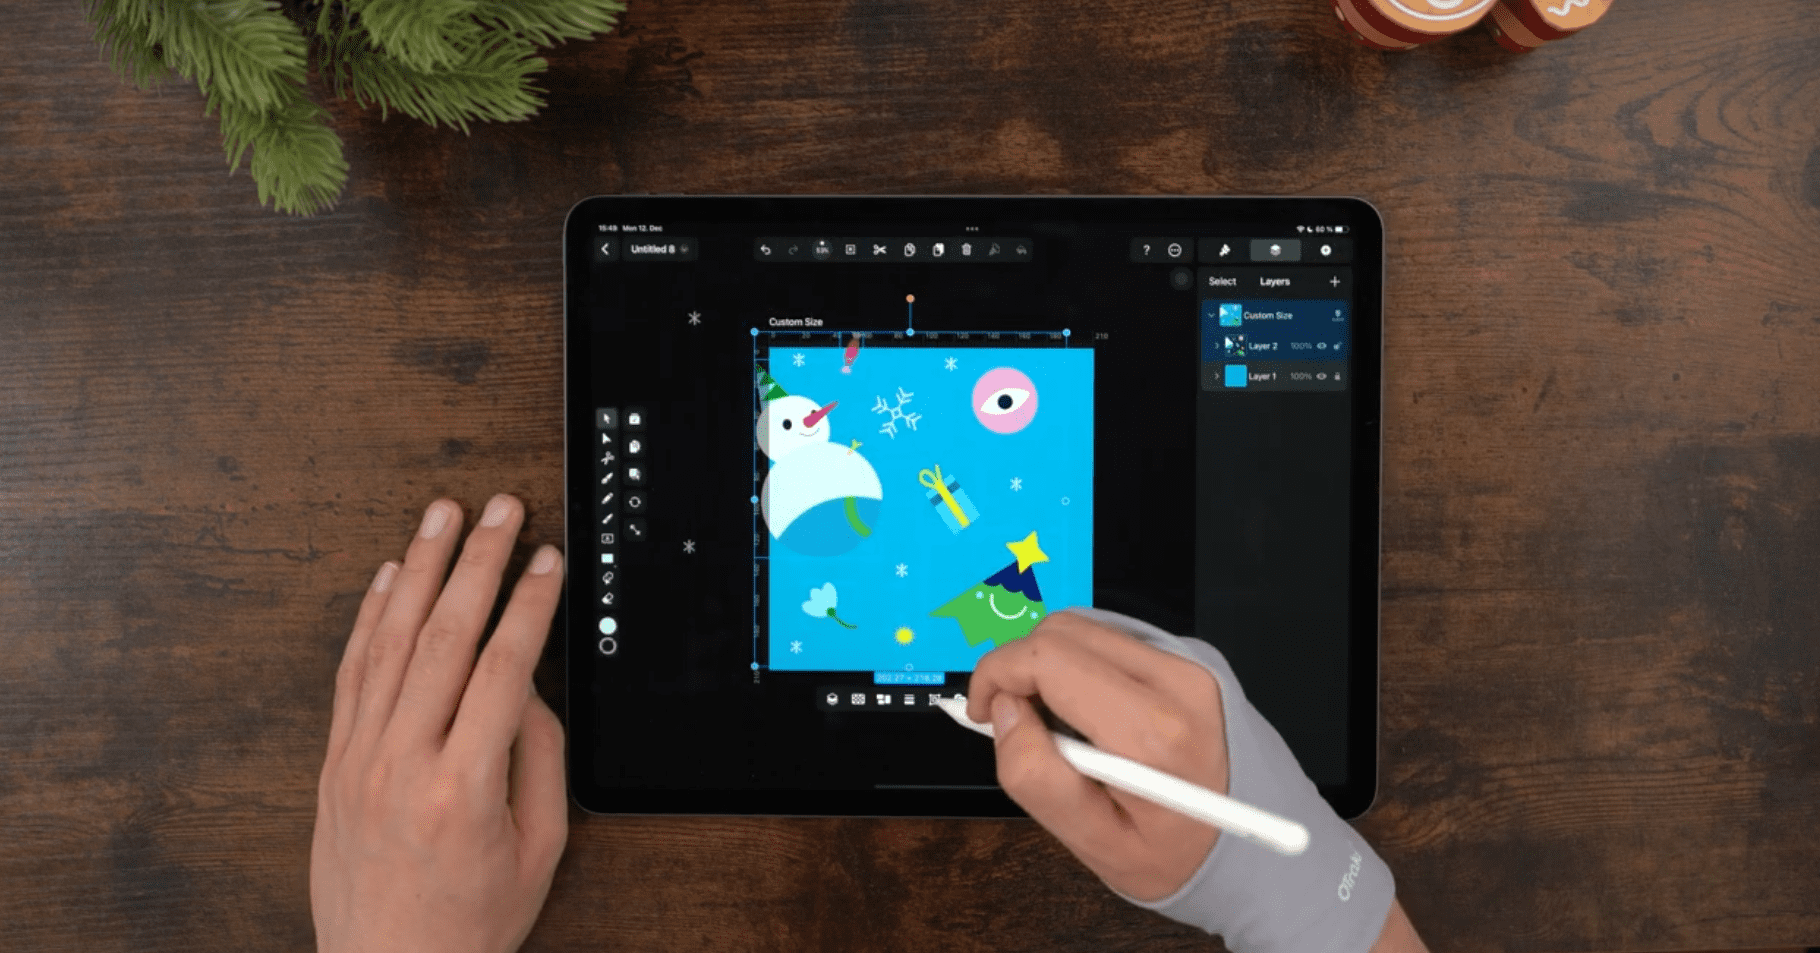
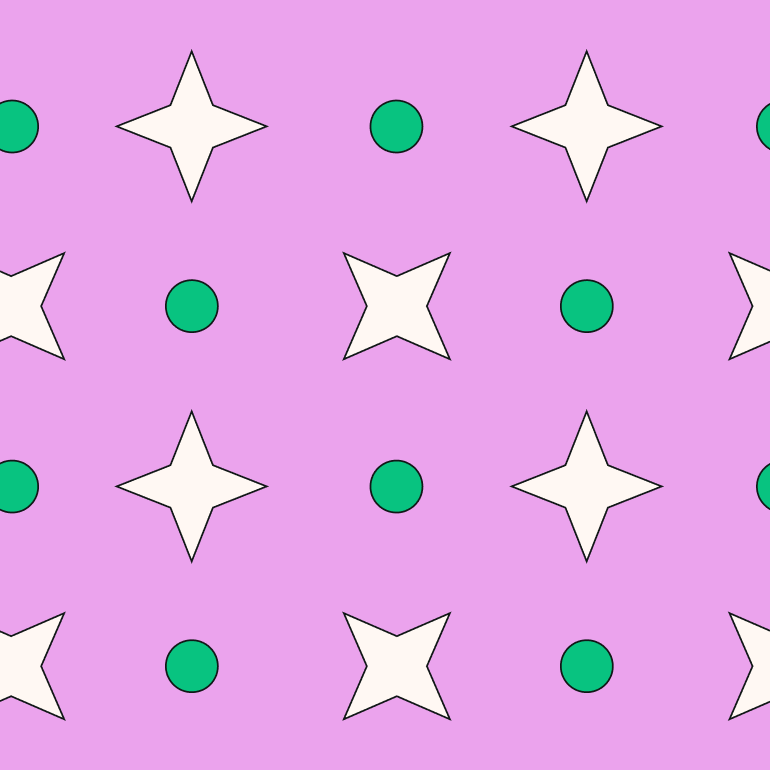
Create the base tile
Now that we have drawn the pattern elements, we will arrange them on an Artboard ic-artboardic-artboard to create the base tile.
This Artboard ic-artboardic-artboard will be the base tile of our repeating pattern. The tile can be repeated seamlessly and endlessly.
Tap the + button in the top right corner of the Layers Tab ic-layers-tabic-layers-tab and then select New Artboard ic-add-artboardic-add-artboard. As soon as you tap the button, a suggestion box will appear at the top center of the Canvas, which reads: Tap or draw anywhere to create an Artboard.
Get creative with our ready-to-use templates.
Linearity Curve offers templates for every social media platform and various use case templates for posters, business cards, slides, app store screenshots, and more.
Set the dimension of the Artboard ic-artboardic-artboard to 210 x 210 mm. If you accidentally created an Artboard ic-artboardic-artboard with the wrong measurements, you can resize it.
Create the blue background by setting the Fill ic-fillic-fill to background blue #099ED6 (RGB 9, 158, 214) and draw a square using the Rectangular Shape ic-rectangleic-rectangle. Keep one finger down on the canvas while drawing to create a square instead of a rectangle.
Open the Artboards ic-artboardic-artboard that contain the pattern elements we created in the previous steps. In Curve, you can move elements between Artboards.
Group every pattern motif and drag it into the base tile Artboard ic-artboardic-artboard. Arrange each element with the Selection Tool ic-selectionic-selection or use the Alignment options ic-alignmentic-alignment in the Arrange Section ic-arrange-tabic-arrange-tab.
Use the white space design technique to space the pattern motifs.
After all pattern motifs are arranged, select all elements and group them. Duplicate the grouped elements three times and arrange them using the Location Menu controls in a bigger square consisting of four tile elements.
Additionally, you can use the Alignment ic-alignmentic-alignment options in the Arrange Section ic-arrange-tabic-arrange-tab to align the tiles on the canvas.

Group ic-groupic-group the four tiles into a singular tile. We now have created the base tile for our repeating pattern which we will arrange in the next step of this tutorial.
Set up the repeating pattern
In the next step, we will create a new Artboard ic-artboardic-artboard to arrange the base tile seamlessly.
Create a new Artboard ic-artboardic-artboard with dimensions of 210 x 297 mm. Set the Fill ic-fillic-fill to background blue #099ED6 (RGB 9, 158, 214) and draw a rectangle using the Rectangular Shape ic-rectangleic-rectangle that fully covers the Artboard ic-artboardic-artboard.
Create a new layer in the Layers Tab ic-layers-tabic-layers-tab. Move the base tile group we created in Step 7 into the new Artboard ic-artboardic-artboard.
Arrange the base tile in the top left corner of the Artboard ic-artboardic-artboard. Copy the tile twice and place all three tiles in one horizontal row on the Artboard ic-artboardic-artboard. Ensure that the pattern elements align and will be correctly displayed when tiled.
After arranging the top row, select the three base tiles and group them. Duplicate ic-duplicate-2ic-duplicate-2 the Group ic-groupic-group and place it below the first top row to create the second row.
Use the Alignment ic-alignmentic-alignment options in the Arrange Tab ic-arrange-tabic-arrange-tab to align the tiles on the canvas.
Again ensure that the overlapping motifs repeat seamlessly with the first row. Continue until the Artboard ic-artboardic-artboard is fully covered with tiles.
If some areas of the pattern elements overlap at the outer Artboard ic-artboardic-artboard borders, choose Clip All in the Artboard export settings so that overlapping areas will not be included in the printed pattern.
You can export ic-exportic-export your Artboard ic-artboardic-artboard for print or print the document ic-printic-print directly from Linearity Curve.
Download the Christmas pattern Jaye created in the tutorial as a Curve file below.
A few more tips
We hope you enjoyed this Linearity Curve tutorial on making visual patterns for practical applications. We sure enjoyed making it!
You can make any pattern marks and apply the same steps in this guide to create great products, packaging, gifts, and digital wallpapers.
Let's look at a few more tips to make the most of your fabulous patterned creations:
- Try to create a sense of balance in your design before turning it into a pattern. This will ensure that once it's tiled, it looks balanced and you'll avoid awkward gaps.
- With that said, remember always to work some white space into your design to lead the eye.
- Design for the application. If you're making a pattern design that will be printed quite small, it might be best to simplify your illustration and use larger font (if applicable).
- Remember to switch your design file's color profile to CMYK for printing.
- Don't forget to ask for the specs from the printers. Depending on how your pattern will be used, there will be different specs for the sizing and file types.
- Study other patterns. Whether you want to create something traditional or unique, it's essential to educate yourself on the different kinds of patterns and how to use them.
- Post your finished designs or photos of your prints on Instagram or our Community Gallery (this is optional!).
- Better yet, send us your printed designs! We have an office in Berlin, Germany, and our team loves getting mail.
Last but not least, download Linearity Curve (if you haven't already) so you can start designing! You can check out our other great tutorials in the Linearity Curve Academy.
The art and maths of patterns
Patterns are a mathematical phenomenon we can observe in nature and ancient creative work. Today, repeating patterns are also important in computer programming, especially for generative models in machine learning and AI.
In sacred geometry, the mathematical precision and infinite repeatability of patterns symbolize perfection and eternity. Three shapes can be repeated endlessly without any irregularities or gaps in-between: an equilateral triangle, square, and hexagon. This is called tessellation, a term originating in ancient mosaic tile arts.
Mosaic art is especially well-known for using repeating patterns to create large, intricate, and fascinating decorations. Repeating patterns, such as those found in Japanese kimono fabrics, are also popular in decorative arts and surface design.
Another type of pattern presentation is the golden ratio, also known as the divine proportion, based on the Fibonacci sequence. Many artists and artisans have used the golden ratio to create a sense of balance and harmony in their work.
Mathematically speaking, the Fibonacci sequence numbers increase incrementally by combining the previous two numbers. It looks like this: 0, 1, 1, 2, 3, 5, 8, 13, 21, etc.
Even though this pattern is visually non-repeating (no two shapes are the same size), it's a fractal, meaning the number sequence can be repeated into infinity. Sir Roger Penrose used the golden ratio to create two shapes that could be used to tile an irregular, non-periodic pattern infinitely without repeating. This is called Penrose tiling.
In chaos theory, even seemingly random formations are thought to have underlying conditions that form “chaotic patterns” in nature. Pattern beauty is finding order and structure in turbulent processes that reveal a beautiful mess!
Types of tessellation in repeating patterns
"Tessella" is the Latin root of "tessellation," meaning "small square" - the small clay, stone, or glass tiles normally used to create mosaics since ancient times. Regular tessellation describes the infinitely repeatable patterning we mentioned earlier: triangles, squares, and hexagons without gaps.
But other shapes, such as polygons, may also be used. This is called irregular tessellation. Semi-regular tessellation is done with more than one type of polygon but with the corners of the tiling surface still having the same arrangement.
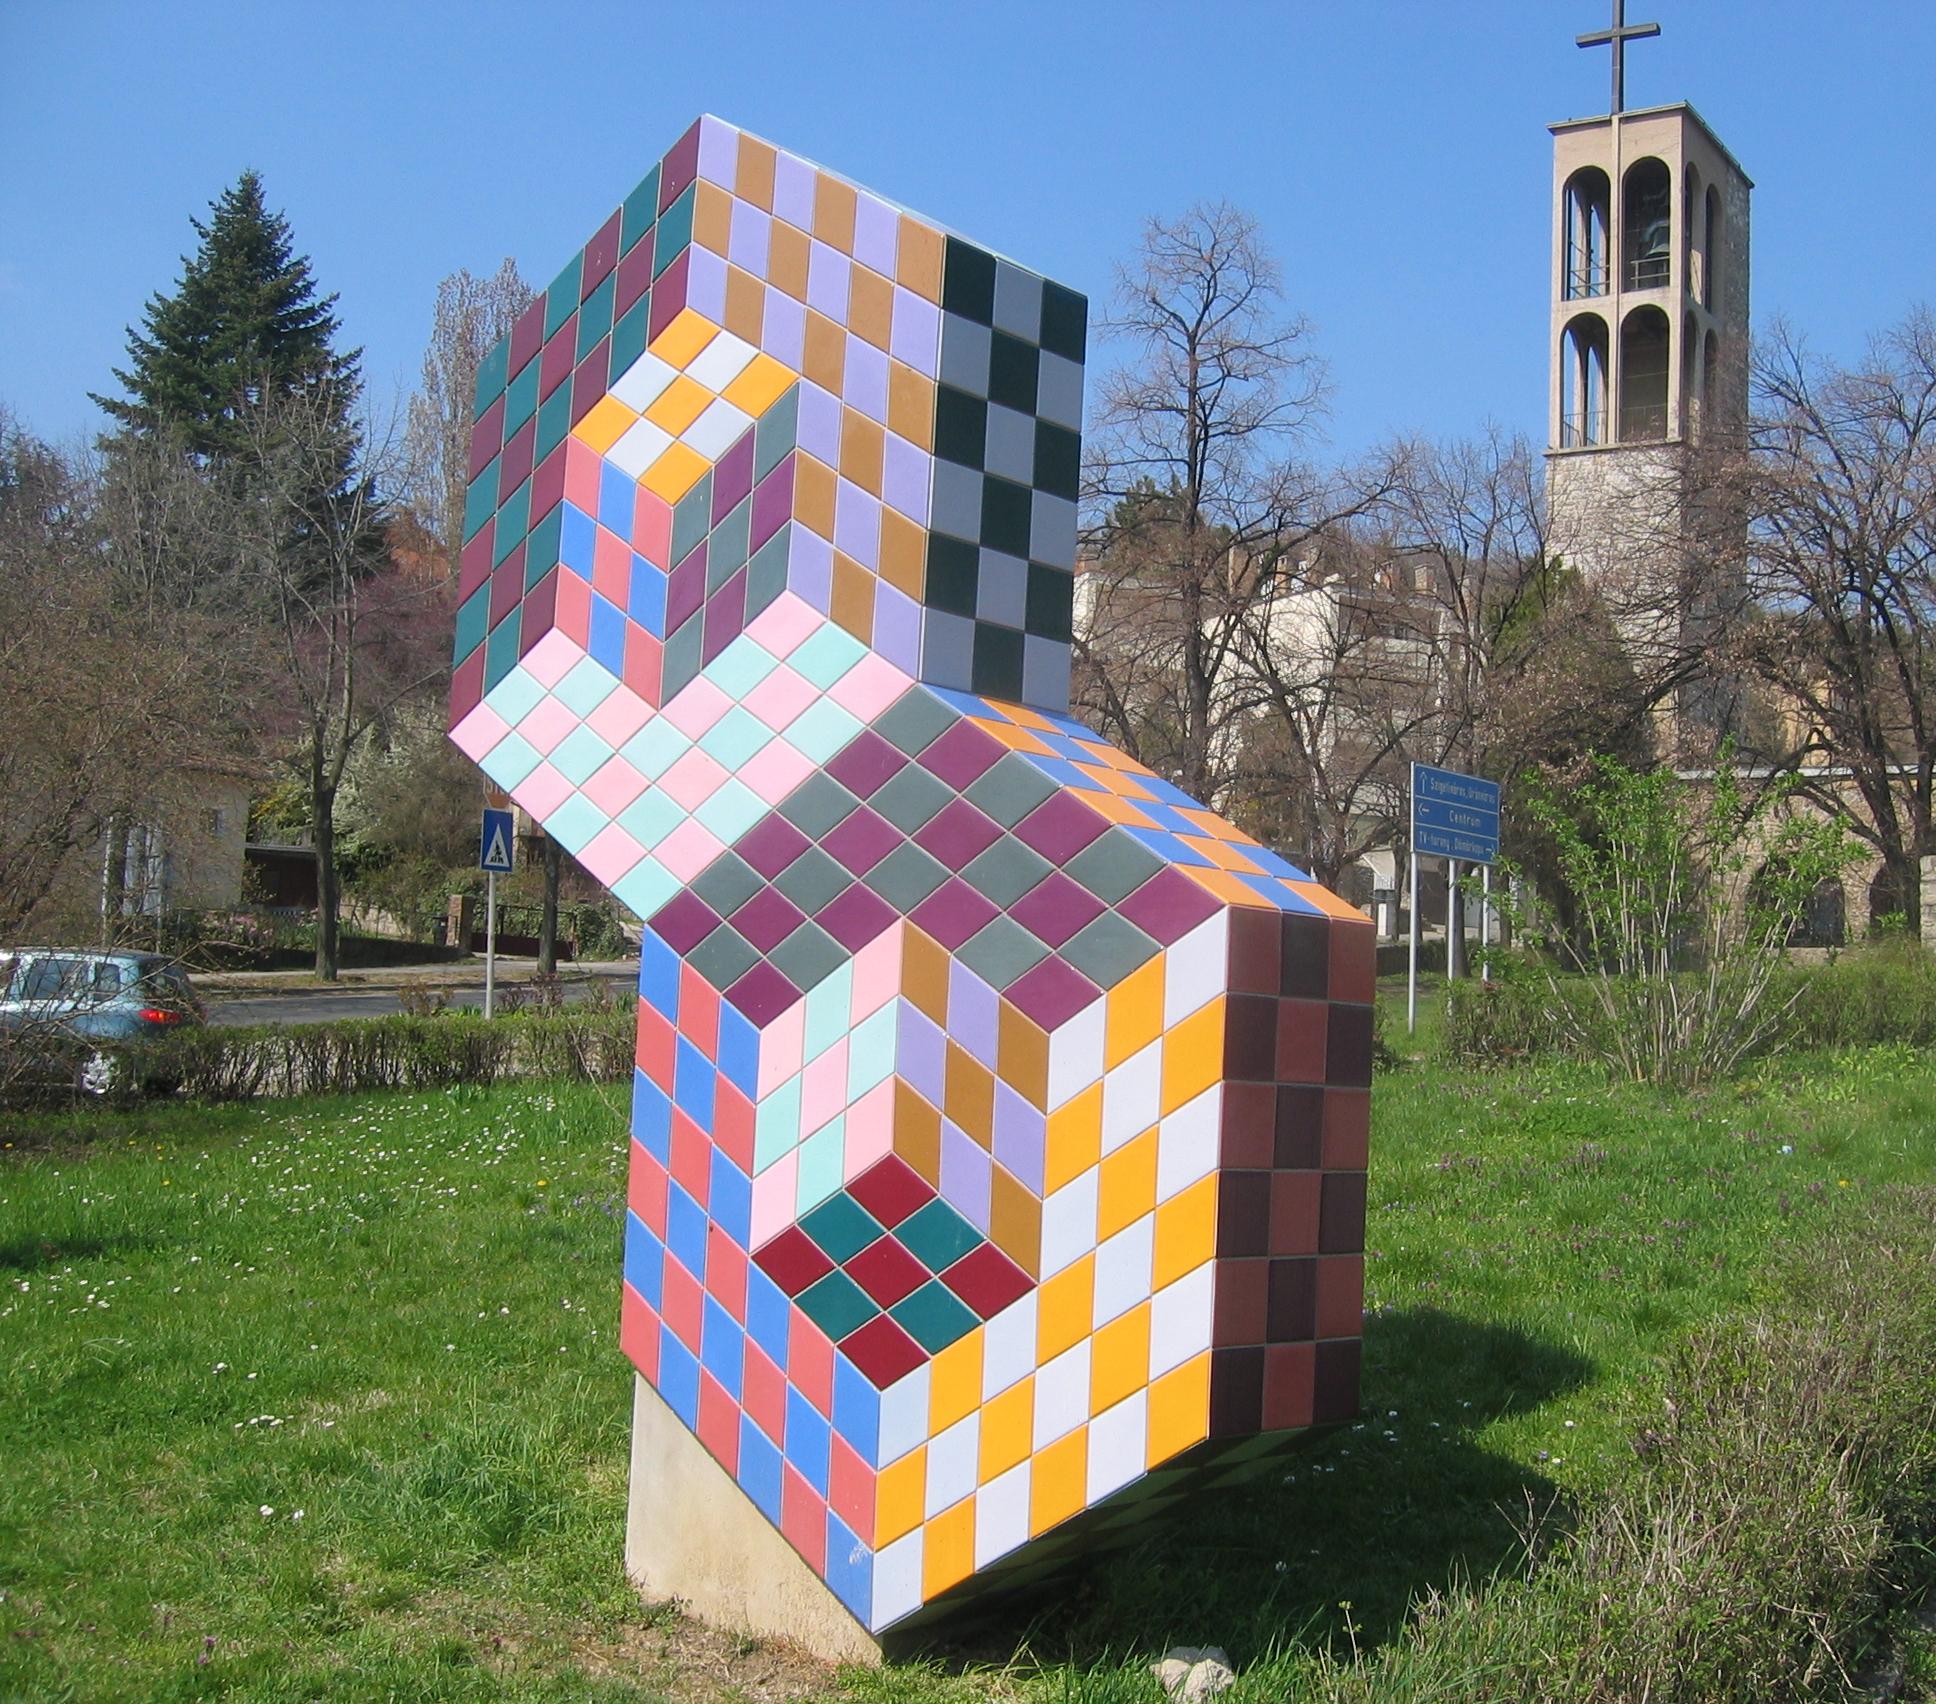
The 1960s Op Art movement used pattern presentations to create incredible optical illusions, such as three-dimensional space and depth. Some optical artworks seem to be moving, using lines and colors to trick your brain.
Hungarian artist Victor Vasarely created the illusion of two 3D cubes using diamond pattern tiling in hexagonal shapes for the Op Art sculpture pictured below.
A major influence on Op Art, M. C. Escher created some of the most fascinating and mind-boggling repeating patterns using irregular tessellation, for example, his famous Reptiles (1943) pattern.
If you master patterning as an art form, you can create designs that stretch infinitely over any surface. Not to mention the coolest Christmas wrapping paper your peeps have ever seen. Are you feeling inspired yet?
Jumpstart
your ideas with
Linearity Curve
Take your designs to the next level.
Share this!
Marion Gerlinger
Marion is a contributing writer to the Linearity Blog.


