:quality(75))
:quality(75))


:quality(75))
Hello Vectornators!
Welcome to the latest edition of our "How to" Tutorial series!
We at Vectornator want you to be creative, but we want you to make money too! So we've collaborated again for a merch tutorial with talented artist Sandra Staub. We're all about empowering creative people to be independent and build their own business, and creating and selling your merch with your software design is a beautiful opportunity! We give you the design solutions for your own business!
If you would like to see what the merch shop of an independent designer looks like, take a look at Sandra's Merch shop.
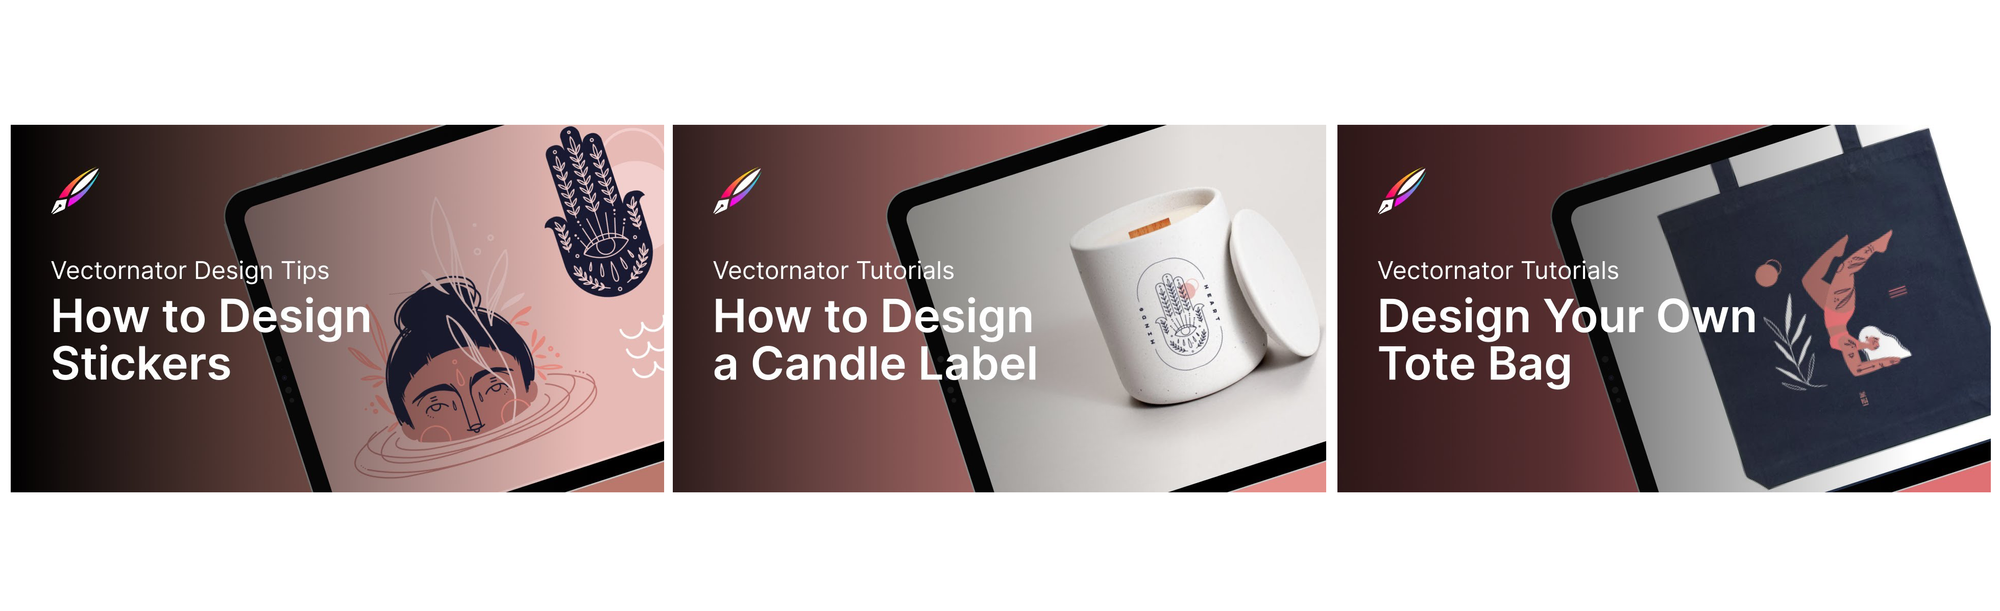
We have already created with Sandra the video tutorials on How to Design Stickers, How to Design Your Own Tote Bag, and How to Design a Candle Label.
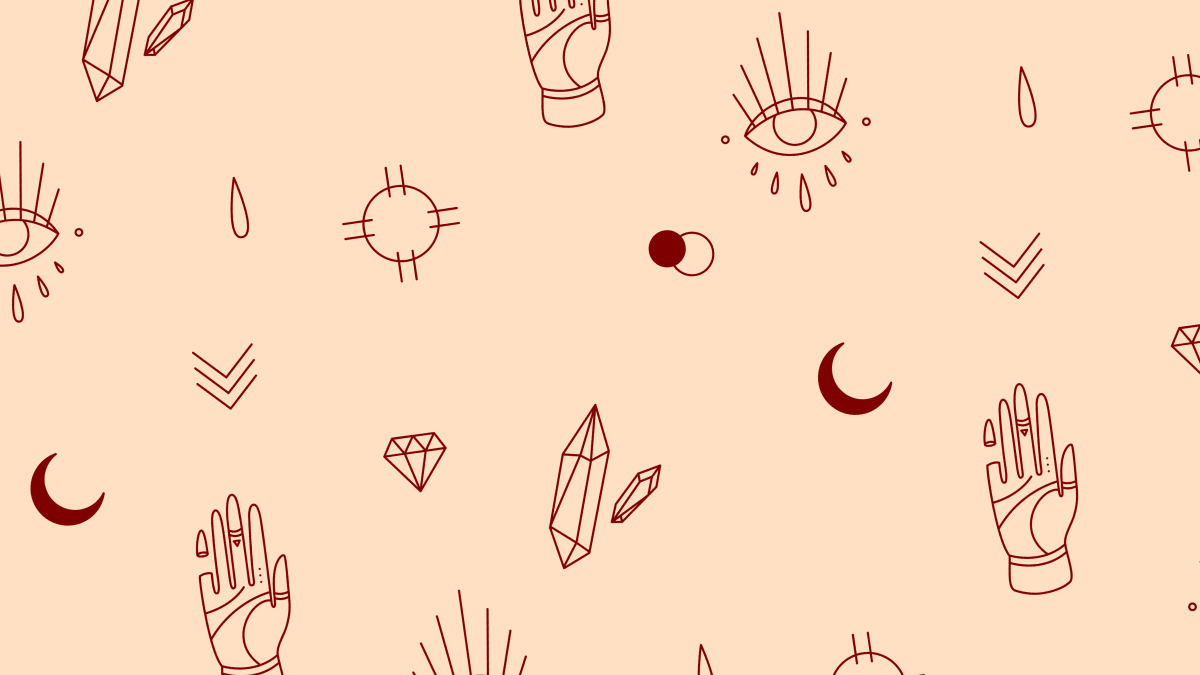
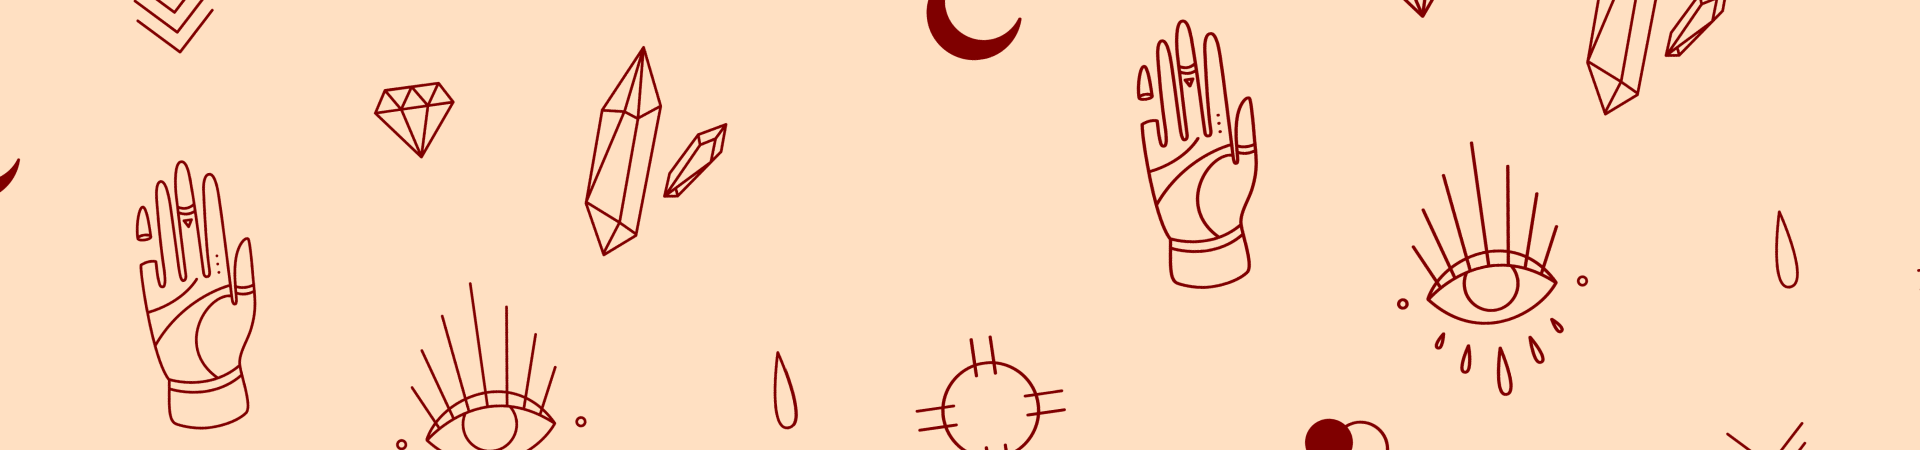
When you sell merch as a designer, you sell digital files and physical objects that need to be packaged and shipped to a client. This tutorial will show you how to design a minimal pattern for packaging material so that your sent objects can travel in style to a client.
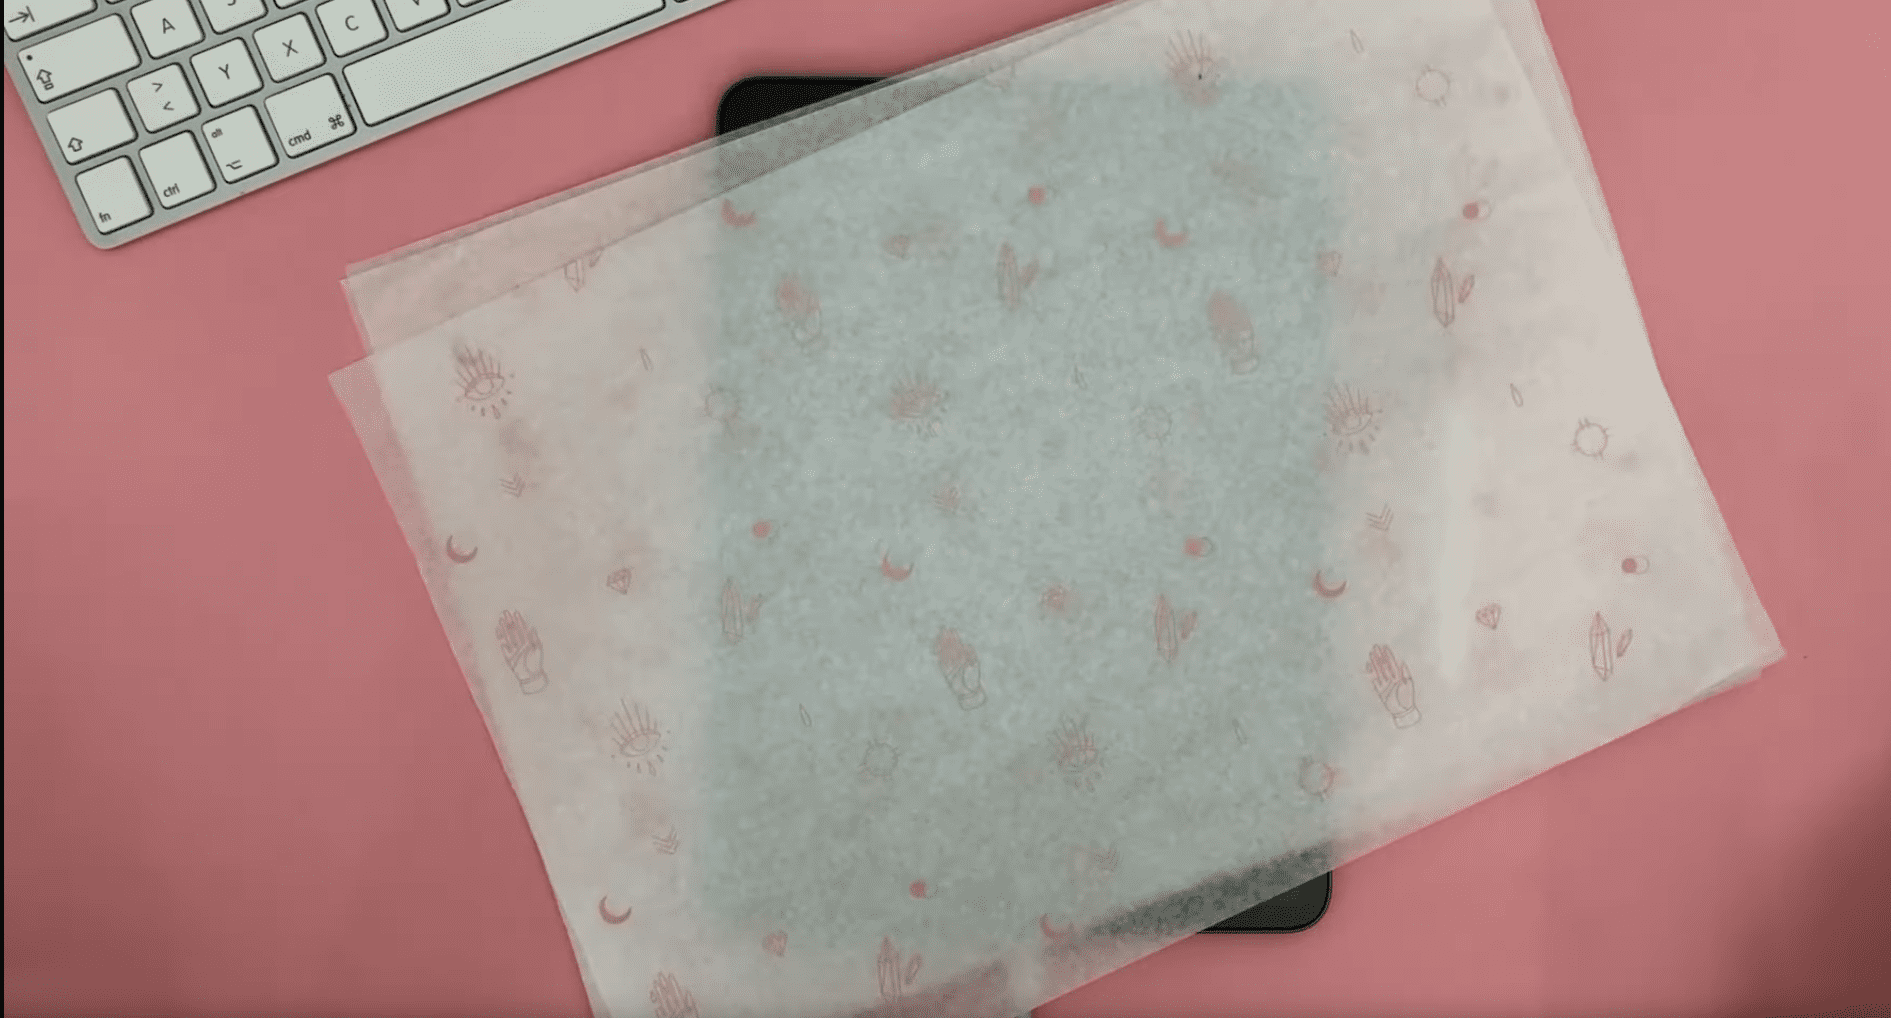
Sandra always chooses an elegant solution, luxurious, and sleek silk paper for her packaging, because it's sustainable and it gives the packaged content a sensual and luxurious feel, and increases brand recall. Taking care for even the smallest details will help you to build a base of loyal customers.
Jumpstart your ideas with Linearity Curve
Take your designs to the next level.
There's nothing more exciting than receiving an ordered item in stylish packaging with a geometric pattern! For further inspiration, you can use a book of design patterns. Let's start creating some professional packaging for your merch articles!
You can watch the accompanying video of Sandra performing the steps of our written tutorial to get additional design insights.
• How to adjust Layers
• How to use the Pencil Tool
• How to use the Pen Tool
• How to use Artboards
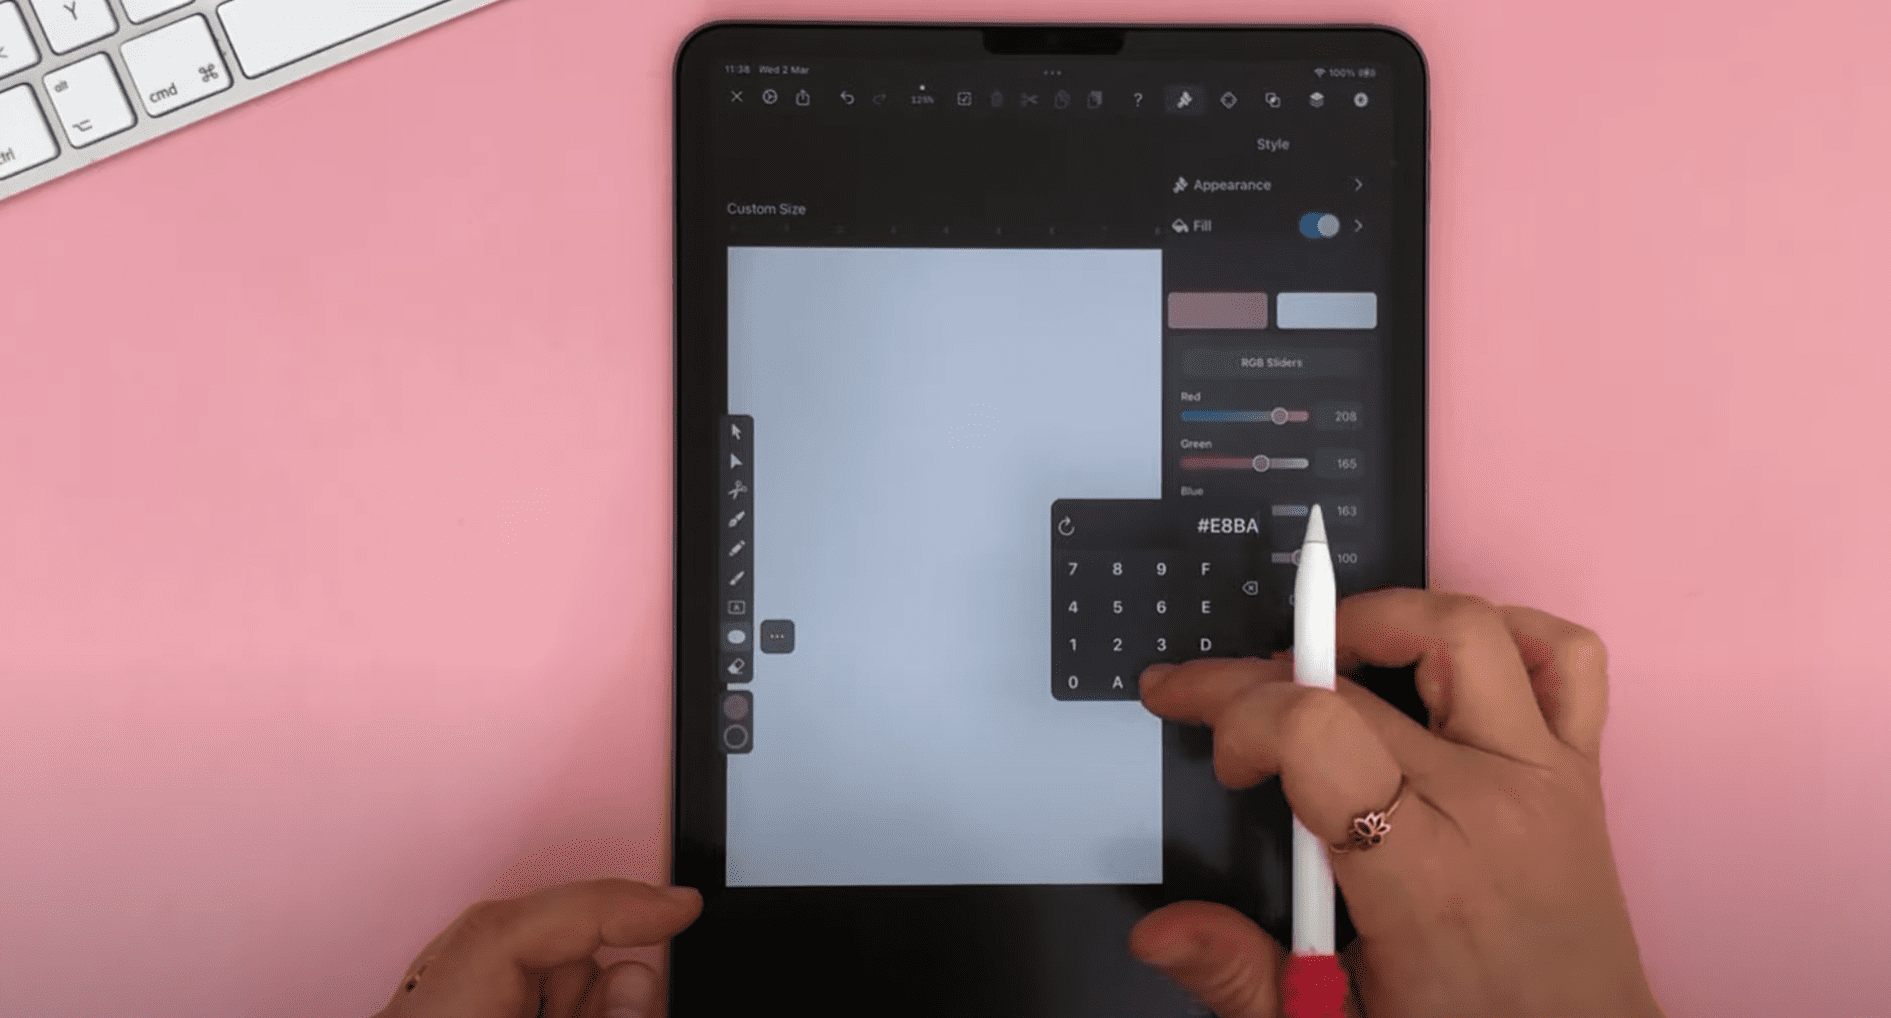
🎨 Color Code: Dusty pink - # E8BAB5
Prepare the document
Sandra decided to use a square document size of 16 x 16 cm ( 6.3 x 6.3 in) for her packaging pattern. A square document is optimal if you want to create a pattern that can be seamlessly repeated.
Open a new document in Vectornator by tapping the + button. Set the size of your document manually to 16 x 16 cm (6.3 x 6.3 in). Give the newly created template the name: Minimalist Pattern 01.
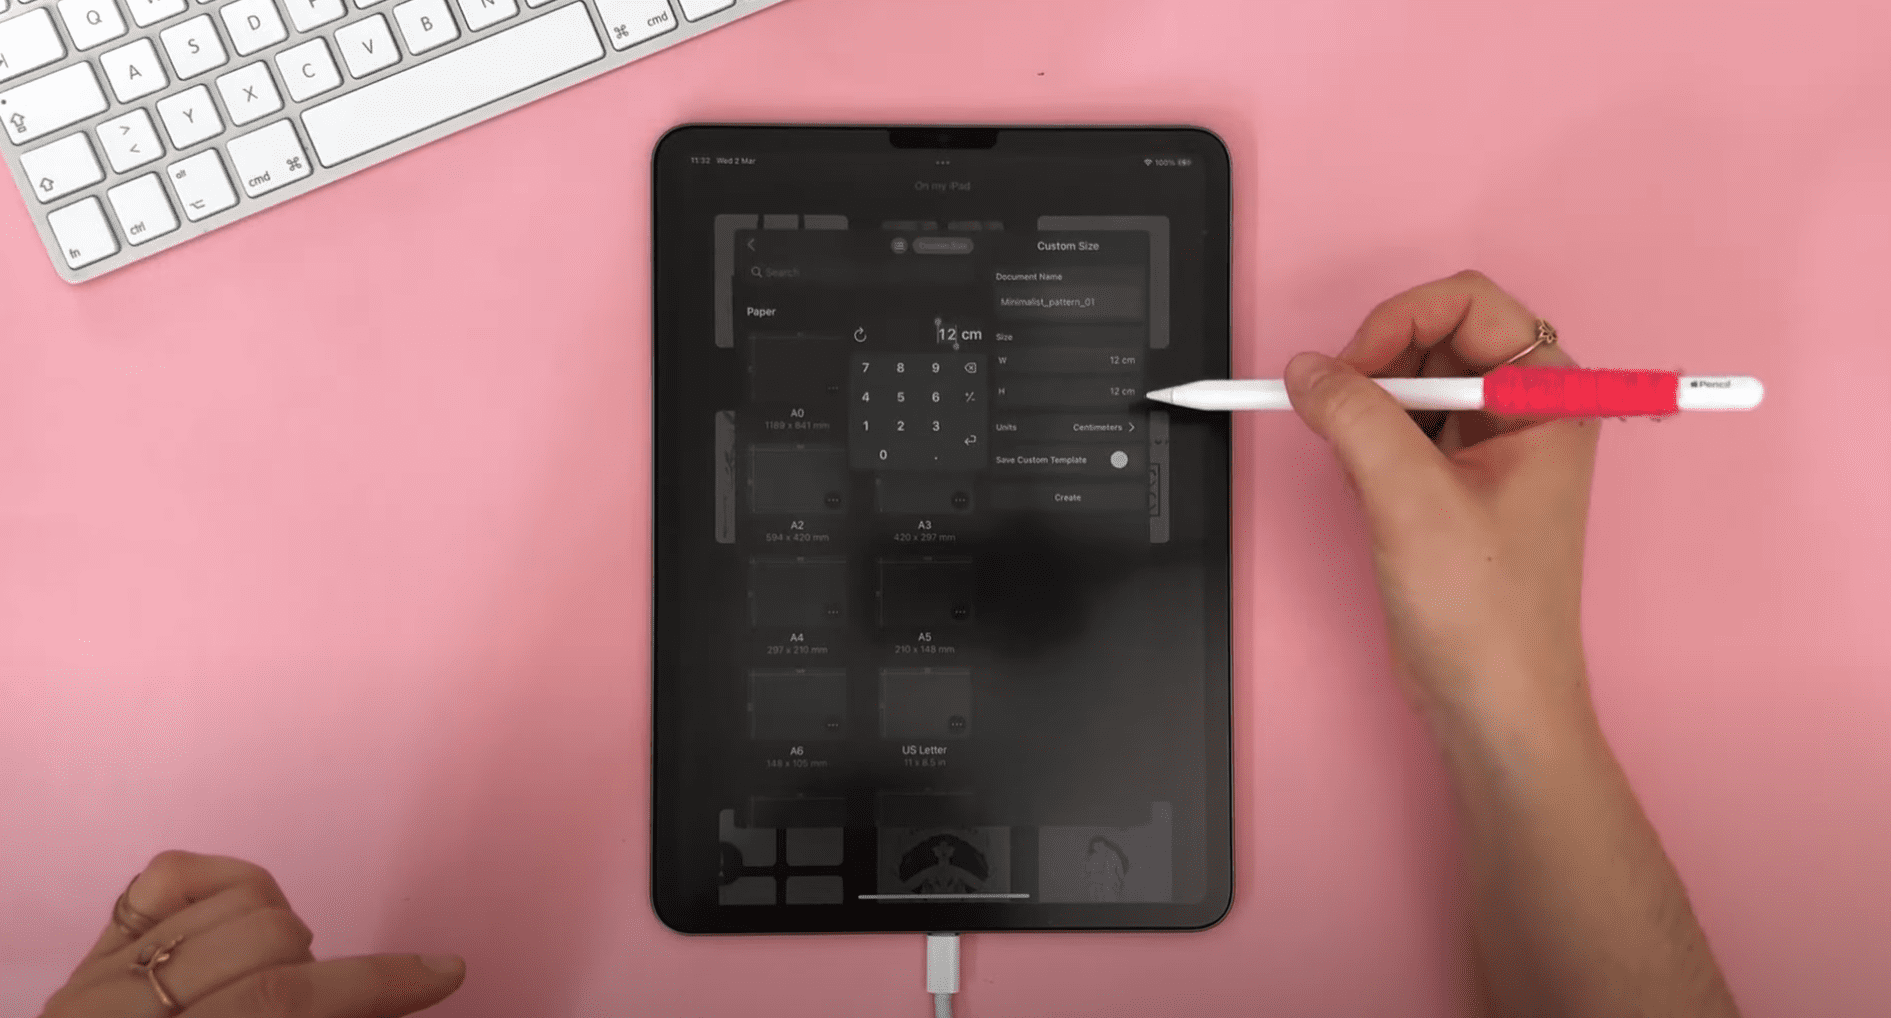
Then, create an Artboard with the dimensions of 12 x 12 cm (4.72 in x 4.72 in).
As the unprinted silk paper will be white, let's create a white background for our minimalist pattern. Inside the header section of the Layers Tab, tap the + icon, and in the opening popover menu, select New Layer to add a new Layer.
Ready to create brand assets that pack a punch?
Visit our Academy to learn how to use color palettes.
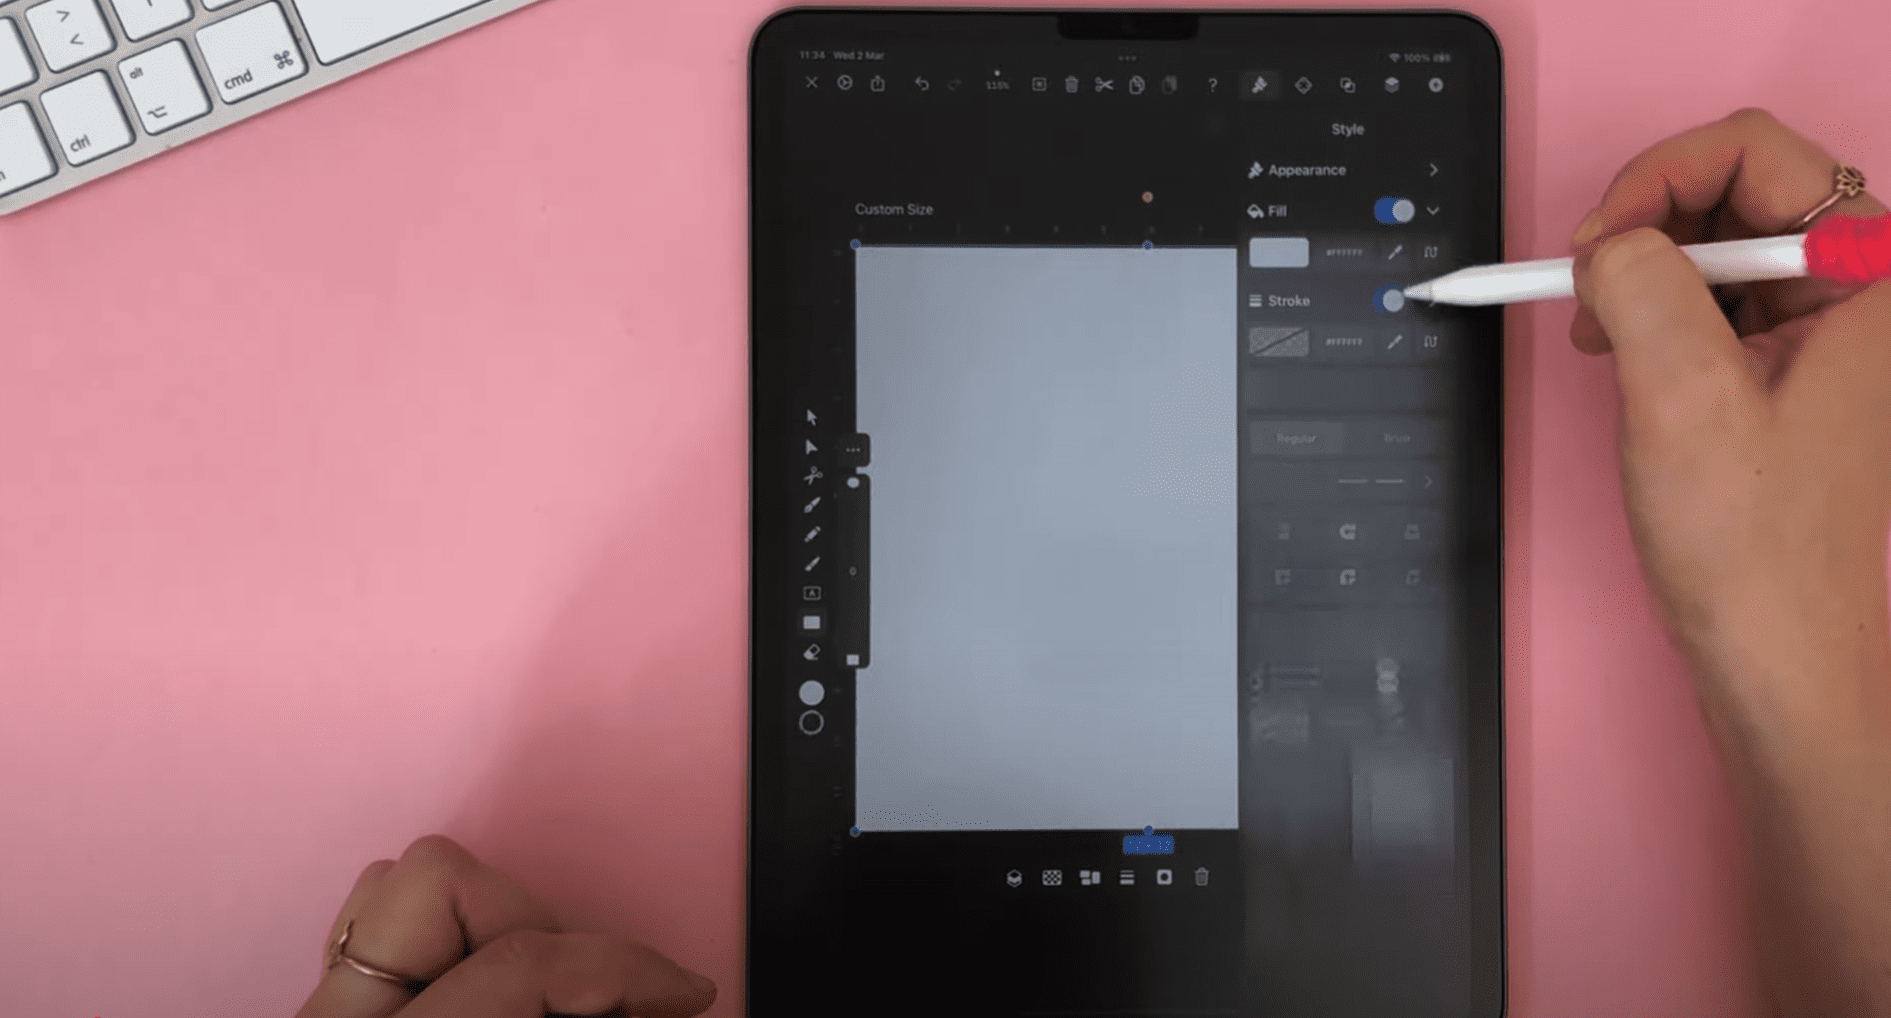
Activate the Shape Tool in the Toolbar, tap the three dots button and choose the Rectangle. Draw a Rectangle filled with white color #FFFFFF. You can set the fill color from the Color Widget. Tap on the canvas and drag the rectangle until it completely covers the canvas. Lock the layer by tapping the padlock icon.
Now that we have prepared the document, let's start drawing our pattern elements!
Draw the circle elements
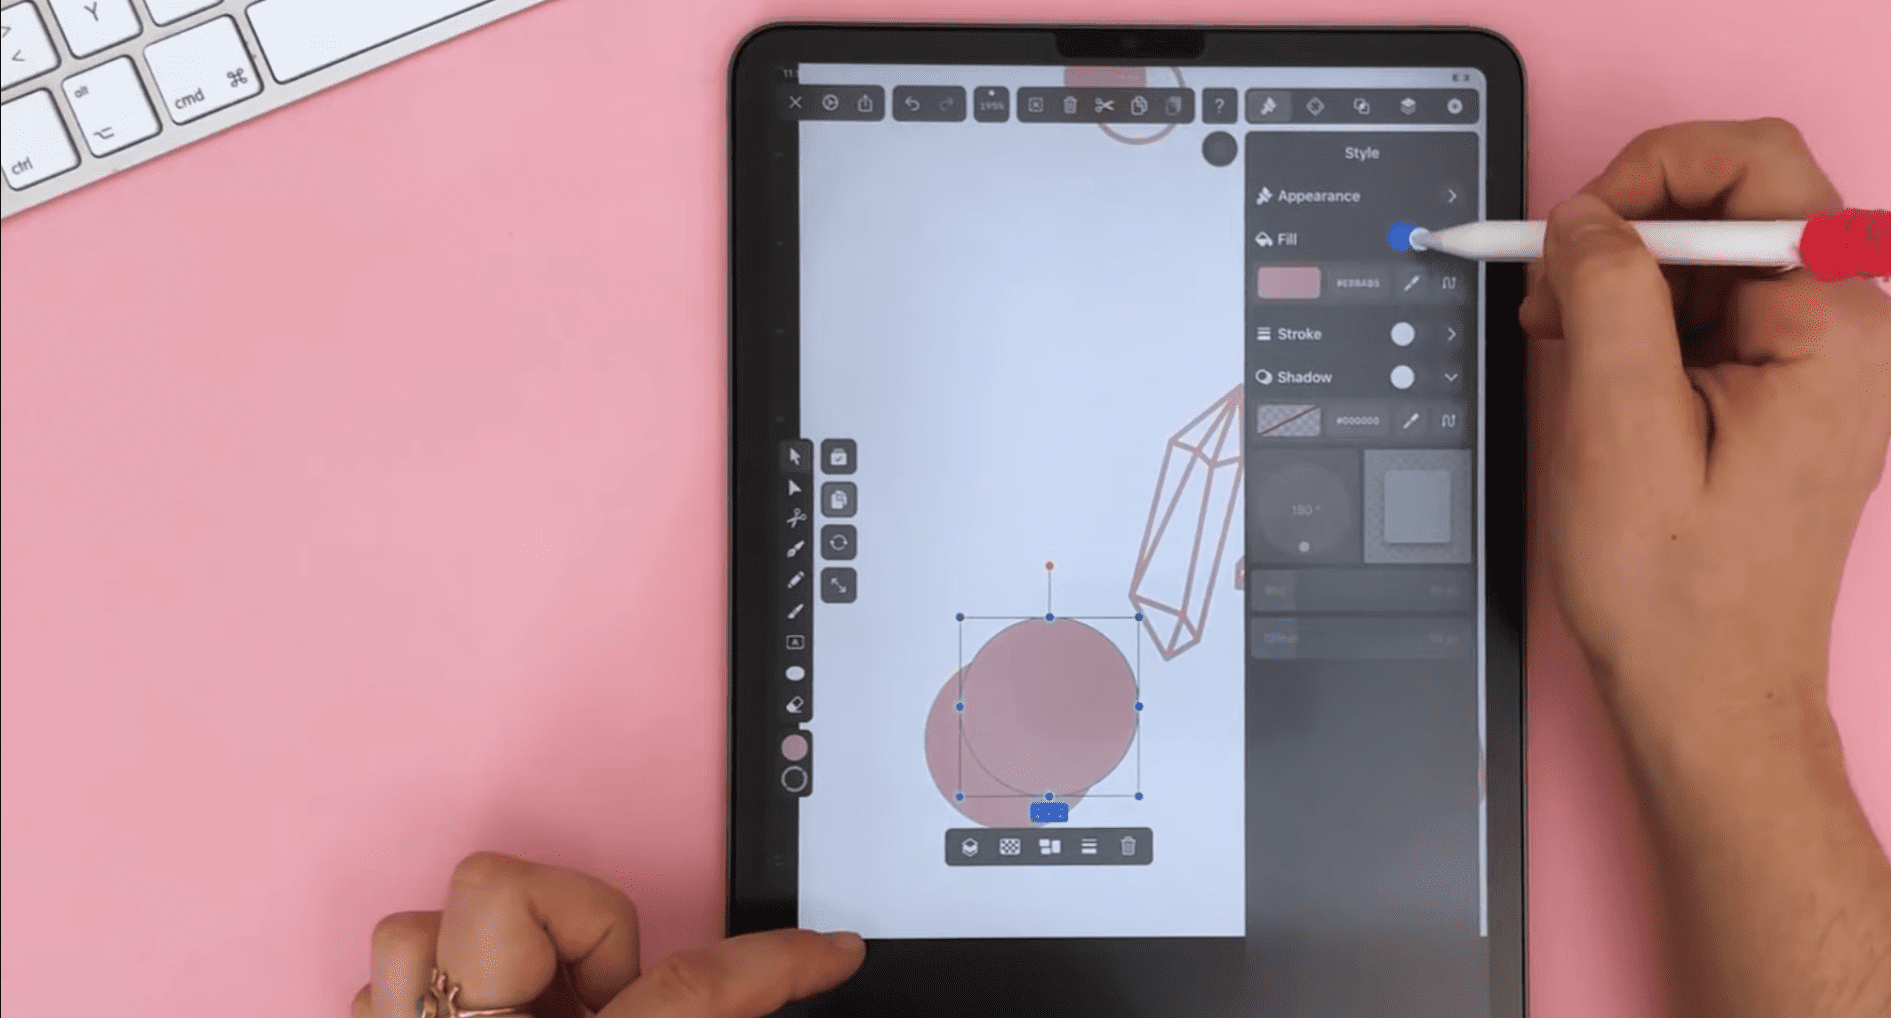
In the first step of our tutorial, we will start drawing the circle shape. For the color, Sandra chose one of her favorite colors, a dusty pink, with the Hex Color Code #E8BAB5.
Once you have set the Hex Color Code, you can save it in your Color Palette.
Now, select the Oval Shape Tool, and toggle the stroke on and the fill off. Set the stroke width to 2 pt. As we want to create a circle and not an oval, holding a second finger on the canvas allows you to draw a perfect circle. Now toggle the stroke off and the fill on and draw a second circle and place it partly over the first one.
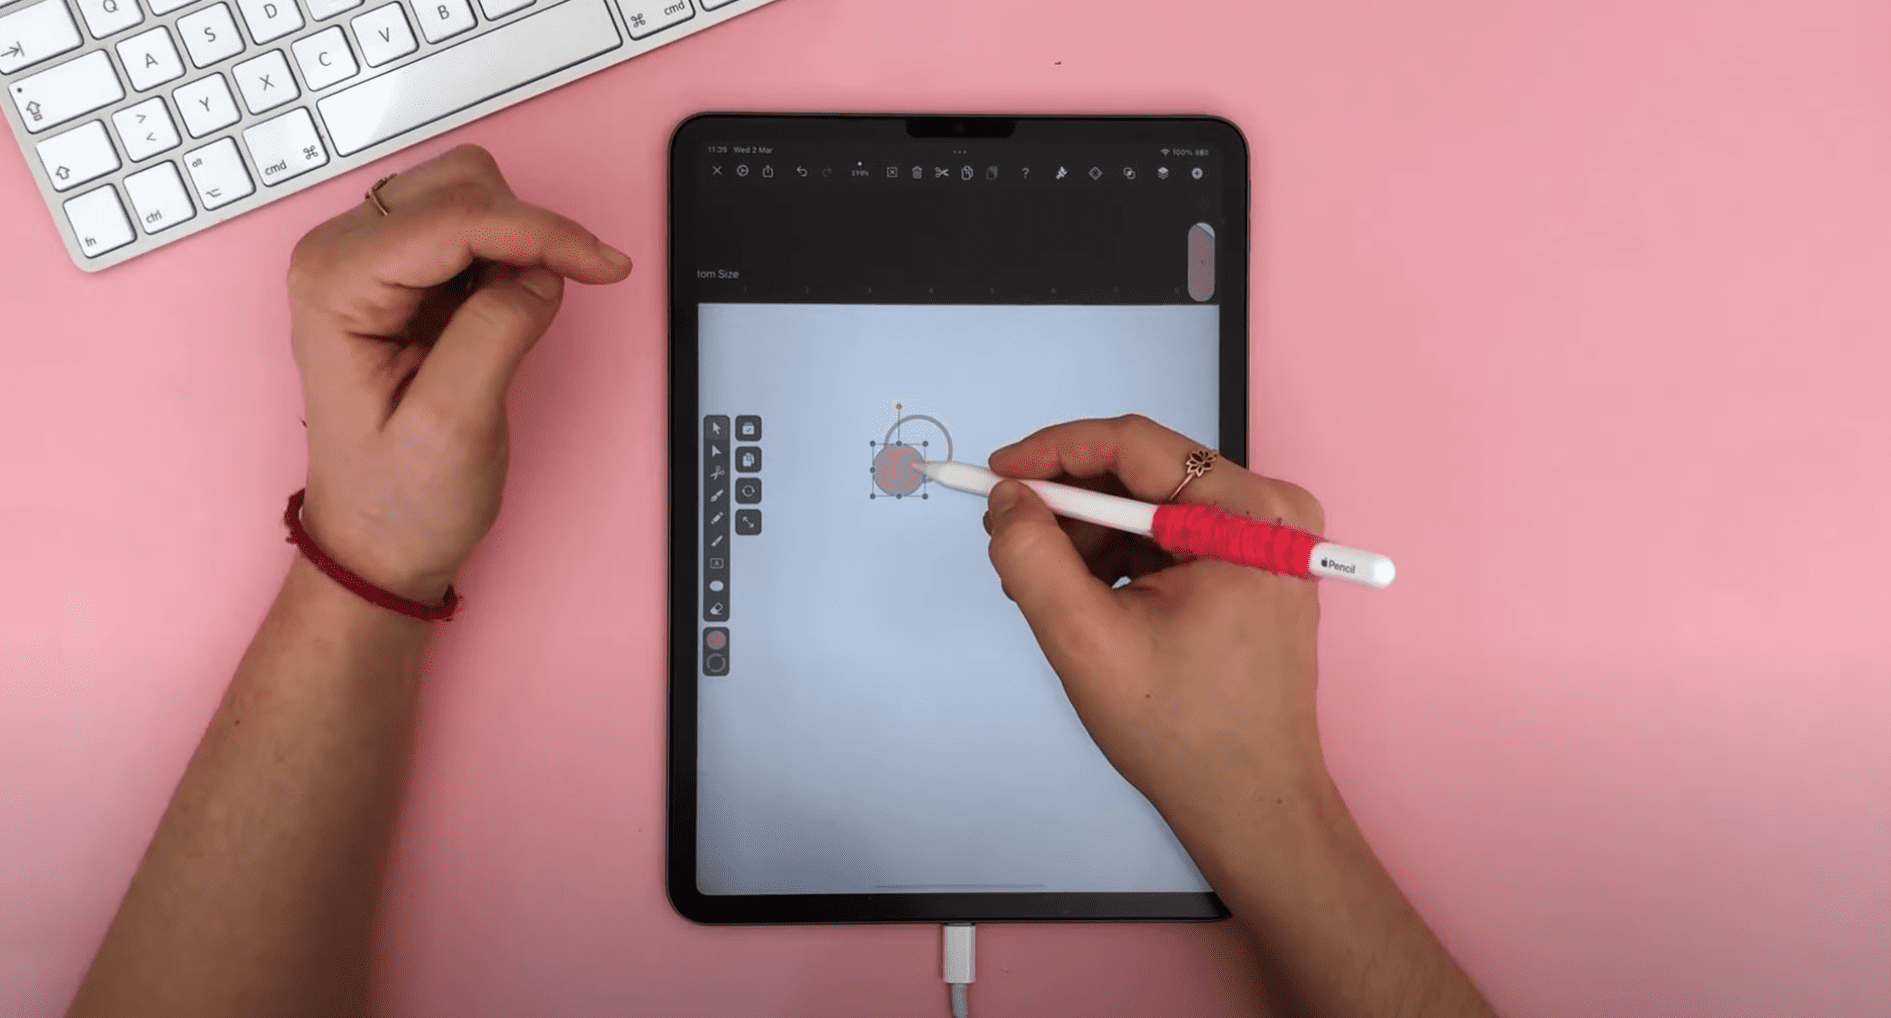
Select the two circles and group them. You can do so by using the Group button in the Arrange Tab or the Quick Actions Bar.
Draw the tear shape
In the next step of our tutorial, we'll draw the design motif of a drop icon. We'll use the Pen Tool to draw the drop shape. Drawing with the Pen Tool might be a bit difficult for the inexperienced user, so it might take several attempts to get it right!
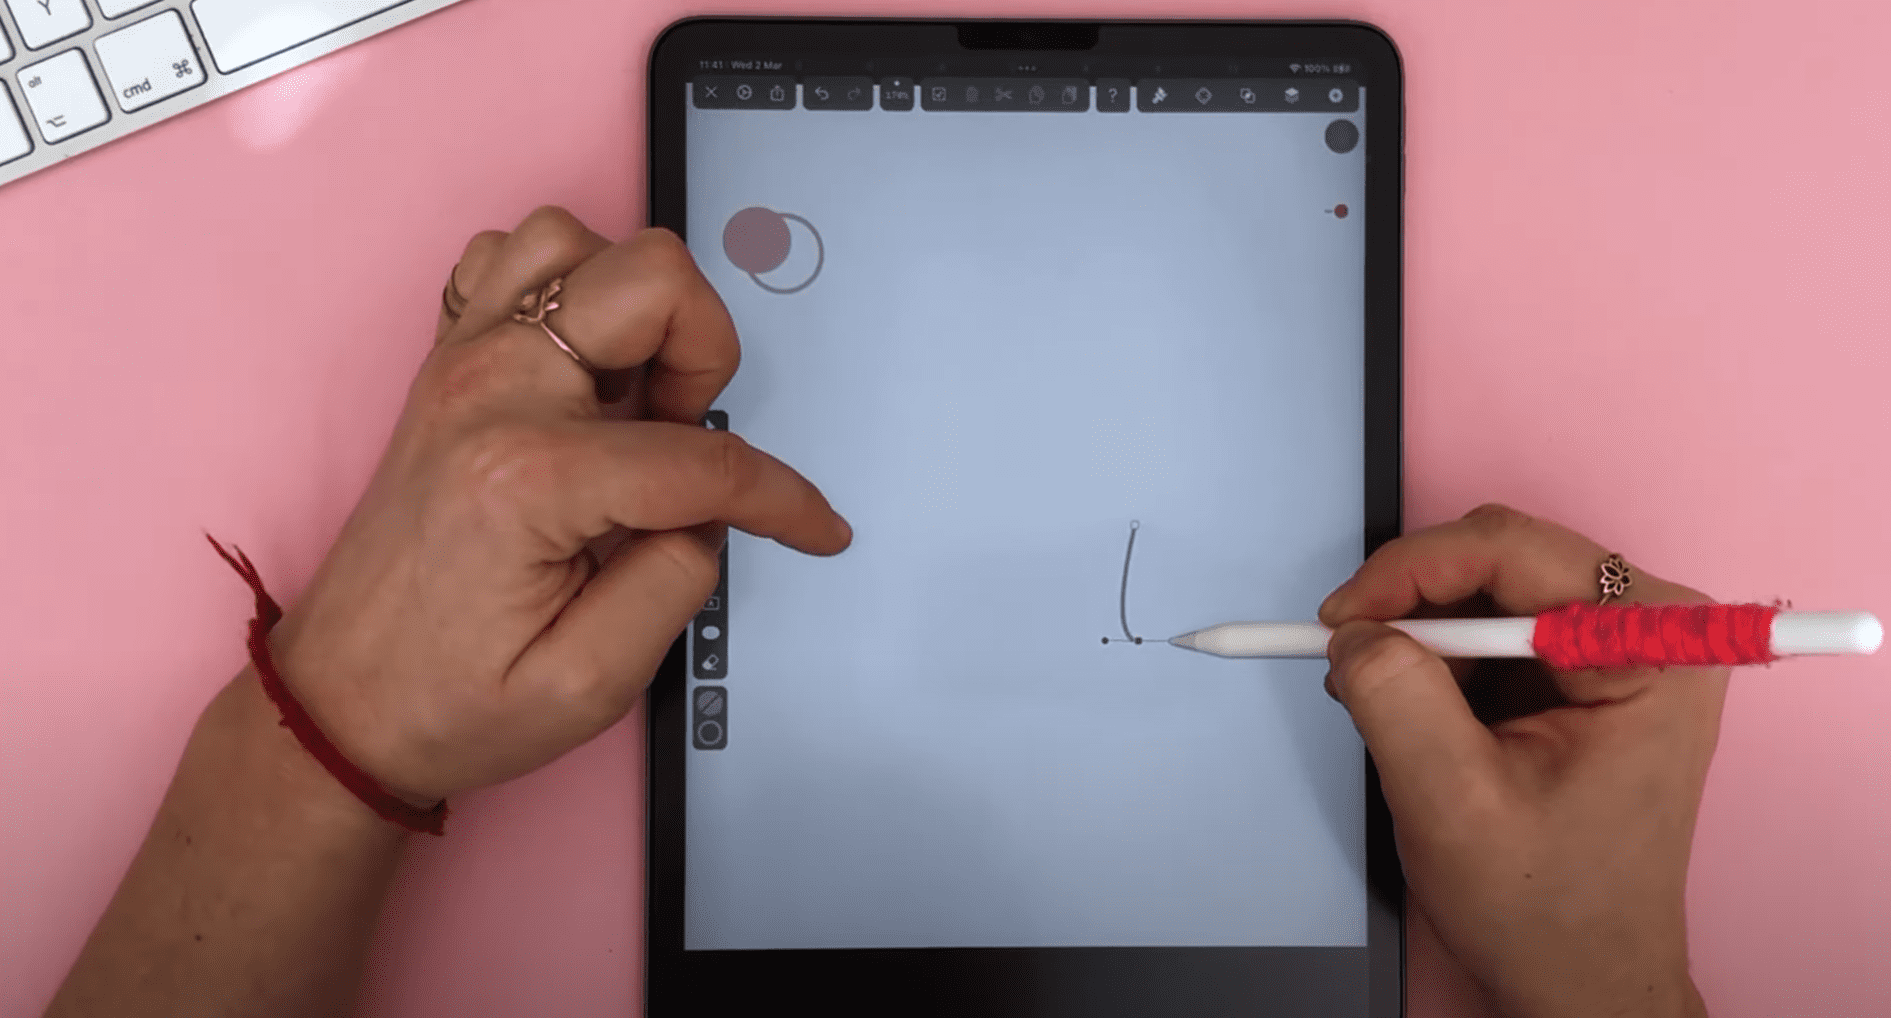
Activate the Pen Tool and then tap where you want the tip to be. Tap and drag below, use the Bézier curve function to create a curve, and tap again on the first Node to close the path. Adjust the Path with the Node Tool if necessary!
Create the circular shape with vertically intersecting lines
In the next step of our tutorial, we'll create a circular shape with vertical lines.
Select the oval shape and draw a circle by dragging and simultaneously holding a finger. Then select the Line Tool and create a vertically intersecting line on the circular shape. Duplicate the line and position it to parallel to the first line.
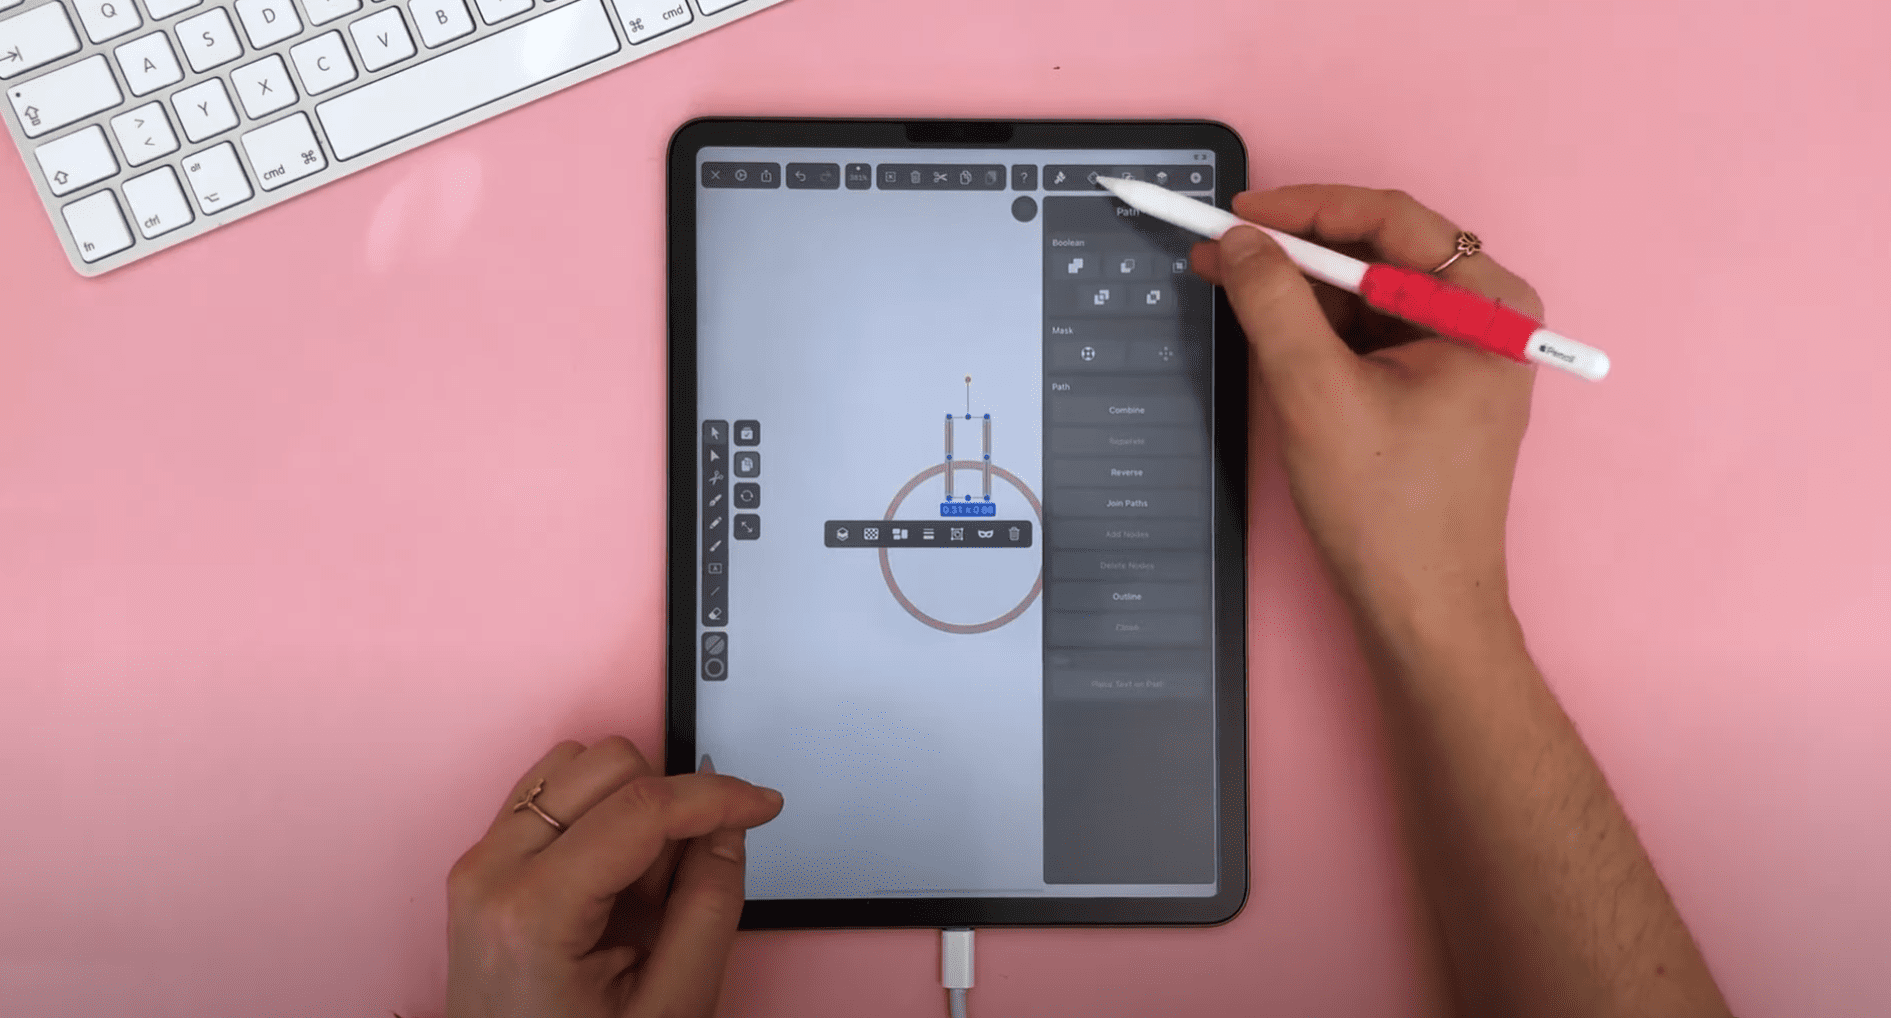
While the selection tool is active, tap the Duplicate button to the right of the Selection Tool inside the Toolbar to enable duplicate mode. Now you can drag any selected object to create a duplicate of it. Now group the two segments, align them to the circle's vertical center, and group them all.
Select all elements and group them. We'll use the Combine Duplicate & Rotate Mode to create rotational copies. Tap on the Rotate Mode button and the Duplicate Mode to activate it. Then select your shape and start dragging your finger around.
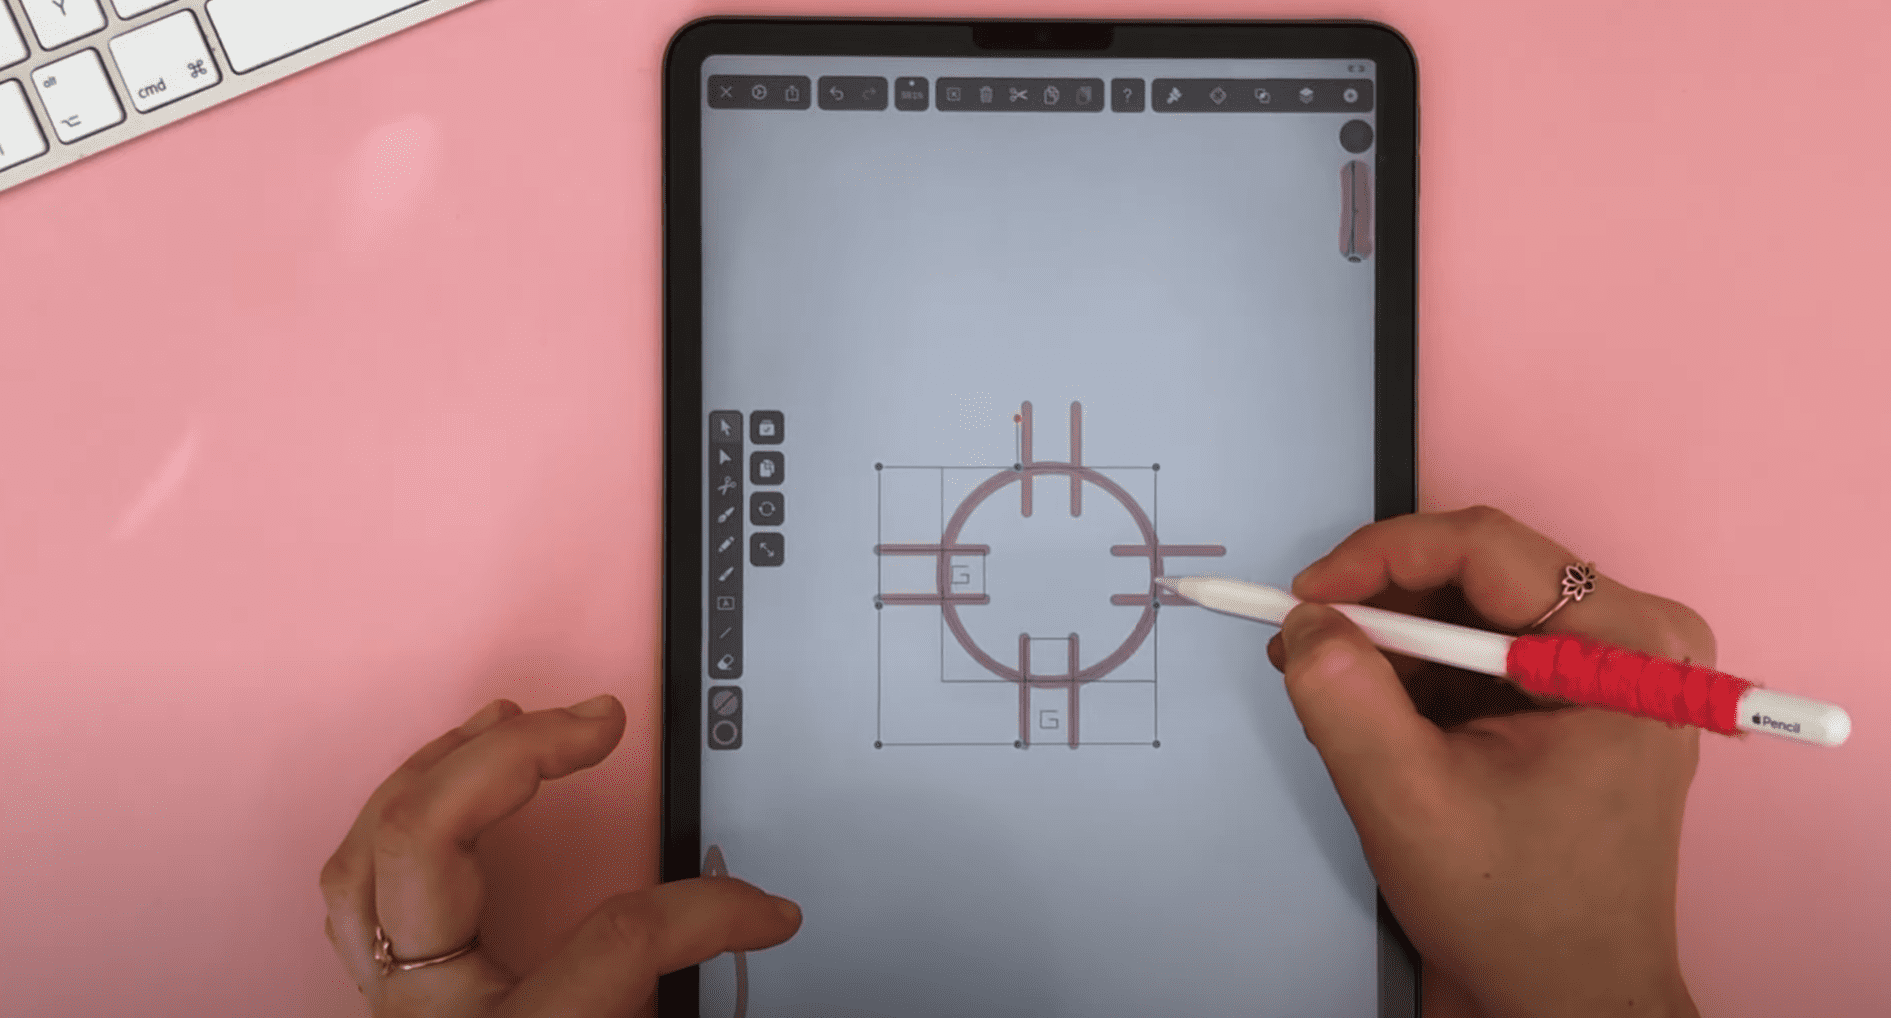
Create three rotational copies of the base shape.
Draw the diamond shape
In our next step, we'll draw the diamond shape.
As Sandra gets a lot of her inspiration from symbolism and the occult, integrating a crystal shape into the minimalist pattern should be no surprise. For the crystal shape, Sandra prepared a drawing of a crystal shape as her design pattern source. If you have drawn a reference sketch on paper, you can import it into Vectornator using the Camera Import option.
Before drawing the crystal, lock the layer with the diamond sketch and create a new one. Name it "Diamond."
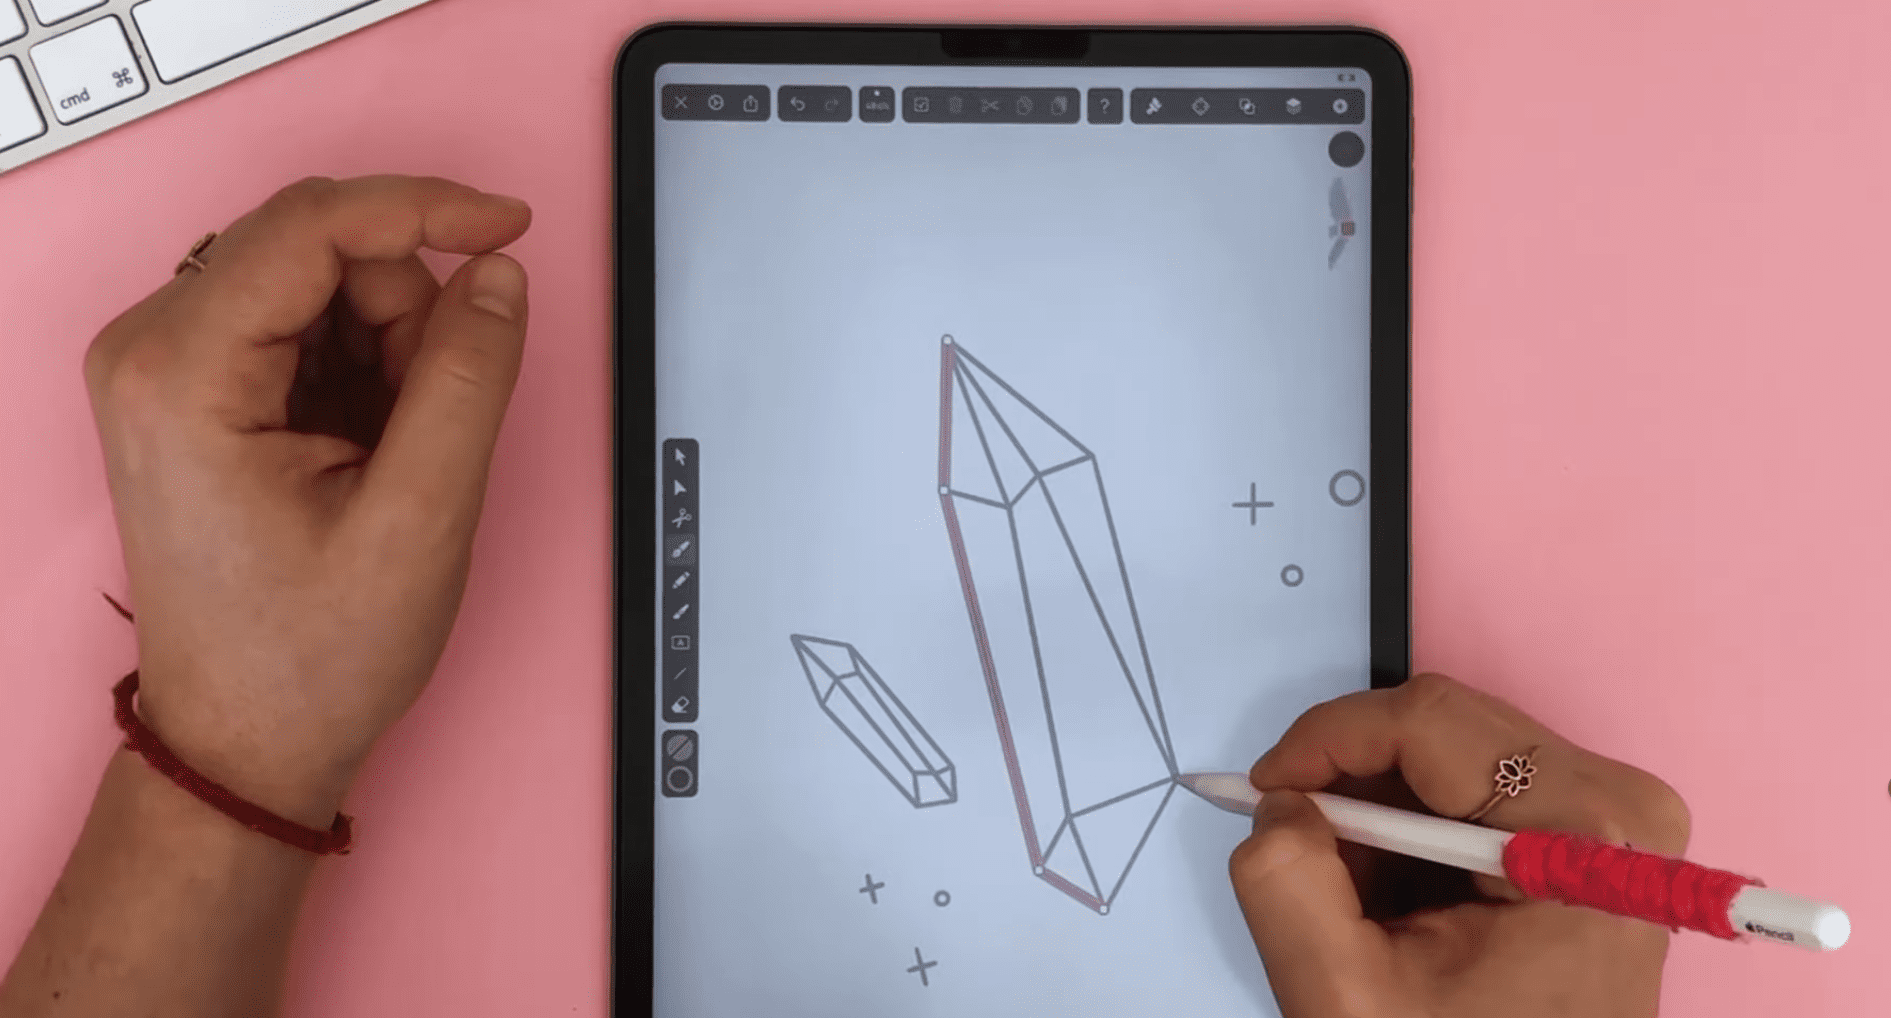
For this drawing, we will use the Pen Tool. The handling of this might be complex at first if you have no previous experience with it, but be patient with yourself and expect to try a few times until you get the shape right.
:quality(75))
:quality(75))
Toggle the fill off and the stroke on and adjust the thickness of your stroke. Use the dusty pink color we've used before. Start tapping on the corner points of your drawing to create the diamond shape.
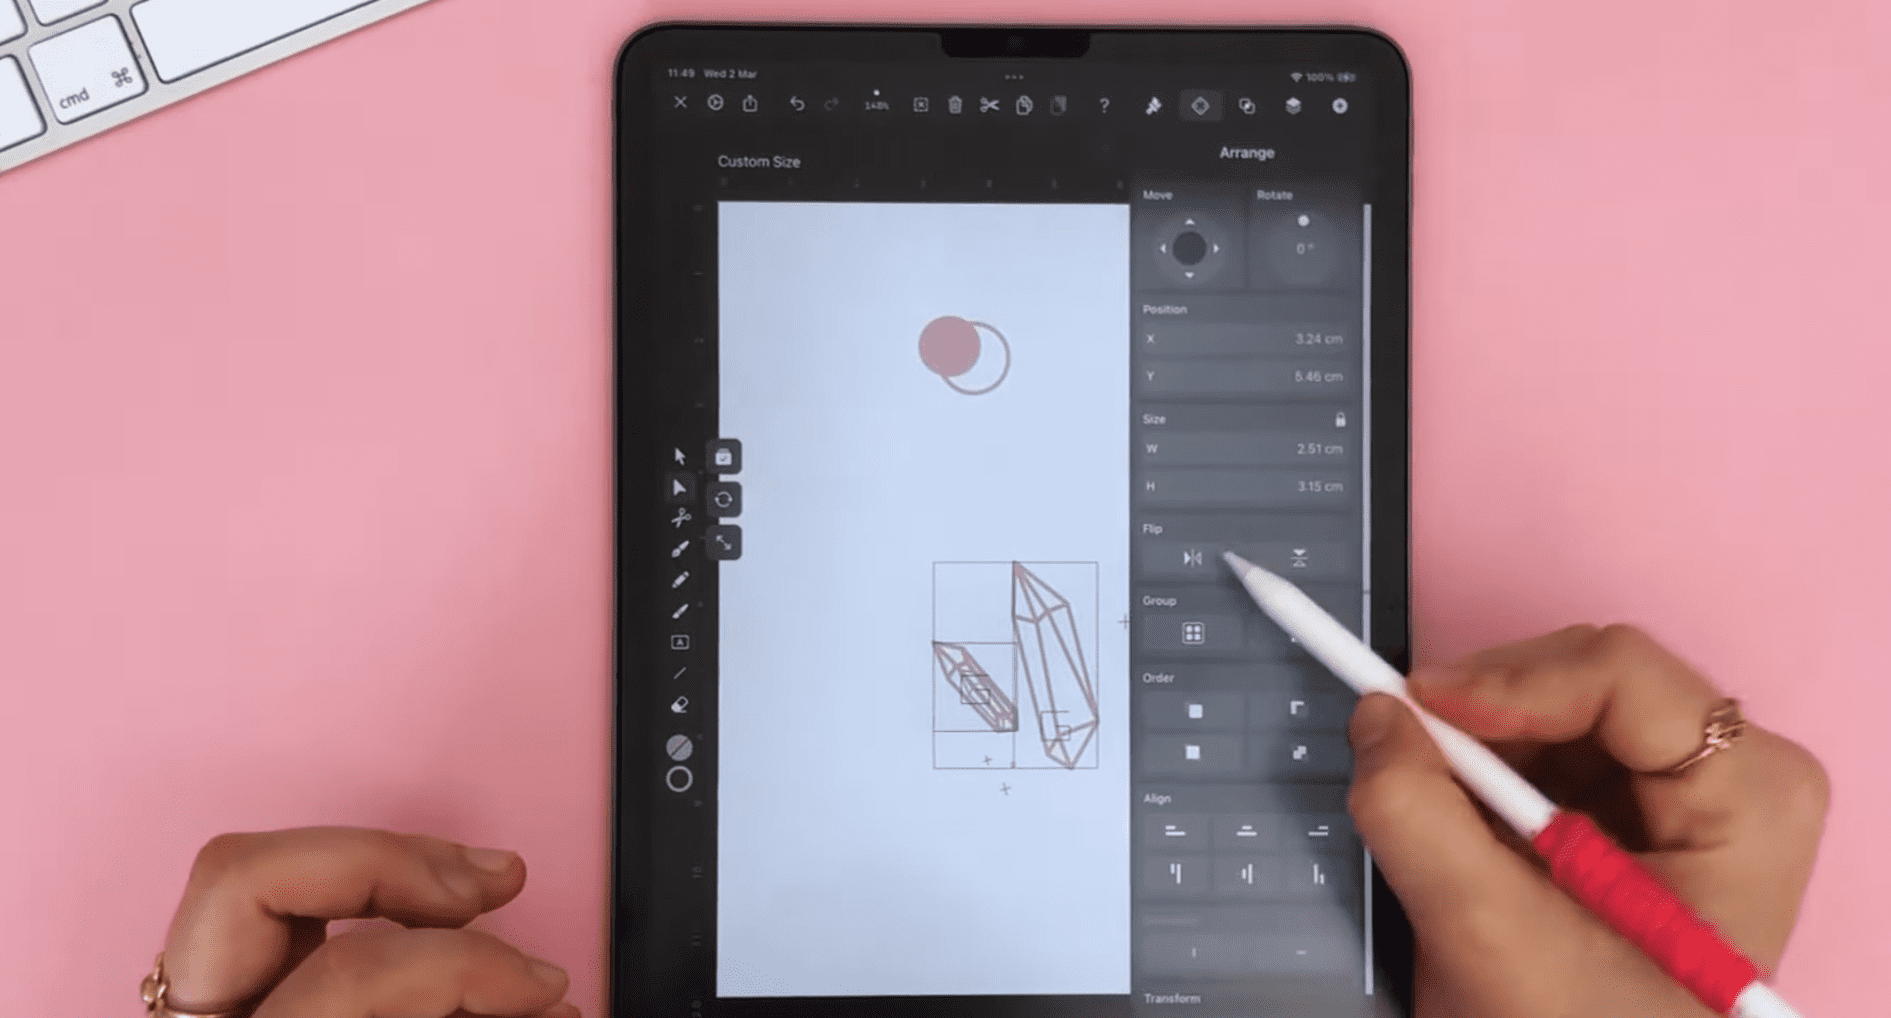
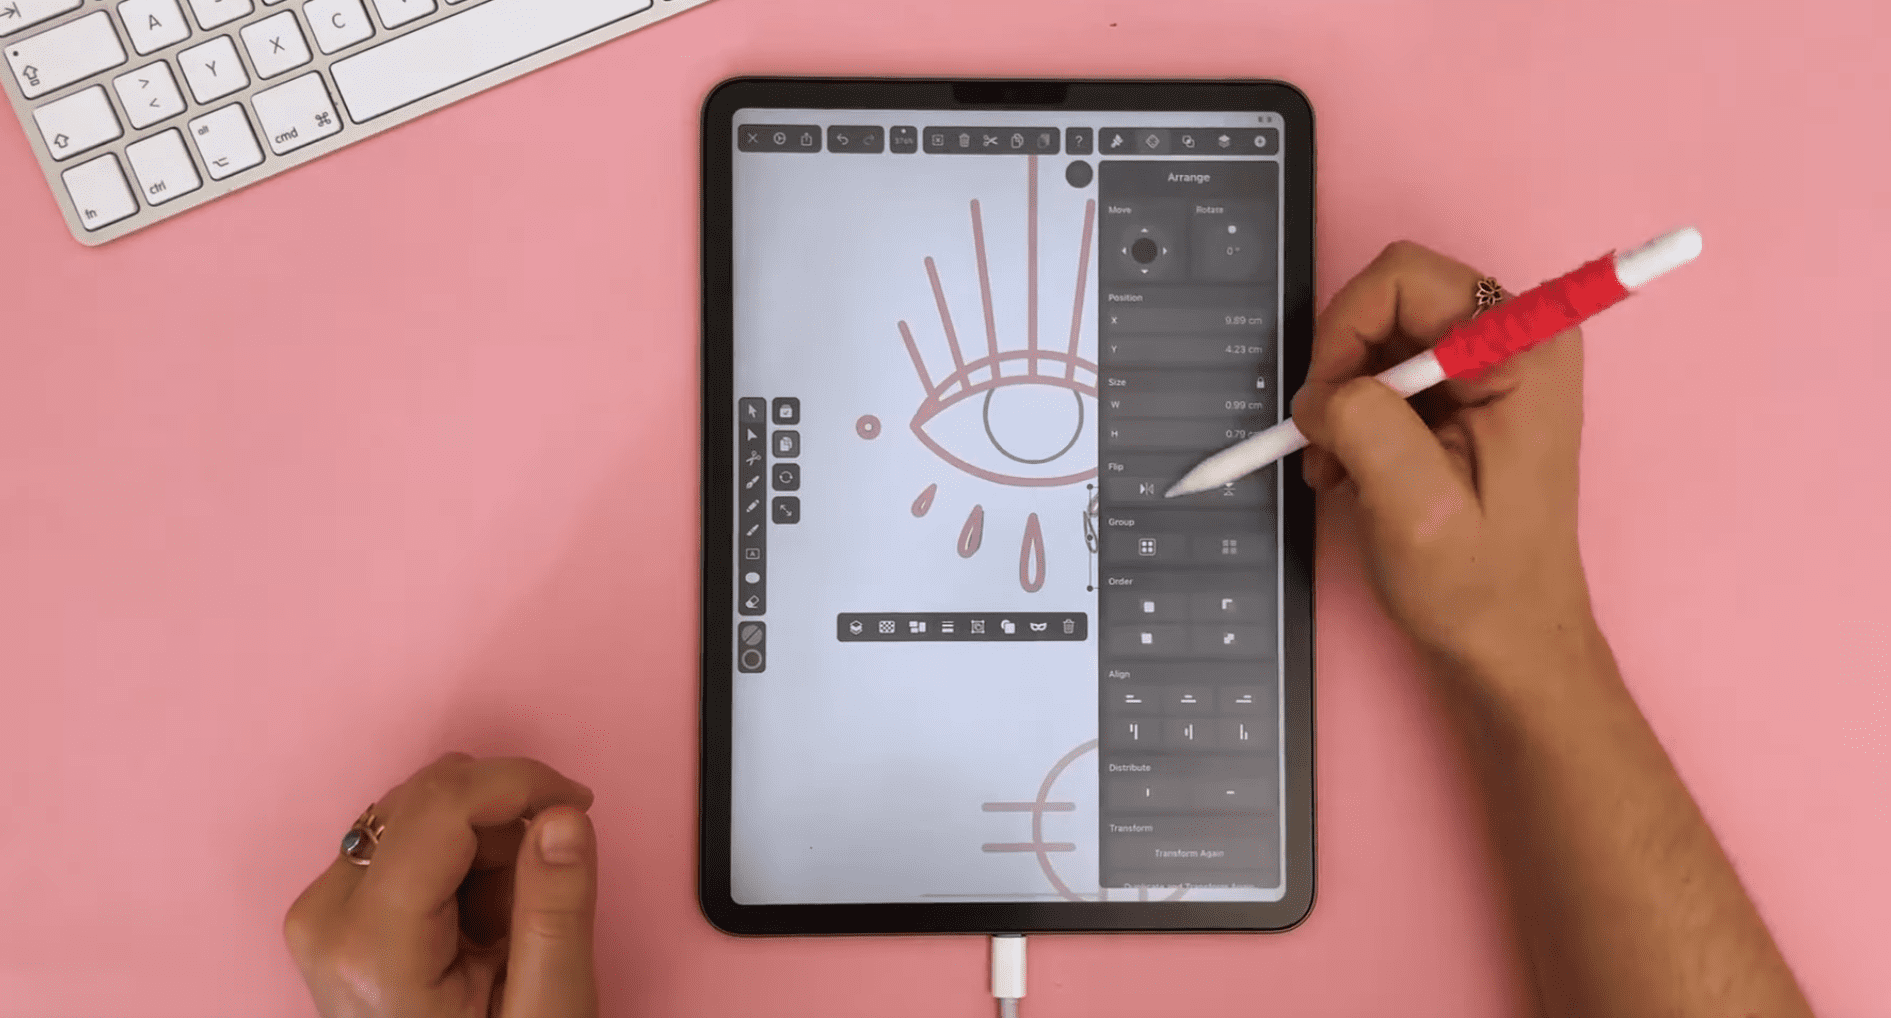
You can use the Flip Buttons in the Arrange tab to mirror and duplicate your drawing if you think your pattern element looks better that way.
Draw the crescent moon
In the next step of our tutorial, we'll draw the crescent moon pattern. Select the Shape Tool in the Toolbar and choose the oval shape option. Tap and drag on the canvas to create the circle shape.
Duplicate the circle with the Duplicate Button in the Arrange Tab and offset the second circle by moving it away so that only a portion of these two circles will intersect.
Select both shapes with the Selection Tool, and in the Path Tab choose the Boolean operation Subtract.
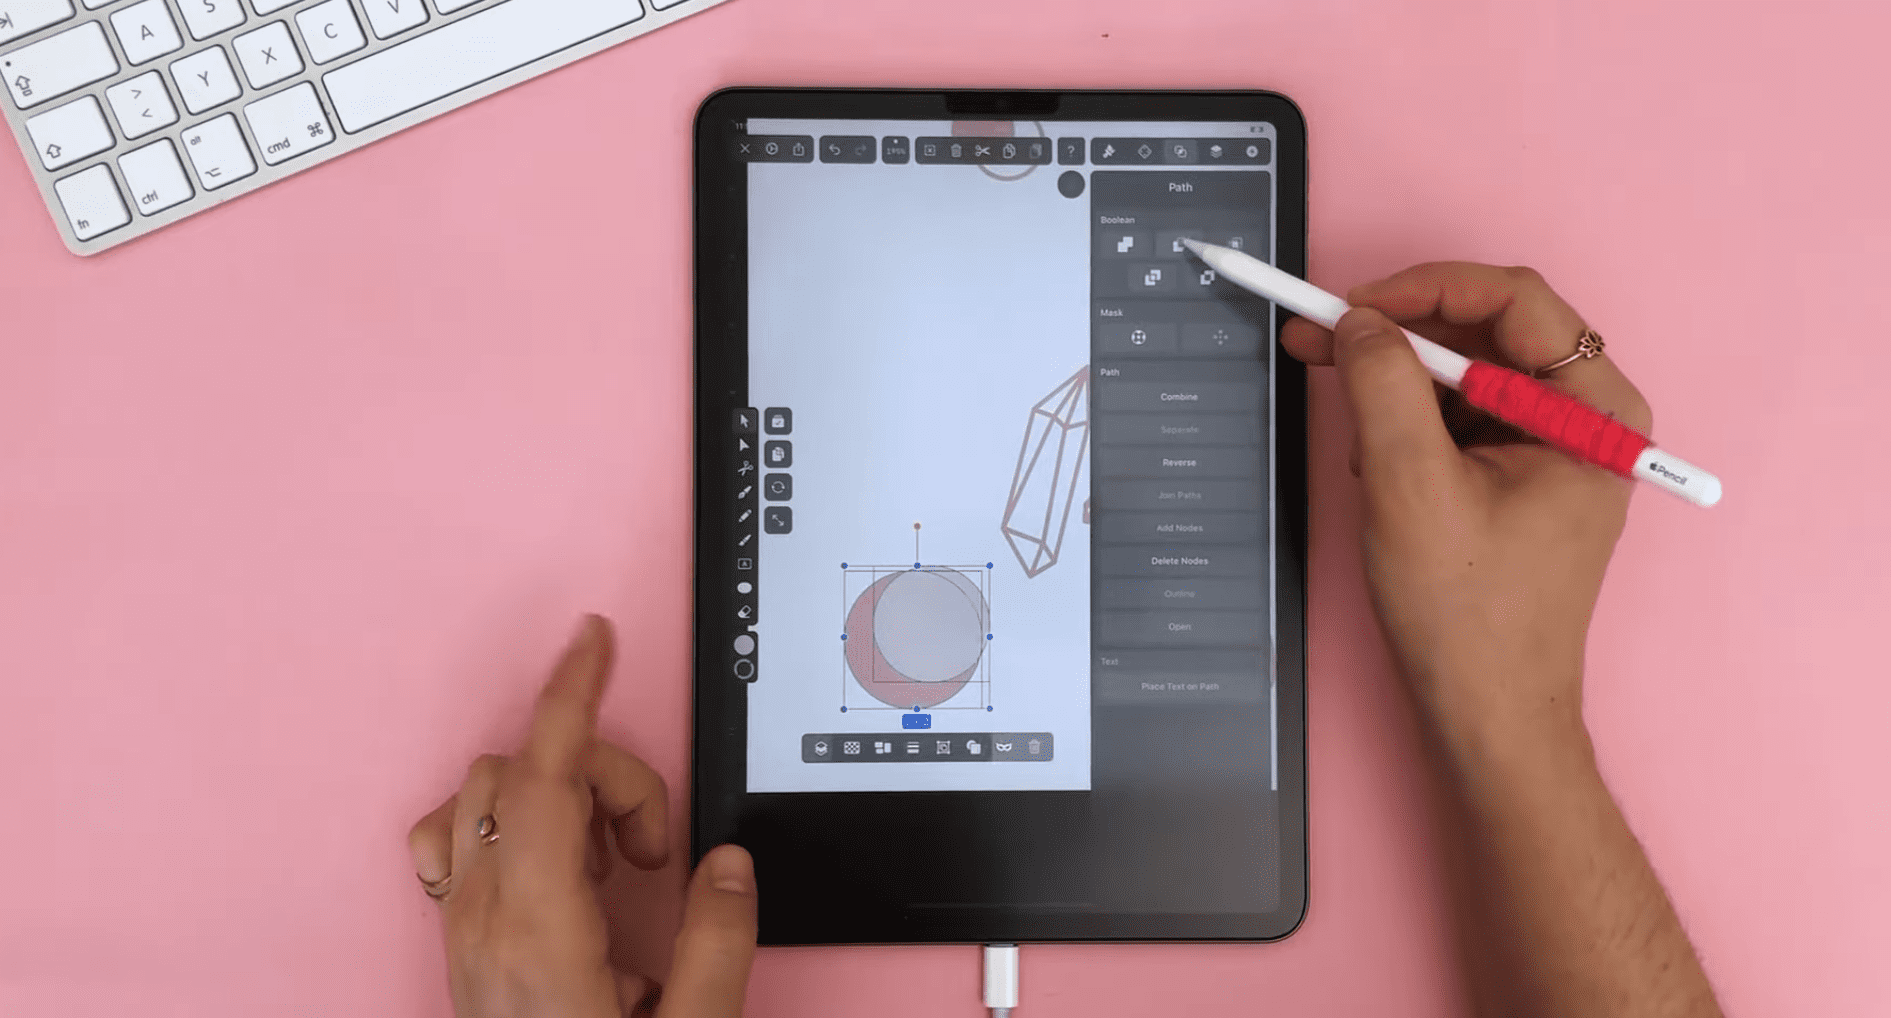
Voilá! Now we have a beautiful crescent moon shape! You can add your creations to the cluster of symbols if you want to!
Now that several symbols are available, you can arrange them to prepare the pattern on your screen.
Draw the eye shape
In the next step of our tutorial, we'll draw the eye shape.
Draw the eye shape and import the sketch using the camera import option. Lock the image from the Layers Tab with the eye sketch. Toggle the fill off and the stroke on.
Select the Pen Tool and start creating a path following the lines of your sketch. Tap and drag to create curved lines; tap and move to draw angled corners.
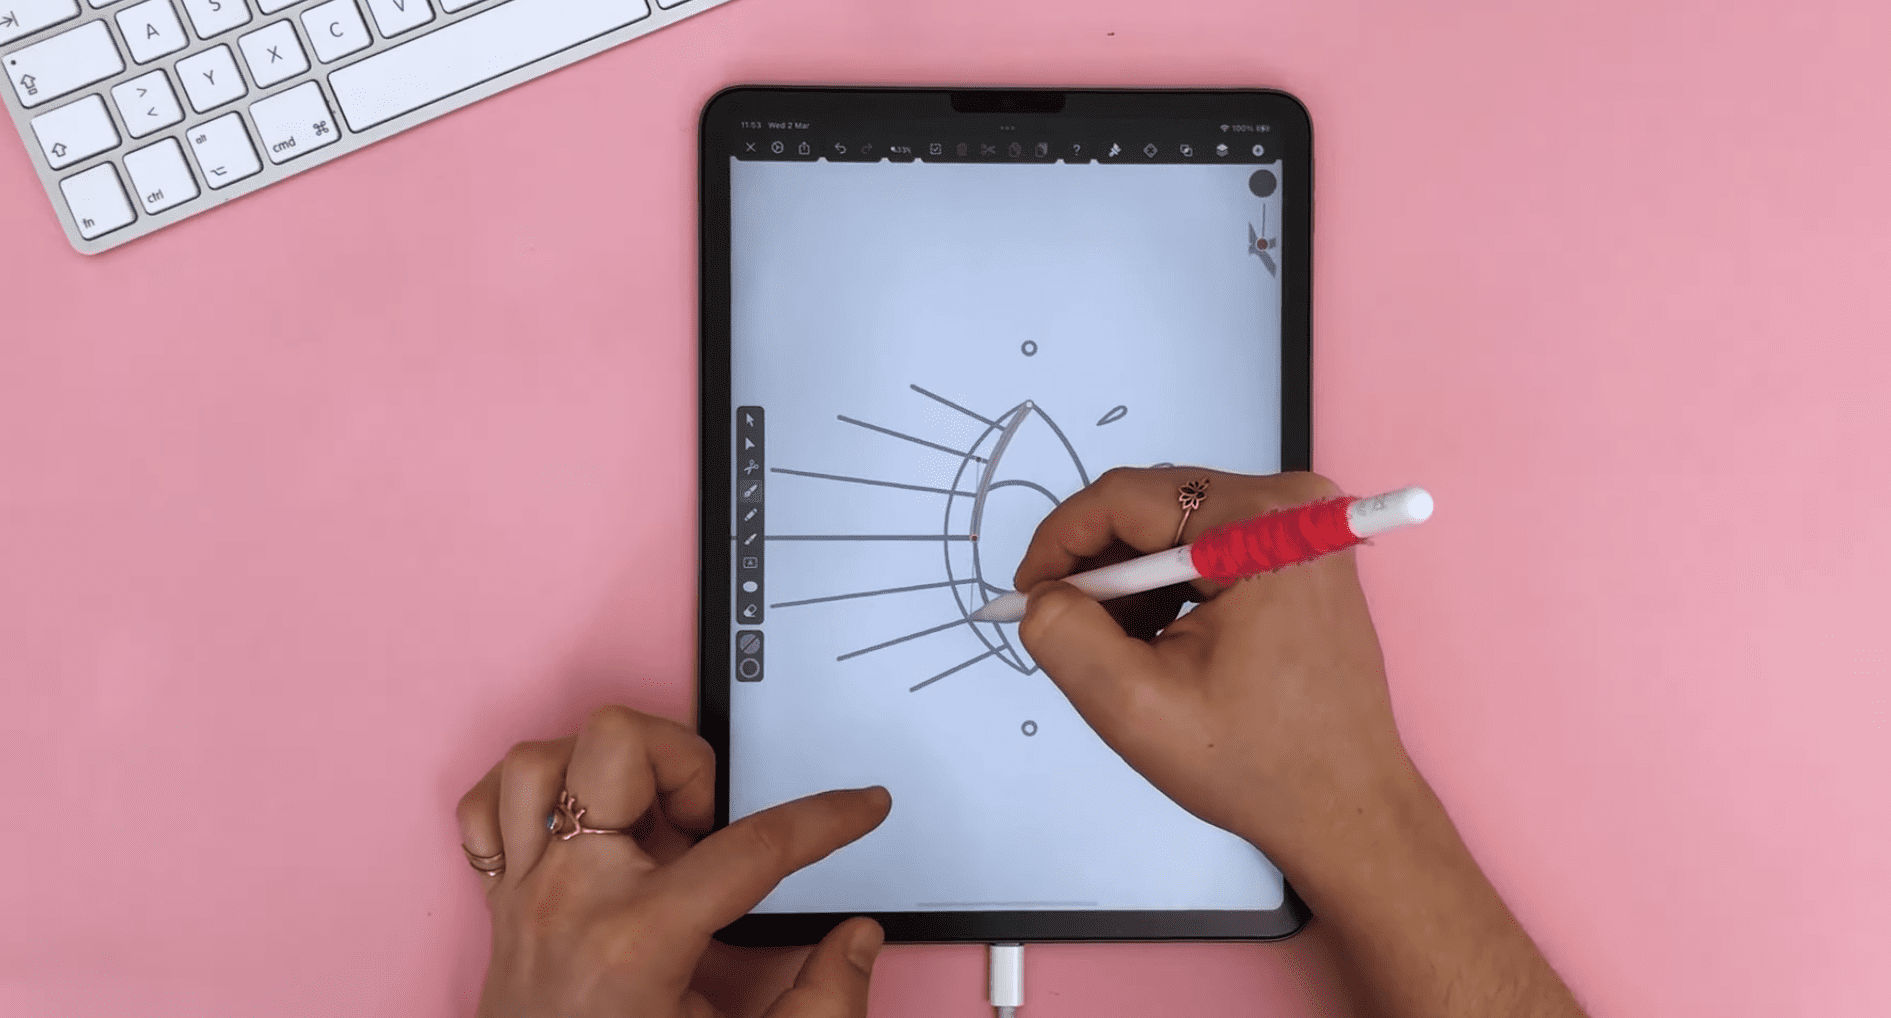
Select the Line Tool in the Toolbar to create the eyelashes. Only draw one-half of the lashes, then group, duplicate and flip them in the Arrange Tab to create the second half of the lashes.
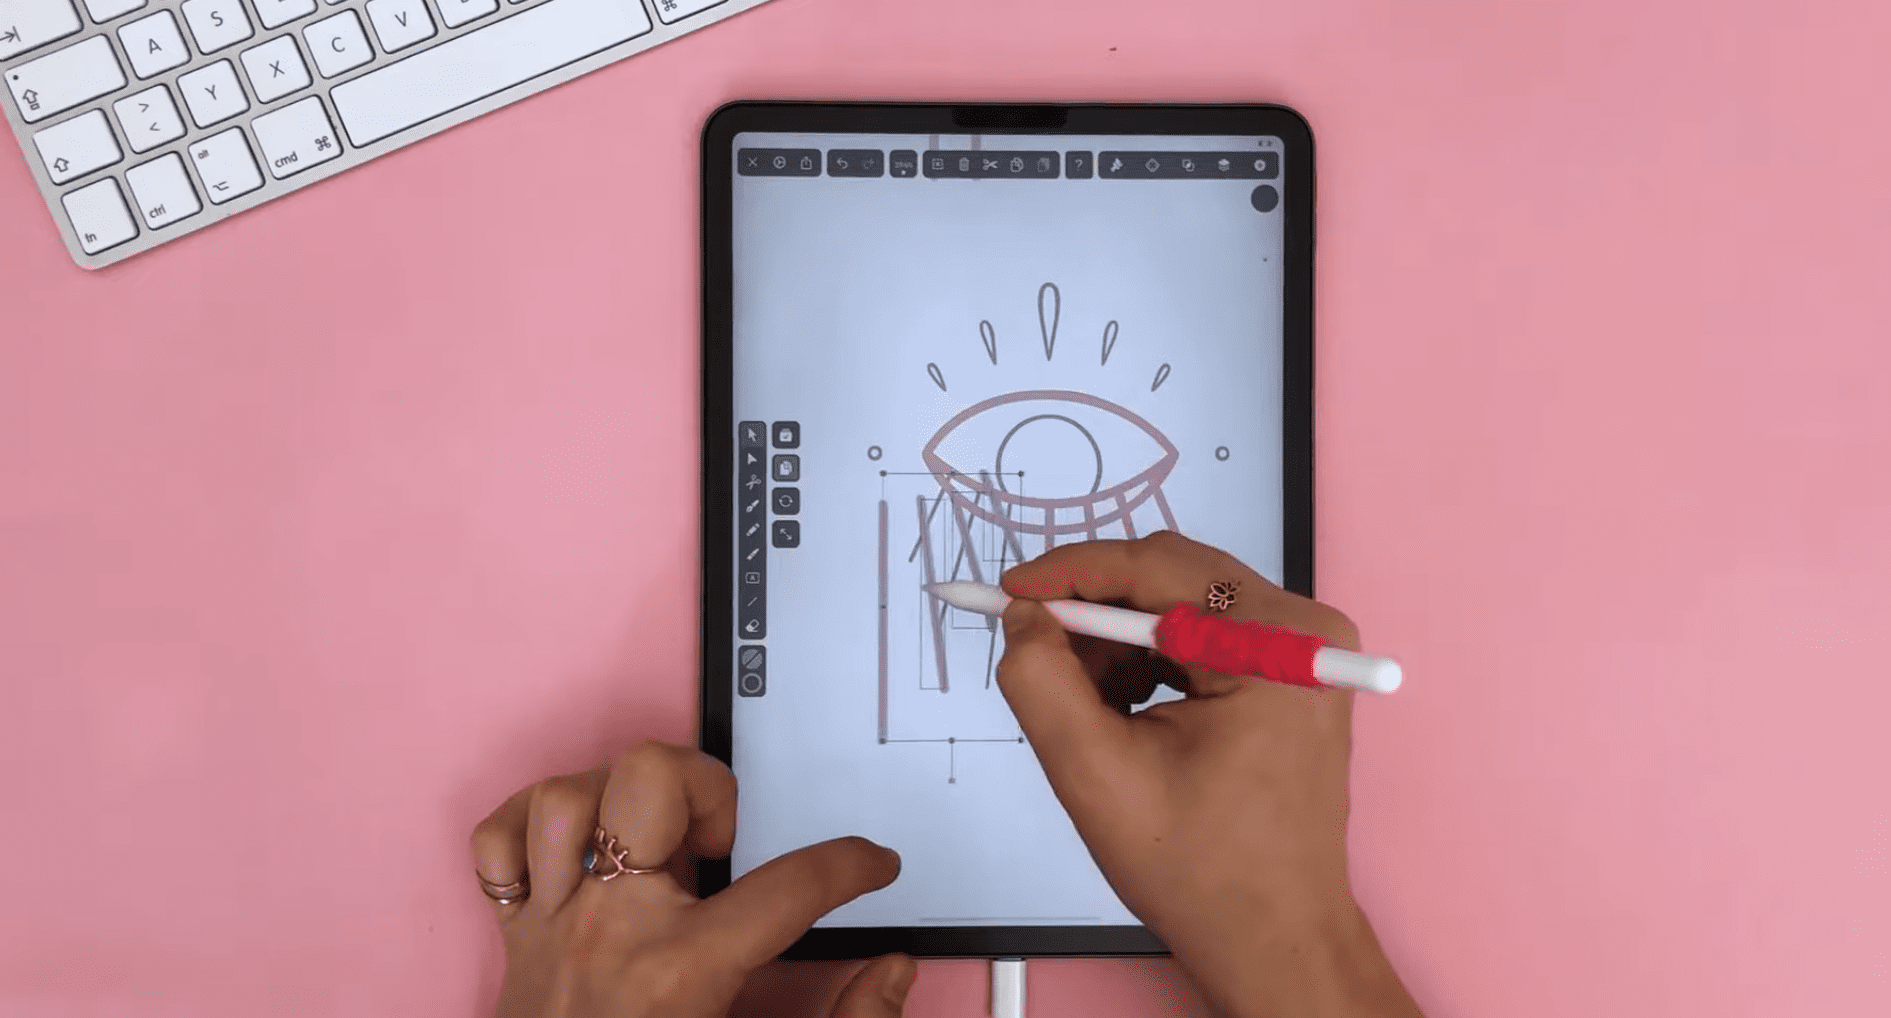
Create the tear shapes like the tear shape we already created in Step 2. Create the first half of the row, and then use duplicate and flip to create the second half of the row.
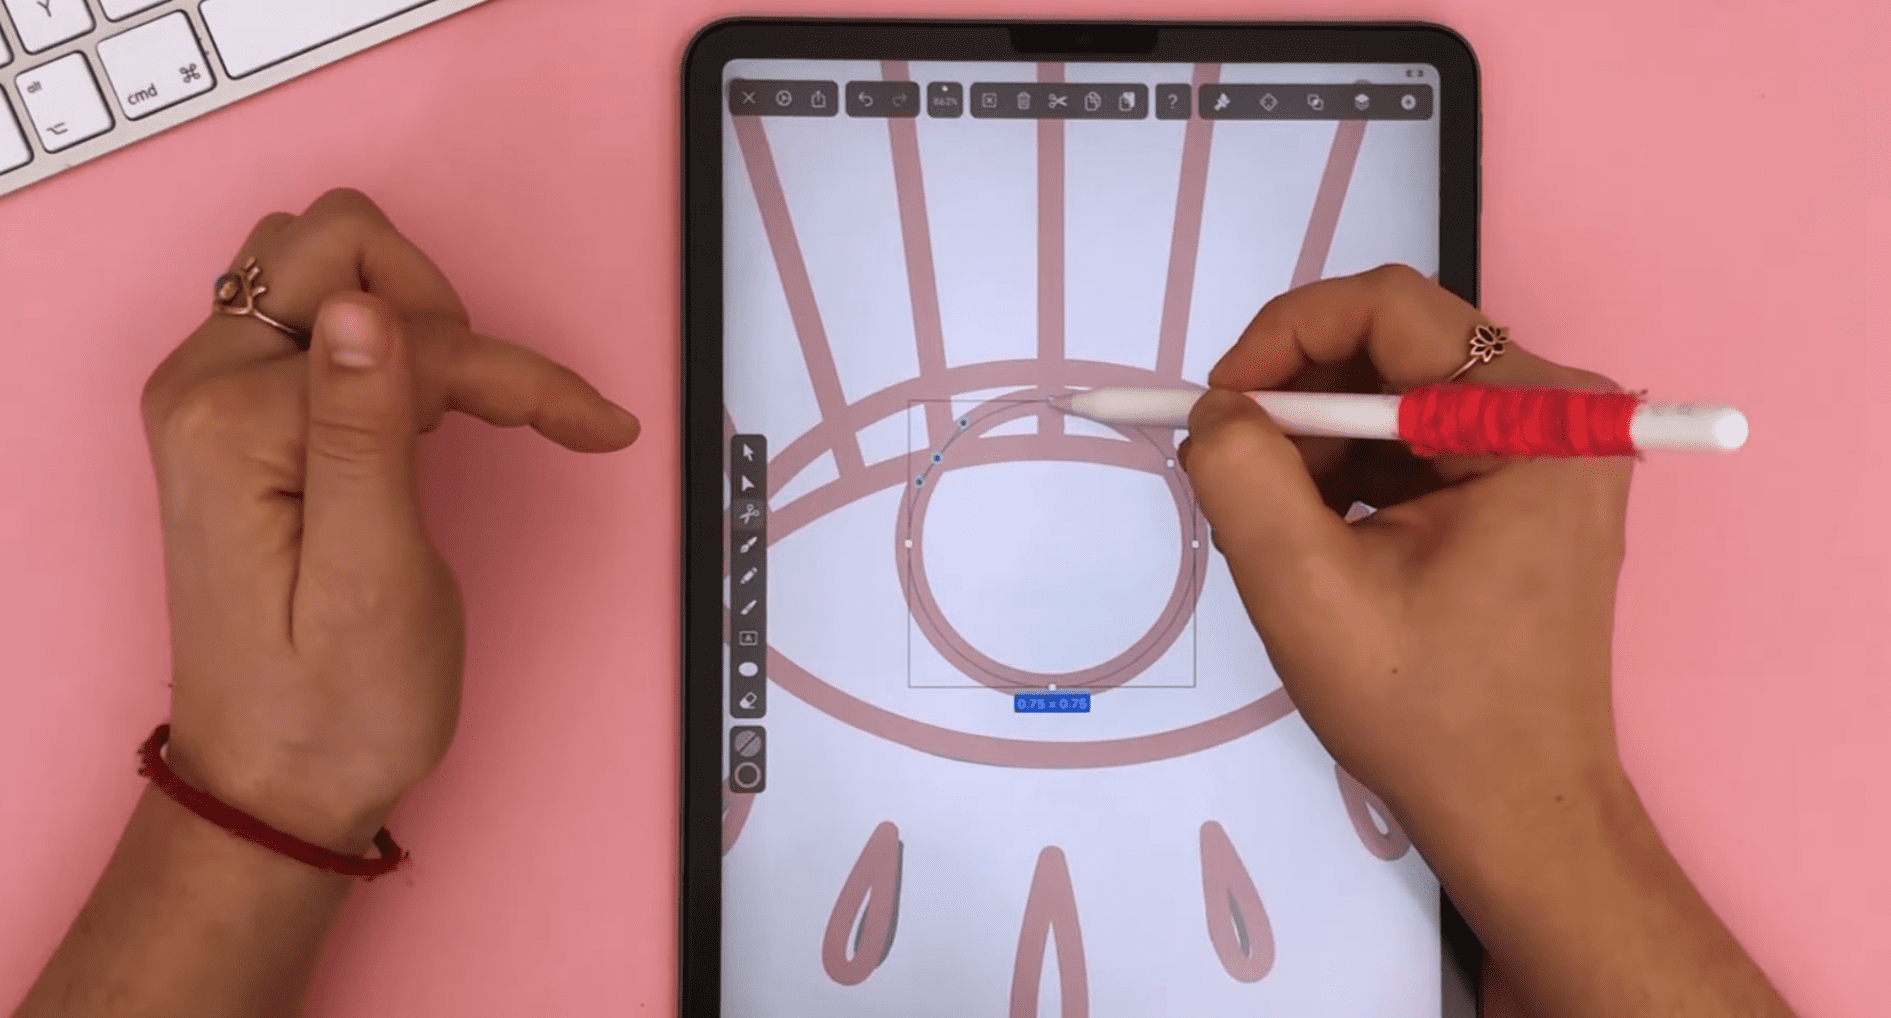
Use the Oval Tool to create the iris of your eye. To remove the upper part of the iris, use the Node Tool to create two additional nodes on the side so that you can delete the upper node that intersects with the rest of the eye shape.
Add the hand shape
In the next step of your tutorial, we'll add the hand shape. Draw the hand shape and import the sketch using the camera import option. Lock the layer with the eye sketch. Toggle the fill off and the stroke on.
Ready to create brand assets that pack a punch?
Visit our Academy for free drawing design courses.
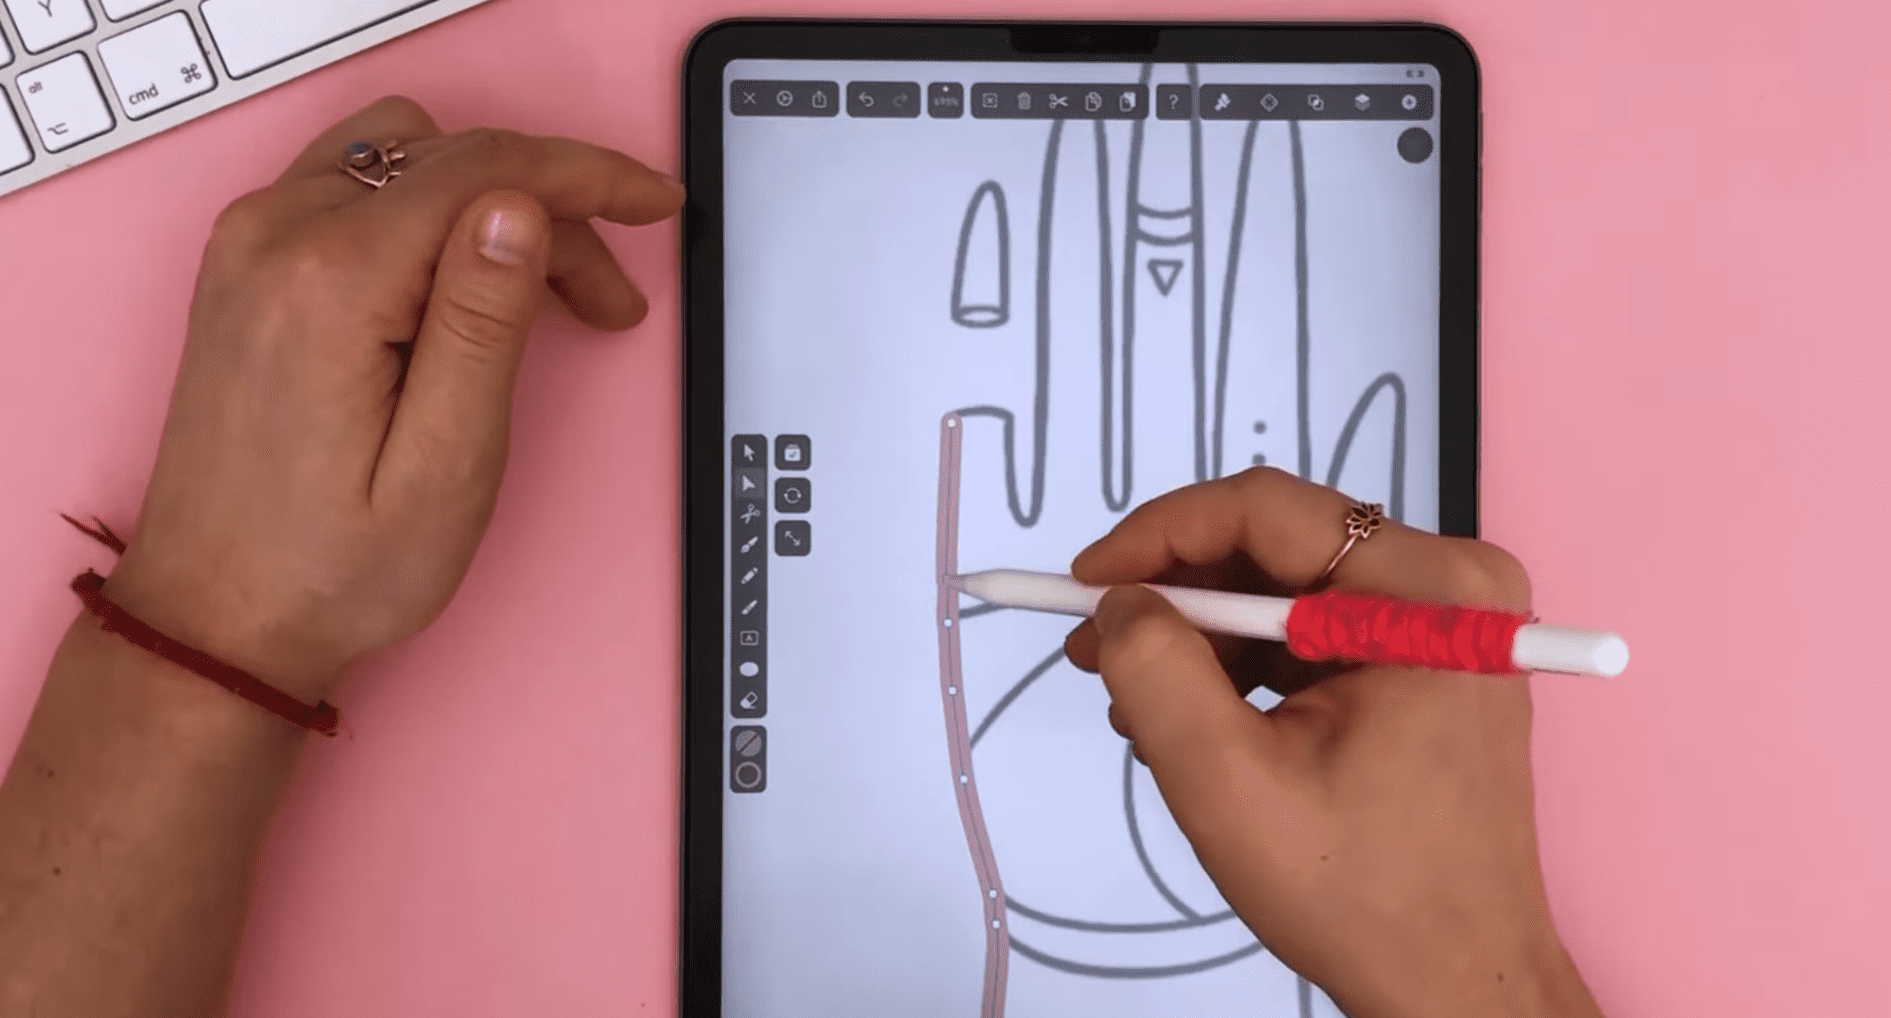
Select the Pencil Tool and crank up the smoothness slider to the left, as this will help us significantly to draw the hand. Now follow the lines of the hand with the Pencil Tool. Adjust the line thickness if necessary.
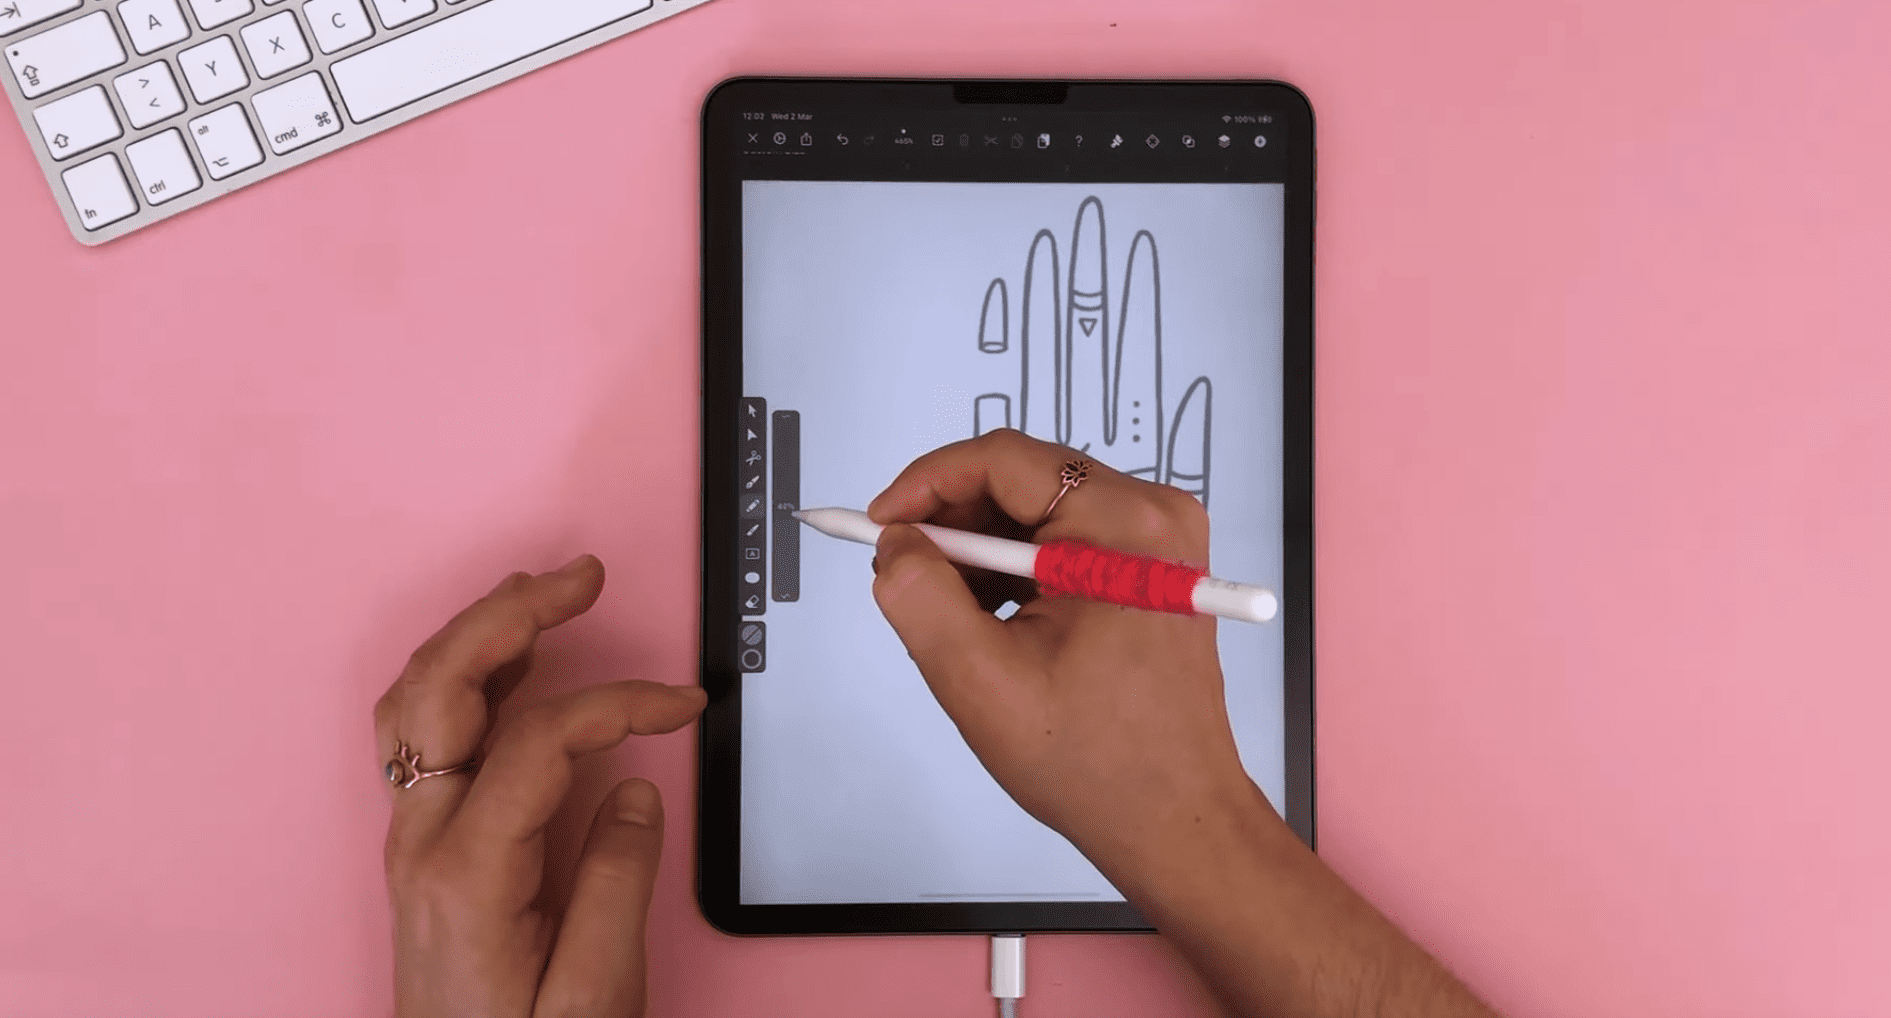
The high smoothness level will help to draw this complex shape with ease. Enjoy the flow of drawing with the Pencil Tool. Don't forget that you can move and delete nodes of your path afterward with the Node Tool.
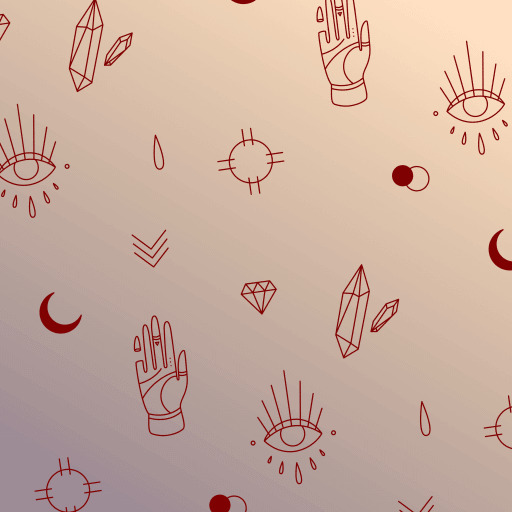
That's it! We've created a collection of design patterns.
Prepare the printable area
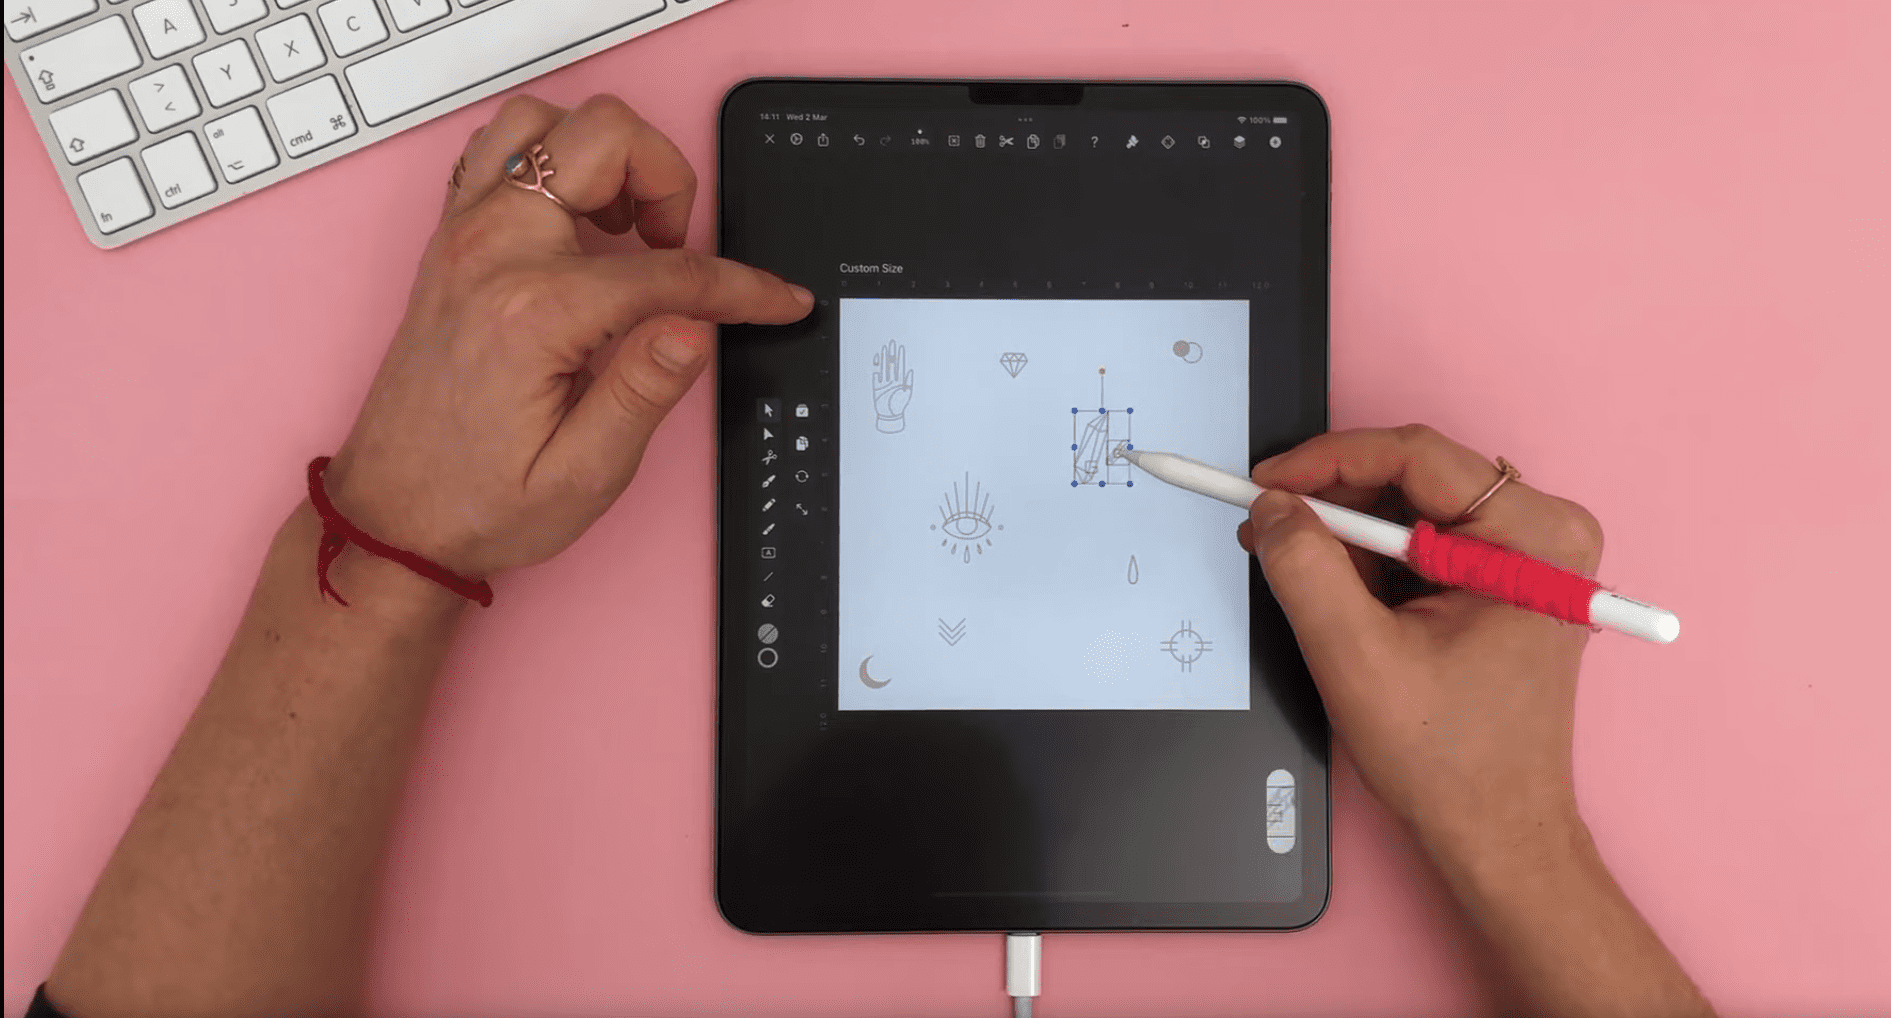
Use the Selection Tool to distribute the elements around, and try different distances between these elements, as you can always revert the changes in Vectornator. Try to distribute these elements as equally as possible.
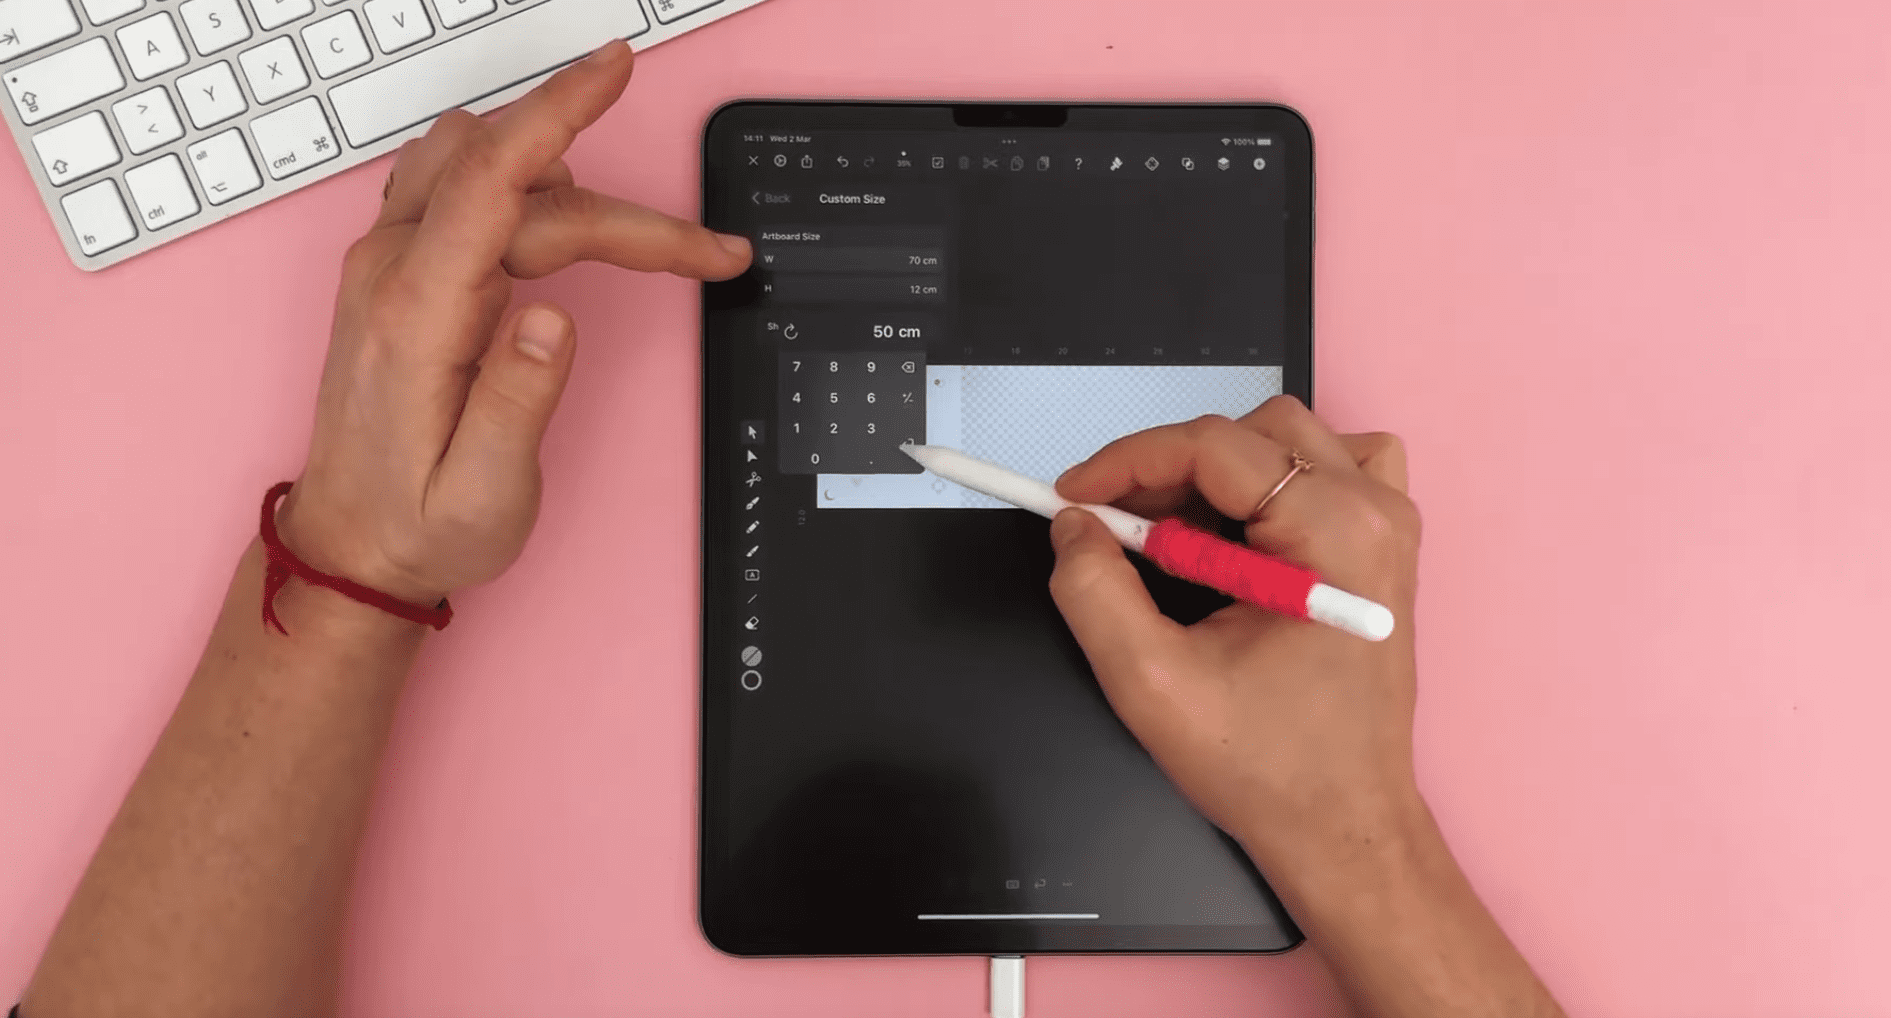
Change the size of your Artboard measurements to 50 x 70 cm (19.7 x 27.5 in) in the Preferences as these will be the measurements of the silk wrapping paper. If you want to choose a wrapping paper with different dimensions, please change the Artboard measurements accordingly.
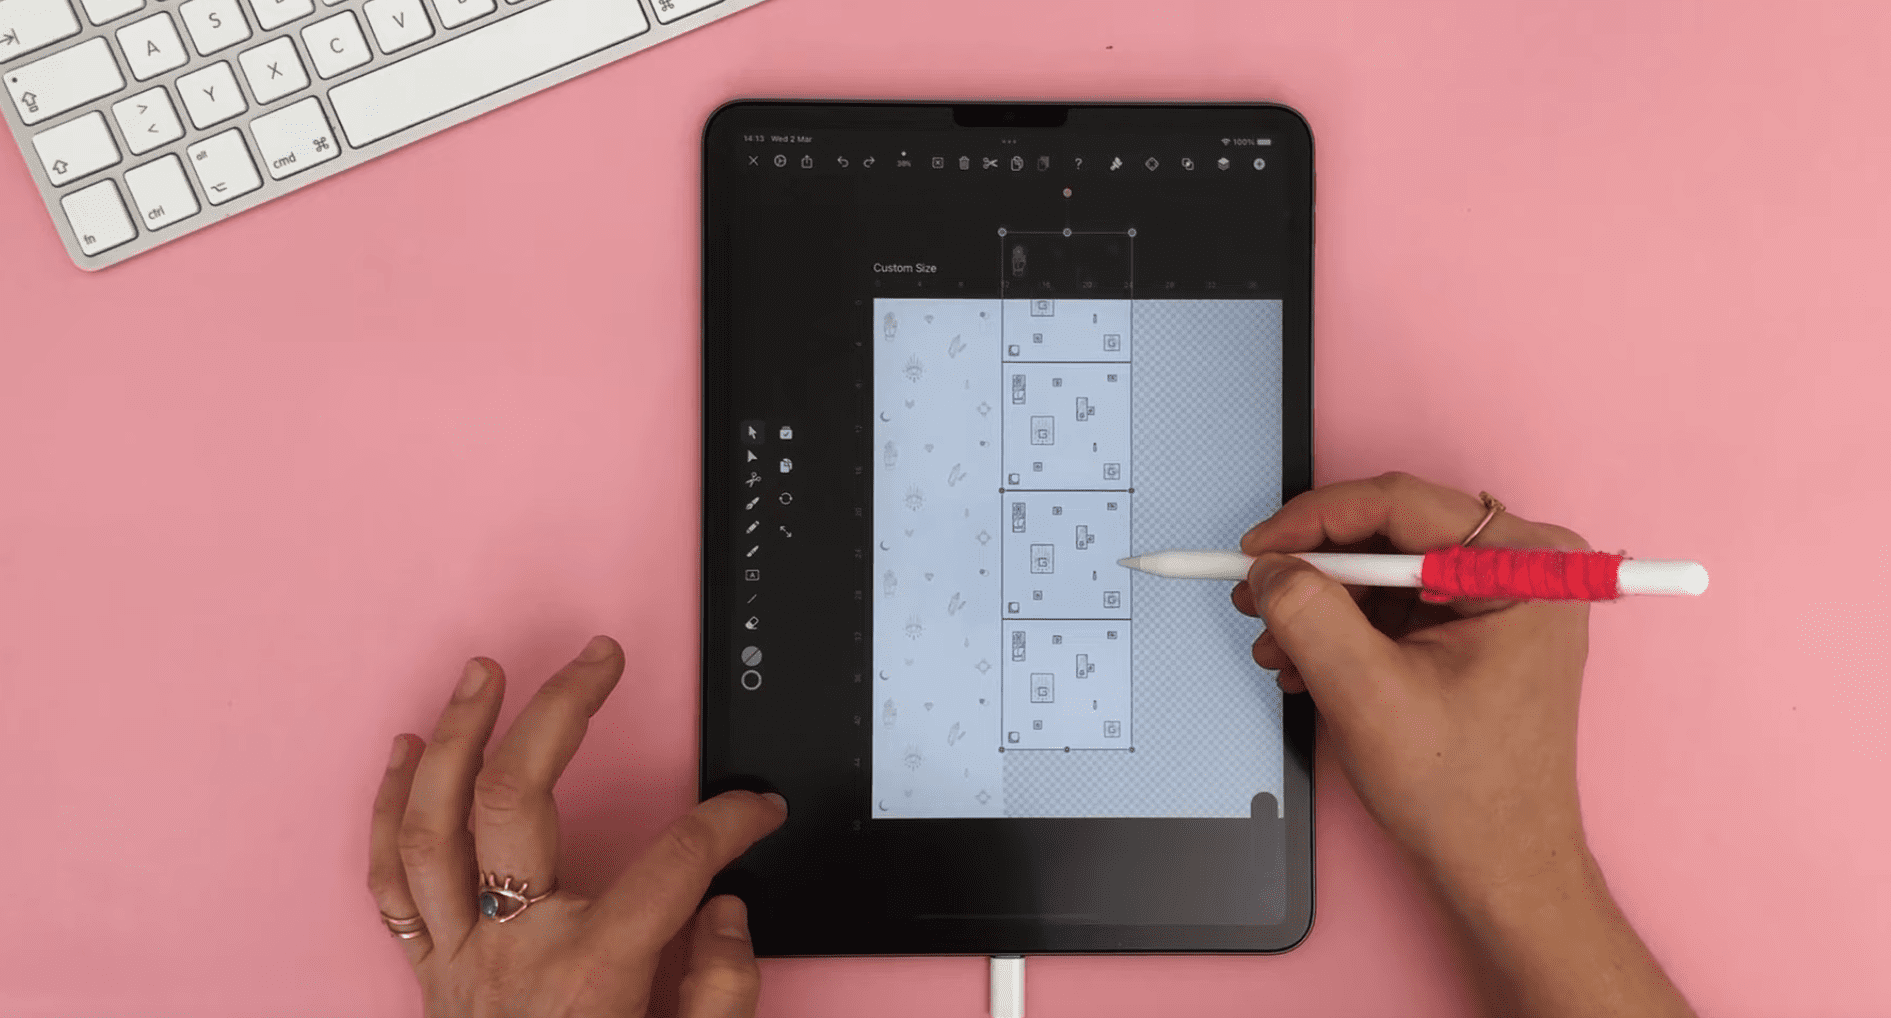
Now, select every layer, element, and background with the Selection Tool by dragging a rectangle around every element and then activate Duplicate Mode.
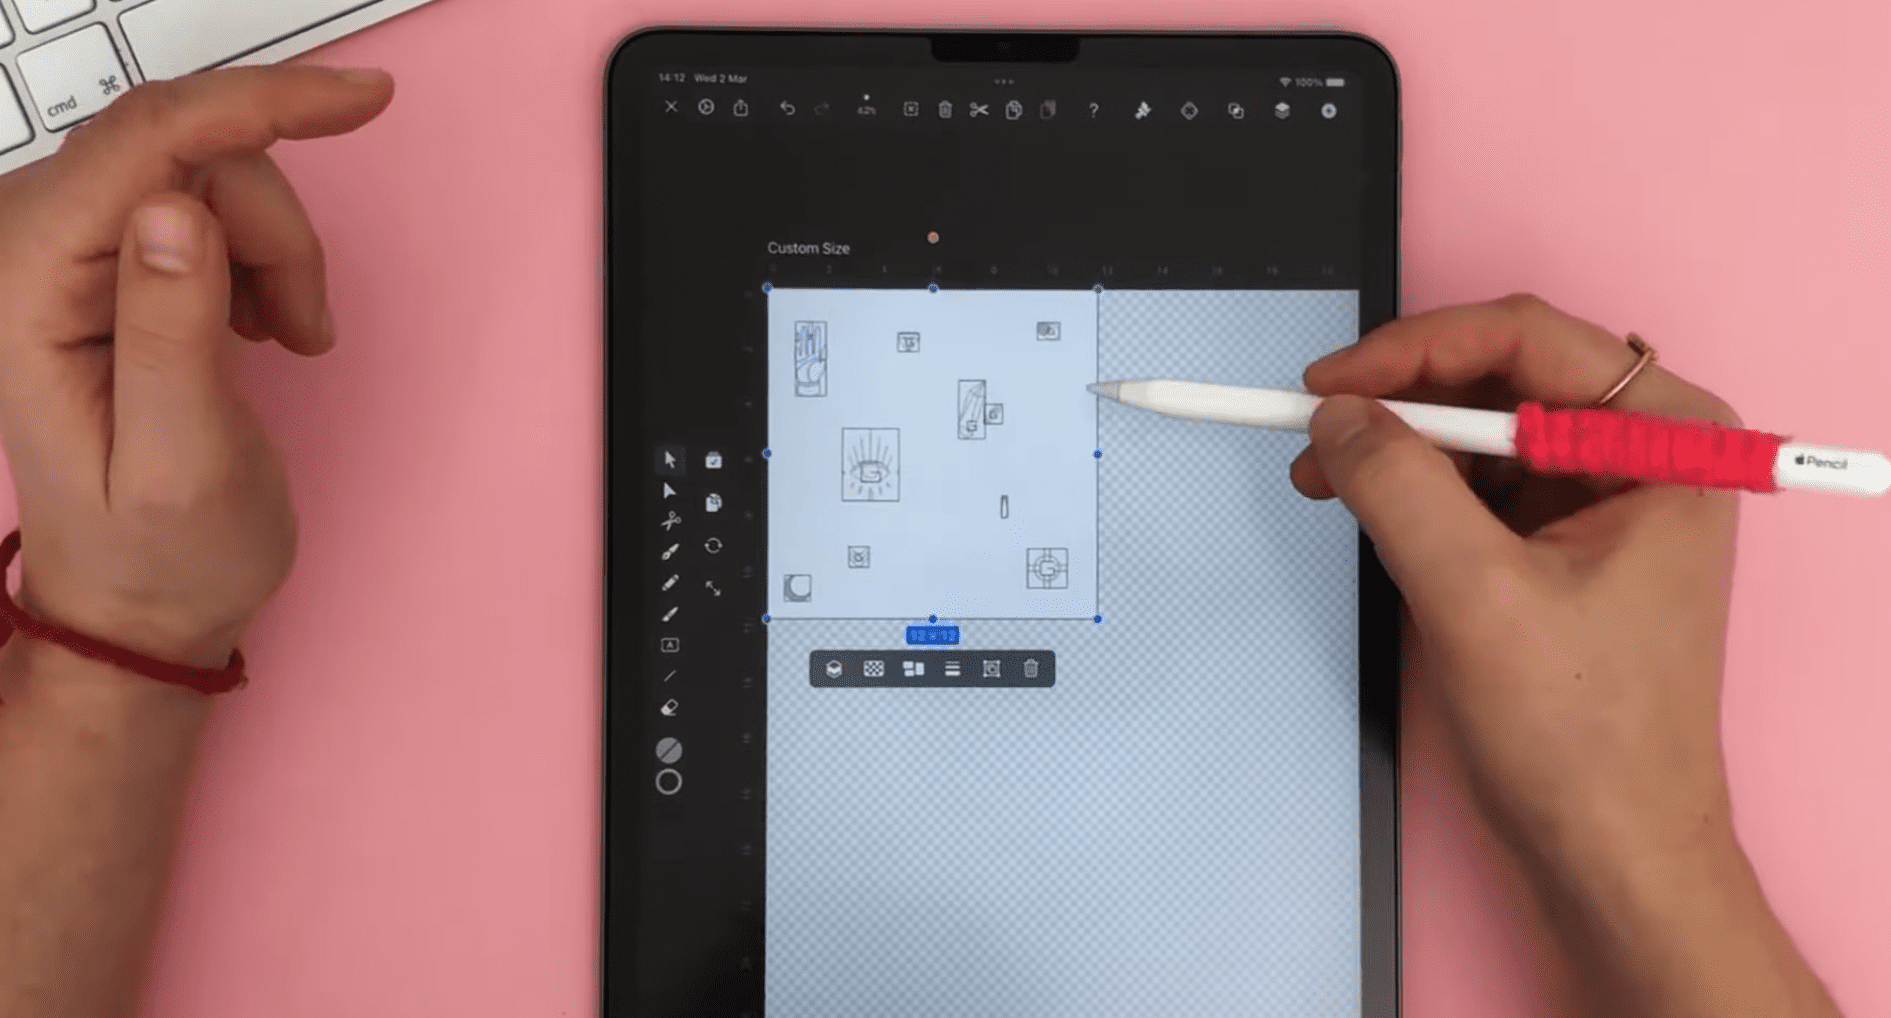
Hold one finger on the canvas and drag a copy down. Repeat duplicating and moving the tiles until one row of your Artboard is wholly covered with the symbol tiles; scale the tiles if necessary.
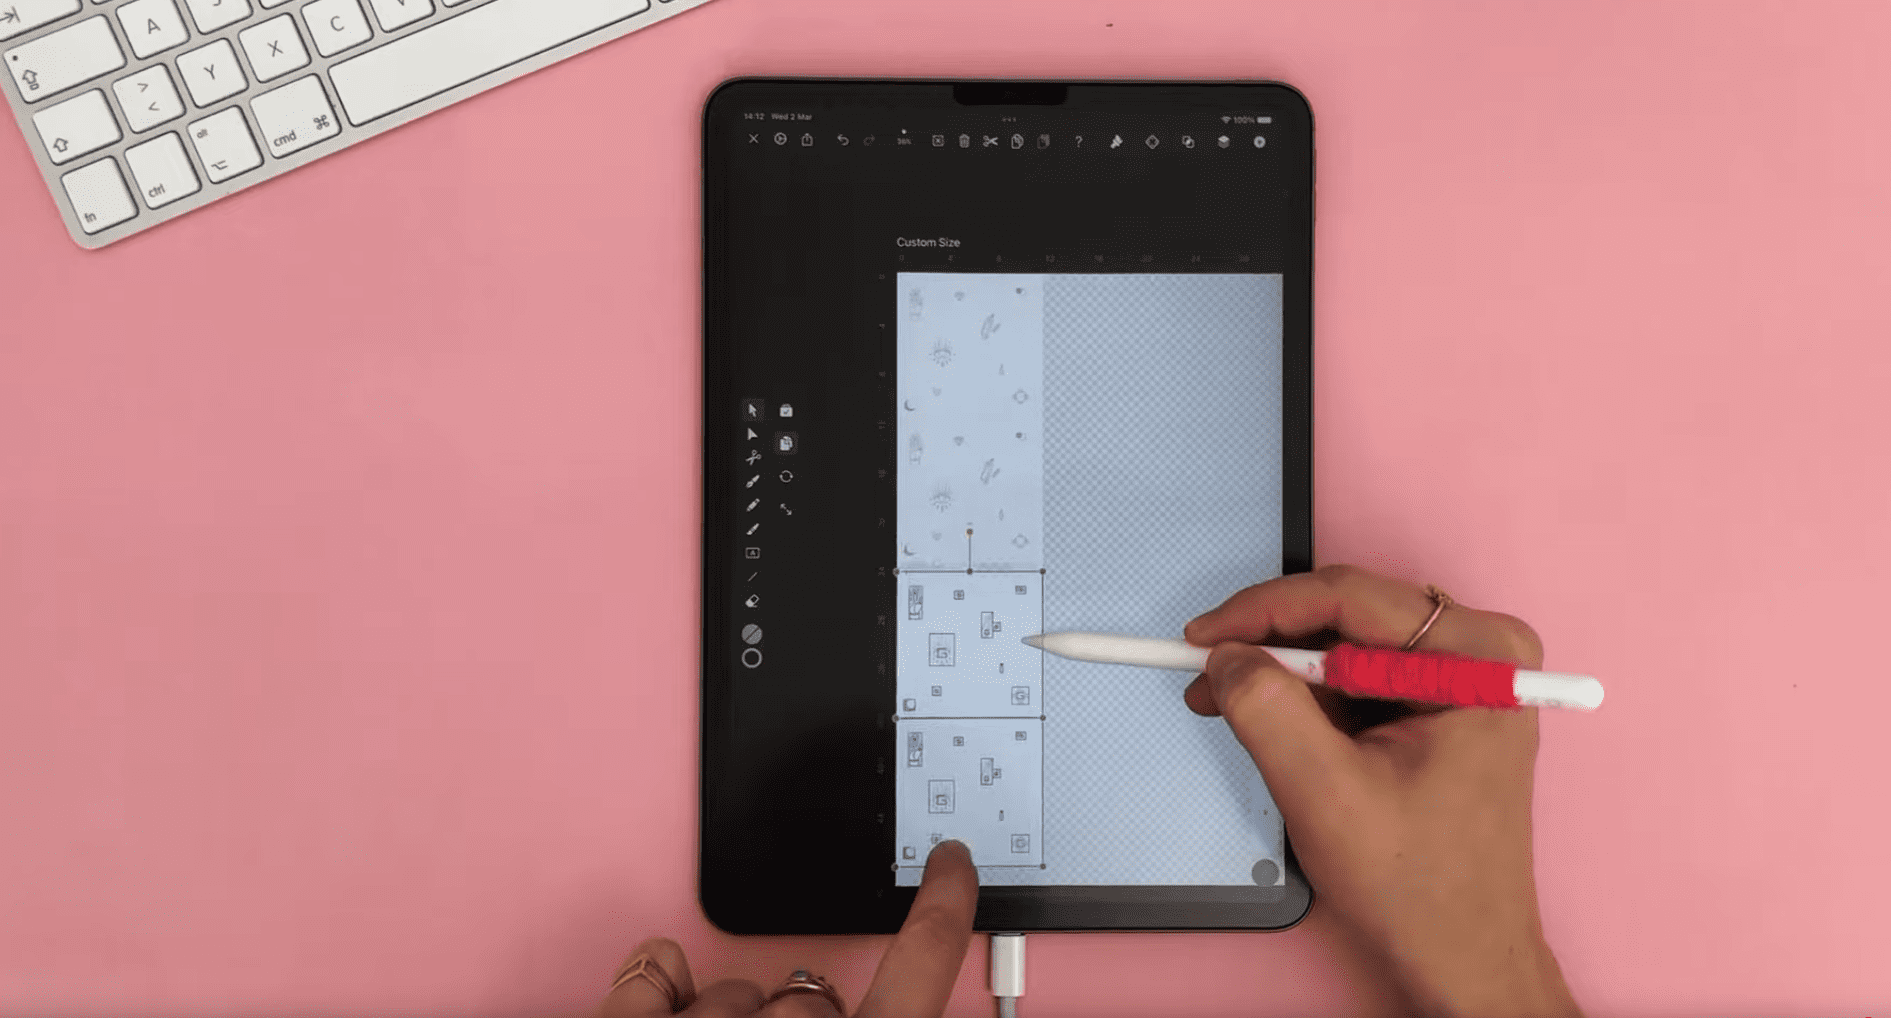
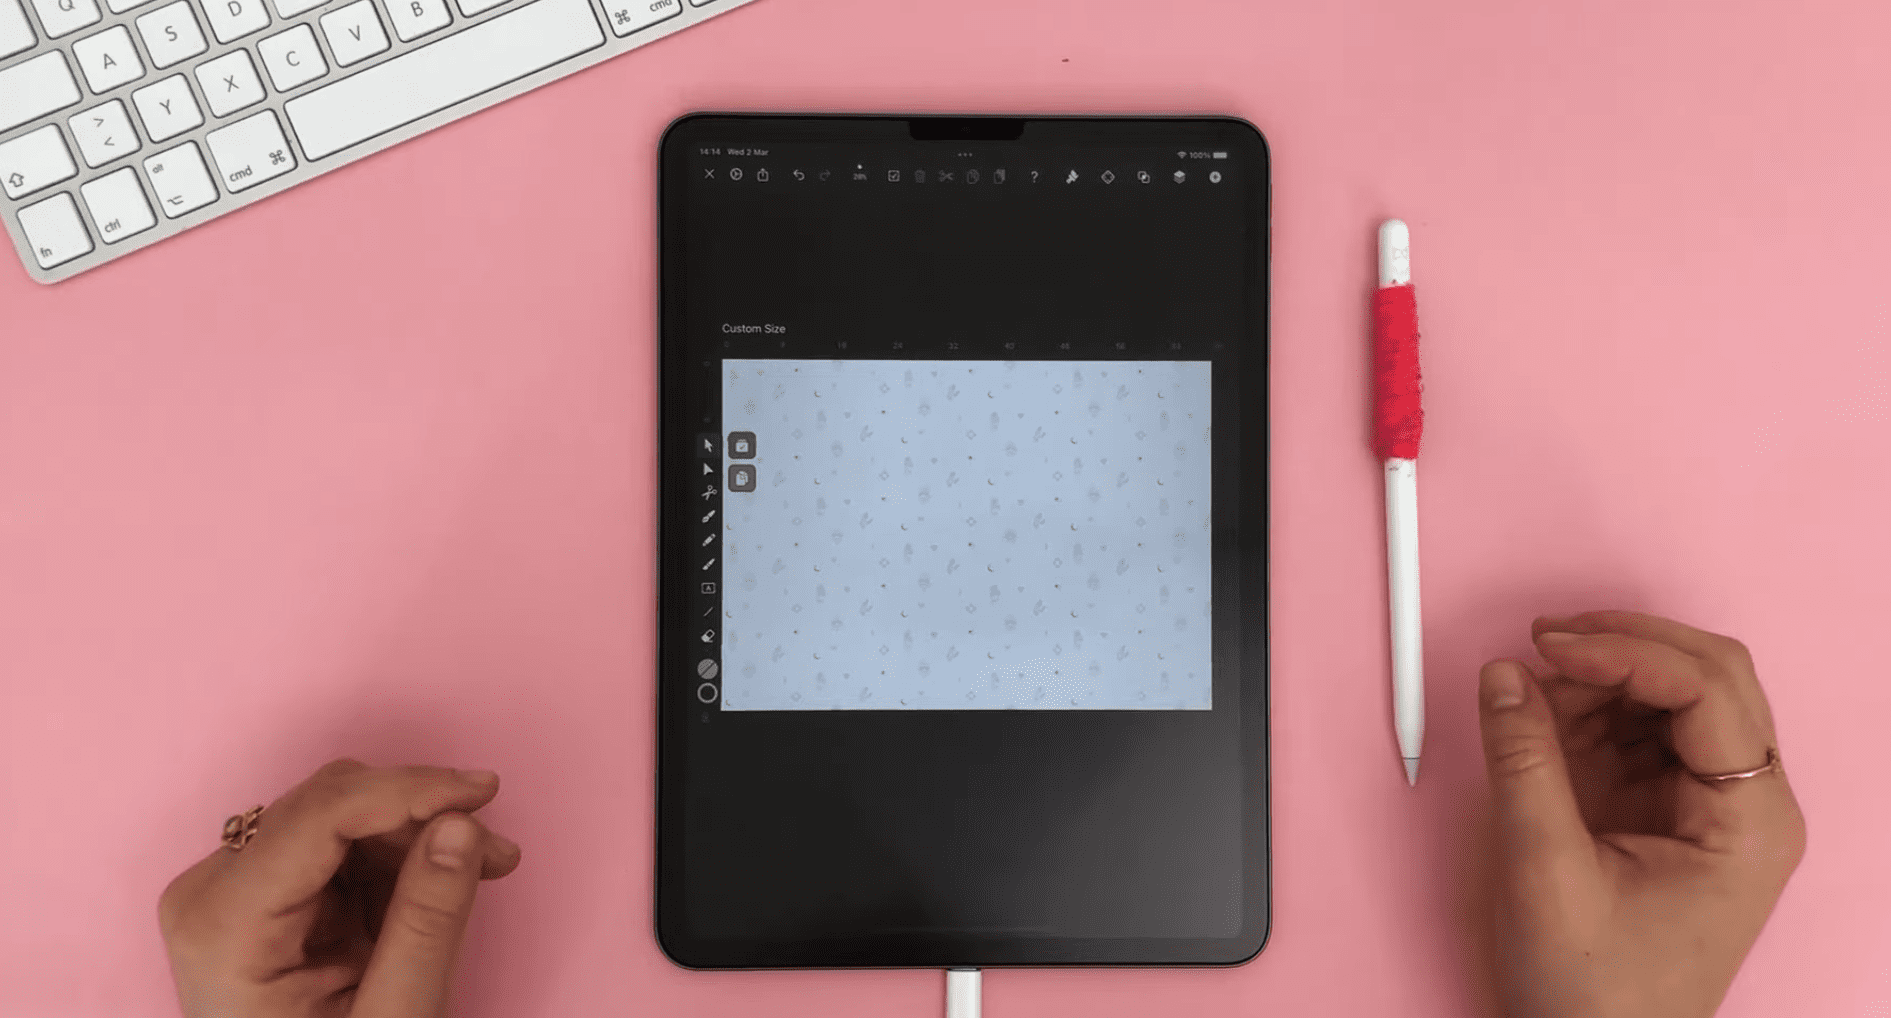
Duplicate the row of tiles and place it next to the first row we created. Repeat the process until the canvas is completely covered with tiles.
Now that we have a file with a white background and wholly covered with pattern symbols, we can send it to the printer; Sandra as an environment-conscious person chose a sustainable printing company to perform the printing task for her.
That's a wrap! We have shown you the development process of custom design patterns. You can use it commercially packaging products or for friends and loved ones!
If we could inspire you to create your design pattern library, download the latest version of Vectornator to get started and share your patterns with us on our social media or community art gallery.
Jumpstart your ideas with Linearity Curve
Take your designs to the next level.
Share this!
Marion Gerlinger
Marion is a contributing writer to the Linearity Blog.