:quality(75))
:quality(75))


:quality(75))
If you’re new to Linearity Curve (formerly Vectornator) or vector graphics in general, you’re probably wondering, “what the heck is Shape Builder?” Well, the clue is in the name: you can use it to build designs from shapes.
The Shape Builder Tool is a classic vector tool that’s incredibly useful, but the method for using it is very different to other familiar tools, like the Pen Tool or the Brush Tool. Instead of plotting path points or drawing smooth strokes, you have to draw with geometric shapes and then sculpt out your design by combining or subtracting areas.
Jumpstart your ideas with Linearity Curve
Take your designs to the next level.
It sounds complicated, but designing with the Shape Builder Tool isn’t as intimidating as it may seem. It requires patience, but once you get the hang of it, you’ll become addicted to designing with shapes. It’s a hugely playful process that’s sure to get you thinking about design in an entirely new way.
Will Paterson is one graphic designer who has mastered the art of designing with Shape Builder. Based in the UK, the popular YouTuber recently made a tutorial to explain how he created a logo using the tool, so if you’re interested, follow Will’s directions in the video or read the written steps below.
For those of you who aren’t familiar with Will Paterson, he’s a leading graphic designer and content creator who specializes in logo design, hand lettering, and brand identity. Trust us—if anyone knows anything about design, it’s Will. He’s full of knowledge and great tips, so let’s take a look at his tutorial.
Sketch your design
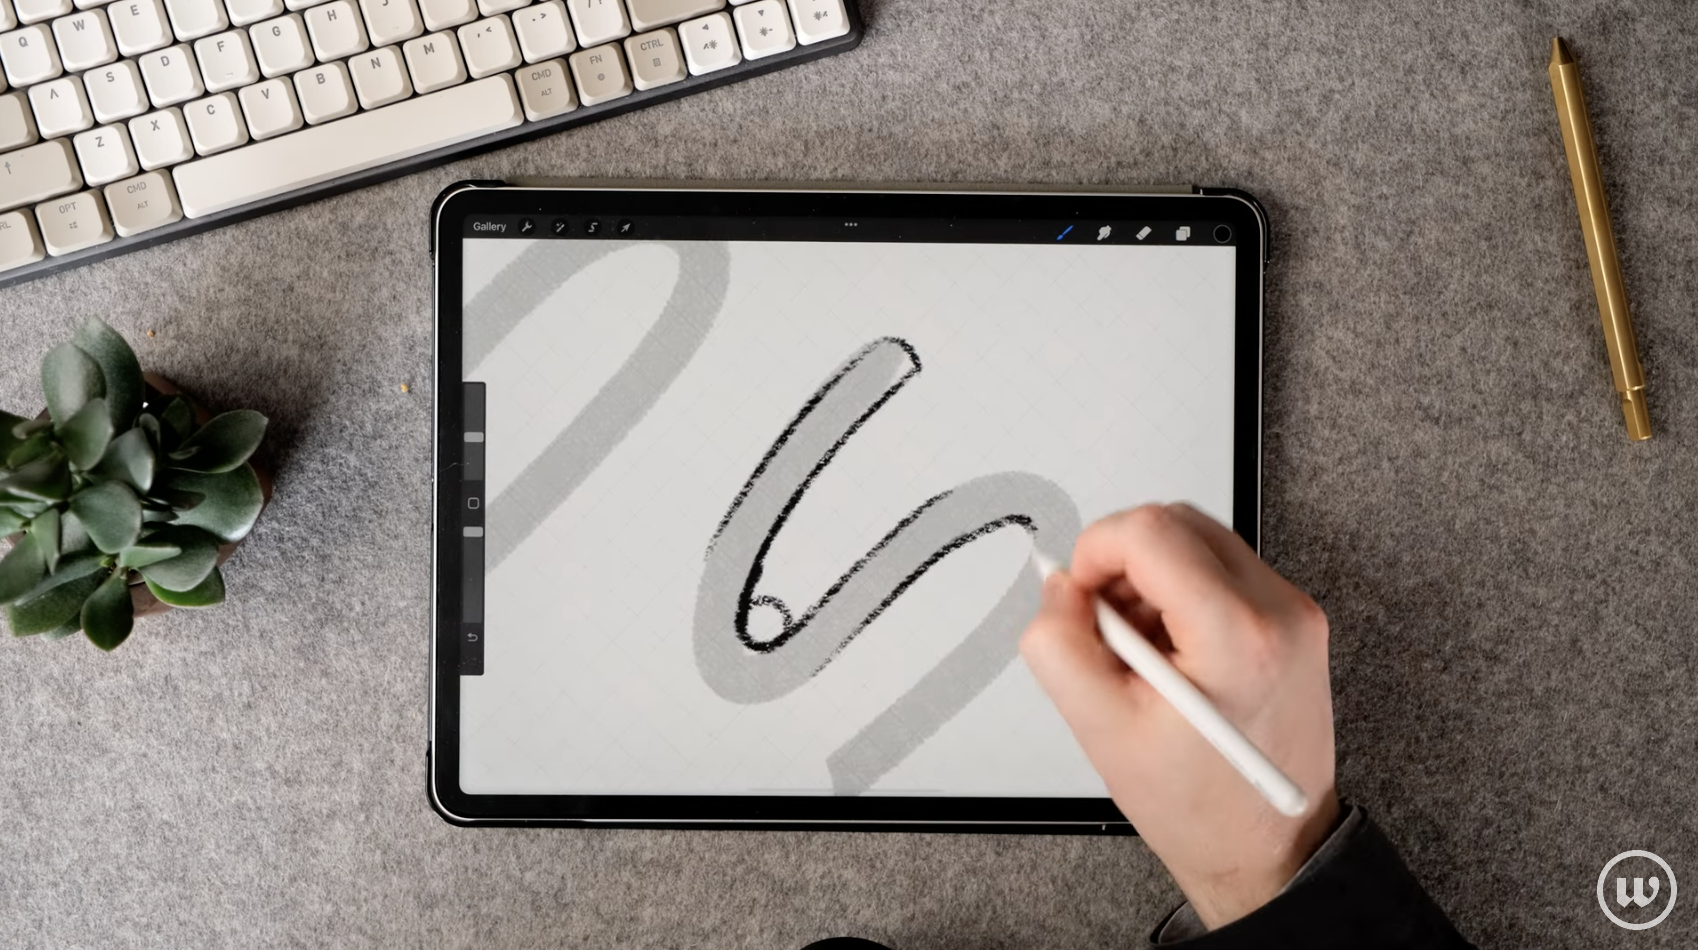
Will starts his process in Procreate, where he sketches out the “S” shape of his logo.
This is an important step in the logo design process, since it allows you to freely explore your ideas as if you were drawing on paper.
When sketching, think about the geometric shapes that might be hidden in the negative spaces of your design. In Will’s case, he highlights circles in the corners of the “S” shape curves.
Draw shapes with the Shape Tool
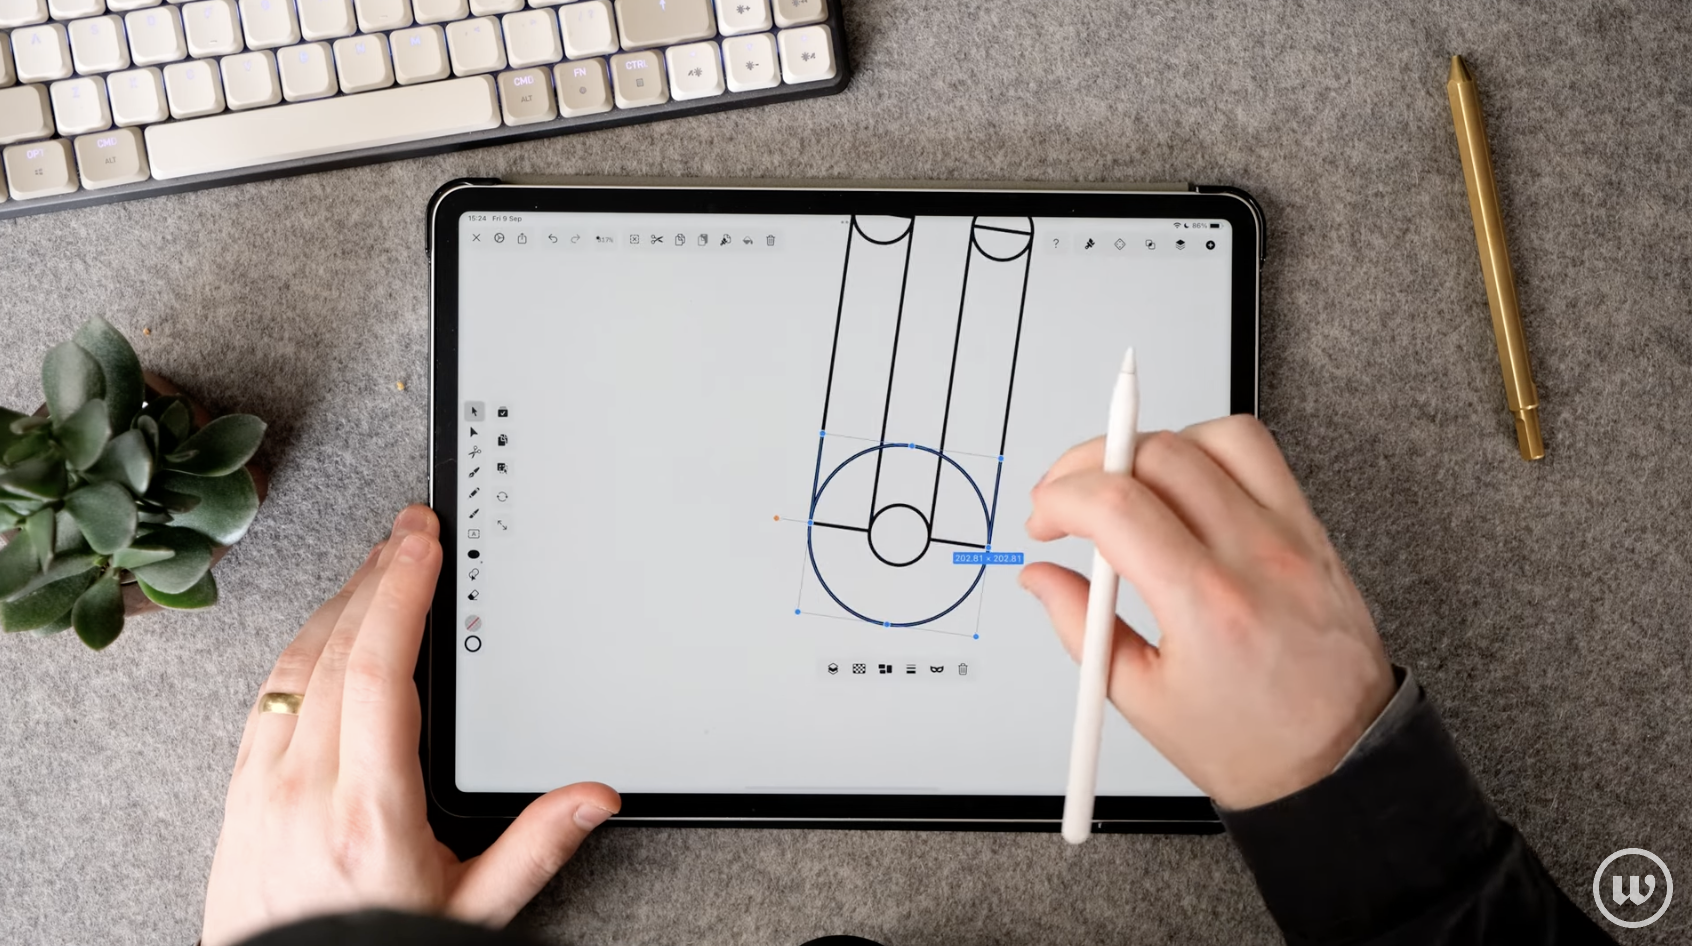
Once you’re happy with your logo concept, it’s time to open Linearity Curve (formerly Vectornator).
Whether you’re drawing an S-shaped logo like Will or something entirely different, use the Shape Tool to draw the geometric forms that make up the basic shape of your design. Your shapes should overlap each other.
In Will’s tutorial, he uses the Shape Tool to draw a long, thin rectangle for the top, longest part of the “S” shape. He duplicates the rectangle and places the second one below the first, with spacing that matches the width of the rectangle.
Unleash Your Creativity with the Shape Builder
Discover the power and flexibility of the Shape Builder tool. Transform simple shapes into complex designs effortlessly.
Next, Will demonstrates how to round off the edges of the rectangles by drawing small circles. He also duplicates the circle shape and moves it below the first, in between the two rectangles. This acts as a guide for drawing the curved corner of the “S” shape. Will calls this section of the shape the “hinge joint.”
Rather than draw an open curve, Will draws another, bigger circle and places it on the canvas so that the midpoint snaps to the edges of the rectangles.
Next, Will shortens the second rectangle and copies the other shapes. He then flips it around so that the final design looks like an “S.”
Combine shapes with the Shape Builder Tool

Select all the shapes you created in Step 2.
Then, select the Shape Builder Tool from the Toolbar.
In Merge Mode, drag your pen or cursor over the parts you want to combine.
In Will’s case, he draws the simple “S” to combine the parts of the shapes he needs to create one single shape.
Switch to Erase Mode and remove parts you don’t need

At this stage, you’ll probably be left with some element that you don’t need. Switch to Erase Mode and drag your pen or cursor over paths to delete them.
You should be now left with a clean, geometric shape that can be used as a logo.
Choose your colors

Lastly, play around with the stroke and fill of your logo shape and decide what looks best.
If you need help, read our in-depth guide on how to choose colors for your logo.
That’s it! Easy, right? We hope you found this tutorial helpful.
We can’t wait to see all the amazing things you’ll create using Shape Builder. Make sure to tag us on social media when you publish your designs!
And if you can’t see the Shape Builder Tool in your Toolbar yet, make sure you’ve updated to the latest version of Linearity Curve (formerly Vectornator).
If you liked Will's tutorial, you can find many more YouTube.
Jumpstart your ideas with Linearity Curve
Take your designs to the next level.
Share this!
Emma Taggart
Emma is a Content Writer for Linearity in Berlin. Her hobbies include making ceramics, roller skating, drawing, and 2D animation.