:quality(75))
:quality(75))


:quality(75))
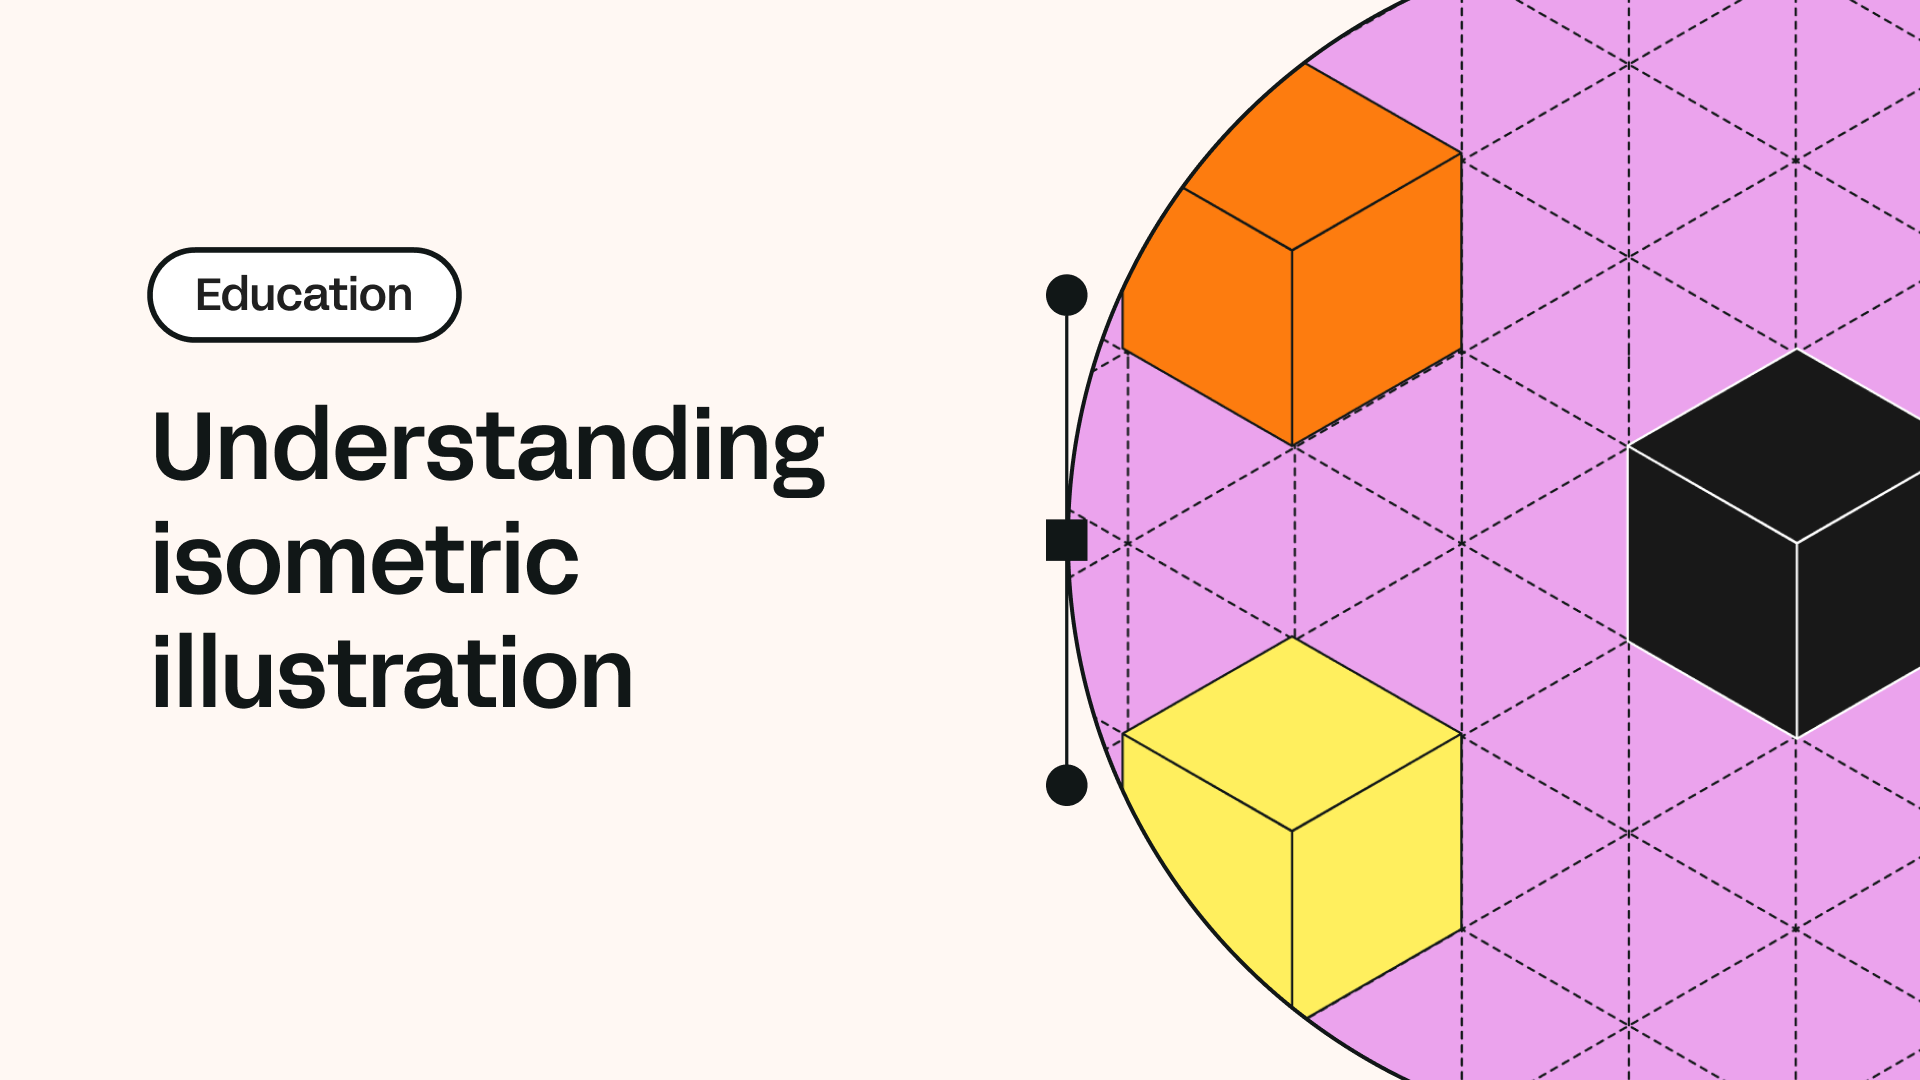
This article explains all you need to know about isometric illustrations. You'll learn what defines an isometric illustration, how it differs from a one-point perspective drawing, and how to get started creating your ownisometric projection.
Isometric illustration is a form of 3D drawing set out using 30-degree angles. It's a type of axonometric drawing, so the same scale is used for every axis, resulting in a non-distorted image.
Since isometric grids are pretty easy to set up, once you understand the basics of isometric illustration, creating a freehand isometric sketch is relatively simple.
Jumpstart your ideas with Linearity Curve
Take your designs to the next level.
What is isometric illustration?

As mentioned above, one of the defining characteristics of an isometric drawing, compared to other types of 3D representation, is that the final image is not distorted. This is because the foreshortening of the axes is equal.
The word ‘isometric’ comes from Greek origin, meaning 'equal measure’. Isometric drawings differ from other types of axonometric drawing, including dimetric and trimetric projections, in which different scales are used for different axes to give a final offset image.
In an isometric drawing, the object appears as if viewed from above from one corner, with the axes being set out from a corner point. Isometric drawings begin with one vertical line along which two points are defined. Any lines set out from these points should be constructed at an angle of 30 degrees.
Isometric illustration history

Professor William Farish at Cambridge University was the first to set down the rules for isometric drawing when he published his paper: ‘On Isometric Perspective,’ in 1822. For this reason, he is often quoted as the creator of isometric drawing and illustration. However, isometric and axonometric drawings were commonplace long before this.
The technique is usually found in ancient Chinese art. Along the River During the Qingming Festival is a famous example of an axonometric drawing.
Probably the most recent and noteworthy adoption of isometric illustration can be traced, as with much of modern design and architecture, to the Bauhaus. Theo van Doesburg and Herbert Bayer famously use an axonometric perspective in their architectural drawings.
This was somewhat shocking to the architectural world at the time and is still not typical of architectural drawing today. The lack of perspective transforms concept drawings into modernist works of art in their own right.
Isometric drawing vs one-point perspective

Both isometric illustrations and one-point perspective drawings use geometry and mathematics to present 3D representations on 2D surfaces. One-point perspective drawings mimic what the human eye perceives, so objects appear smaller the further away from the viewer.
In contrast, isometric designs use parallel projection, which means objects remain at the same size, no matter how far away they are. Isometric illustration doesn’t use perspective in its rendering (such as lines don’t converge as they move away from the viewer).
Isometric illustrations are more useful for functional drawings used to explain how something works. In contrast, one-point perspective drawings are typically used to give a more sensory idea of an object or space.
Isometric illustration might seem like an easy way to rework drawings quickly. However, the problem with isometric drawing is that, without a sense of perspective, the object might appear in a different location from where it really is.
The difference between isometric drawing and isometric projection

Isometric designs are beneficial for designers – particularly architects, industrial and interior designers, and engineers, as they are ideal for visualizing rooms, products, and infrastructure. They're also a great way to test out different design ideas quickly.
There are many other situations in which isometric projection is useful. In wayfinding systems, for example, in museums or galleries, an isometric wall map can show visitors where they are in the building, what is going on elsewhere, and how to get around.
Some of the best infographics use isometric projection to enable them to show more information than would be possible in a 2D drawing. Some of the best logos also use this approach to create impact.
Master the Art of Brand Illustration
Step into the world of brand storytelling through our detailed workshop. Learn how to design illustrations that resonate and define brand identity.
Exploded isometric designs are helpful for revealing parts of a product that might be hidden or internal.
They're used to explain the intricacies of a design better. To create an exploded isometric, you need to know the detailed inner workings of whatever you are drawing. They are usually used at the final design stage for presentations to clients.
Some advantages of isometric projections include:
- Projections don’t need multiple views
- They illustrate the 3D nature of an object
- To scale along principal axes measurement can be made
- In terms of measurement, they provide accuracy
- They are easy to lay out and measure
However, isometric projections also come with some disadvantages:
- They create a distorted appearance by lack of foreshortening
- They are more useful for a basic shape like a rectangular one than a curved shape
- They distort shape and depth
- They might not show realistic views
Not only line drawings

If you thought that isometric illustration was limited to black and white line drawing, you’d be wrong.
Video games frequently use isometric perspective as it allows game designers to use 3D design in games without calculating complex calculations, foreshortening, and different camera view angles.
With eight and 16-bit graphic games, this was extremely important. As consoles improved, games where the player required an overall view of the playing space, like The Sims and Age of Empires, utilized isometric views.
With the introduction of higher-capacity game consoles, this became less common. However, the isometric style has seen a revival in mobile devices. Many people will be familiar with FarmVille. Mobile games often use this style because isometrically drawn objects are simpler to create, use less computing power, and have less battery.
Higher-end console games, such as Shadowrun and Invisible Inc., use a pseudo-isometric view to make them stand out stylistically.
Many artists use isometric designs to create innovative and exciting artwork. They create modern drawings that leave the lines behind.
Why are artists, designers, and illustrators interested in isometric art?

Isometric art gives artists a lot of versatility within their designs. And because it’s based upon shapes, isometric artwork is created through a surprisingly straightforward process. It’s also a lot of fun.
Illustrators can use simple geometry and shapes to create basic illustrations in minutes. At the same time, advanced artists can add more creativity to their work by compiling different shapes and snapping them into artwork.
A cube quickly becomes a decorative box or crate, and shapes can be pieced together to create something more detailed, like a city skyline.
Many creators can save time on detailed illustrations by setting up smart guides, as this helps them automate design steps and save time on tedious, repetitive actions for complex work.
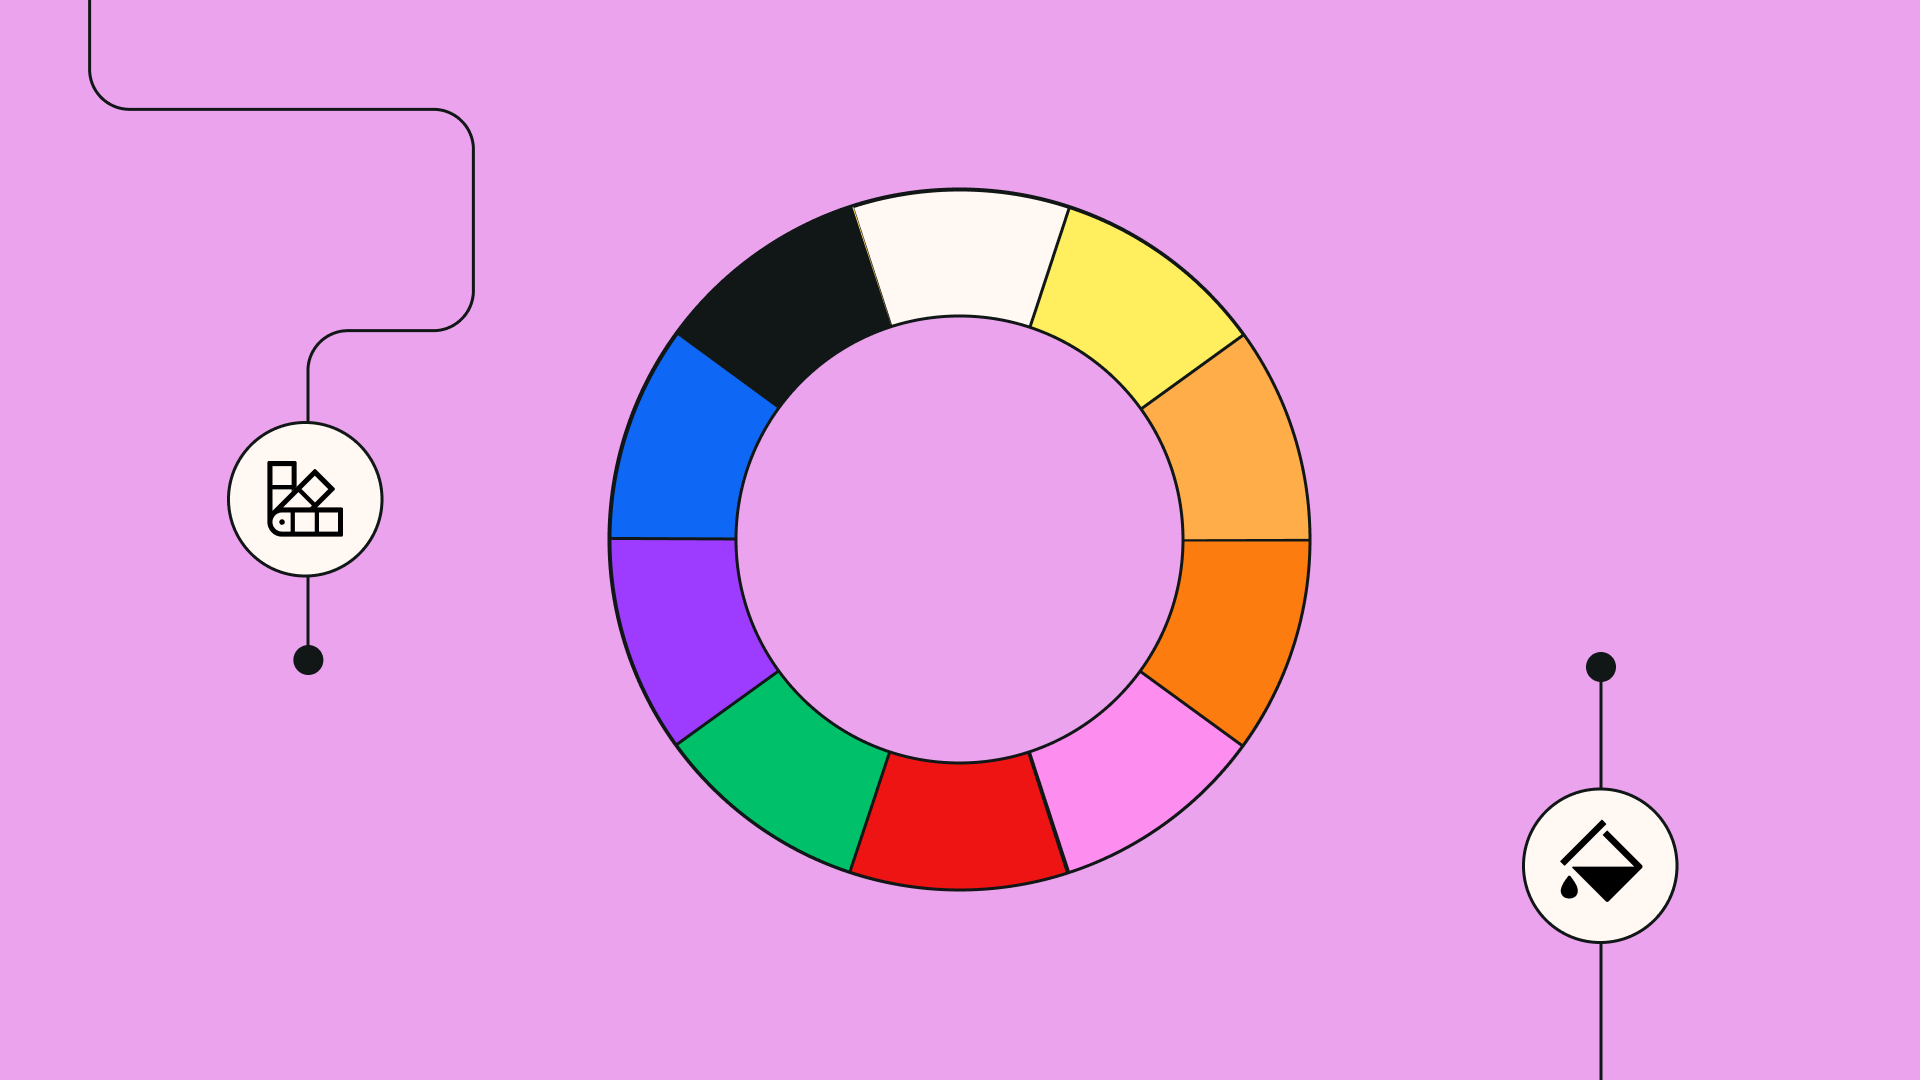
They often finish by rounding out their work with extra design elements, like color palettes, to give it flair or brand personality.
How do artists create isometric art?
While illustrators create the designs using different methods, tools, and programs, they all start by encouraging beginners to think ‘cubically,’ or imagine flat shapes like a cube. This technique is helpful because most isometric art calls for using a shape’s three planes – its top, left, and right sides.
Many illustrators are surprised by how quick and easy it is to create isometric art. Creative Director Von Glitschka, who has taught tutorials on isometric art recalls, “I said to myself, that’s it? That was easy! I had expected a more complex process.”
Examples of isometric illustrations

Pictorial drawings
Being able to visualize three-dimensional shapes is a skill every designer and engineer should master. This is especially important in 3D shape modeling. However, there is a distinct difference between drawing a view that looks three-dimensional and creating an accurate 3D model.
Real 3D models can be rotated on the screen to be viewed from any angle. The computer calculates the object's points, angles, and surfaces in space. Then it displays the result on a flat surface as pictorial drawings.
The word ‘pictorial’ means ‘like a picture.’ It refers to any realistic type of drawing portraying height, width, and depth. Pictorial drawings are instrumental when artists need to communicate designs to people who don’t have technical training in interpreting multiview projections.
Several forms of pictorial projections used in design and technical drawings include:
- Perspective – most realistic drawings. Our eyes see objects in perspective. There are three types of perspective projections: one-, two-, and three-point perspective
- Oblique – least realistic. Only one or two faces in oblique projections have true shape and size. There are three types of oblique projections: cabinet, cavalier, and general
- Axonometric projections are more realistic than oblique. Horizontal edges of an object in axonometric projections are parallel to each other and inclined to the plane. There are three types of axonometric projections: isometric, dimetric, and trimetric.
:quality(75))
:quality(75))
Axonometric projections
Axonometric projections are the most common way of depicting three-dimensional objects without involving perspective. Unlike perspective drawings, all axes in axonometric projections do not converge and always stay parallel.
No vanishing points, no horizon line. The object doesn’t get smaller with distance. It was significant for the game industry between 1980 and 1990 because computers of that era with limited resources could render an object only once.
The main purpose of axonometric projections is to show an object's shape and size. They were designed so that you can take measurements of an object right from these projections.
All three types of axonometric projections are built on the isometric grid lines where the ‘X’ and ‘Z’ axes are inclined to the horizontal plane. The Y-axis always stays perpendicular to the horizontal plane. The angle between the horizontal ‘X’ and ‘Z’ axes and the horizontal plane determines the type of axonometric projection.
Isometric projection
Isometric (meaning ‘equal measure’) is a type of parallel (axonometric) projection, where the ‘X’ and ‘Z’ axes are inclined to the horizontal plane at the angle of 30⁰. The angle between axonometric axes equals 120⁰.
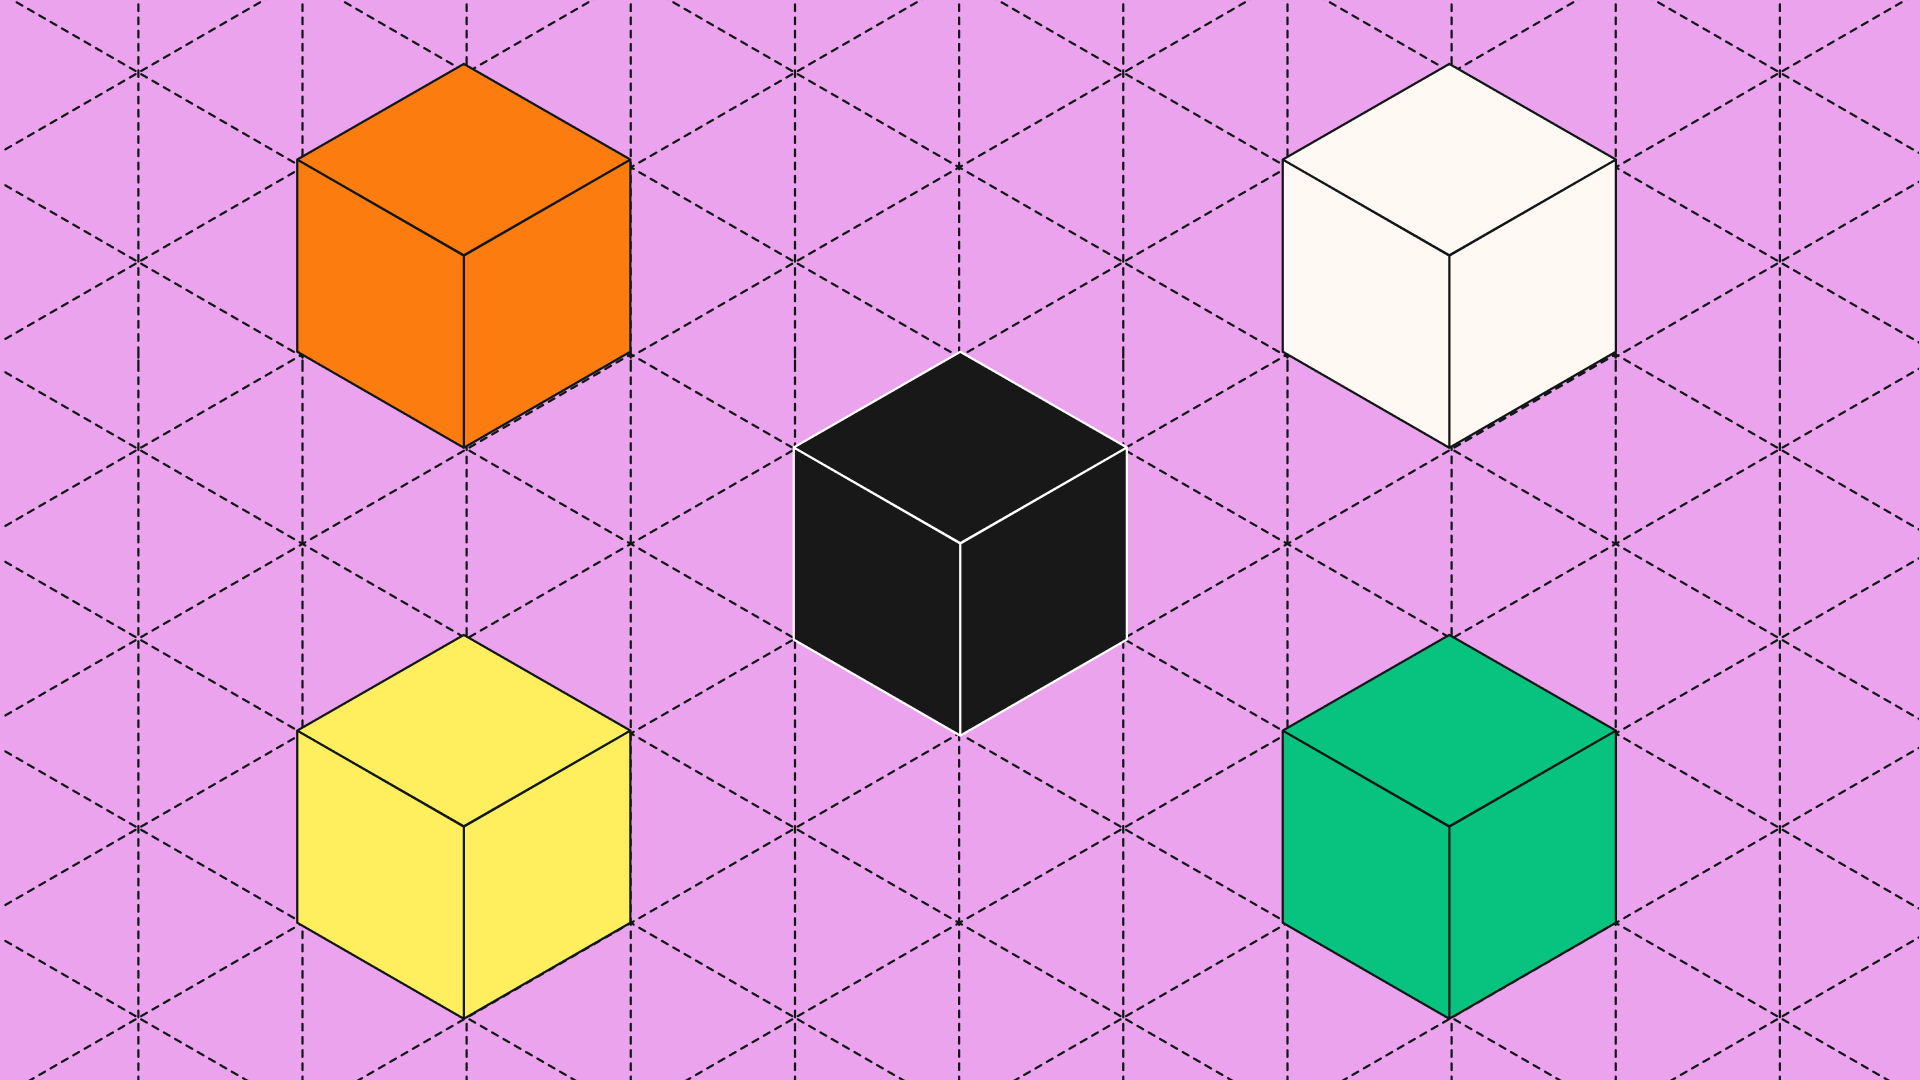
A perfect cube in an isometric projection would look like a perfect hexagon. Since all edges of an isometric object are inclined at the same angle, they are equally foreshortened. That allows you to take measurements of each side of an object using the same scale.
Most designers ignore foreshortening during the sketching phase and build isometric views of an object with the actual length. The end result would be an isometric sketch, not a projection.
Isometric illustrations are also popular among graphic designers who work with infographics and logos. Isometric methods allow these artists to create depth and dimension with an otherwise flat illustration, making them more memorable and easier to recognize. (One famous logo example: Dropbox.)
The original Medium logo, for example, was designed on a non-isometric grid, where the ‘X’ and ‘Y’ axes are inclined to the horizontal plane at the angle of -27⁰ and 60⁰, respectively.
How to draw an isometric cube

Drawing a cube using isometric projection is very easy. You will need a piece of paper, a ruler, a pencil, and a protractor. Using the ruler, draw a vertical line on the page, and mark three equally spaced points.
Draw a horizontal line through the lowest point, and using the protractor, mark out a 30-degree angle up from the line on either side. Draw a line back through the lowest point from the 30-degree angle on each side.
Repeat this step through the middle point and the same through the top point, but mark out the angle downwards with the top point.
The lines from the second and third points will cross at a certain point, and from this intersection, draw a vertical line down towards the angled lines coming from the bottom point. You should be able to see the form of the cube where all of the lines intersect.
How do you draw an isometric grid?

In less intuitive graphic design tools like Adobe Illustrator, you are forced to draw and create an isometric grid by using the rectangular grid tool to create a basic grid first.
After that, you need to scale your grid to the correct size. Then, you shear the grid to get the angles as we previously explained.
In the end, you need to rotate the grid again using the rotate tool. After all those steps, you can use your self-made isometric grid as a guideline for isometric projection.
Luckily, intuitive isometric drawing tools like Linearity Curve (formerly Vectornator) offer a much easier intuitive solution.
You can easily create an isometric grid with one tap while still having the chance to resize it in your design process. We will show you how to do all of that in the following paragraphs.
Drawing an isometric grid on paper is rather complex, and we would not recommend it.
It’s better to buy a relatively cheap isometric notebook or use your digital pen and a tremendous isometric drawing tool like Linearity Curve (formerly Vectornator).
How to create and use an isometric grid in Linearity Curve (formerly Vectornator)
If you haven’t already – download Linearity Curve (formerly Vectornator) on your iPad, iPhone, and Mac.
Set the isometric grid
Linearity Curve (formerly Vectornator) now supports two types of grids: a Perpendicular Grid (square grid) and an Isometric Grid. You can easily choose the grid you would like to use by opening the ‘Settings’ and then the ‘Canvas Tab.’
Then, adjust ‘Grid Spacing’ and the ‘Grid Angle’ (only on the isometric grid), insert the values that suit you, and make path-perfect vector art much faster.
Ready to create brand assets that pack a punch?
Visit our Academy for free marketing design courses.
Use the isometric grid
You can only apply grids to singular Artboards. It's also important to note that the grid will be displayed on the active Artboard. Also, when you have a grid set up, you can decide to snap your paths to it by enabling or switching the button you find in the ‘Settings’ and then the ‘Snapping Tab.’
Looking for inspiration? Many examples will help you get more creative, including these lettering design illustrations. You can also watch this tutorial on “How To Design A Great Isometric Logo In Linearity Curve (formerly Vectornator) with Will Paterson.”
All in all, the Isometric Grid is an outstanding tool to create outstanding artworks. To reach your full potential, you should use intuitive and isometric drawing software.
How to build isometrics without a grid

Using an isometric grid is not the only way you can draw isometric artworks. They can be constructed right from multiview projections (top, front, side, etc.).
The most common and simple techniques are ‘SR45⁰’ and ‘SSR30⁰.’ These are very handy methods for creating an isometric mock-up of your design.
SR45⁰ technique
‘SR45°’ stands for scale and rotates at a 45° angle. The scale ratio is 0.577 or, more precisely, tan (30°).
You can build isometric projections via SR45° in two simple steps:
- Step 1: rotate the object at 45°
- Step 2: Scale the object
SSR30⁰ technique
‘SSR30°’ is a more popular and flexible method of creating isometric artworks. With SSR30⁰, you can quickly create top, left, and right isometric views. SSR30° stands for scale, skew, and rotate at 30°.
Designing other axonometric projections
In dimetric projections, only two sides are equally foreshortened. The ‘X’ and ‘Z’ axes are still at the same angle to the horizontal plane, but not at 30°. Angles between axes are also not equal.
Trimetric projections
All angles of a trimetric projection are different. Therefore all sides (edges) and axes are foreshortened unequally.
You can use a wide array of angles to build trimetric and dimetric artworks, but be sure to avoid small ones. This is due to the fact that this makes the projection a tad too flat.
A freeform pencil tool

A freeform pencil tool is a great tool to get you started with isometric illustrations as an experienced designer.
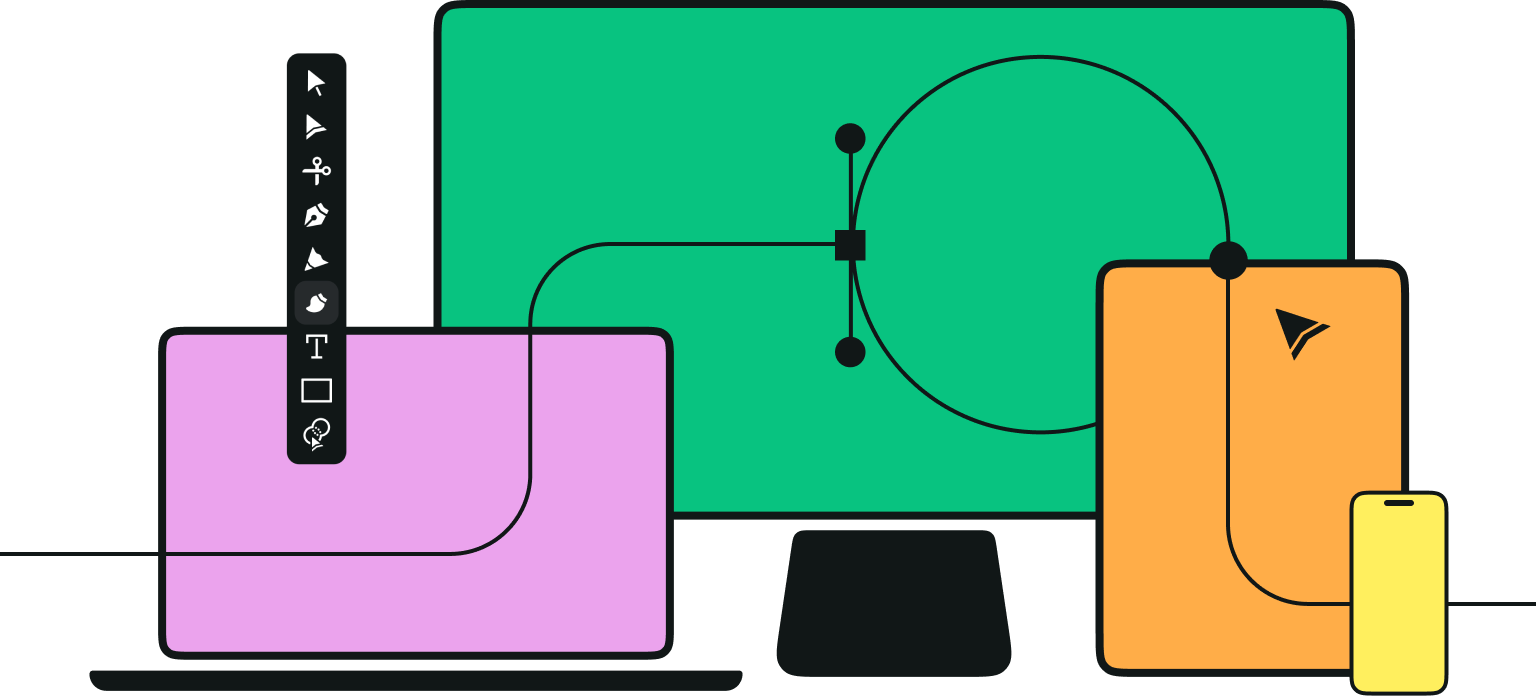
Activate the Pencil Tool
To activate Linearity Curve's (formerly Vectornator) Pencil Tool, tap the 'Pencil' icon in the toolbar or press ‘W’ on your keyboard. Then, use your cursor (Mac), stylus (iPad), or finger (iPad or iPhone) to draw on your artboard, just as you would with a pencil on paper.
When you start drawing with the Pencil Tool, you'll create a vector path that follows the path of your hand. Depending on the smoothness you set, it can follow it precisely or follow it with a more consistent line.
How to change the Pencil Tool Smoothness
At the right of the Pencil Tool, you’ll find a slider to control the pencil's smoothness. If you want your path to be exactly as you draw it, you can simply set the value to 0%.
Setting the value higher will increase the level of smoothing that the Pencil Tool will apply to the line you draw.
When you’ve finished drawing, Linearity Curve (formerly Vectornator) will smooth the curve and simplify the path you’ve just created. The smoothness of your path can also be adjusted after drawing. Select your path, and the smoothness slider will appear inside the style tab.
If you choose this option, the smoothing operation will be almost invisible, so we recommend you select your path with the Node Tool to see better how the anchor points will be affected by smoothing the path.
How to create shapes with the Pencil Tool
The Pencil Tool allows you to also create isometric shapes and fill them with a color or gradient. You simply need to switch the ‘fill color’ on to do that.
Conclusion

In short, isometric illustration is an easy way to make flat designs pop. Even those who’ve never heard the term before have probably seen it without even realizing it. From infographics to logos to magazine illustrations, 3D art, which is the umbrella under which isometric illustration falls, is everywhere.
You may have noticed isometric illustration in advertising, digital or infographics, and within your favorite video games. Isometric icons versus flat icons have also become increasingly popular for their ability to make standard icons appear more realistic.
It’s also a fun, easy technique for even experienced artists to practice. And with Linearity Curve (formerly Vectornator) on your device, practice will make your isometric illustrations perfect.
Jumpstart
your ideas with
Linearity Curve
Take your designs to the next level.
Share this!
Emma Taggart
Emma is a Content Writer for Linearity in Berlin. Her hobbies include making ceramics, roller skating, drawing, and 2D animation.