:quality(75))
:quality(75))


:quality(75))

Whether you’re a marketing designer, a vector illustrator, or a graphic designer, you’ll probably agree that layers are essential to your work.
Layers help to keep a document organized, but they also provide endless creative opportunity. Think of them as transparent pieces of paper stacked on top of each other. Each one overlaps the previous one to give depth to an illustration or graphic design. But unlike a stack of paper, digital layers are much more flexible. Many design softwares (including Linearity Curve) allow you to play around with blend modes, opacity, and blur effects to change how each layer interacts with the other.
Using layers also keeps elements of a design separate from each other, giving you the freedom to endlessly edit every little detail of your design, without messing up the entire project.
Since layers are so important, the Development team at Linearity worked hard to create the best layer experience out there. Read on to find out abut how you can work with layers in Linearity Curve (formerly Vectornator).
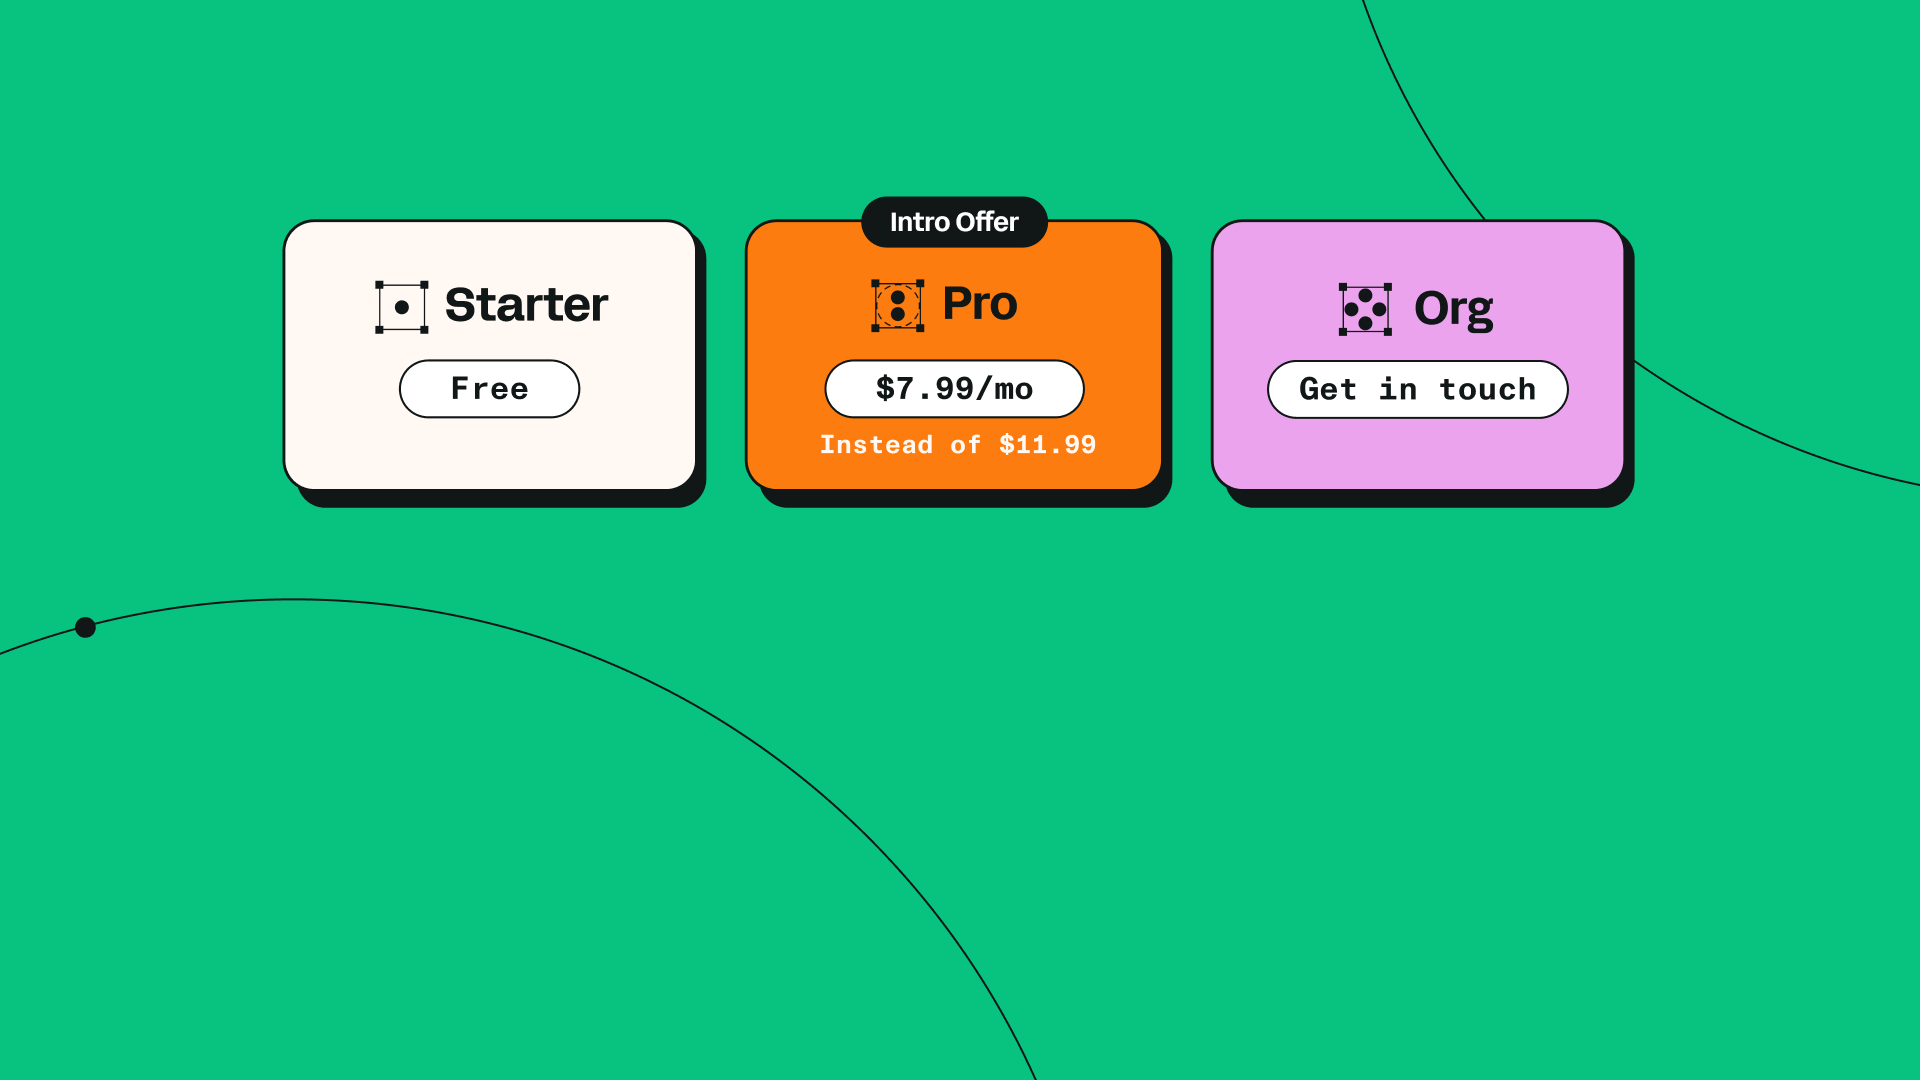
Jumpstart your ideas with Linearity Curve
Take your designs to the next level.
What are layers in Linearity Curve?

In Vectornator, Shapes, Groups, Masks, and Artboards are all different types of layers. Each one acts as a building block that can be moved and edited independently of other layers in your document.
With the 4.8.0 update released earlier this year, we completely redesigned the way you can use layers in Linearity Curve. Now, creating complex designs has never been simpler, thanks to our advanced Layers Tab.
Found in the fourth tab from the left in the Inspector, the Layers Tab is where you’ll be able to find, organize, and edit every element in your canvas.
Adding, selecting, duplicating, and deleting a layer is easily done in Linearity Curve. But if you’re not sure how to do so, head to our User Guide where you’ll find an in-depth guide on all-things layers.
Our User Guide is packed full of valuable information and guides, but in this blog, we want to dive a little deeper into the tips and tricks for managing layers in Linearity Curve.
How using layers can improve your workflow
Other than keeping your artwork nicely organized, the Layers Tab includes a number of game-changing features that will save you tons of time.
Groups and Nested Groups
With 4.8.0, you can enjoy fully editable groups and even infinite groups within groups. These groups and nested groups are like folders that sit neatly in the Layers Tab and can be extended to reveal every element inside them.
Click-Through Mode
If you don’t have the time to sift through groups and nested groups to find a specific element, you can use Click-Through Mode. This feature allows you to tap on any object in the canvas and it will automatically be highlighted in the Layers Tab.
Swipe Gestures
If you’re working on iPad, finger gestures are your best friend.
In Linearity Curve, you can do the following:
- Swipe right to select an object.
- Swipe left to reveal options to Duplicate or Delete Layer.
- Swipe all the way to the left to deletes an object.
Multi-Select Mode
Multi-Select Mode allows you to select multiple elements at once. If you’re on iPad, you can do this by using the native iOS gesture of dragging two fingers over multiple layers in a row. If you’re on desktop, you can use the keyboard shortcut (⇧ + click) to select as many objects as you like.
Efficiently Organize Layers in Linearity Curve
Master the art of layer organization with Linearity Curve for Mac. Our user guide helps you streamline your design process for maximum efficiency and creativity.
Tips for organizing layers
So, now that you know your way around the Layers Tab, let’s discuss the different ways you can edit and structure your individual layers.
Drag and drop elements between layers
You can easily move elements between layers by simply tapping on the item you want to move and dragging it to its new position. You can move multiple layers at once by using Multi-Select Mode.
Edit multiple elements at once
If you want to hide, delete, mask, or lock multiple layers, you can select all of them using Multi Select Mode and then long-press on them. This action will open a popover menu where you can select the option you prefer.
Merge layers
That’s right! You can now merge layers in Linearity Curve. Upgrade to 4.9.0 to unlock this feature.
When two or more layers are selected, the merge layer option is available in the right-click menu.
To merge selected layers on macOS simply right click > merge layers. The layer that was right-clicked is considered as the destination of the merging.
To merge selected layers on iOS, use long press > merge layers.
Layers are also easily merged with the drag and drop functionality. If you drag and drop a layer on top of another layer, the dropped layer is on top.
Name each layer
By default, Layers will be given sequentially numbered titles. However, it’s always better to name each element so that you can find it easily. To change the name of a layer, tap on its name and then type the new title you want to associate with that element.
Adjust the layer opacity
If you want to adjust the opacity of a layer, select the layer and enter a percentage value into the corresponding Percentage Indicator field. Changing the opacity of a layer is particularly helpful when you want to trace over an image with the Pen Tool.
Access the layers options
Swipe left along the name of a layer to access these options: Export (1), Duplicate (2), and Delete (3).
We hope this article gave you some great tips for using layers in Vectornator. To learn even more, head to the Academy where you can learn our interface with a video tutorial crash course. And don’t forget the share your designs with us via our Forum or social media. We love to see your wonderful creations!
Jumpstart your ideas with Linearity Curve
Take your designs to the next level.

Share this!
Emma Taggart
Emma is a Content Writer for Linearity in Berlin. Her hobbies include making ceramics, roller skating, drawing, and 2D animation.