:quality(75))
:quality(75))

:quality(75))
The iPad is designed as a portable all-in-one device that allows users to surf the web, read books, play games, take photos, watch movies, and much more.
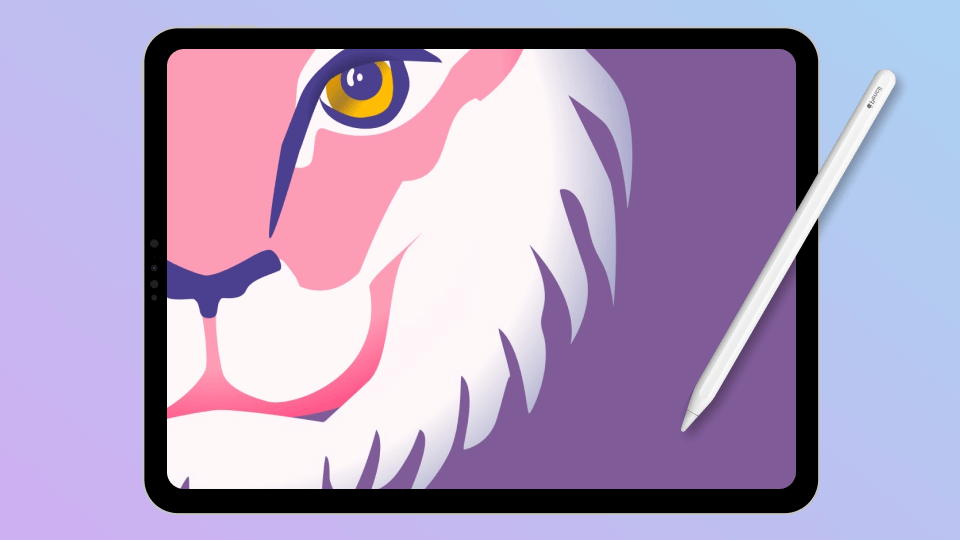
However, the iPad is also a fantastic tool for artists. The powerful Apple tablets work as digital drawing pads, allowing users to create illustrations, graphic designs, and digital paintings by drawing directly on the screen.
The iPad has totally revolutionized the way people create digital art. In the past, graphic artists needed paper, pens, a scanner, a lightbox, an external drawing tablet, a computer, and expensive editing software. That’s a lot of equipment and a laborious workflow.
However, today, artists can create amazing art with just an iPad and a free program like Linearity Curve (formerly Vectornator). Designers don’t even need to switch devices when it comes to sharing their work online. You can post artwork on social media directly from your tablet.
Jumpstart your ideas with Linearity Curve
Take your designs to the next level.
If you’re thinking about getting an iPad to create art, or you already have one but need help getting started, we’re here for you!
Read on to learn everything you need to know about drawing on the iPad.
Choose your stylus
.png)
The Apple Pencil
The Apple Pencil is one of the most powerful tools a digital artist can have. When using it with the iPad, it feels just like you’re drawing with a pencil or pen on real paper.
To start drawing using an Apple Pencil, you first need to make sure you have the right one for your iPad. Find out which model is supported by your device below.
The following iPad models support Apple Pencil (1st generation):
iPad mini (5th generation)
iPad (6th generation and later)
iPad Air (3rd generation)
iPad Pro 9.7-inch
iPad Pro 10.5-inch
iPad Pro 12.9-inch (1st and 2nd generation)
The following iPad models support Apple Pencil (2nd generation):
iPad mini (6th generation)
iPad Air (4th generation)
iPad Pro 11-inch (all generations)
iPad Pro 12.9-inch (3rd generation and later)
Both the 1st and 2nd generation Apple Pencils are touch-sensitive, allowing users to have a surprising amount of control when sketching. For example, to add shade to your illustration, simply tilt the Pencil and draw using the side of the tip. Additionally, the harder you press with the Pencil, the darker your line will be. You can also control the thickness of your lines in the same way.
While both versions are fantastic drawing tools, there is one distinct difference between the two: The 2nd generation Pencil allows users to switch between tools by double-tapping on the Pencil itself.
By tapping on the lower part of the Pencil, it will change to the last tool you used. For example, you can easily switch from the Brush Tool to the Eraser for a quicker workflow.
You can also use the same command to show your color palette, making it super easy to reference or pick new hues.
To change your settings for double tap, go to Settings on your iPad and then select Apple Pencil.
What if I don’t have an Apple Pencil?
If you can’t afford the pricey Apple Pencil, there are plenty of cheaper alternatives out there. However, not all of them are good for drawing and sketching. If you want to use your iPad stylus to sketch or illustrate, there are some features you should look for when choosing one.
Master the Art of Vector Drawing on Mac
Enhance your design skills with Linearity Curve's powerful drawing tools. Our comprehensive guide for Mac users makes vector editing intuitive and efficient.
Pressure sensitivity: Styluses with pressure sensors detect how hard you're pressing and change the thickness of the line accordingly.
Palm rejection: This feature allows you to rest your hand comfortably on the surface of the iPad while you draw without making an unwanted mark.
Tilt sensitivity: Tilt sensitivity allows you to intuitively control the line shape and thickness of your marks, just as you would with a pen or pencil.
Wireless connectivity: A stylus that connects via Bluetooth or a similar wireless technology feels more natural when drawing with it.
Here are some of the best third-party styluses for drawing:
- Logitech Crayon
- Wacom Bamboo Fineline 3
- Adonit Pixel
- Zagg Pro Stylus
You can also draw with your finger
If you don’t have a stylus, think of your own fingers as artistic tools. In fact, Linearity Curve (formerly Vectornator) is specifically designed to respond to your finger on the screen, so why not try it out?
Open a drawing app
There are tons of amazing drawing apps available on iOS. The one you choose depends on the type of art you want to make. The first question you should ask yourself is: raster or vector?
By now, you probably know the difference between these two types of graphics. But for those that need a refresher, raster images are made up of tiny pixels, making them resolution-dependent, and vector graphics are infinitely scalable.
Linearity Curve (formerly Vectornator)
We’re a bit biased here, but we believe Linearity Curve (formerly Vectornator) is the best choice when creating vector illustrations and graphic designs.
Linearity Curve (formerly Vectornator) is free to download and use on any iOS-supported device, but it’s especially fun to use on an iPad. Using Linearity Curve (formerly Vectornator) with the Apple Pencil or stylus on iPad feels just like drawing in a sketchbook.
And our powerful tools and gesture controls allow you to create pretty much anything you can imagine, from eye-catching illustrations to expressive lettering.
To learn more about using Linearity Curve (formerly Vectornator) on iPad, head to our Learning Hub or check out our academy series on YouTube.
Procreate
When it comes to a raster graphics drawing tool, it’s no secret that we’re big fans of Procreate.
Procreate is home to over 200 handcrafted brushes, allowing digital artists to emulate lifelike pencil sketches and lay down painterly textures. Another benefit of Procreate is its StreamLine mode.
This feature helps stabilize your strokes to keep them smooth. Procreate works particularly well with the Apple Pencil, since it takes full advantage of its pressure sensors to give users complete control.
Did you know you can use Linearity Curve (formerly Vectornator) and Procreate together? You can import your raster Procreate sketches into Linearity Curve (formerly Vectornator) and turn them into crisp vector illustrations using our Auto Trace feature. Learn more about using Procreate and Linearity Curve (formerly Vectornator) together.
Other iPad drawing apps to check out
- Adobe Fresco
- ArtRage
- Artstudio Pro
- Comic Draw
- Zen Brush 2
- Affinity Designer for iPad
- Photoshop for iPad
- Illustrator for iPad
Set up your canvas
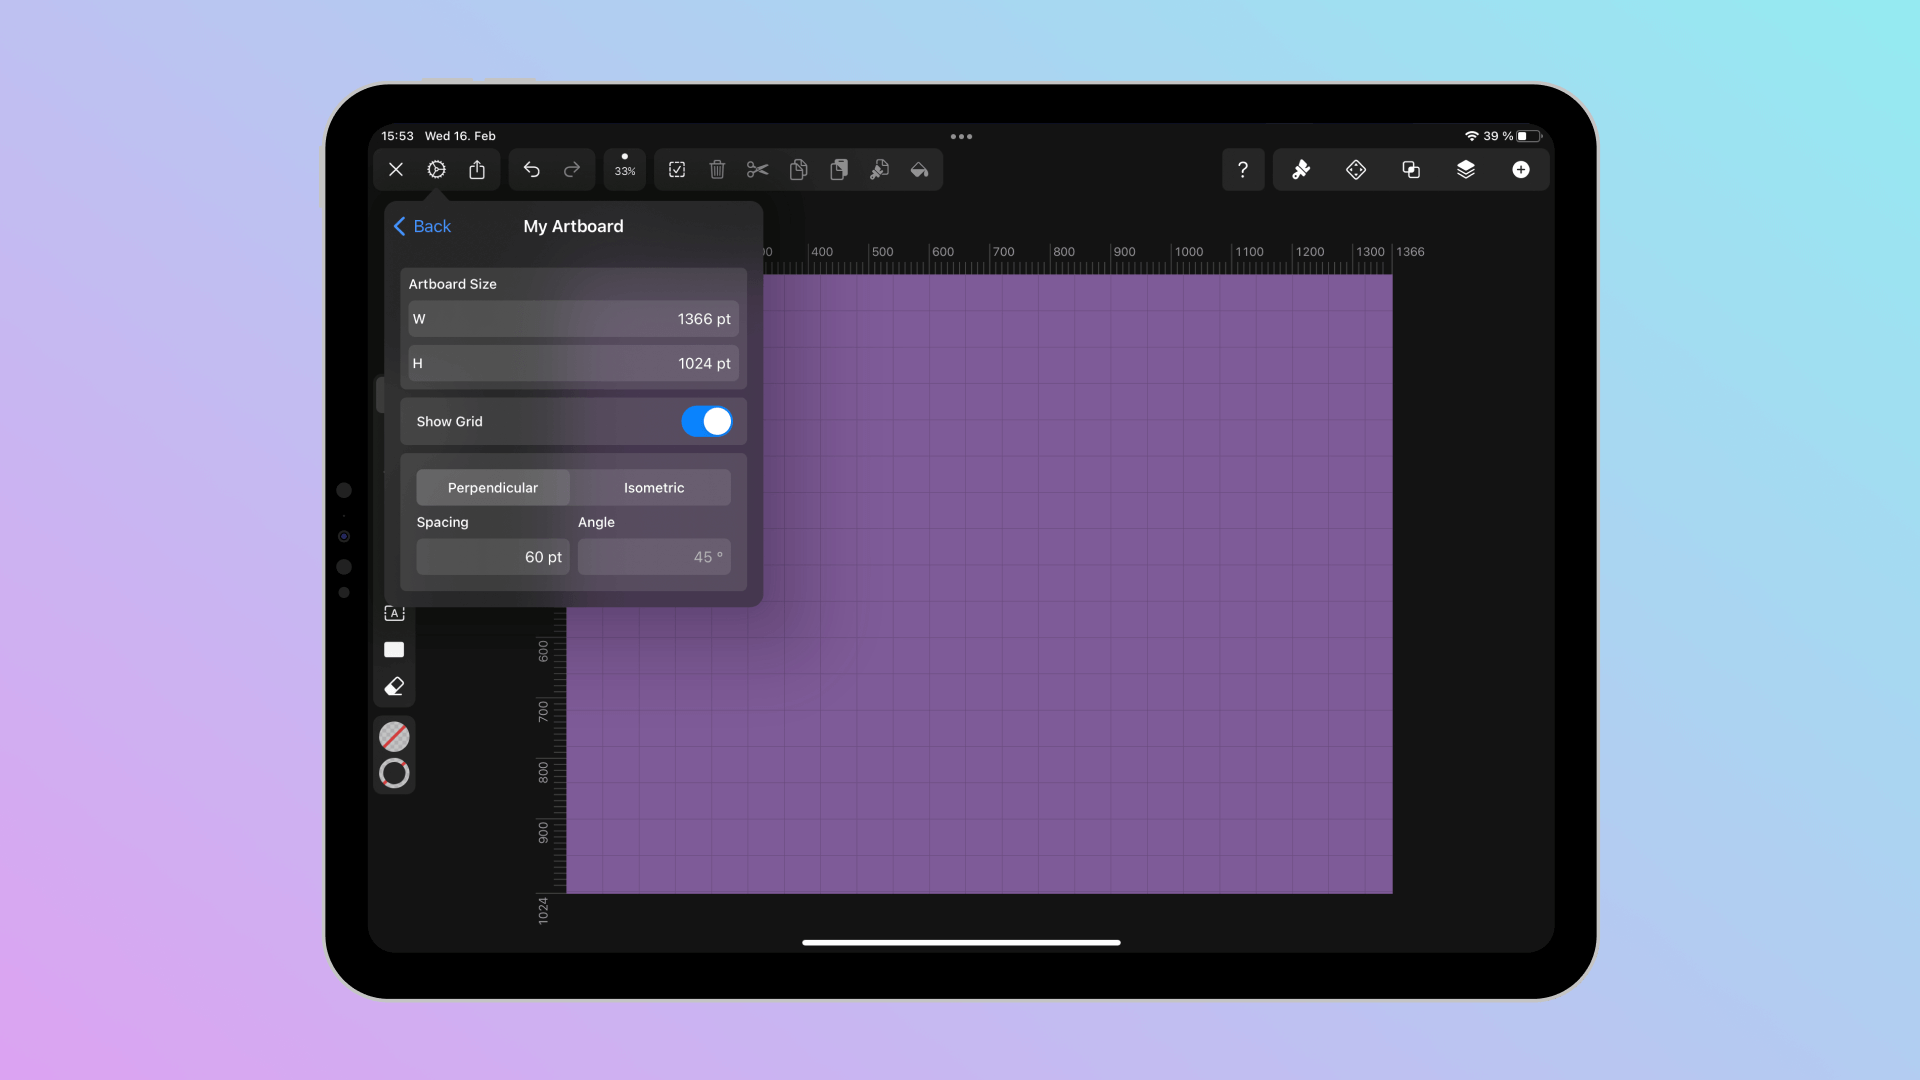
Depending on the drawing app you want to try, you’re likely to find a few canvas options. Once you’ve chosen the size of your Artboard, consider the following:
Use a grid
Proportion is an important principle of any art form. Even the most experienced artists can struggle to draw with balance and symmetry. Enabling your drawing app’s grid overlay will help you draw with more accuracy, and with enough practice, you might find that you don’t need it anymore.
:quality(75))
:quality(75))
In Linearity Curve's (formerly Vectornator) Artboard and Grid settings, you can choose between a Perpendicular Grid or an Isometric Grid. The Isometric Grid is the perfect guide for drawing 3D elements with complex angles, like a balcony on a house or a flight of stairs.
To learn more about using the Isometric Grid in Linearity Curve (formerly Vectornator), watch the video below:
Use lots of layers
One of the main benefits of creating digital art is the ability to create multiple layers. Just as a real painting is made with multiple coats of paint, a digital painting can be created the same way. However, with digital layers, you can edit each layer independently.
For example, you can make a sketch layer, and more detailed layers on top, and simply remove the sketch layer later. Or, if you realize you’ve drawn something too small, you can easily resize it if it’s on its own layer.
Head to our Learning Hub for tips on how to use layers in Linearity Curve (formerly Vectornator).
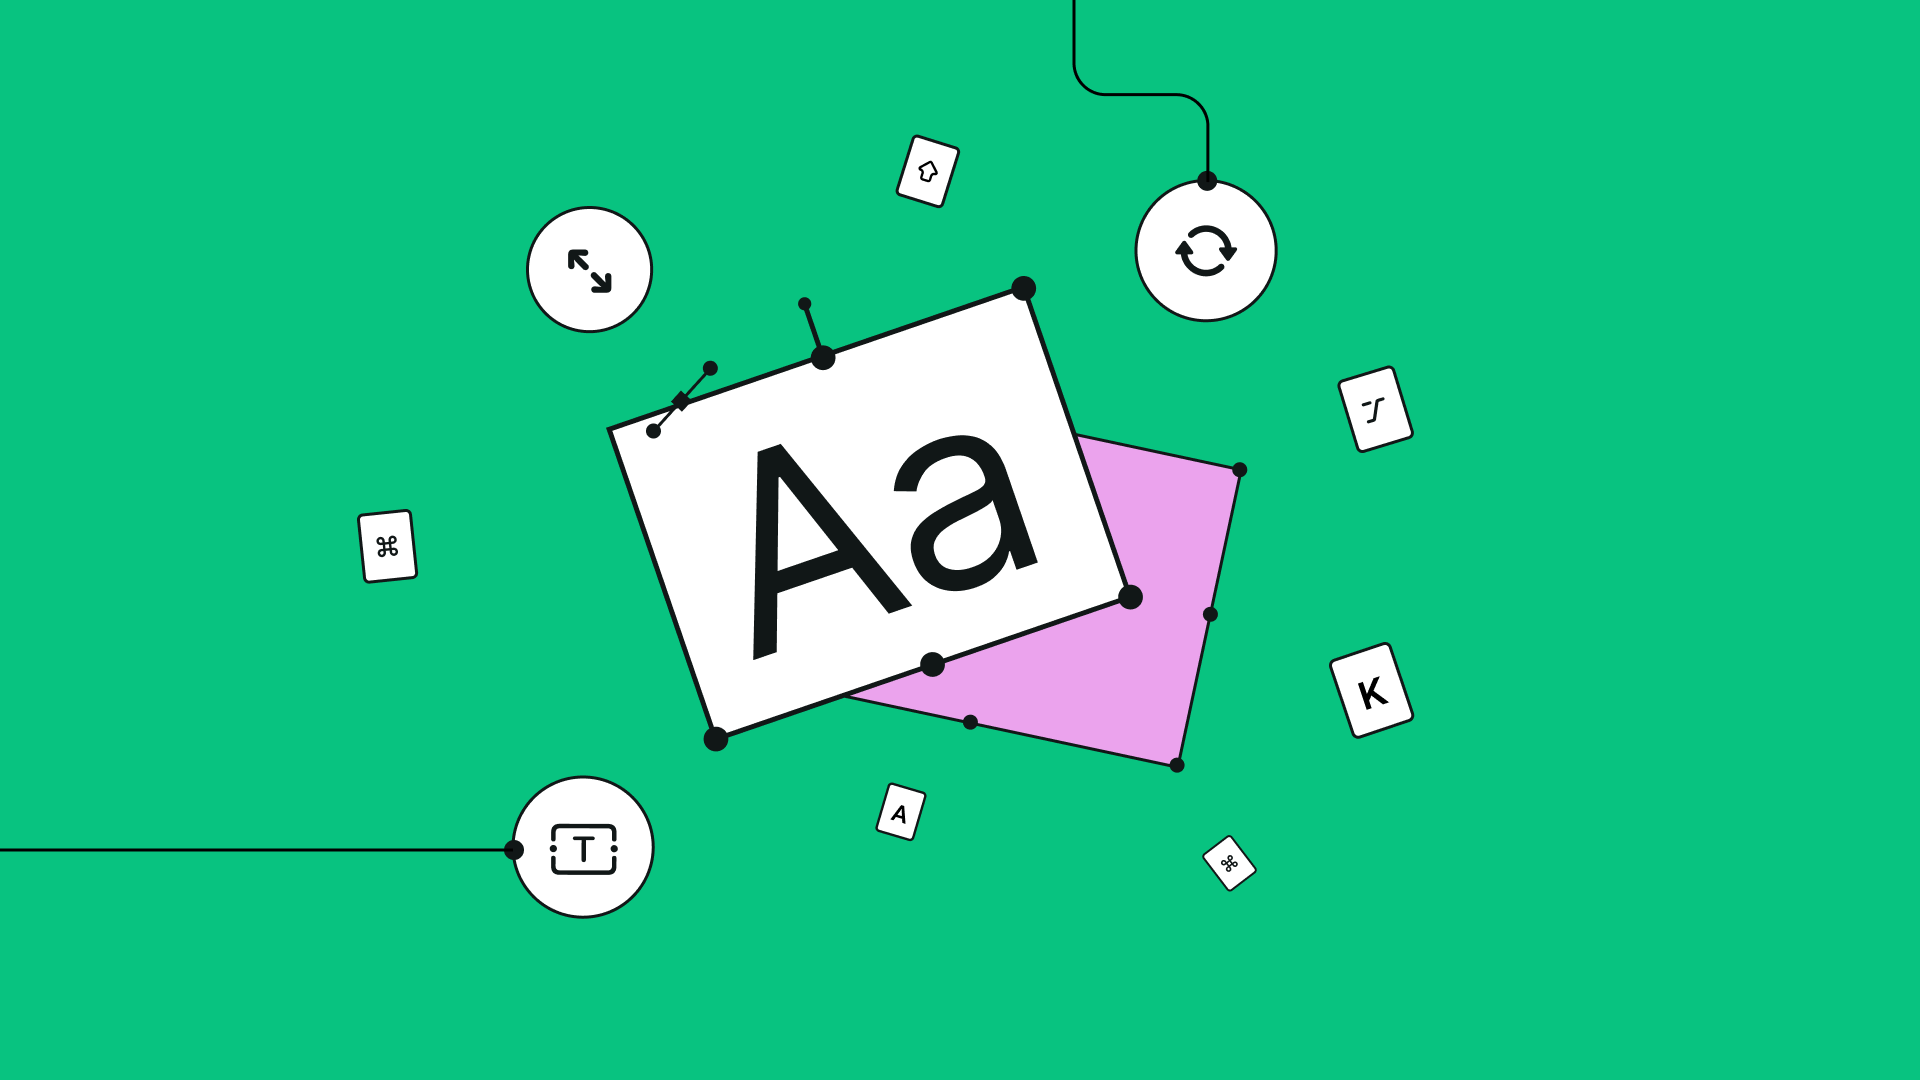
Practice using the tools
Looking at the interface of a drawing app might feel overwhelming at first, but it won’t be long before you understand how to use every feature. Each software has its own set of tools that allow you to create all kinds of amazing artworks. And while each toolset is different, it’s likely that most drawing apps will have one very important tool in common: The Brush.
The Brush Tool
If you’ve ever tried traditional painting, you probably have a few favorite brushes that you use every time. In digital art, there are an overwhelming number of exciting brush types to choose from—especially in raster-based software—but you’ll probably end up using between one and five.
Procreate comes preloaded with customizable brushes that look like marker pen, calligraphy ink, graphite, charcoal, oil paint, watercolor, crayon, and even natural elements like clouds. And there are more brushes online that you can download and import into most drawing apps. The possibilities really are endless!
Of course, all of these choices make it difficult to decide which digital brushes to use. It’s all about experimenting and finding your style. If you’re a comic artist, try a fine-tip brush for your outlines. And if you want to achieve a realistic painterly look, pick out a few textured brushes that emulate real painting tools.
Once you’ve found a brush you like, you can usually edit it to suit your exact needs. In Procreate, you can customize the taper, shape, grain of all default brushes in the brush settings. And in Photoshop, you can achieve countless textures and effects with just one brush when you play around with the Hardness, Size, and Opacity settings.
Using the Brush Tool in Linearity Curve (formerly Vectornator)
Since Linearity Curve (formerly Vectornator) is a vector-based program, our Brush Tool works slightly differently from those in raster drawing apps.
The best thing about vector brush strokes is that they act just like node paths. That means you can adjust them after you’ve drawn them, and you can even turn other node paths into brush strokes retroactively.
Linearity Curve (formerly Vectornator) comes with a collection of preset brushes with different characteristics. For example, there’s one with rounded edges that taper from thick to thin, and there’s another with angled edges that makes marks as a calligraphy pen would.
All of these preset brushes can be adjusted in the Editor tab. You can change the brush size, shape, angle, width, pressure, and contour of your brush, and then save it as a new brush style. You can also add shadows and blurs to any stroke.
For a beginner's guide to our Brush Tool, check out the video below.
Find out more about using the Brush Tool in Linearty Curve (formerly Vectornator).
What other design tools does Linearity Curve (formerly Vectornator) have?
Other than the Brush Tool, there are more ways to lay down lines and shapes onto your digital canvas. Here’s an overview of how each tool works in Linearity Curve (formerly Vectornator).
The Pencil Tool
The Pencil Tool is used to draw free-form paths and shapes. It will follow the path of your hand exactly, or you can adjust the Smoothness to automatically smooth the curve and simplify the path so that your lines look steady and confident.
Find out more about Linearity Curve's (formerly Vectornator) Pencil Tool.
The Pen Tool
For those that work in vectors, the Pen Tool is your best friend. It’s used to plot out vector points and create custom paths with Bezier Curves. You can then use the Node Tool to select, move, and edit those curves.
There are tons of neat tricks you can do with Linearity Curve's (formerly Vectornator) Pen Tool.
The Shape Tool
You guessed it. The Shape Tool draws shapes! You can create pre-made geometric motifs, such as rectangles, circles, polygons, stars, and spirals.
Find out more about Linearity Curve (formerly Vectornator) Shape Tool.
Ready to create brand assets that pack a punch?
Visit our Academy for free draw design courses.
The Eraser Tool
The Eraser Tool works just like a rubber eraser on paper or canvas. It removes any area of an object along the path you draw.
Find out more about Linearity Curve (formerly Vectornator) Eraser Tool.
The Scissor Tool
The Scissor Tool allows you to easily split a path into different paths. It’s perfect for quickly editing shapes.
Find out more about Linearity Curve (formerly Vectornator) Scissor Tool.
To learn more and read in-depth explanations of each Linearity Curve (formerly Vectornator) tool, head to our Learning Hub.
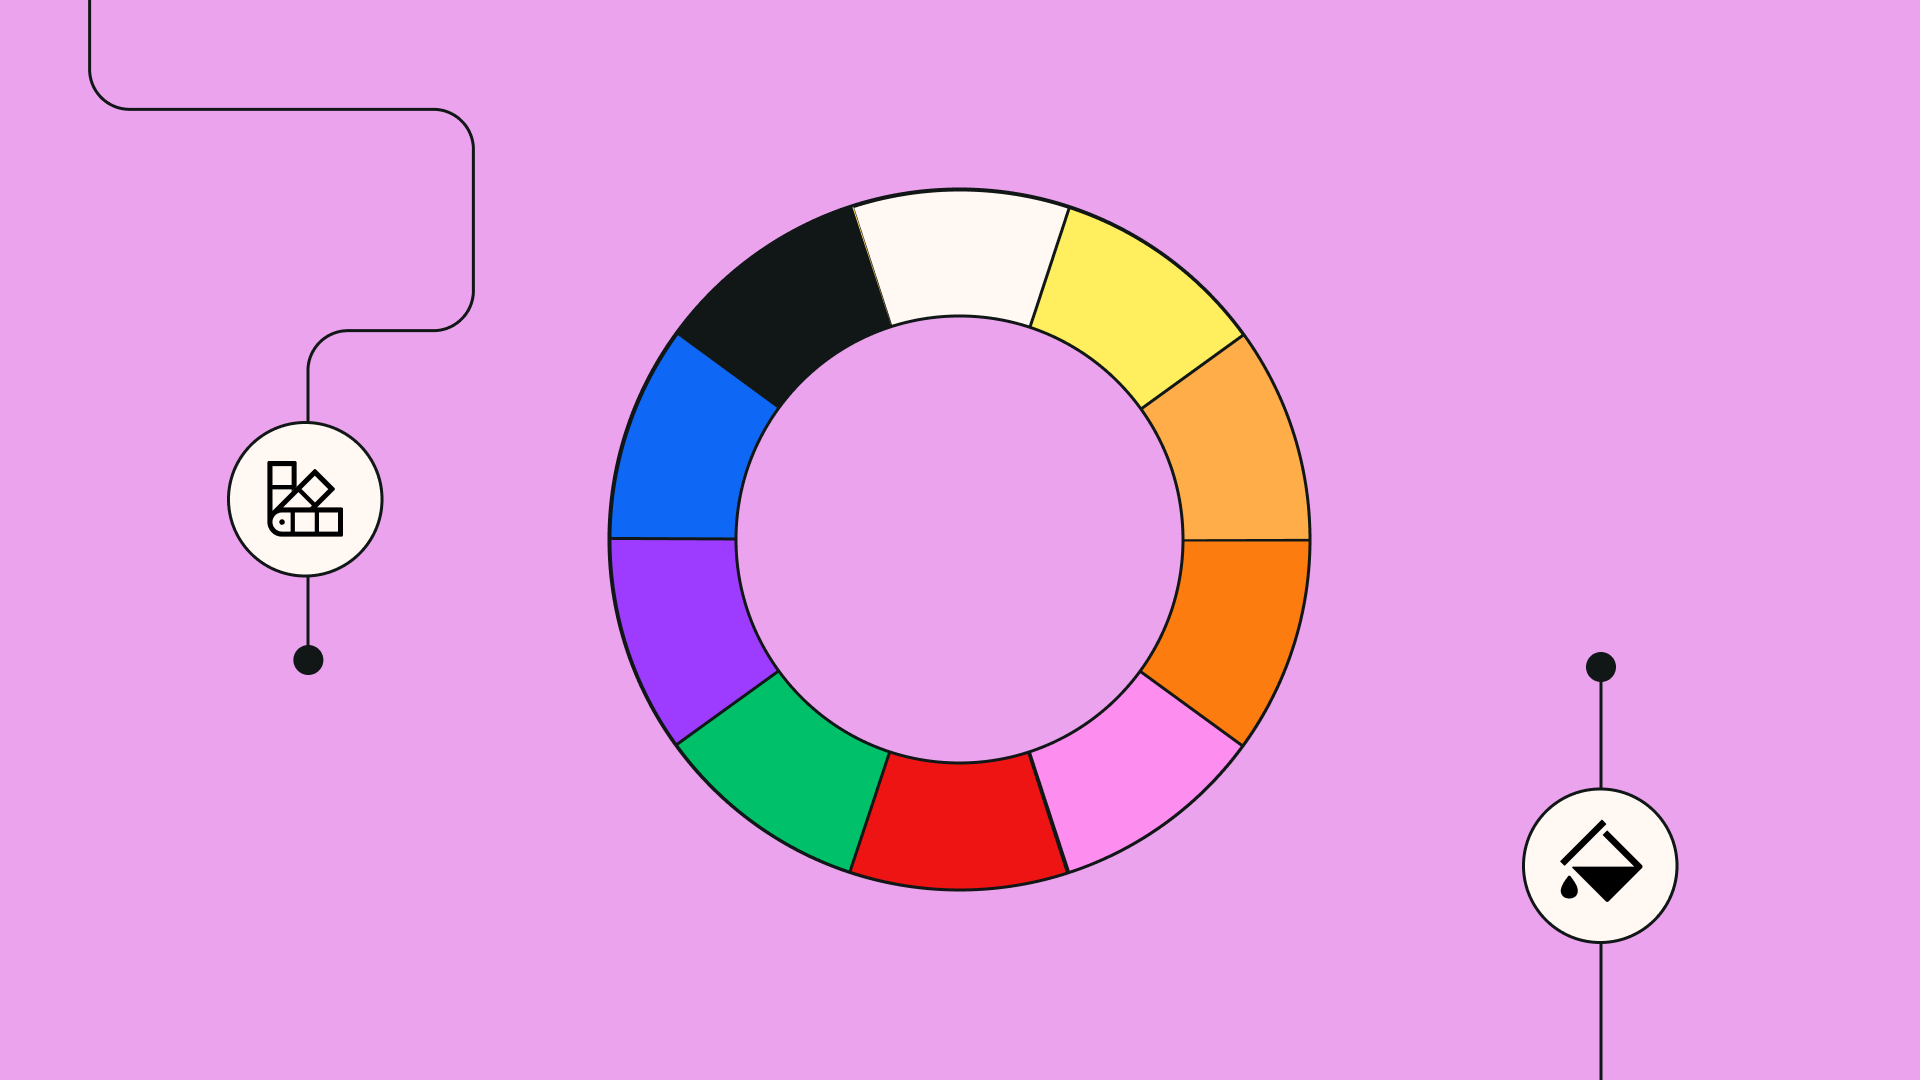
Set up a color palette
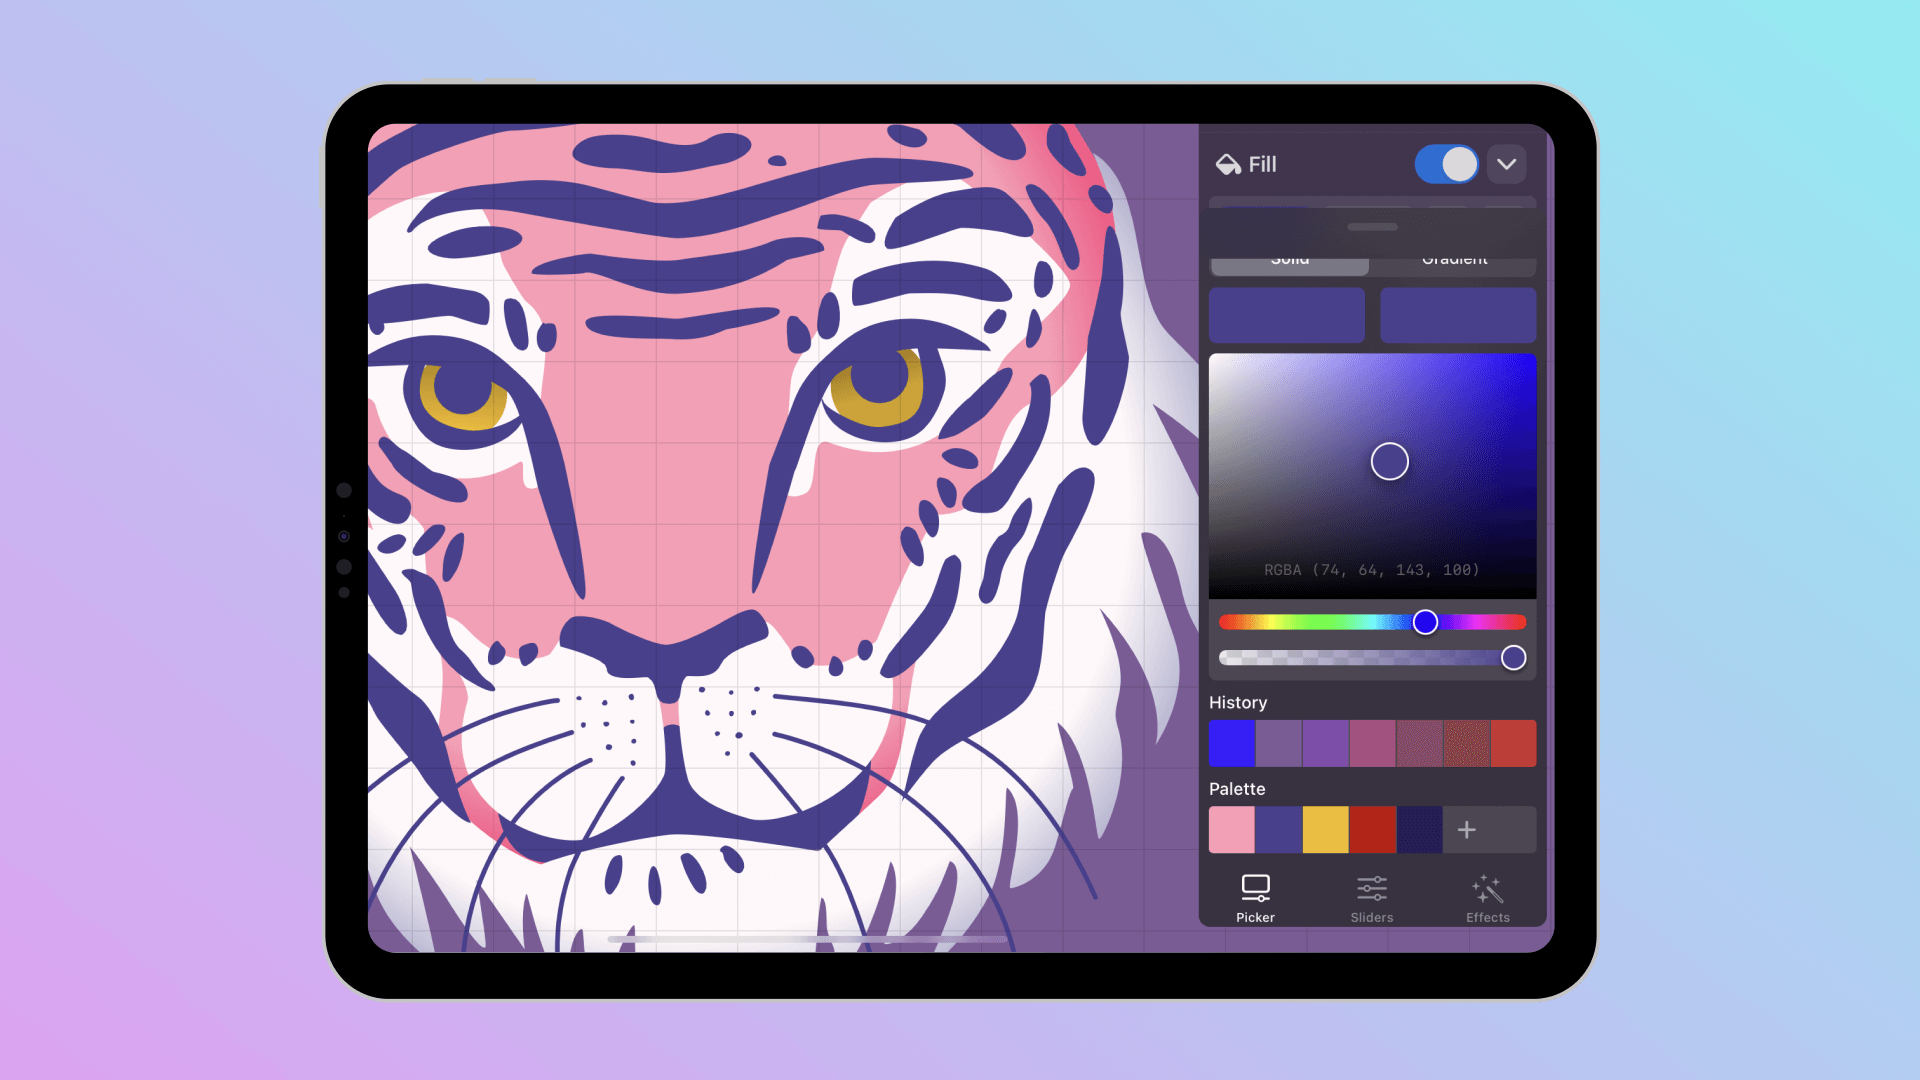
So, now that you have your tools and canvas ready, it’s time to choose some colors!
Before we dive in, all digital artists should take the time to understand the difference between RGB color and CMYK color.
RGB (red, green, and blue) is a color mode meant for any designs that will be viewed on a digital screen.
CMYK (cyan, magenta, yellow, and key, as in black) is best suited for designs that are physically printed in ink.
So, depending on where your digital art will end up, make sure to set up your canvas to display colors in RGB or CMYK. If you don’t, you might end up feeling disappointed when the colors of your design end up looking different when printed.
When it comes to choosing hues in a digital drawing app, most programs for iPad feature a color wheel. This allows you to easily choose from an infinite amount of hues and tones, and then save them in your own color palettes.
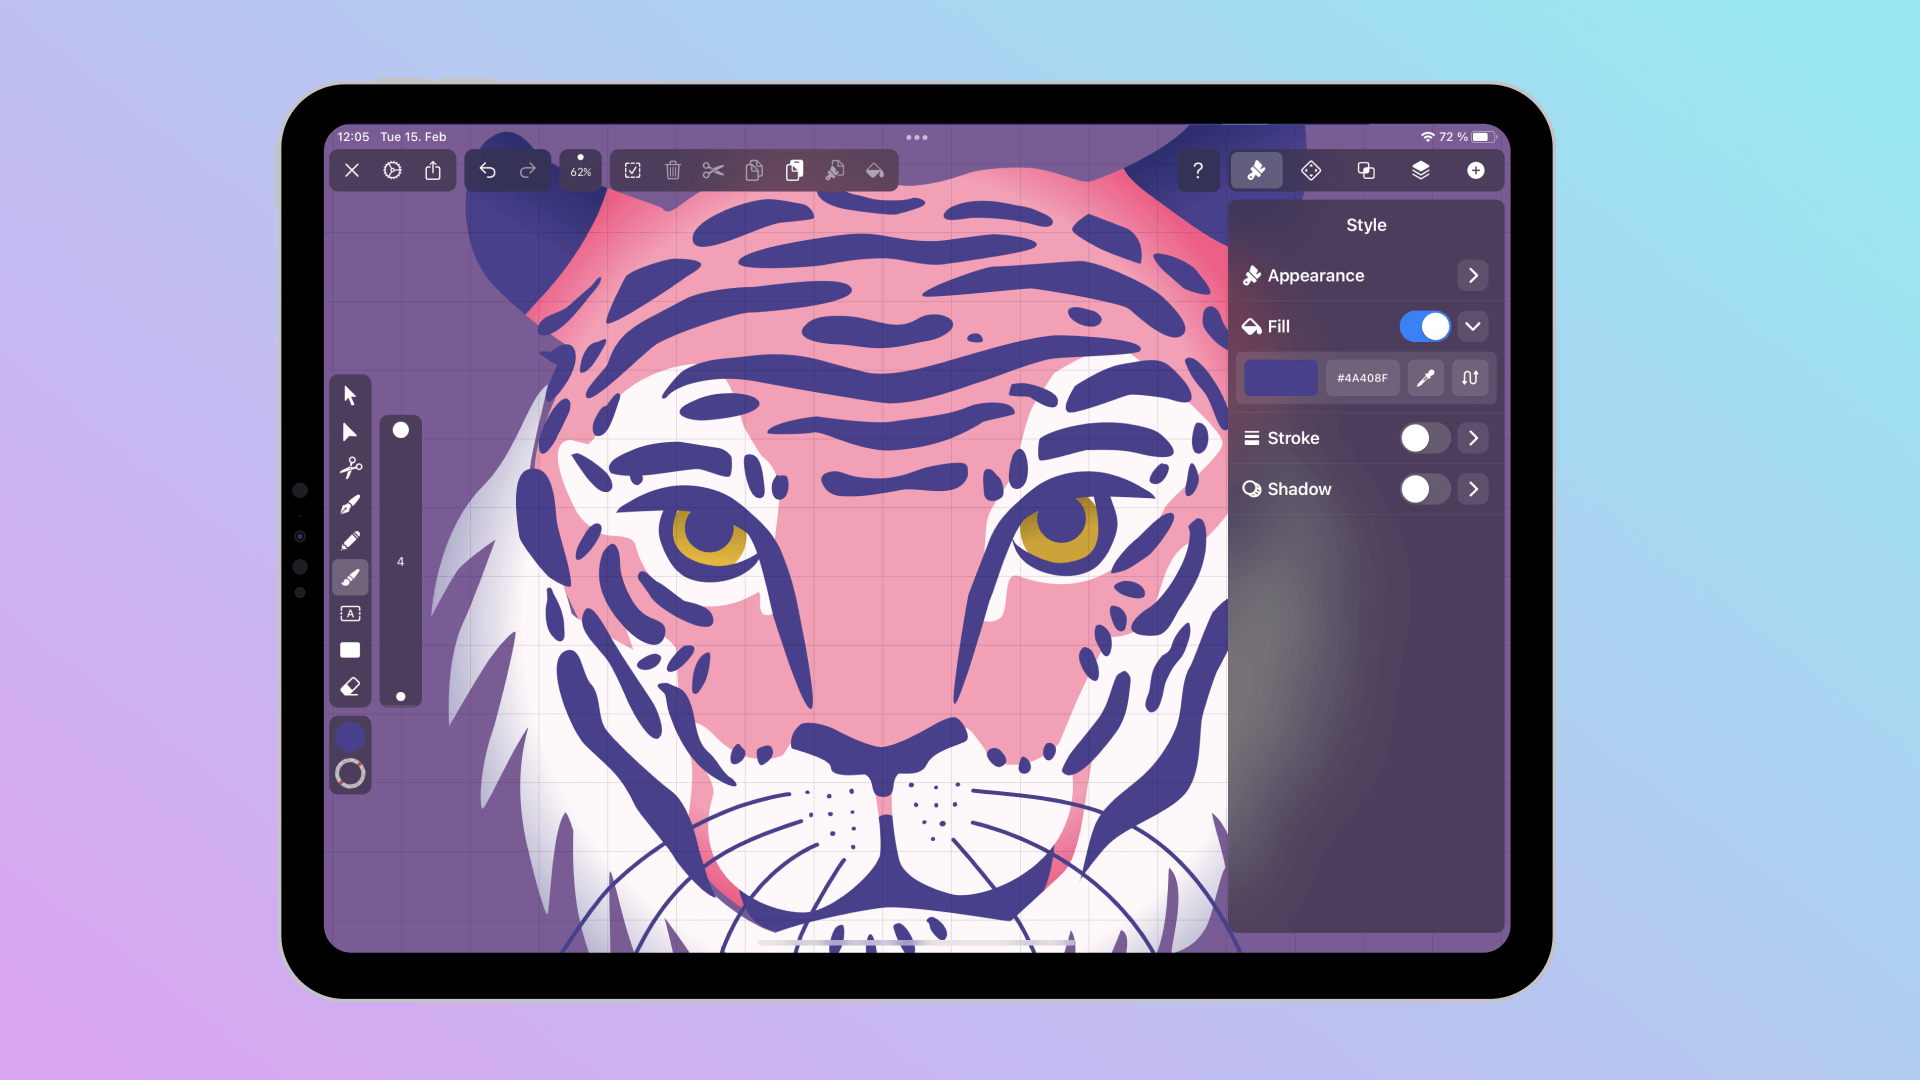
In Linearity Curve (formerly Vectornator), you can set and change your color properties with the Color Widget Tool and the Color Picker Tool.
You can easily alter the color of your Fill, Stroke, and Shadow by using the Color Picker in the Color Well or by simply entering the HEX code of your desired hue. You can fill shapes with solid colors, or add beautiful gradients.
Linearity Curve (formerly Vectornator) also allows you to create and save your personal color palettes, so you can use them again later.
Check out everything you need to know about using color in Linearity Curve (formerly Vectornator) in our Learning Hub.
Start drawing
We hope this guide has helped you set up your iPad as the perfect drawing tool. Now all that’s left to do is make some art! Have fun, and don’t forget to export your Linearity Curve (formerly Vectornator) file and share your digital art with us on social media. We can’t wait to see what you can do.
Jumpstart your ideas with Linearity Curve
Take your designs to the next level.
Share this!
Emma Taggart
Emma is a Content Writer for Linearity in Berlin. Her hobbies include making ceramics, roller skating, drawing, and 2D animation.