:quality(75))
:quality(75))


:quality(75))
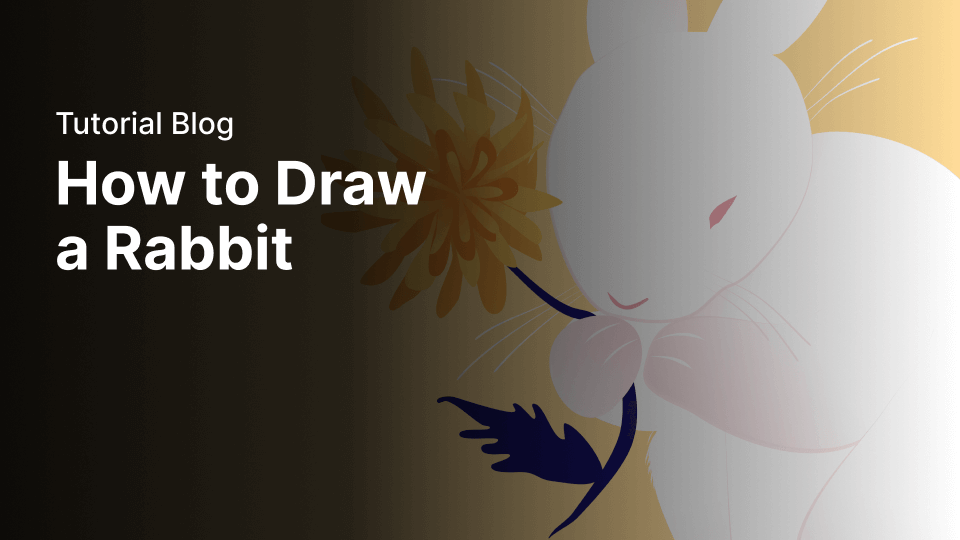
With Easter around the corner, we'd like to draw with you one of the main protagonists of Easter: The rabbit!
Our step-by-step guide will show you how to draw a cute bunny from scratch. No need for colored pencils. We'll add the color in Vectornator.
Not only will our tutorial help novice artists develop their drawing skills, but this simple rabbit drawing will also show you how to translate a realistic image of a rabbit or hare into an adorable cartoon bunny illustration.
We're not talking about Bugs Bunny or Peter Rabbit here - we want you to learn how to draw a rabbit by understanding the recognizable shapes that create the rabbit form so that you can draw rabbits in your own style.
Before we hop into the tutorial, we'll do a quick art history lesson on the symbolism of the bunny rabbit.
Jumpstart your ideas with Linearity Curve
Take your designs to the next level.
The backstory: rabbit symbolism
Since pre-Christian times, hares and fluffy bunnies have been considered a pagan symbol of fertility and springtime. Somehow, the pagan symbolism of the rabbit and hare merged with Christian traditions in the 17th century.
The Christian holiday of Easter, which celebrated the resurrection of Jesus, became superimposed with pagan rituals that celebrated rebirth and fertility.

Most of us are also familiar with Aesop's fable of the tortoise and the hare, where the hare symbolizes arrogance and haste.
Do you know anyone who keeps a rabbit's foot for good luck? Historians and scholars are still unsure why rabbits symbolize good fortune.
Hares feature surprisingly often in still-life classical paintings, which gives us a glimpse into the dietary and recreational habits of Europeans in centuries past. Rabbits and hares were culturally connected with food and sport.
And, who could forget the phrase "down the rabbit hole", derived from Lewis Carroll's opening chapter in Alice's Adventures in Wonderland (1865), which describes her fantastical entry into the strange world of Wonderland. Nowadays, it describes what happens when we get lost for a few hours on the internet!
Rabbit research
Before we start drawing, carefully analyze the proportions of various rabbits and hares. Collect some images of bunnies from different angles or positions, and perhaps create a mood board for your studies.
If you have pet rabbits, even better! Study their movements and how their body shapes change in different positions. Take photos for reference later.
Study the various parts that make up a rabbit and identify the connected geometric shapes. Observe how the head, ears, and front and hind legs are attached to the torso.
The rabbit is composed of simple shapes. Try to identify the basic shapes and draw them as lines on paper to get the initial rough shape.
All of this prep work will help you get a basic understanding of the overall body shape.

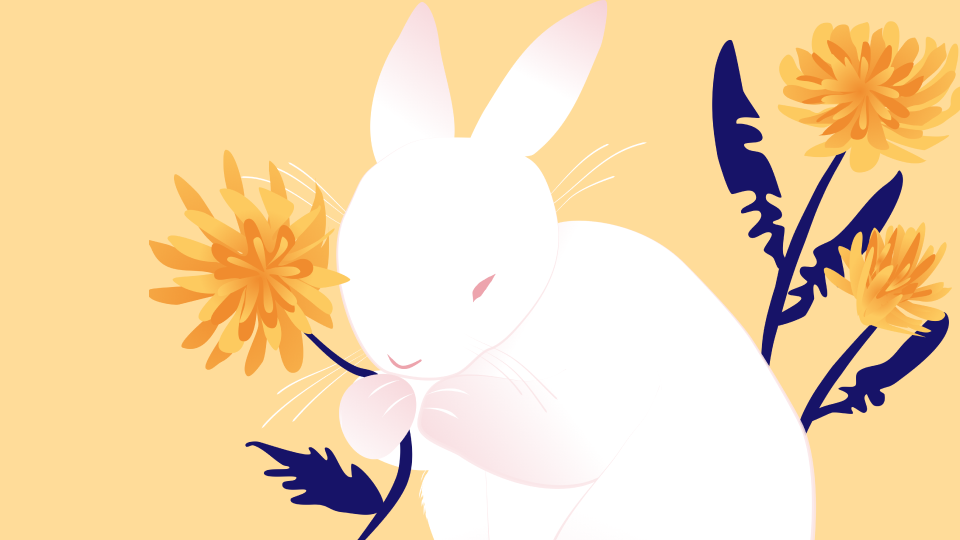
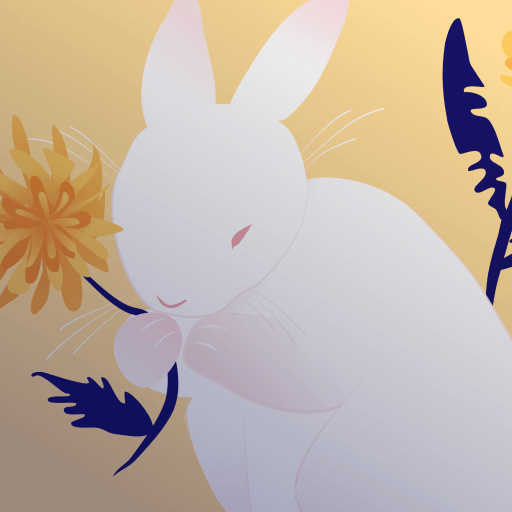
Our in-house illustrator Adí drew inspiration for her furry bunny drawing from one of the most beautiful and well-known artworks ever created, A Young Hare (1502) by Albrecht Dürer. It’s one of the finest artworks of the German Renaissance period and it shows incredible observation abilities and great attention to detail.
Hares are bigger than rabbits. Our artist created a cuter bunny rabbit version of the original painting by Dürer for our tutorial.
Now that we've studied the basic anatomy of the bunny, let’s start drawing, shall we?
• How to use the Pen Tool
• How to use the Pencil Tool
• How to apply radial gradients
• How to use the Brush Tool to draw hairs
Prepare the rabbit color palette
First, we'll organize our Color Palette. In the list below, you'll find all the Hex color codes that we've used for this drawing tutorial.
#FFFFFF White
#E2A7AE Pink for the eyes, nose, and the body gradient
#F5CC70 Yellow, for background and flowers
#F5E7E8 Bright pink for the whiskers and the outline
#161363 Dark blue for the plants
In Vectornator, you can create and save your Personal Color Palette. You can even import color palettes in the swatches and ASE format. If you're a Procreate user, you can download the palette we prepared for you in the swatches format.
Ready to create brand assets that pack a punch?
Visit our Academy to learn how to use color palettes.
Simply drag & drop the color palette directly from Procreate into Vectornator. Watch the video below to learn how to import a color palette from Procreate to Vectornator:
A step-by-step tutorial on drawing a rabbit
Prepare the document
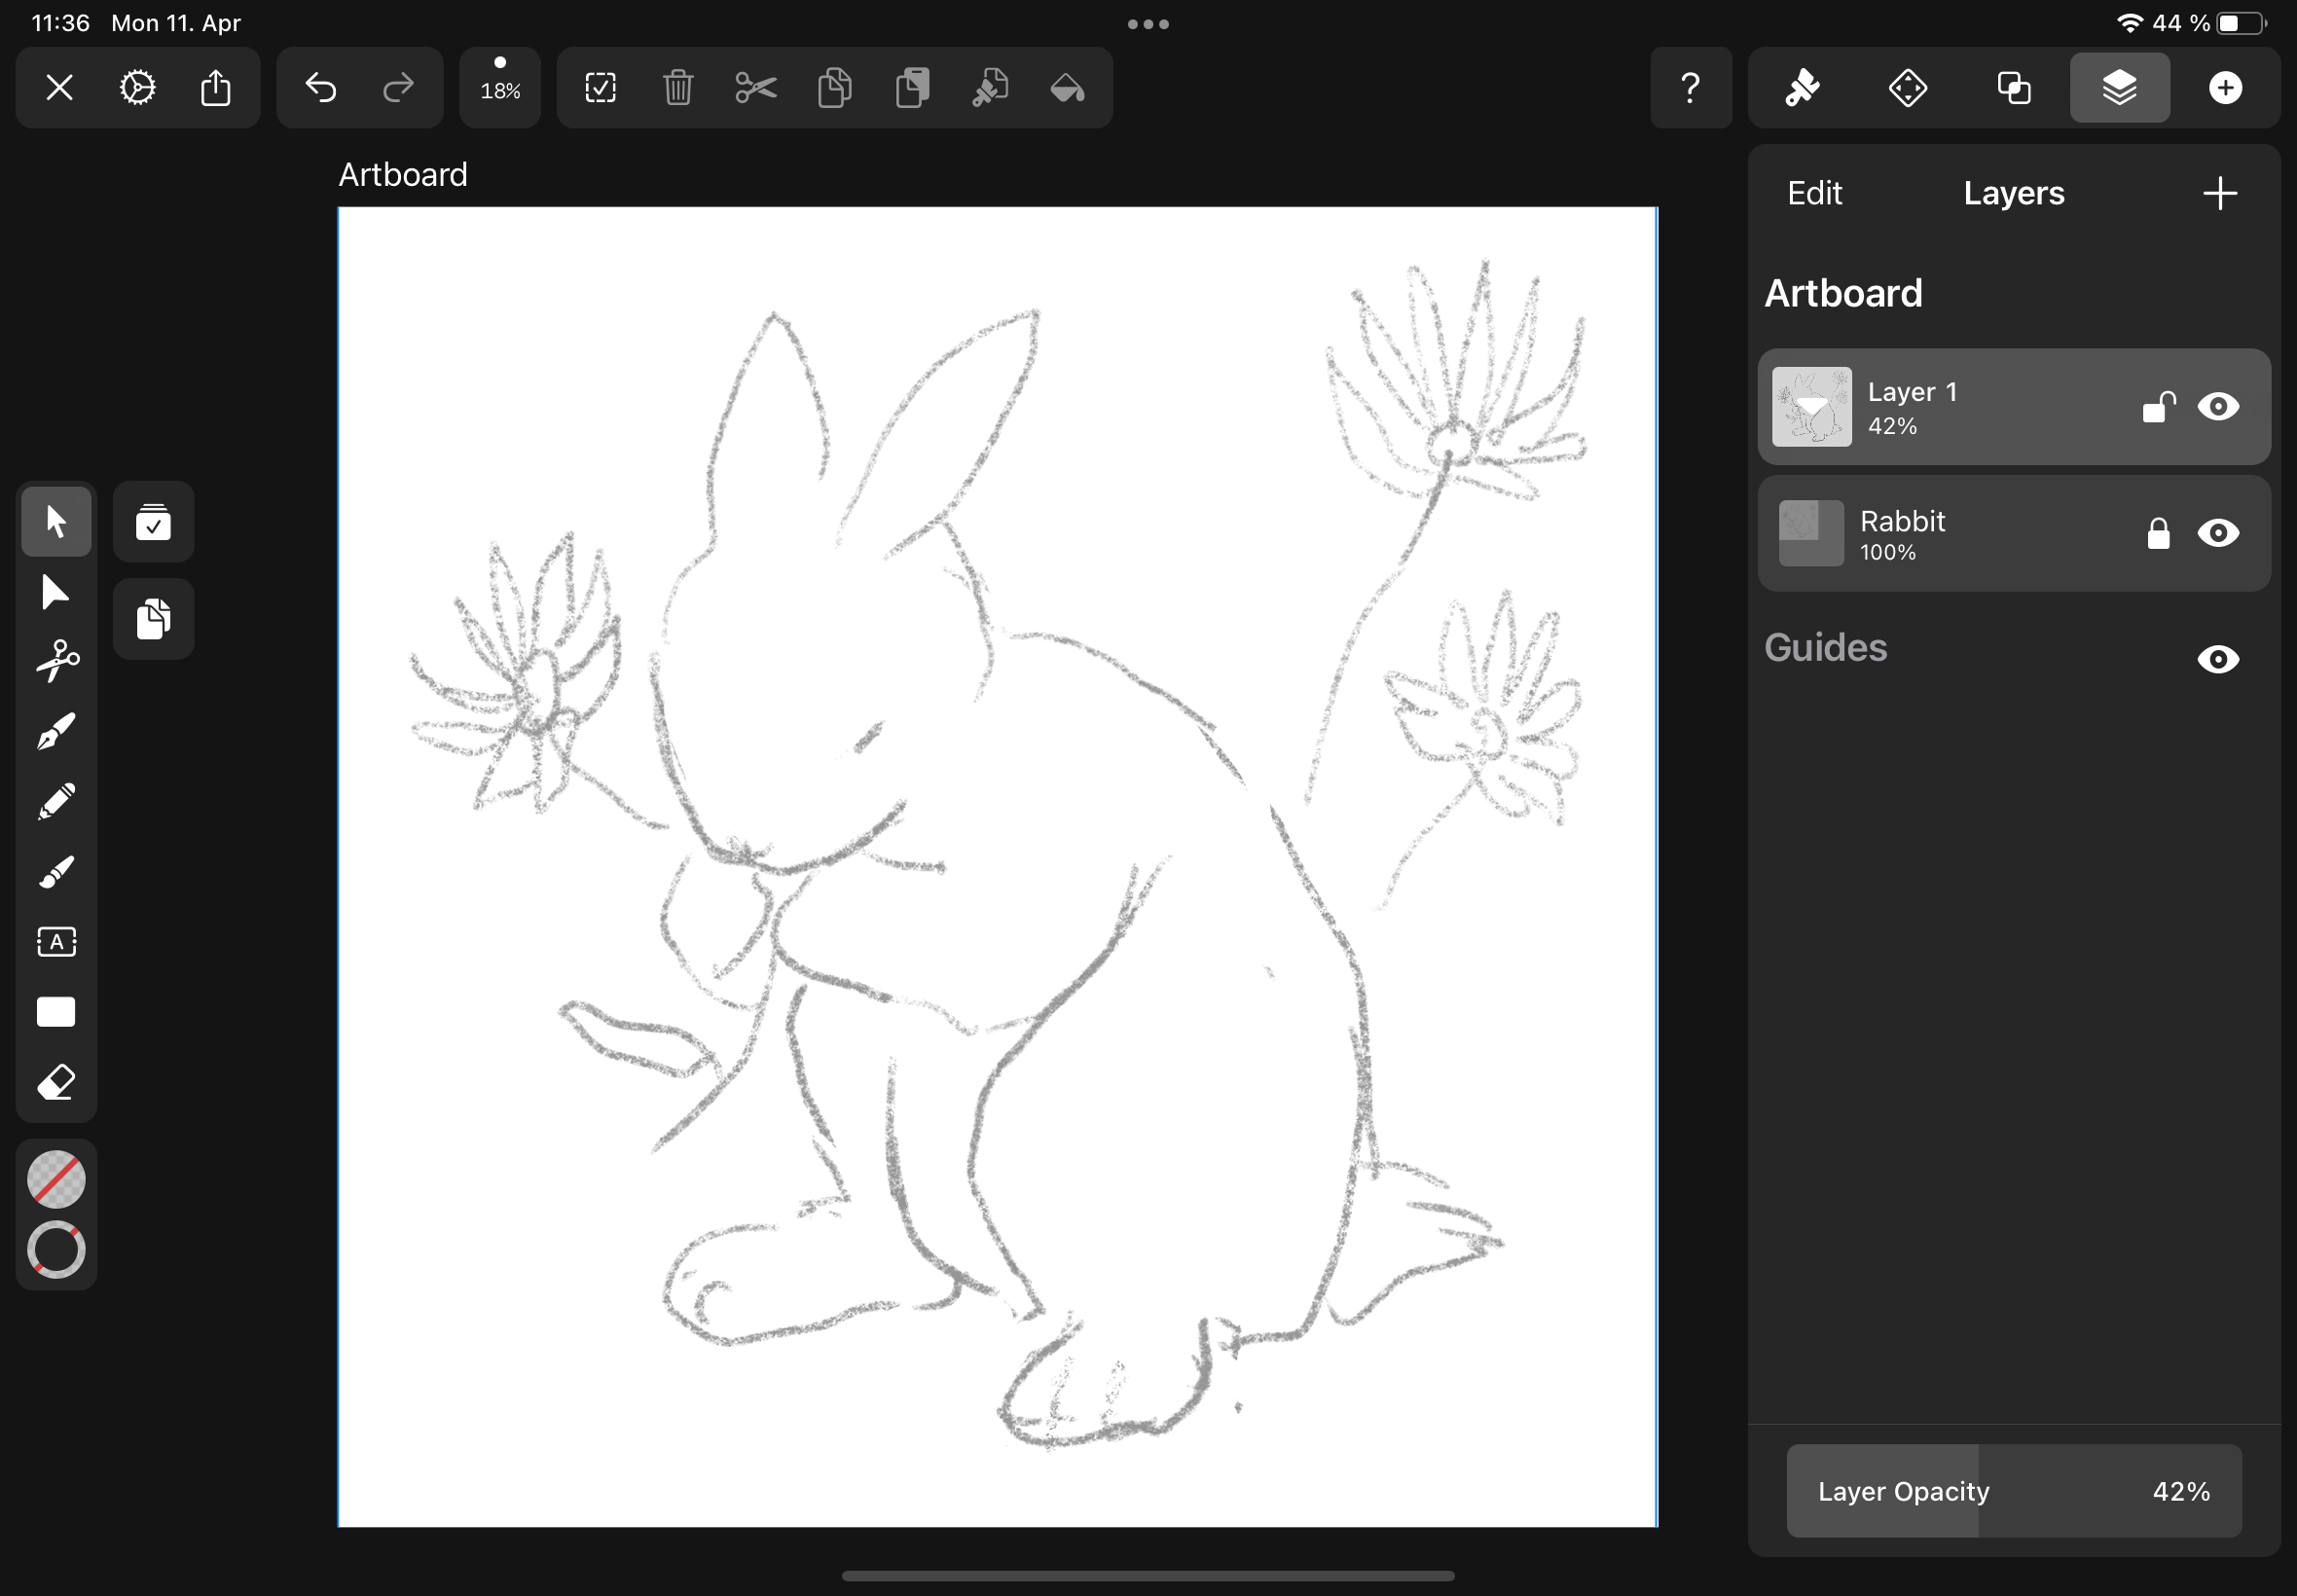
Now that we've prepared the Color Palette, it's time to import the rabbit pencil sketch you created from your observations. Take a photo of your simple bunny line drawing so that you can import it into Vectornator.
Create a new document in Vectornator by tapping the + button. You can choose a template or manually set your document's size.
You can import the pencil sketch you made on a piece of paper by using the Import Tab. To access the Import Tab, tap the + button in the top right corner of the Gallery and then select Import.
When the reference sketch is imported, name the layer “Rabbit Sketch” and then lock the layer by tapping the Lock/Unlock icon.
To have a white reference sketch over a white background might not be the best idea, so we'll create a new colored background. Create a new layer by tapping on the first icon from the header section of the Layers Tab on the right.
Tap on the Shape Tool icon and select the Rectangle Shape after tapping the three dots button.
Set the Fill of the Rectangle Shape in the Style Tab or the Color Widget to your preferred color. You can choose any color besides pure white, as we need to create a contrast with the white rabbit.
Tap and drag on the canvas until the Rectangle Shape completely covers the document. Rename the layer “Background” by tapping on the default name of the layer.
Reduce the layer's opacity to 50% by tapping on the layer and then sliding the Layer Opacity Slider to 50%. We’re doing that as we still want to see the underlying rabbit reference sketch.

Draw the shapes of the rabbit
Now that we have created our Personal Color Palette and have prepared the document, we will start drawing our cottontail bunny. Take a close look at the rabbit reference sketch. Analyze the basic geometric shapes and curved lines that the rabbit is composed of.
We'll draw each body component as a separate shape. We have two ears consisting of elongated narrow shapes that point at the ends. We also have a rounded shape for the head and an oblong shape for the torso. The four legs and the tail are created with rounded shapes as well.
To begin your digital drawing, create a new layer and name it “Rabbit.” Set the layer opacity to 50% to see the underlying rabbit reference sketch.
Select the Pencil Tool by tapping the pencil icon in the Toolbar or pressing W on your keyboard.
To the right of the Pencil Tool, you'll find a slider to control the smoothness of your path for more curved lines. Set the smoothness of the slider to 97%. This will even out your path significantly.
Path smoothing is a beneficial feature for beginners who aren’t used to drawing with an Apple Pencil. The shakier your hands are, the more you’ll need to crank the smoothness up!

Toggle the Stroke off and the Fill on, and set the color of the Fill Well to #FFFFFF white. Draw the body first and then the basic bunny head. Closely follow the lines of your reference sketch.
You can include the right back leg into the torso shape, as our artist did, or you can draw it as a separate shape.
Next, draw the head and the ears. Draw the left back leg and the two front legs. Draw a separate circular shape for the buckled front leg on the right. Lastly, draw the bushy tail.
That’s it! We're finished drawing the base shapes of our rabbit with the Pencil Tool!
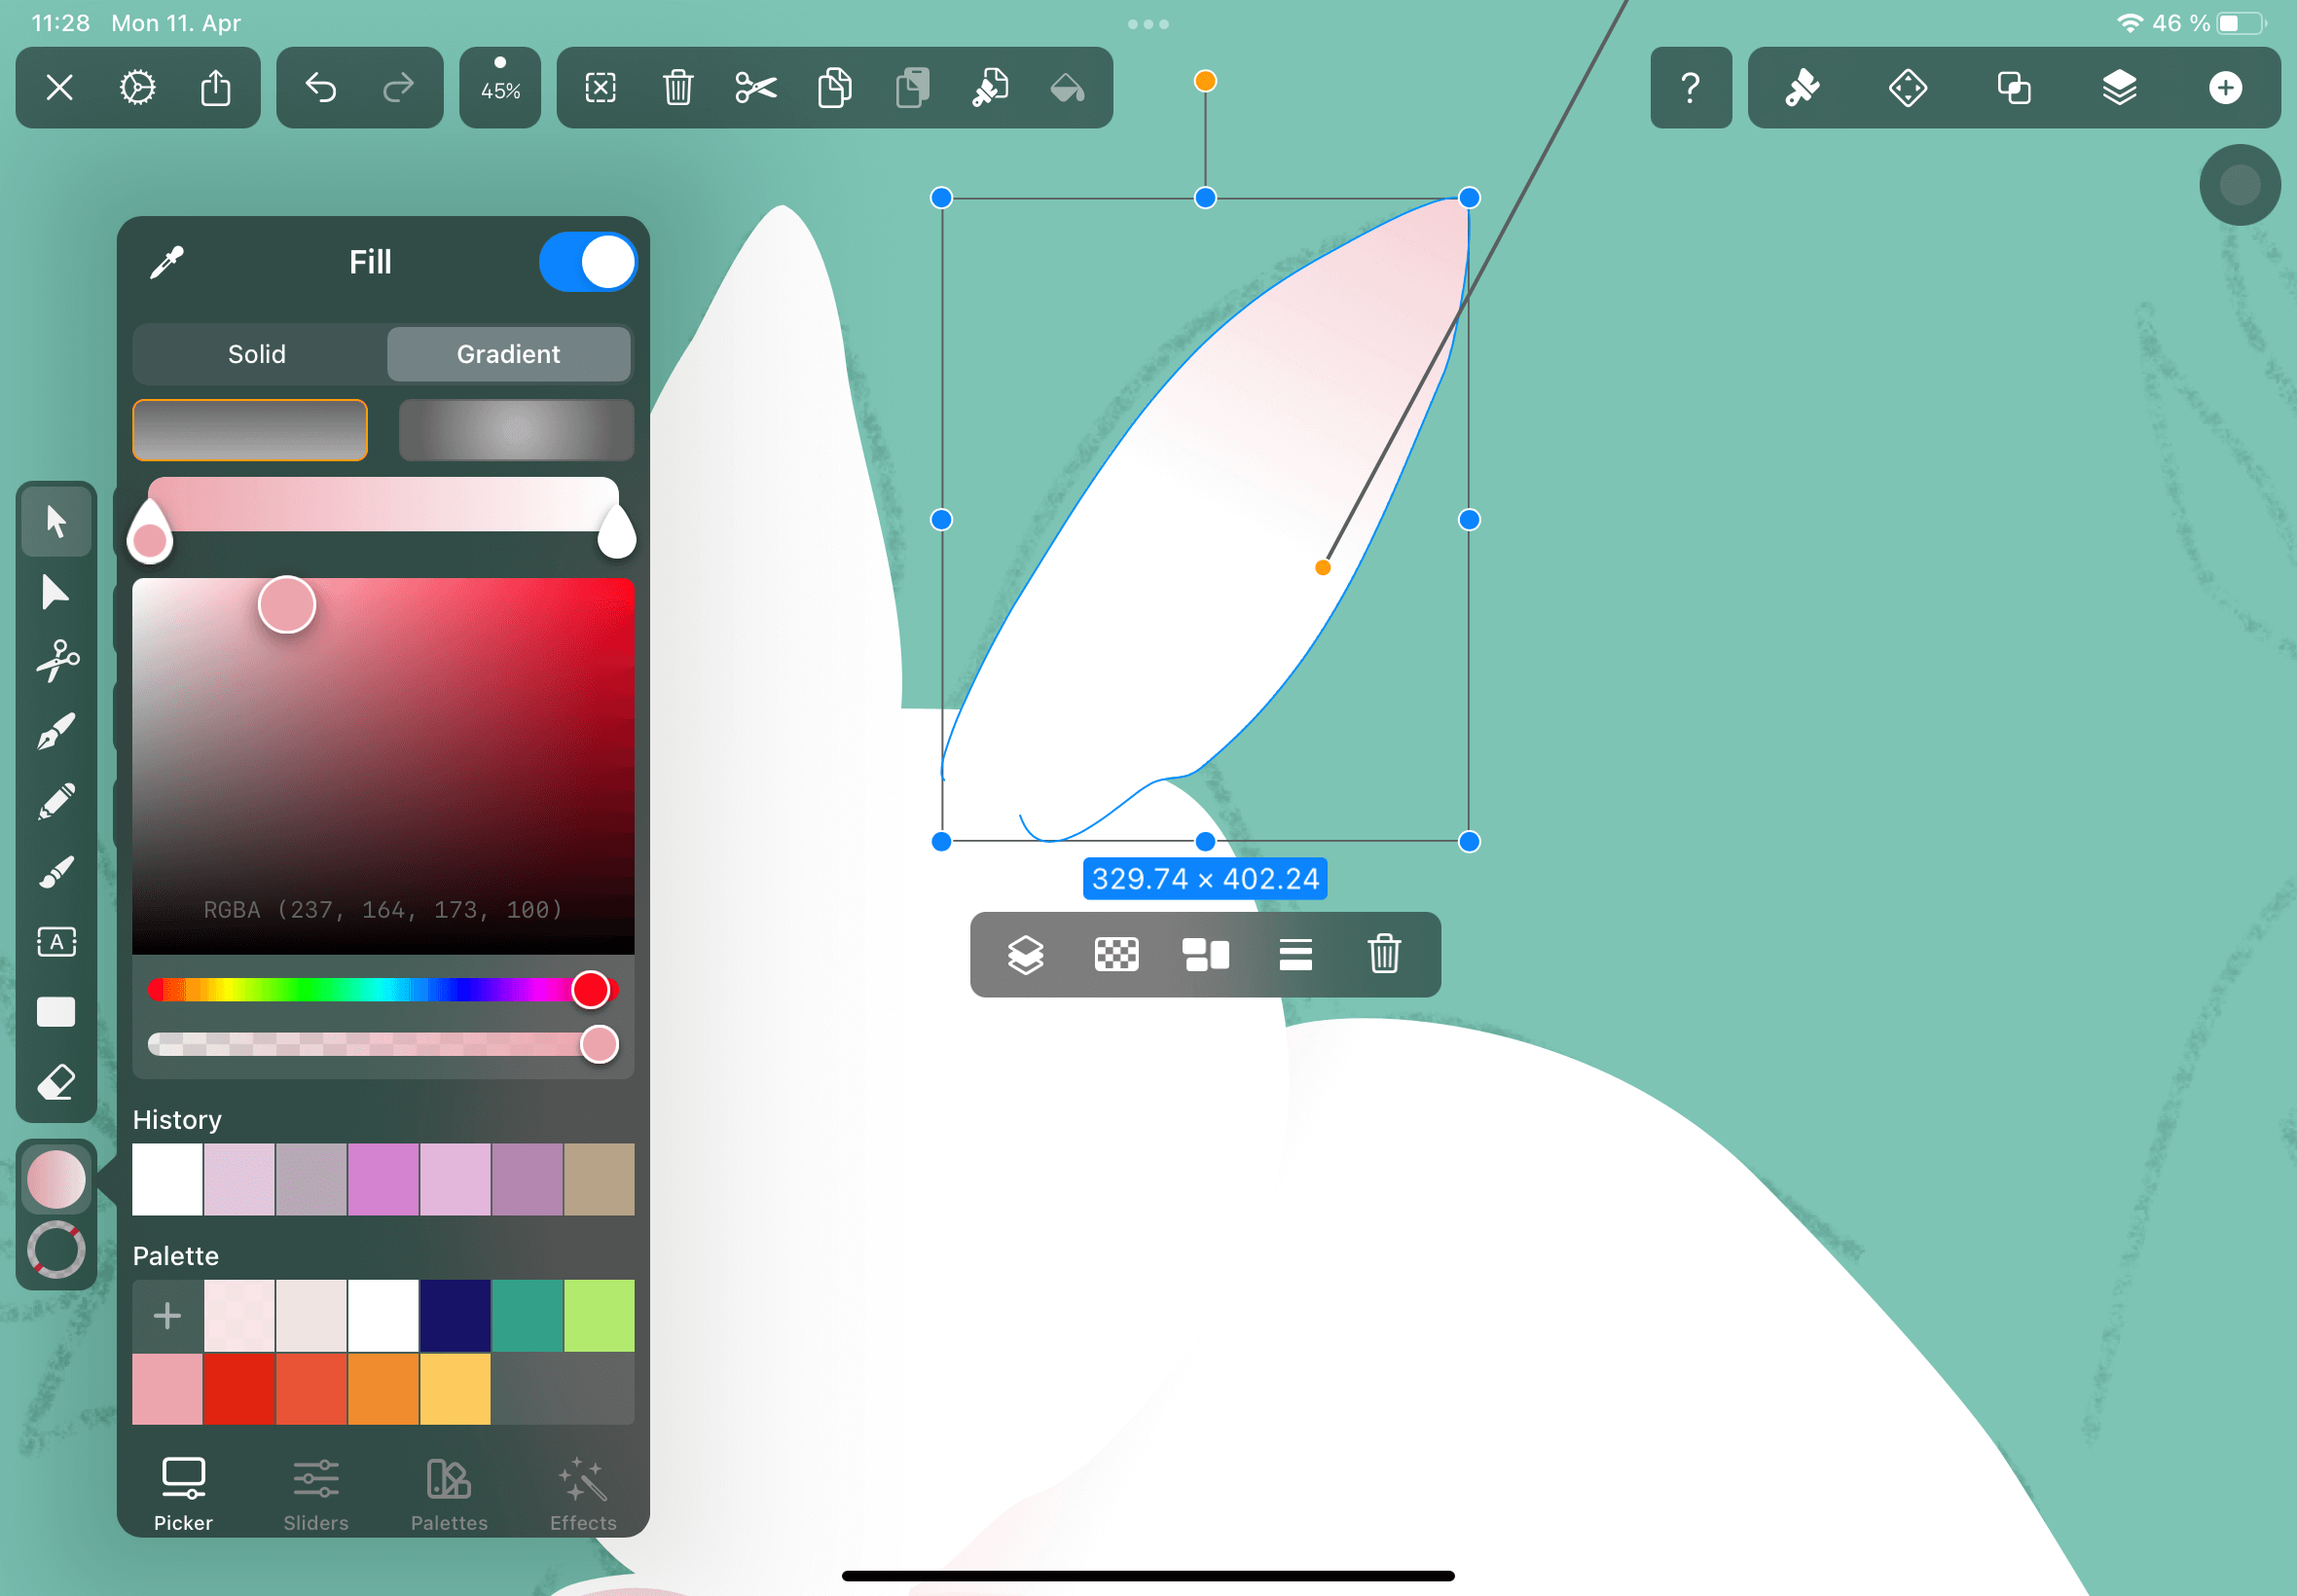
Add the color gradients
In the next step of our tutorial, we'll add the pink color gradients to our rabbit. The purpose of the gradient is to create shadows and a visual separation between the shapes.
First, we'll set the opacity of the layer “Rabbit” to 100%. Set a Linear Gradient with the Hex colors pink #E2A7AE and pure white #FFFFFF.
Select the shape using the Selection Tool and tap the Color Well in the Fill section of the Style Tab to open the Color Palette.
:quality(75))
:quality(75))
Choose the Gradient Fill option by tapping the left button. Then choose the Linear Gradient option on the left side. Tap on a Gradient Color Slider to set its color.
When you have the gradient applied, drag on the Gradient Direction Handle situated in the middle of the bounding box of your shape to adjust the orientation and distribution of the gradient colors.
Now, you’ll want to copy the Gradient Style we've set onto the other shapes. Seriously, who has time for setting a gradient for every single shape?
Select the shape with the gradient and in the Quick Action Bar, tap the second button from the right, the Copy Style Button.
This Button will copy every style you have applied to your shape. Once you tap the button, the Paste Style Button will appear. Tap this button to paste the copied style onto the shape you selected.
When you've applied the gradient to all of your shapes, you can adjust the orientation and distribution of the gradient colors with the Gradient Direction Handle.
Add details to the body and face
In the next step of our tutorial, we’ll add some details to our rabbit's body and face. For these steps, we’ll use the Brush Tool.
With the Brush Tool in Vectornator, you can draw free-form paths with variable widths. Tap the Brush Icon or press B on your keyboard to start drawing. In Vectornator, you have many brush presets available.
The Brush Editor allows you to customize the Shape and Contour of your brush, and you can Preview, Save, or Reset your custom brushes or switch the Pressure Sensitivity on and off.
Toggle the Stroke off and the Fill on. Set the Fill color to #E2A7AE pink, and draw the eye and nose shape with the Brush Tool.
Adjust the brush properties in the Brush Editor as necessary.

Switch to #FFFFFF white, draw the tufted fur on the fluffy tail and forelegs, and draw the separation lines on the front paws. Observe the direction of hair growth carefully.

Reduce the width of the brush to draw individual hairs and the whiskers radiating from the snout and above the eyes.
You can either draw the whiskers in pure white or bright pink #F5E7E8. If you want them to pop against the face, use a stronger contrast to the overall white fur of the rabbit.
Keep the smoothness slider up, as we want to draw very soft and smooth lines.

Outline the body
In the next step of our tutorial, we'll create some contrasting outlines around the pencil lines. The outlines will help to separate and define the body shapes.
Select the shapes that need a contrasting outline. Toggle the Stroke on and set the Hex color of the Stroke Well to #F5E7E8 and the Stroke Width to 14.44 pt.
Repeat the steps with the shapes that need additional color outlining.

Create the background
In the next step of our image, we'll create the background. A background can add a story or create the illusion of depth.
Tap on the layer “Background” to select the layer. For the Gradient, we’ll use a Radial Gradient with an orange-yellow as the center color #F5CC70 and pure white #FFFFFF for the outer area.
Ready to create brand assets that pack a punch?
Visit our Academy for free draw design courses.
With a Radial Gradient, the color emanates from the center outwards. You can choose between a Radial Gradient and a Linear Gradient in the Style Tab or the Color Widget.
Adjust the center point of the Radial Gradient with the Gradient Direction Handle and place the center point at the lower part of the rabbit’s torso.

Export the image
In the next and last step, we'll export the image.
Vectornator offers a wide variety of options to export your finished artwork. You can export your image from the Gallery or directly from the document. You can even send your image to other Apple devices via Airdrop.
Every change you make to your Vectornator documents saved in your iCloud Drive will automatically be synced across all your devices on which Vectornator is installed.
You can even print your artwork directly from Vectornator or preview it with AR.
You can learn more about the many export options of Vectornator.
That's it - we've completed our beautiful bunny!

Our illustrator has added several dandelions with blue leaves. Yes, we know leaves are green, but we're artists, and we're convinced that the laws of nature don’t apply to us!
You can create any background you want, Easter eggs, cute chicks - you can even make Easter greeting cards with the powerful and flexible Text Tool in Vectornator.
We hope you enjoyed our simple bunny drawing tutorial - share your cute rabbit drawing with us in the Community Art Gallery and on social media.
Jumpstart your ideas with Linearity Curve
Take your designs to the next level.
Happy Easter y'all!
Share this!
Marion Gerlinger
Marion is a contributing writer to the Linearity Blog.