:quality(75))
:quality(75))


:quality(75))

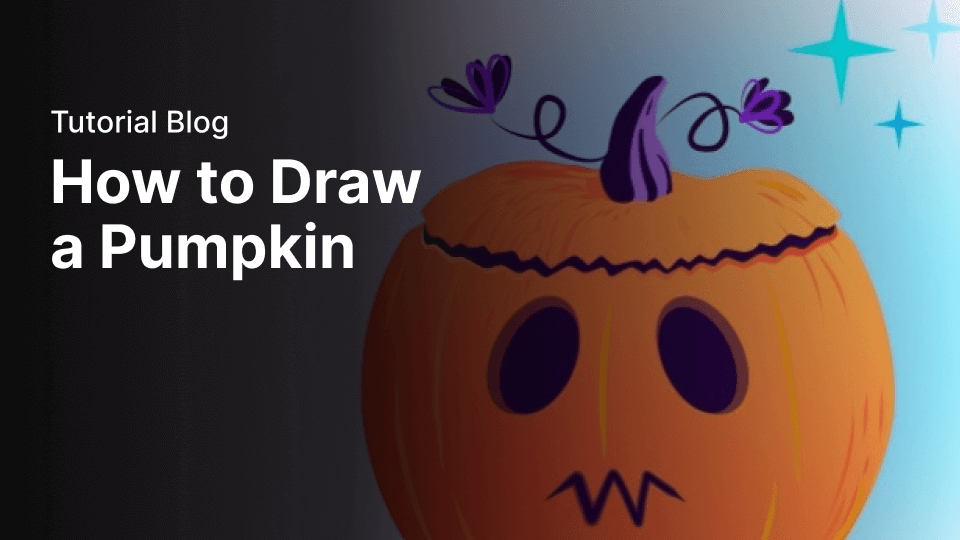
Instead of endangering your precious little creative fingers while carving a pumpkin with a dangerously sharp knife, why don't you just take the Apple Pencil and carve a cute and creepy pumpkin digitally in Vectornator with our step-by-step tutorial?
Jumpstart your ideas with Linearity Curve
Take your designs to the next level.
Let's start creating our amazing pumpkin drawing together!
• iPad
• Apple Pencil
• The latest version of Vectornator.
• A reference pencil sketch of a carved pumpkin
• How to import a reference sketch
• How to create layers and manage the opacity
• How to create and save a color palette
• How to draw and edit shapes
• How to create gradients and shadows
Import your reference picture to Vectornator

When you open the Vectornator app, you will land immediately on the Homescreen.
In the menu on the left, tap the Gallery option. In the top right corner of the screen, tap the + button. Here, you can create a new document and define its size via templates. If you press the + button again, you can then select the import option in the popover menu, and then choose your pumpkin reference image.
Lower the opacity of your sketch

Fit the imported sketch on the canvas to your liking by adjusting the displayed transform grid with your pen.
Next, we will reduce the opacity of the layer from the imported pencil sketch. The pencil sketch serves only as a guideline for our drawing. The Layers tab is the fourth tab from the left inside the Inspector Menu, or on the left-hand side of the screen if you’re on a mac.
Tap the layer to select it, and slide your finger along the opacity slider to reduce its opacity.
Now we can create our new drawing layer. Tap the + button with your pencil to create our new drawing layer and drag it below the pencil sketch layer in the layer hierarchy.
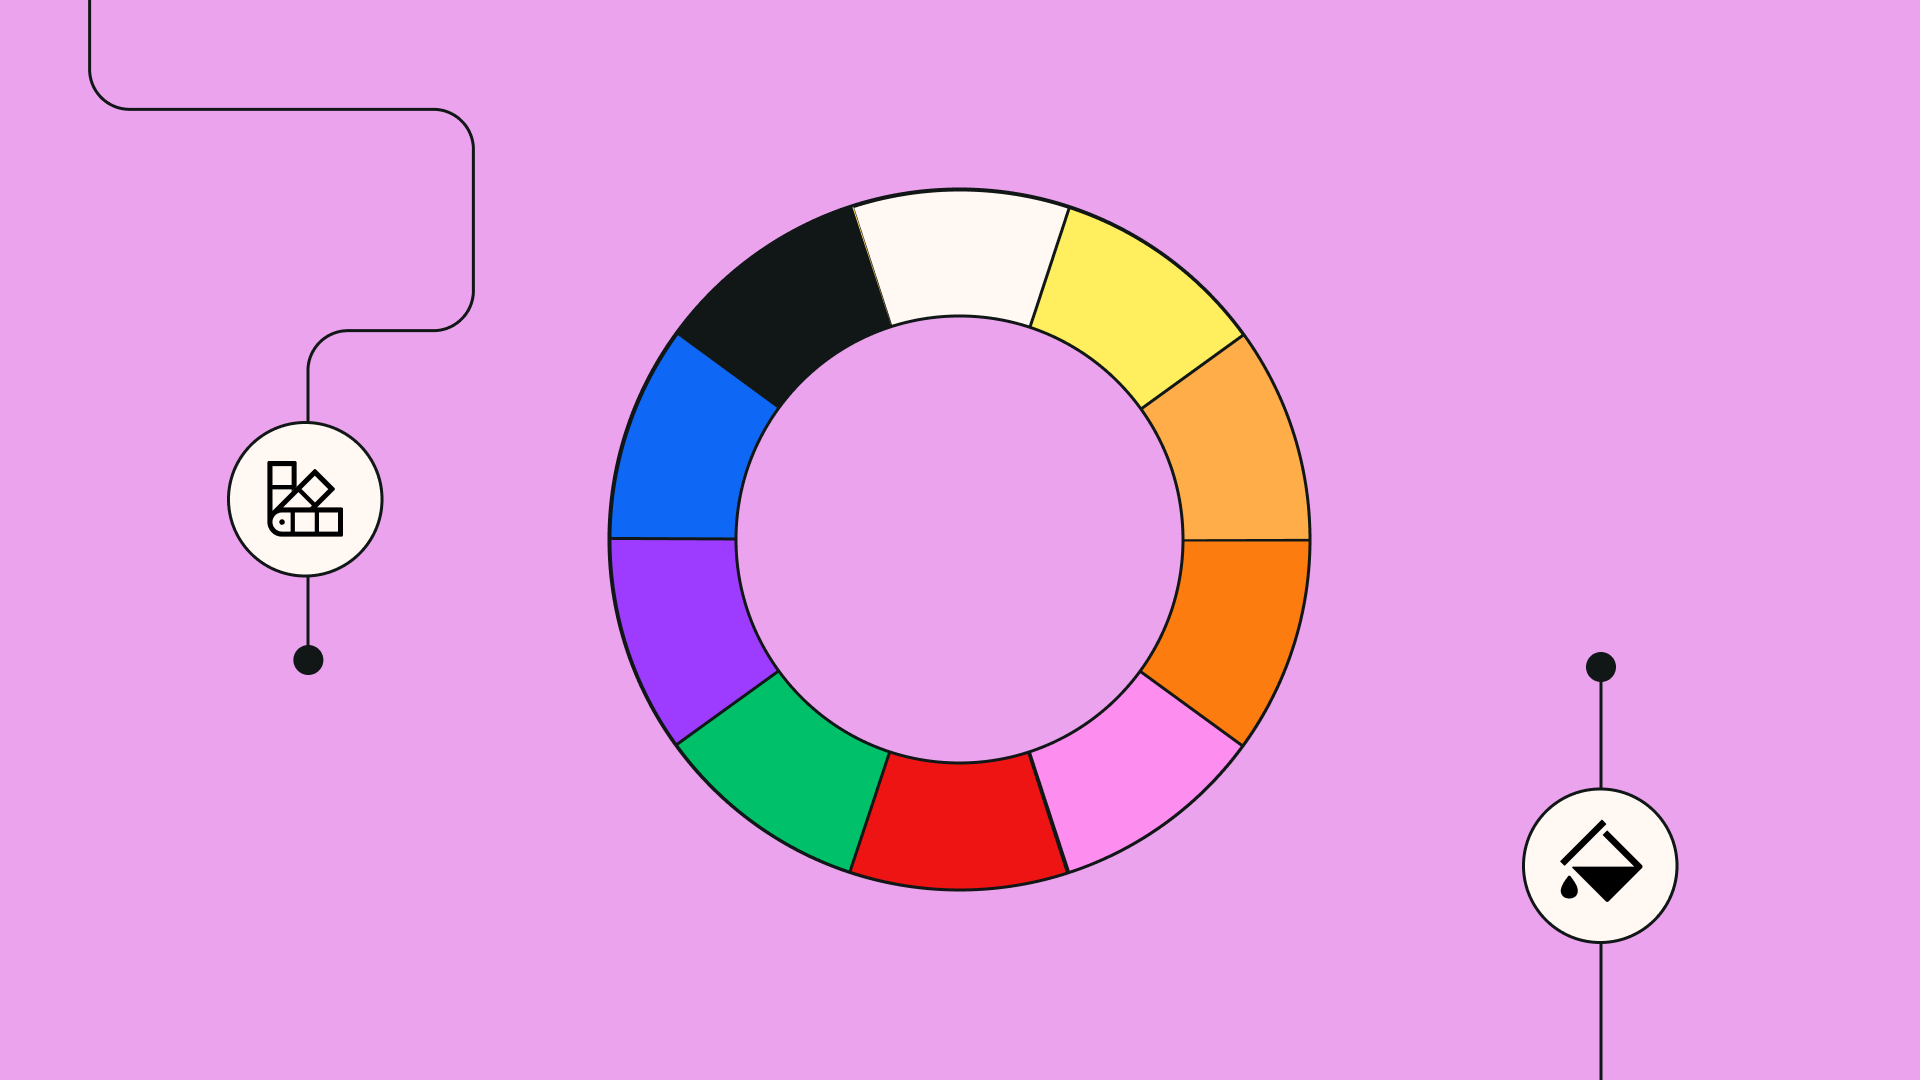
Create your color palette

In the next step, we’ll choose the color palette for our drawing.
I created a color palette with orange color for the pumpkin, purple color for the face shadows and pumpkin stalk, and an aqua blue color for the background of our perfect little pumpkin drawing. I defined each color with two saturation levels. When we are finished defining our colors, we can save them as a customizable color palette in Vectornator.
Master the Art of Brand Illustration
Step into the world of brand storytelling through our detailed workshop. Learn how to design illustrations that resonate and define brand identity.
Learn how to create and save your own unique color palette in this guide.
Define the direction of the light source

In the next step, we’ll define the direction of the light source in our scene, so that we can paint the correct corresponding shadows on our pumpkin art.
In our example, the light enters the scene from the upper right corner.
Draw the body of the pumpkin

Now, we'll create the basic body of our pumpkin with an oval shape that you can select inside the Shape Tool.
Go to the Shape Tool that is located inside the Toolbar on the left side of your Canvas. When you open the Shape Tool, tap on the oval shape option to select it.
When you have selected the oval shape, draw the shape with your pen on the canvas and adjust the aspect ratio with your pen.
Then, go to the Style Tab to the right of your screen and choose the orange color from your previously saved color palette as a fill option, then reduce the opacity of your orange color. (See step 2 in this tutorial).
Edit the body of the pumpkin

In the next step, we will activate the Node Tool.
This tool allows you to create, select, move, and edit Bèzier nodes. It is located within your Style Tab on the right side of your screen.
Now you can start to adjust the basic oval shape of your pumpkin and create the curved lines at the bottom and at the top of your Pumpkin.
Draw the face with the Shape Tool

Now we want to draw the face of our pumpkin.
Create a new layer in the Layers tab, which is located in the Inspector menu on the right side of the screen. Now, we are ready to draw the pumpkin’s face. Use the oval Shape Tool on your freshly created layer to draw the carved-out eye sockets.
Explore the Versatility of Illustration
Discover how Linearity's tools can elevate your illustration projects, whether for professional or personal use.
Now we can start to draw the zigzag line of the mouth. Select the Line Tool in the Shape menu to the left. You will now be able to create solid lines with your pen. In the Style menu on the right side of your screen, switch to stroke. Tap and hold and your line appears.
Draw the stalk with the Brush Tool

In the next step of our tutorial, we will use the Brush Tool to draw the stalk of our creepy pumpkin.
First, create a new layer in the Layers tab, then tap on the Brush tool in the Toolbar on the left. You can now adjust the brush settings in the Style Tab on the right side of your screen to your liking. Now you can start drawing the stalk of your pumpkin on a separate layer.
Add a gradient to the body

Increase the opacity of the oval shape that we created for the body of the pumpkin (see step 2).
Now we can add a gradient to the body with the Gradient Editor. First, select the shape, then adjust the filling properties of your selected shape in the Gradient Editor, which is located within the Style Tab. While setting the direction of the gradient, set it accordingly to your previously defined light source (see Step 4 of this tutorial).
Implement the shadow drop

Now you can add shadow to the body of your pumpkin body by selecting the layer of the body and adjusting the Shadow Controls at the bottom of the Style tool.
Please be careful to adjust the shadow angle in accordance with your previously defined light source.
You can now draw and place the blueish tiny little shiny stars with the Shape Tool. Adjust the filling color and the Fill Gradient in the Style Tab.
More shading and additional details

To create a more realistic image, we can now darken the left side and the bottom side of the pumpkin body a bit more with the Gradient Editor.
Add more details with the Brush Tool afterward.
Finish off background details with the Gradient Tool
If you want, you can add a radial gradient to the background of your image.
Create a rectangular shape of the same size as the background on a separate layer, and move the layer to the bottom of your layer stack. Select the shape and create a radial gradient with the Gradient Editor. Set the center of the gradient to aqua blue, the color that will be available to you from your previously saved color palette.
Our final result will be a perfectly creepy pumpkin!

We're done! You made it successfully to the end of our creepy pumpkin tutorial, YAY!
We hope that you had a good time being creative with us, and don't forget to share your creepy pumpkin drawings with us on social media! We are waiting with anticipation and sheer horror to see what you are able to create with Vectornator!
Jumpstart your ideas with Linearity Curve
Take your designs to the next level.

Share this!
Marion Gerlinger
Marion is a contributing writer to the Linearity Blog.