:quality(75))
:quality(75))


:quality(75))
Before photography was invented, flower drawings were one of the only ways to showcase the form, color, and details of botanical life.
It's no surprise that this tradition is still practiced today, as many artists love to showcase the beauty of flowers through their chosen artform.
In today's tutorial, we are joined by illustrator and designer, Nastya Kuliábina who loves teaching beginner artists how to tap into their creativity.

Her portfolio showcases her talent and fondness for creating beautiful flower illustrations, but she’s not keeping her skills to herself!
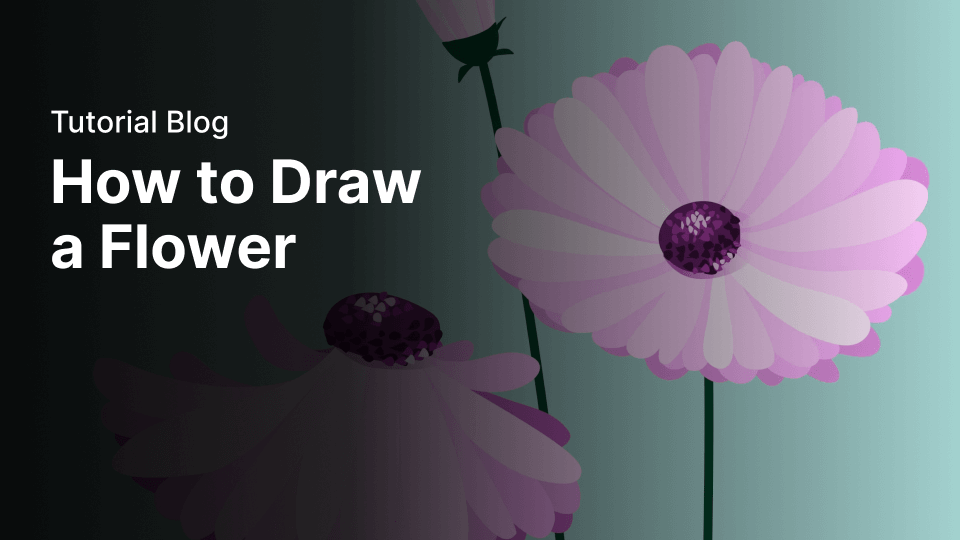
Today, she's sharing her tips with us on how to draw a flower step by step. We documented everything she did both in and out of Vectornator in order to create a simple flower from three different angles.
Her instructive video and the flower drawing tutorial in this article will show you how to achieve perfect proportions and realistic details in 23 easy steps. That might sound like a lot, but we wanted to make sure you didn’t miss a thing! If you’re ready to get started, then read on, and don’t forget to watch the video at the end for a more detailed breakdown of her process.
Jumpstart your ideas with Linearity Curve
Take your designs to the next level.
Learn how to draw a flower
• Pencil (Staedtler Mars Micro 0.5mm or equivalent), eraser, and colored pencils if you choose to color in your sketch
• Fineliner Pen (0.3mm)
• iPad
• Apple Pencil
• The latest version of Vectornator
• How to sketch from real-life objects
• How to prep your canvas and background
• How to add and manage layers
• How to use the Pen, Pencil, and Brush Tools
• How to use the Color Picker and Gradient Editor
Do research and get inspired

Inspiration is all around us, but nothing’s quite as striking as using real-life objects when you draw.
Nastya chose a real flower for this tutorial. She picked a beautiful Gerbera Germini, but you can choose any type of flower, from a hibiscus flower to a lotus flower, to tulips, daffodils, or peonies. All are equally beautiful, and all require the same techniques.
This step-by-step guide starts off like many of our tutorials—you should start by researching your subject and getting inspiration for your piece. Nastya does this by moving her flower around in order to examine the shadows, angles, and position of each component. Speaking of which . . .
Identify the basic shapes that form your flower

That's the next step! Break down the flower into basic shapes.
For example, when viewing the flower almost straight on, Nastya starts with a cross on where she marks the center of the flower, and then adds the diagonals that indicate the position of the petals. And finally, she draws a circle that shows how long the petals will be.
Alternatively, you can start with a circle which is then divided into 16 parts to achieve the same result. Let us know in the comment section below which technique you prefer.
After you finish these doodles, it's time to move on to Step 3.
Build on your simple shapes

The next step is to add details; do this by refining the petal shapes and defining how they overlap each other.
Nastya ends up adding four layers of petals which will become very evident during the vectorizing process. At this stage, you can refine the shape even further by adding smaller details like textured centers, or even petal veins.
Unlock the Potential of Vector Drawing
Discover why drawing with vectors is a game-changer in design. Our tutorial explains the advantages and techniques of vector graphics, enhancing your creative process.
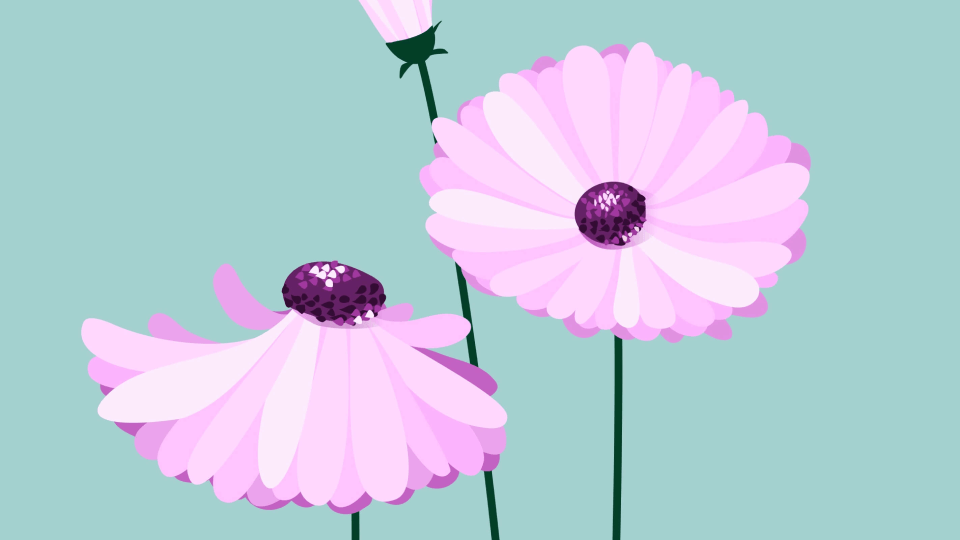
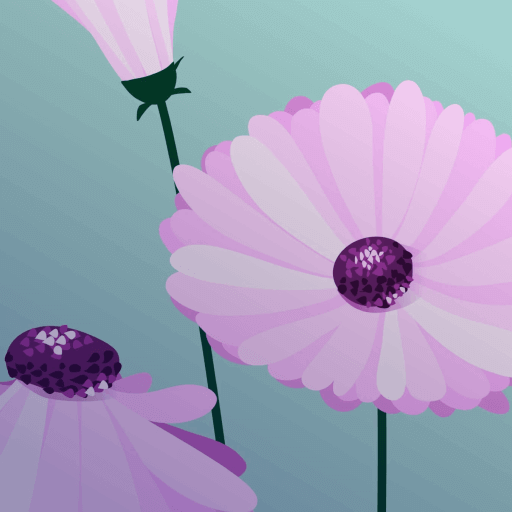
Nastya created three sketches from tree different angles by following this same process. All three of the flowers create a beautiful composition together, but they also help with understanding deeper concepts like manipulation of form and changes in light and shadow.
Take a photo of your sketch and import into Vectornator

Once you’ve sketched out your flowers, make a photo of your sketchbook and import it into Vectornator. You can do this by dragging and dropping from the Gallery Tab.
Or even better, you can import this image directly into your canvas in seconds by using our new Camera Scan function.
Make this layer transparent

It’s good practice to lower the opacity of your sketch to make it easier for you to draw the vector shapes on top. Nastya brings it to about 30% in her document.
Create a background layer

Before touching anything else, lock the sketch layer, because you’re not going to be moving it anymore. This will ensure that you won’t change the position of your sketch while vectorizing.
Next, create a new layer for your background, then move it under the sketch layer.
Color your background

Let’s give our canvas some color!
Create a rectangle with the Shape Tool that covers the entire canvas. Color it baby blue (#A5D0D0) and lock it. You’ll thank us later. Plus, the color is going to make so much sense once the full artwork is done.
Create a new layer
The first step before putting Pencil (Tool) to paper is to create a brand new layer.
Draw the center of the flower

Pick up the Pencil Tool, set it up to 100% smoothness, and change the Fill color to #652265.
Make sure your stroke is turned off. Then, simply follow the contours of your sketch to create the center of your flower.
Adjust the shape

The beauty of vector art is that nothing needs to be perfect on the first try.
If you're not happy with what you've drawn, just pick up the Node Tool and adjust your shape to better match your sketch underneath. Drag on the handles or move the position of your nodes entirely.
Add more detail

With the Brush Tool, create some droplet shapes by quickly flicking your Pencil on the canvas. The brush profile Nastya uses has an eye shape. To get a similar shape, you can select the first brush style from our presets found in the Brush Selection Pane.
Alternatively, you can go to the brush editor and set Roundness to 100%, Angle to 0 degrees, Minimum Width to 0. So your contour will look like a perfect hill.
:quality(75))
:quality(75))
Paint a few strokes with the color #330D33. Then change your color to a lighter pink (#A138A0) and finish off with white (#FFFFFF) to give it more depth.
Create a new layer
First, lock your current layer, and then create a new one where the first row of petals will take shape.
Draw the first layer of flower petals

Keeping with the theme and the inspiration, select a light pink color for the fill (#FCEBFC), turn off the stroke toggle, and pick up the Pencil Tool.
From there, draw the petals by simply following the contours of your sketch underneath.
Give your petals more depth

With the Selection Tool, pick some of your petals and change their color to darker (#FFC3FF) or lighter (#FCEBFC) pink. This will give your flower more dimension.
And repeat
You know the drill by now. Lock your current layer. Create a new one. Move it under the previous layer.
Create a second layer of petals

With the Pencil Tool create more petals with the darker shade of pink (#FFC3FF). Then again, recolor some petals here and there with different hues - #FCB5FC and #FFD7FF.
Create one more layer of petals

Use the same technique here again—lock the current layer, create a new one, and place it under the previous). Use the darker pink shade - #FCB5FC.
Ready to learn more about draw design?
Visit our Academy for free graphic design courses.
With each layer, make sure that the new row of petals peeks through where there’s any negative space in your flower design. Make them visible by ever so slightly elongating your petals more and more each time you create a new row.
Draw the last layer of petals

Last one! This time, pick the darkest shade of pink from the petal palette (#C462C4) and draw the petals in such a way that you can barely see their tips.
Draw the shadow

This may be a simple flower illustration, but it's definitely not a flat one.
To make it more realistic, Nastya adds the small shadow that is cast by the center of the flower onto the petals. The devil is in the details!
Make sure you create and work in the layer below the flower disc. Then draw an oval shadow shape with the Pen Tool.
Adjust the shape

As always, adjust any shape with the Node Tool. Drag the handles of the nodes until the shape resembles a shadow.
Give It a gradient

The color is off right now, so let's fix that. Nastya chose a linear gradient here (second gradient option from the Gradient Editor in the Style Tab).
She chose #662265 for the color on the left and #EBA4EB for the right. Then, she switched the color around by pulling on the gradient handle and moving it 180 degrees. And finally, she selected the left color and made it transparent by taking the A channel to 100.
Quite a mouthful. But watch the video for an easy-to-understand play-by-play.
Create a new layer
Time for the last element. So create a new layer on top of the background layer.
Draw the stem

A last simple step. With the Pencil Tool, draw a line that goes from the middle of your flower downwards. Make the stroke 4.5 points and color it green (#023E28).

With this last step, we are done!
Nastya went on to vectorize the remaining two flowers using the exact same techniques. We encourage you to do the same so you can practice creating shapes at various angles and studying shadows in different settings.
If you want to add some leaves to your flowers, then check out this step-by-step tutorial created by Iranian independent illustrator, Soodabeh Damavandi. And if you want to give this illustration a try yourself, download Vectornator and get started!
We hope you enjoyed this quick drawing lesson with us. We look forward to seeing your own creations of your favorite flowers.
Jumpstart your ideas with Linearity Curve
Take your designs to the next level.
Artist credit: Nastya Kuliábina
Share this!
Lavinia Aparaschivei
Lavinia is a contributing writer to the Linearity Blog.