:quality(75))
:quality(75))


:quality(75))
Don't worry if staring at a blank canvas makes you feel like a fish out of water.
At Vectornator, we believe anyone can make great illustrations, no matter their skill level. All you need is creative curiosity, a passion for drawing, and plenty of practice.
Learn how to draw a fish
So let's dive in, shall we?
• iPad
• Apple Pencil
• Latest version of Vectornator
• How to prepare a canvas
• How to import a sketch
• How to use the Pen Tool
• How to use the Brush Tool
• How to make a gradient
• How to add and adjust Layers
• How to use the Shape Tool
Jumpstart your ideas with Linearity Curve
Take your designs to the next level.
Do research and get inspired
There are plenty of fish in the sea, so how can we possibly choose which one to draw?
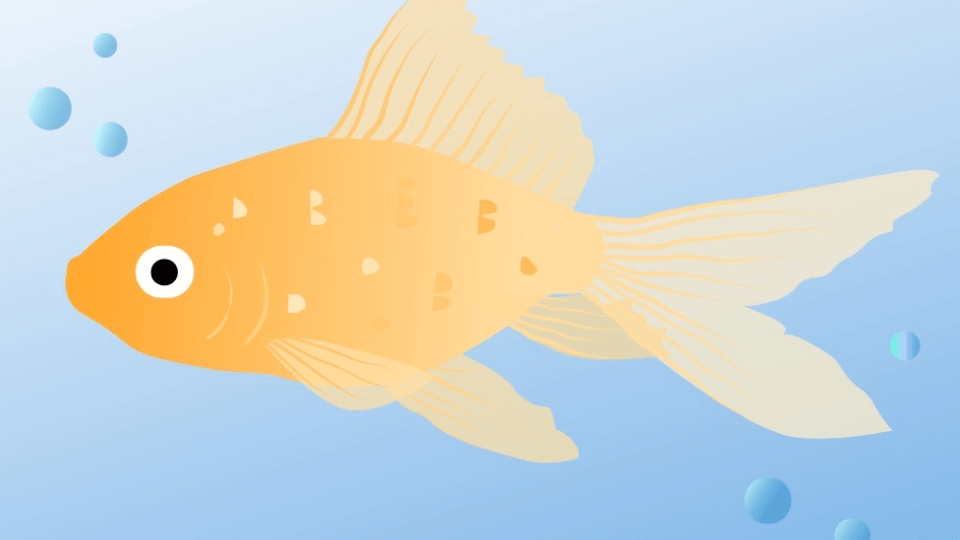
In this tutorial, we decided on the classic goldfish, but you can choose whichever finned friend you like. From the fresh water catfish to the tropical clownfish, the same basic drawing steps apply to most species of fish.
Before we begin drawing, take some time to gather some reference photos of different types of fish.
Start sketching

First, let’s test the water by sketching a few different fish from your reference photos.
You can use pencil or ink on paper, or create a digital sketch using a drawing app like Procreate.
Start sketching the basic shapes, wavy lines, and curves of each fish species. Which one do you enjoy drawing the most? Or which sea creature simply brings you joy to look at? Remember, this is supposed to be fun, so choose a fish that’s fun to draw.
Draw the basic outline

Have you decided on which fish you want to draw?
If so, it’s time to create the basic outline of your illustration.
It’s easier to start with a reference photo that shows the side profile of the fish, rather than an awkward angle. Next, either trace the basic lines of the image, or freehand draw them using a photo as a reference.
Get creative with our ready-to-use templates.
Linearity Curve offers templates for every social media platform and various use case templates for posters, business cards, slides, app store screenshots, and more.
It’s not necessary to copy the image exactly. Just make sure your sketch includes the basic body outline, as well as any fins and gills. Don’t forget to sketch the eyes and the mouth, but don’t worry about the fish scales for now.
Add your sketch to a new canvas

When you open up the Vectornator app, you’ll be greeted with the Gallery.
This is where you can tap or click on the plus sign to create a new canvas.
You can choose from our range of canvas templates or create your own custom size. Since we are working in vectors, the size of the canvas doesn’t matter too much. Your finished illustration can be resized to fit any canvas later.
Next, it’s time to import your fish sketch into Vectornator.
If you made a sketch in another drawing app, like Procreate, you can import it from your device into Vectornator. You can do so through the Gallery, or by dragging and dropping it from your camera roll into Vectornator in Split Screen mode.
Alternatively, if you’ve drawn your fish sketch on paper, you can use the Camera Import option in Vectornator to take a photo of it and import it into your canvas automatically.
Draw the fish’s body with the Pen Tool

Select the Pen Tool and make sure the Stroke is off.
Switch the Fill toggle on and choose a light orange/peach as the base color.
Trace the contours of the fish’s body, including its head and lips. Exclude the fins and tail—these come later!
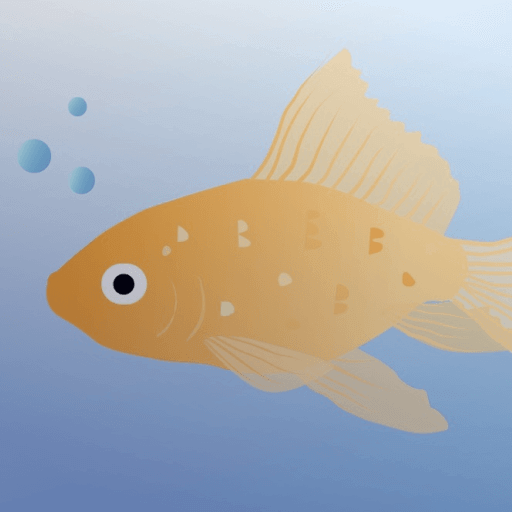
If you chose to illustrate a goldfish like us, you should now have an almond-like shape.
Create a gradient

A fish’s body isn’t one flat color.
As fish glide through the water, the light hits their scales and creates a multi-toned, iridescent look. The best way to achieve this in your illustration is to apply a gradient. This simple step will also give your artwork depth and create a three-dimensional look.
To create a gradient, click on the body shape and select the Fill tab on the right. At the very top of the Popover you can change the shape’s fill by switching between solid, Linear Gradient, and Radial Gradient. In this case, select Linear Gradient.
Now it's time to choose your colors. We recommend selecting a mid-tone hue and then choosing a darker shade on the right, towards the fish’s head, and lighter shade towards the tail on the right.
:quality(75))
:quality(75))
If you’re not sure how to create a smooth color gradient using the color picker, here’s a tip:
Click the RGB button to switch to the HSB (hue, saturation, brightness) color controls. Make sure that the S and B scales are set to 100 to have a neutral color without any stark whites or dark shades. Then, on the first H scale, choose a natural color. For the right hand-side color set the S scale to 60, and for the left hand-side color set B scale to 50. This makes the color transition a lot smoother.
Draw the fish fins and tail

Now it’s time to add the fins and tail!
Create a new layer and choose a slightly brighter color than the original color of the fish's body. Set this new hue at 30% opacity.
Use the Pen Tool to create closed shapes for each fin, as well two separate closed shapes for the tail. For the edge of the fins, try to make a rounded zig-zag line instead of a smooth line. This will create the delicate and fluid look of real fish fins.
Don’t worry about your fin and tail shapes overlapping with the body. We’ll fix this later.
Draw fin rays using the Brush Tool

Fin rays are the bony, dermal rods that form the skeleton of the fish fins.
To draw them, select the Brush Tool and choose a tapered brush that is thick and round on one side and thinner on the other. Set the smoothing to 75% so that it’s easier to create relatively straight lines.
Draw thin lines that start at the beginning of the fin (beside the body) and end near the tip, but leave a gap. The first and last lines should be next to the external fin contour line to give it structure.
The color of the fin rays should be picked from the body color that’s closest to the beginning of the line. For example, when drawing the dorsal fin, you will need to change the color around three times due to the gradient color change.
Add the fun details
Alright. Now that we have the basic shapes down, it’s time to create some additional details that will give your fish some character.
In this tutorial, we’ll add some basic features, but you can use your imagination to change things up a little.
The eyes

If you set the body shape to 50% opacity, you’ll be able to see your sketch underneath.
In this case, the eye comprises two circular shapes—one on top of the other.
Select the Shape Tool and choose the circle. Create a white circle for the larger part of the eye, then create a smaller black circle for the center (this is the pupil). You can play around with the size of the pupil to add expression to your fish character. A wider pupil might make your fish look cute and cheerful, while a smaller one could make your fish look a bit shocked or even a bit silly.
The gills

Use the Brush Tool in a light color to draw the fish gills.
In this tutorial, they are represented as two curved parallel lines somewhere between its eye and pectoral fin.
We recommend choosing a tapered brush that has a thick middle and thin ends.
The scales

Next, create some gestural scales to add some glistening texture to your fish’s body.
Select the Pen Tool and start drawing some small semicircle shapes. Since the fish’s body has a gradient, it’s a good idea to fill the scales in contrasting colors. For example, the darkest scales will appear on the side where the fish body is the palest, and the lightest scales should be positioned on the other side, towards the head (where the body color is more intense). In the middle, color the scales in a mid-tone that compliments the other scales.
Ready to create brand assets that pack a punch?
Visit our Academy for free marketing design courses.
Think of the scales as beauty marks—they should be scattered around the fish’s body to add some visual interest. There is no right or wrong way to position the scales. Enjoy experimenting with their position.
Additional features

For this fish illustration, we kept the basic structure pretty simple. This lets the little details in the drawing really stand out!
However, feel free to add more features to your design. Perhaps your fish would look great with an expressive mouth, or maybe it could do with some colorful patterns.
You can also get creative with the fish’s environment. Here, we added some bubbles using the Shape Tool. Why not add some seaweed, more fish, or an entire coral reef?
Export!
.jpeg)
Once you’re proud of your fintastic fish illustration, it's time to set that baby free to swim around in the social media ocean.
Hit the Export button on the top left hand-side of the screen. You can choose from multiple formats, and you can even export a Time-Lapse video of your project. This allows you to show off exactly how you created your fish drawing.
Find out more about our Export feature here.
Yay! You did it. Now that you’re a pro, you can challenge yourself to draw different fish species in complex angles. Or who knows, maybe one day you could even render a vector hammer shark.
Don’t forget to share your fish drawing on social media with us. We love to see what you’re creating with Vectornator!
And keep an eye on our Blog for more drawing tutorials.
Jumpstart your ideas with Linearity Curve
Take your designs to the next level.
Share this!
Adí Aviram
Adí is an SEO developer working for Linearity in Berlin. Her hobbies include drawing comics, yoga, swimming, infinite scrolling, and birdwatching.