:quality(75))
:quality(75))


:quality(75))


This article will take you on a journey explaining Illustrator's different cropping options. We’ll also explain the difference between cropping a raster (pixel-based) image and vector graphics.
Cropping in Adobe Illustrator seems to be a bit of a confusing topic.
We’re not surprised since veteran Adobe users know the cropping feature was recently added to the Adobe Illustrator features roaster.
When working with raster graphics, designers switched between Adobe Illustrator and Photoshop to crop images. But not anymore.
This article will take you on a journey explaining Illustrator's different cropping options. We’ll also explain the difference between cropping a raster (pixel-based) image and a vector image.
And ultimately, we will showcase how other design software apps, like Linearity Curve, compare with Adobe Illustrator in providing an enjoyable cropping workflow. Are you feeling confused, or do you feel like you could’ve discovered how to crop without reading an entire software manual about it? Let’s find out in this step-by-step tutorial, shall we?
Jumpstart your ideas with Linearity Curve
Take your designs to the next level.
Understanding what you want to achieve
When cropping, the primary goal is to remove unwanted areas from an image. Usually, you’d want to crop to improve framing, isolate the subject matter from its background, fit graphics and textures to specific shapes, or change the aspect ratio of the original file. To name some of the most common reasons for wanting to crop an image.
There are a couple of ways to get around it. Do you want to crop a raster image or a vector image? Do you want to show a part of the image without cutting anything (aka non-destructive cropping) or remove the trimmed parts forever (destructive cropping)?
You can use various methods depending on your needs. We’ll explain every image crop feature below.
The difference between cropping a raster image and a vector shape
Okay, one last thing before we get to the point. Cropping a raster image is not the same process as cropping a vector shape. Remember the Photoshop / Illustrator combo we mentioned before - using Photoshop to crop raster images and Illustrator to crop vector-based images? Pretty impractical if you ask us. But since Creative Cloud, Illustrator offers a simple crop tool to crop raster images.
You must remember that vectors offer much more freedom when cropped, as they remain editable. In contrast, raster images are cropped into a new shape that cannot be altered unless you crop again.
The many ways to crop an image
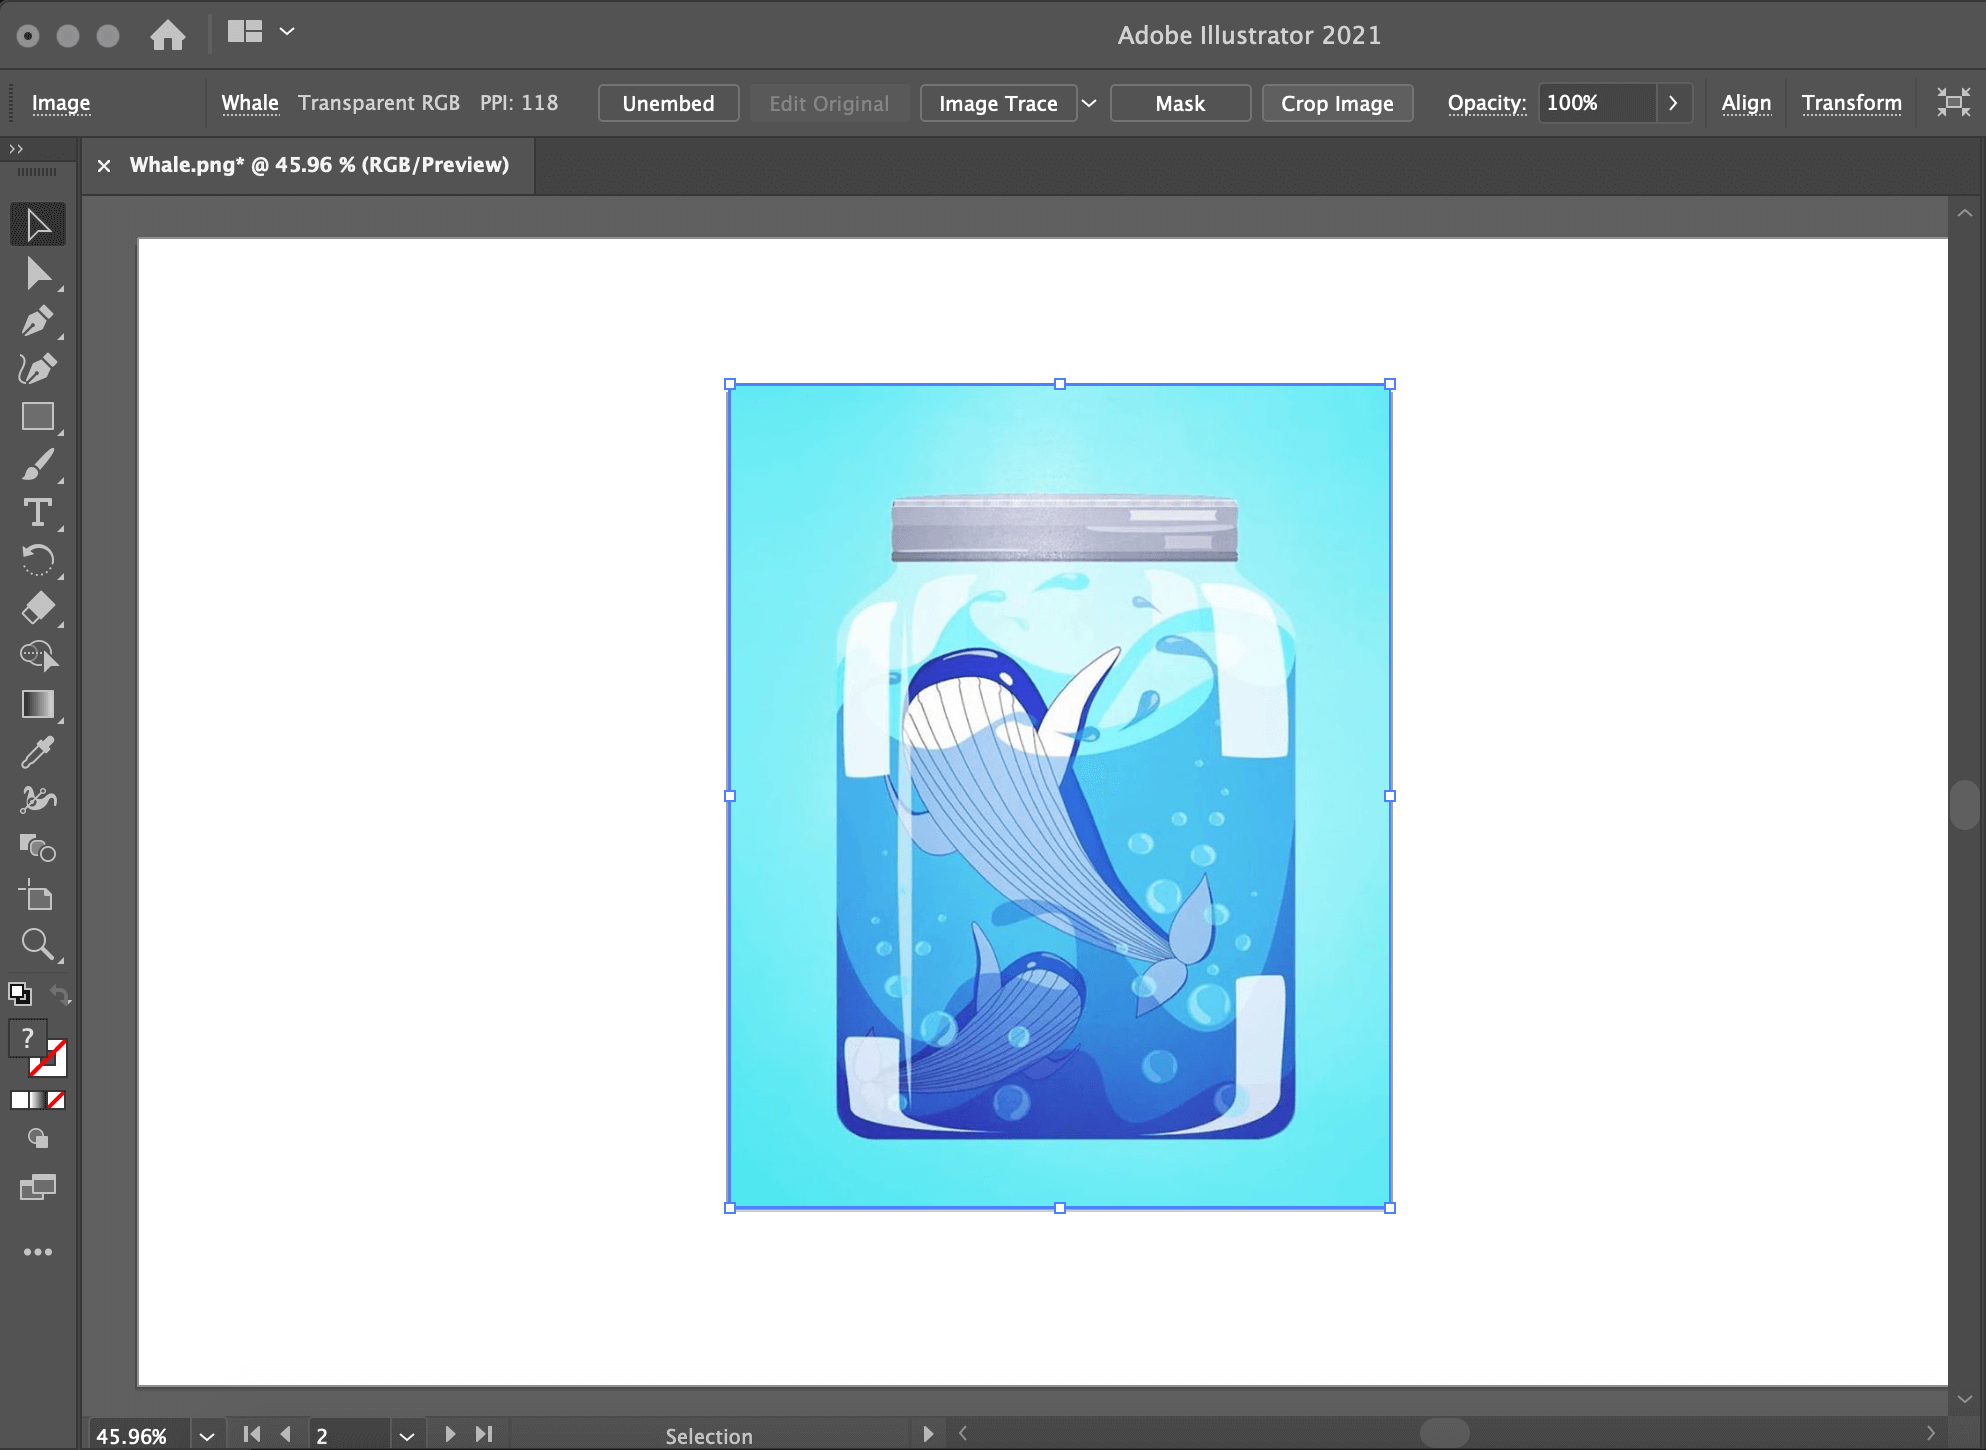
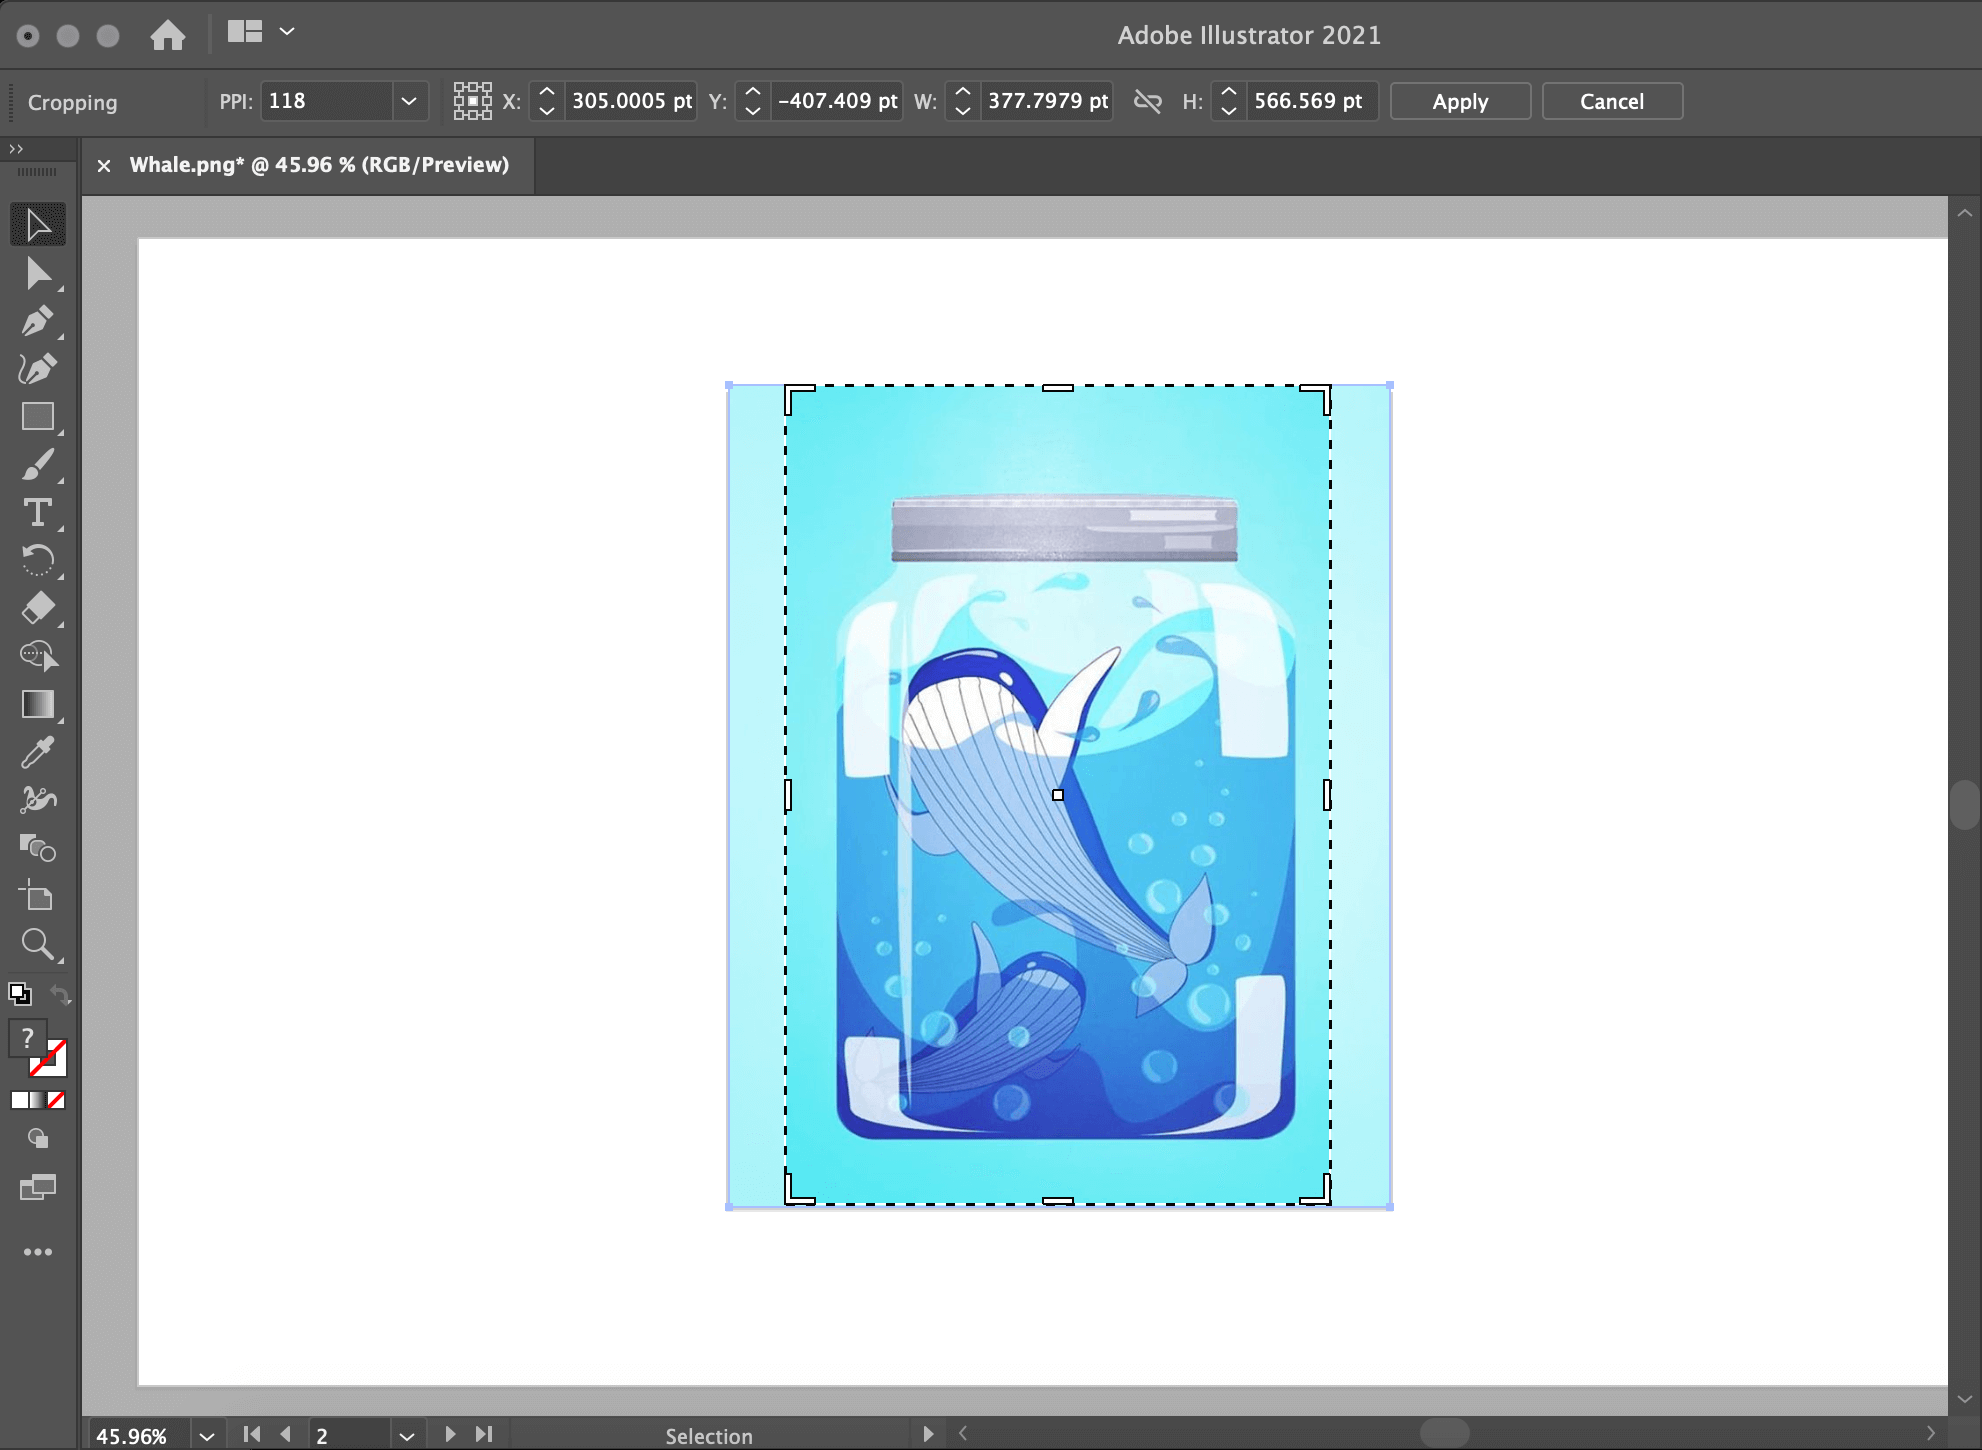
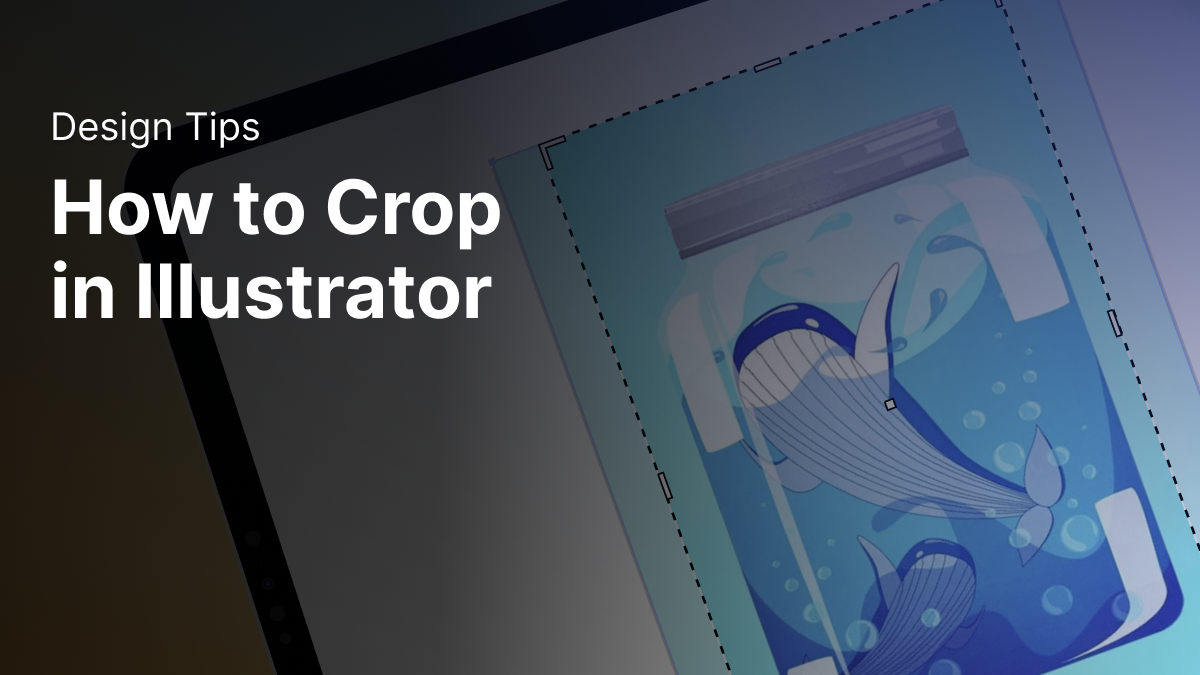
Cropping an image in Illustrator CC by using the crop button
As the title suggests, this is the easiest crop option for an image in Adobe Illustrator CC. But this cropping option is only available for Illustrator CC users.
Select your image with the Selection Tool. Then click the Crop Image button - comparable to a mask button - on the upper toolbar. Drag the corners/anchors of the rectangular shape of the bounding box to crop your image precisely how you want (as long as you wish to crop only a rectangle).
The Crop Image option doesn’t have a Keyboard Shortcut, but you can make one yourself. You can crop both linked images and embedded images using this method. To embed an image file in Adobe Illustrator, you need to right-click on it, then press Embed.
It is not as easy as the name suggests. If you want to crop a vector in a simple shape, you can also use their vector Crop tool, which is hidden in the Pathfinder control panel.
First, create your shape by using the Rectangle or Ellipse Tool. Select both objects while ensuring that the object you want to crop is underneath. Then go to Window -> Pathfinder and click Crop. The parts outside of the shape will be cropped destructively.
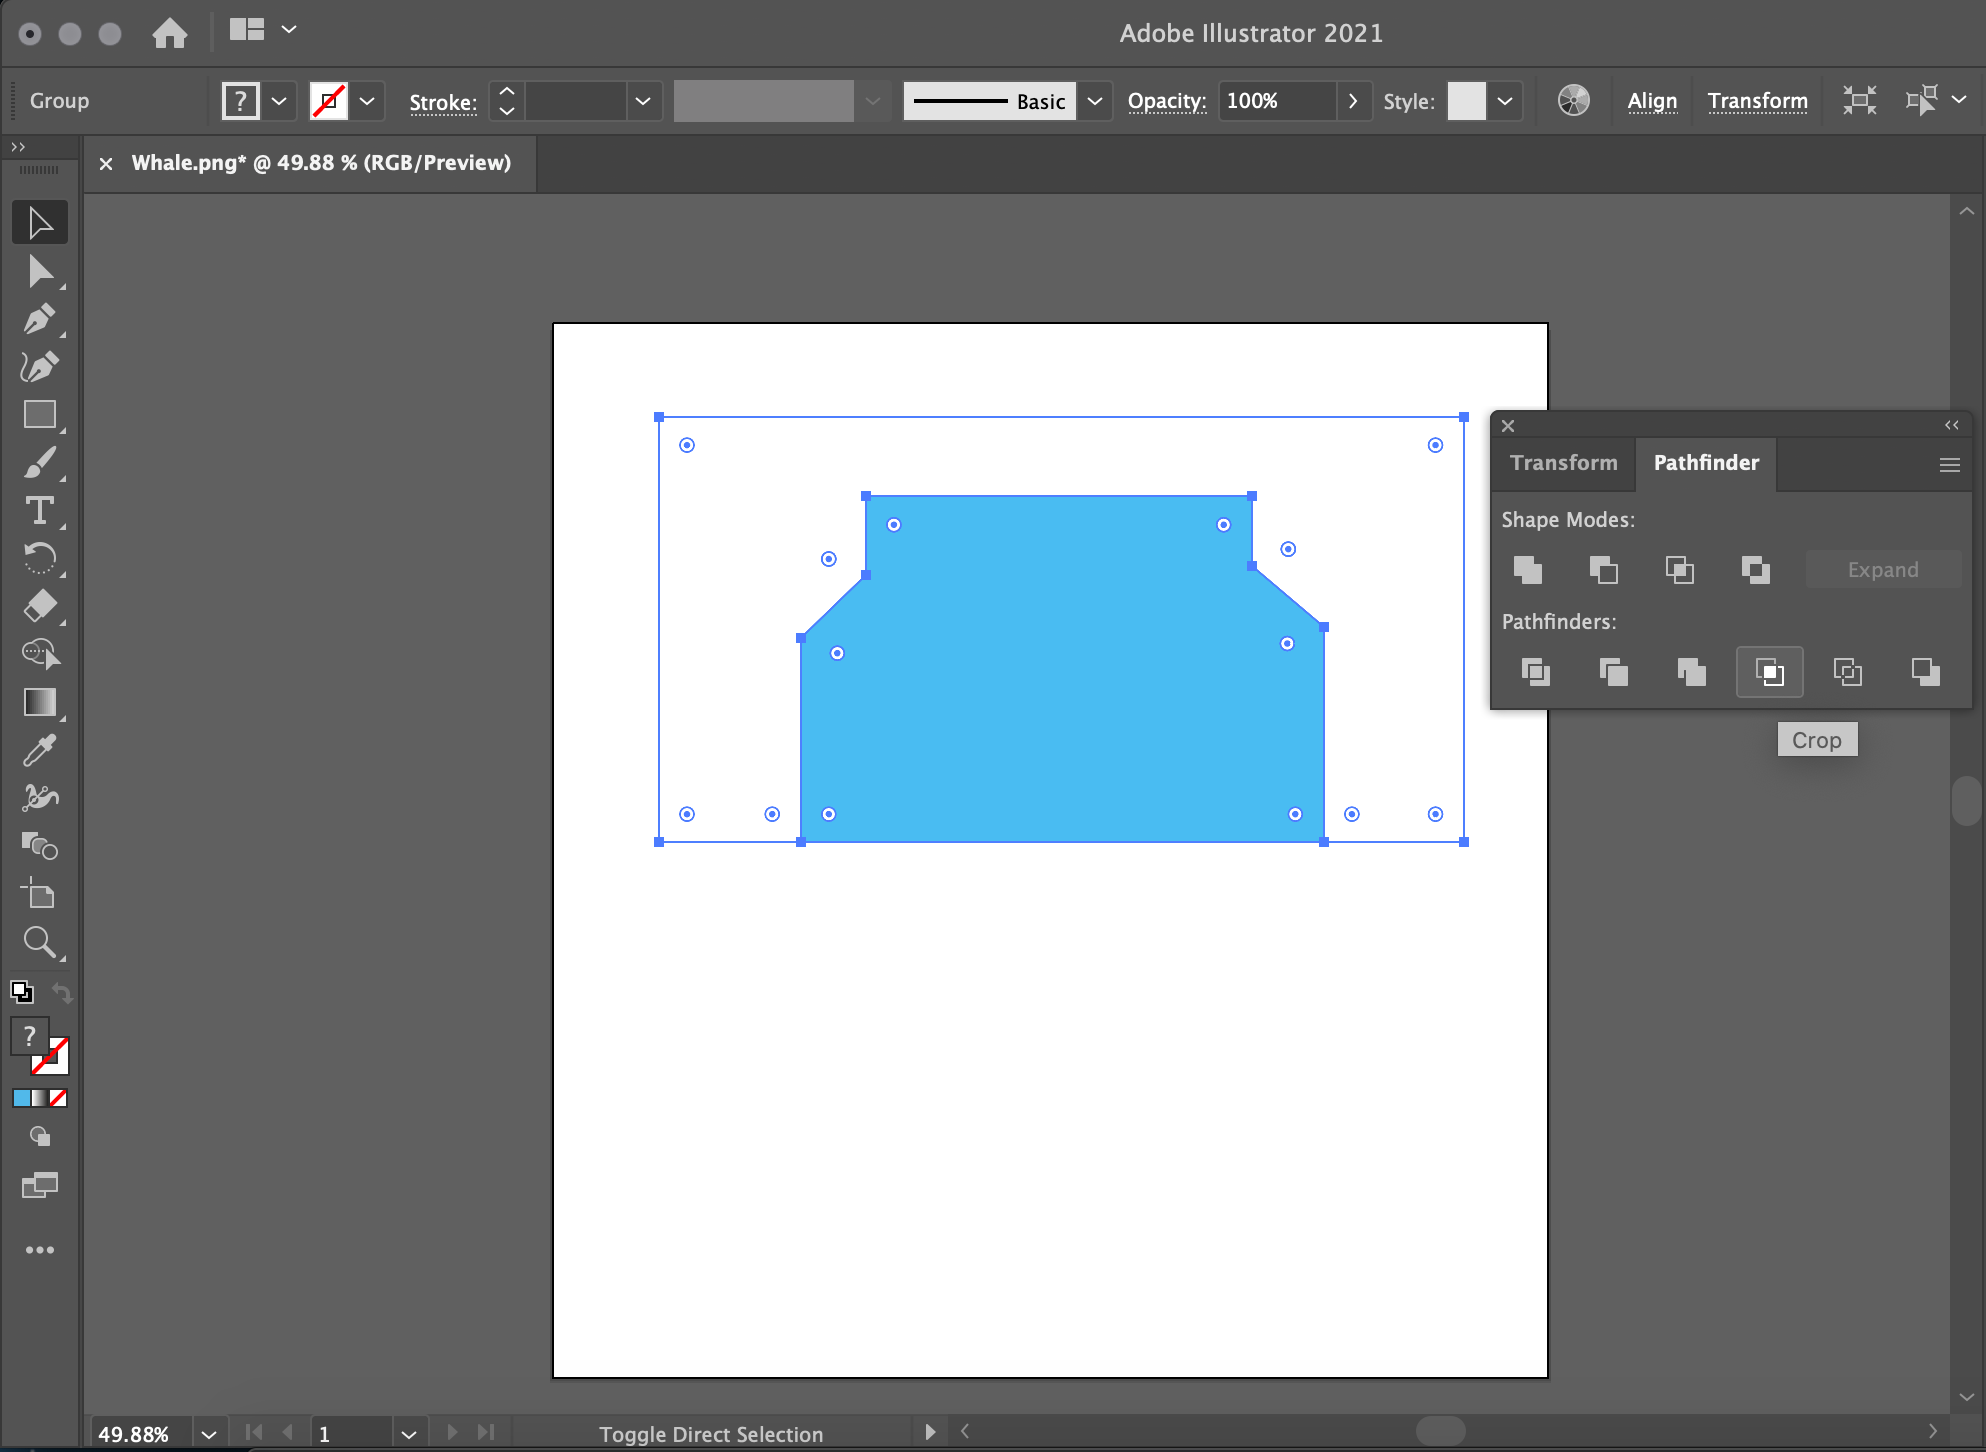
It's similar to a clipping mask (which we'll explain below). The only difference is that this method crops destructively, while a mask will not. That's why we recommend using masks in all of your cropping ventures.
Ready to create brand assets that pack a punch?
Visit our Academy for free marketing design courses.
Cropping in Adobe Illustrator using a Clipping Mask
When cropping, masks will be your best friend, so it's worth paying extra attention here.
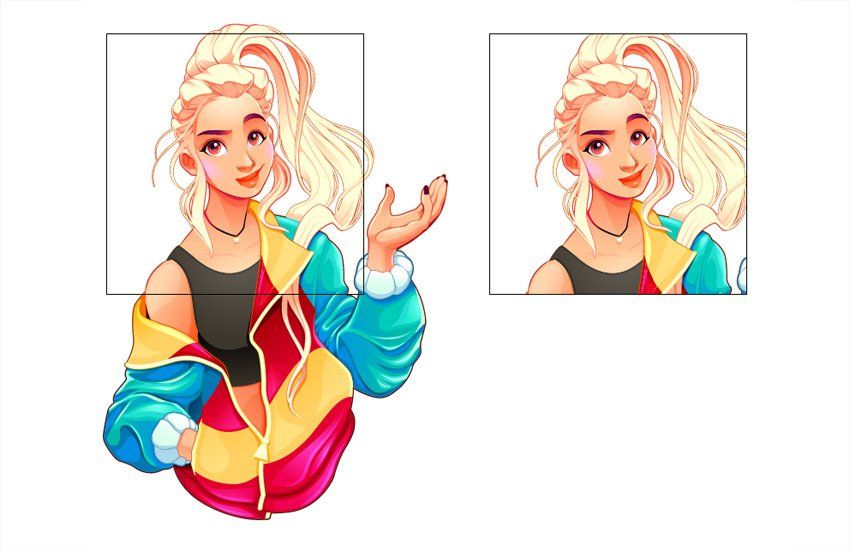
The best aspect of a clipping mask is that your images can be cropped into any custom shapes you want. That’s right - anything from circles, diamonds, hexagons, or the shape of a logo. A clipping mask can take any shape or form.
First, you must create the shape you want to use as a cropping shape. This is also known as a clipping path. If you already have the shape, add it to your canvas on top of the object you want to crop.
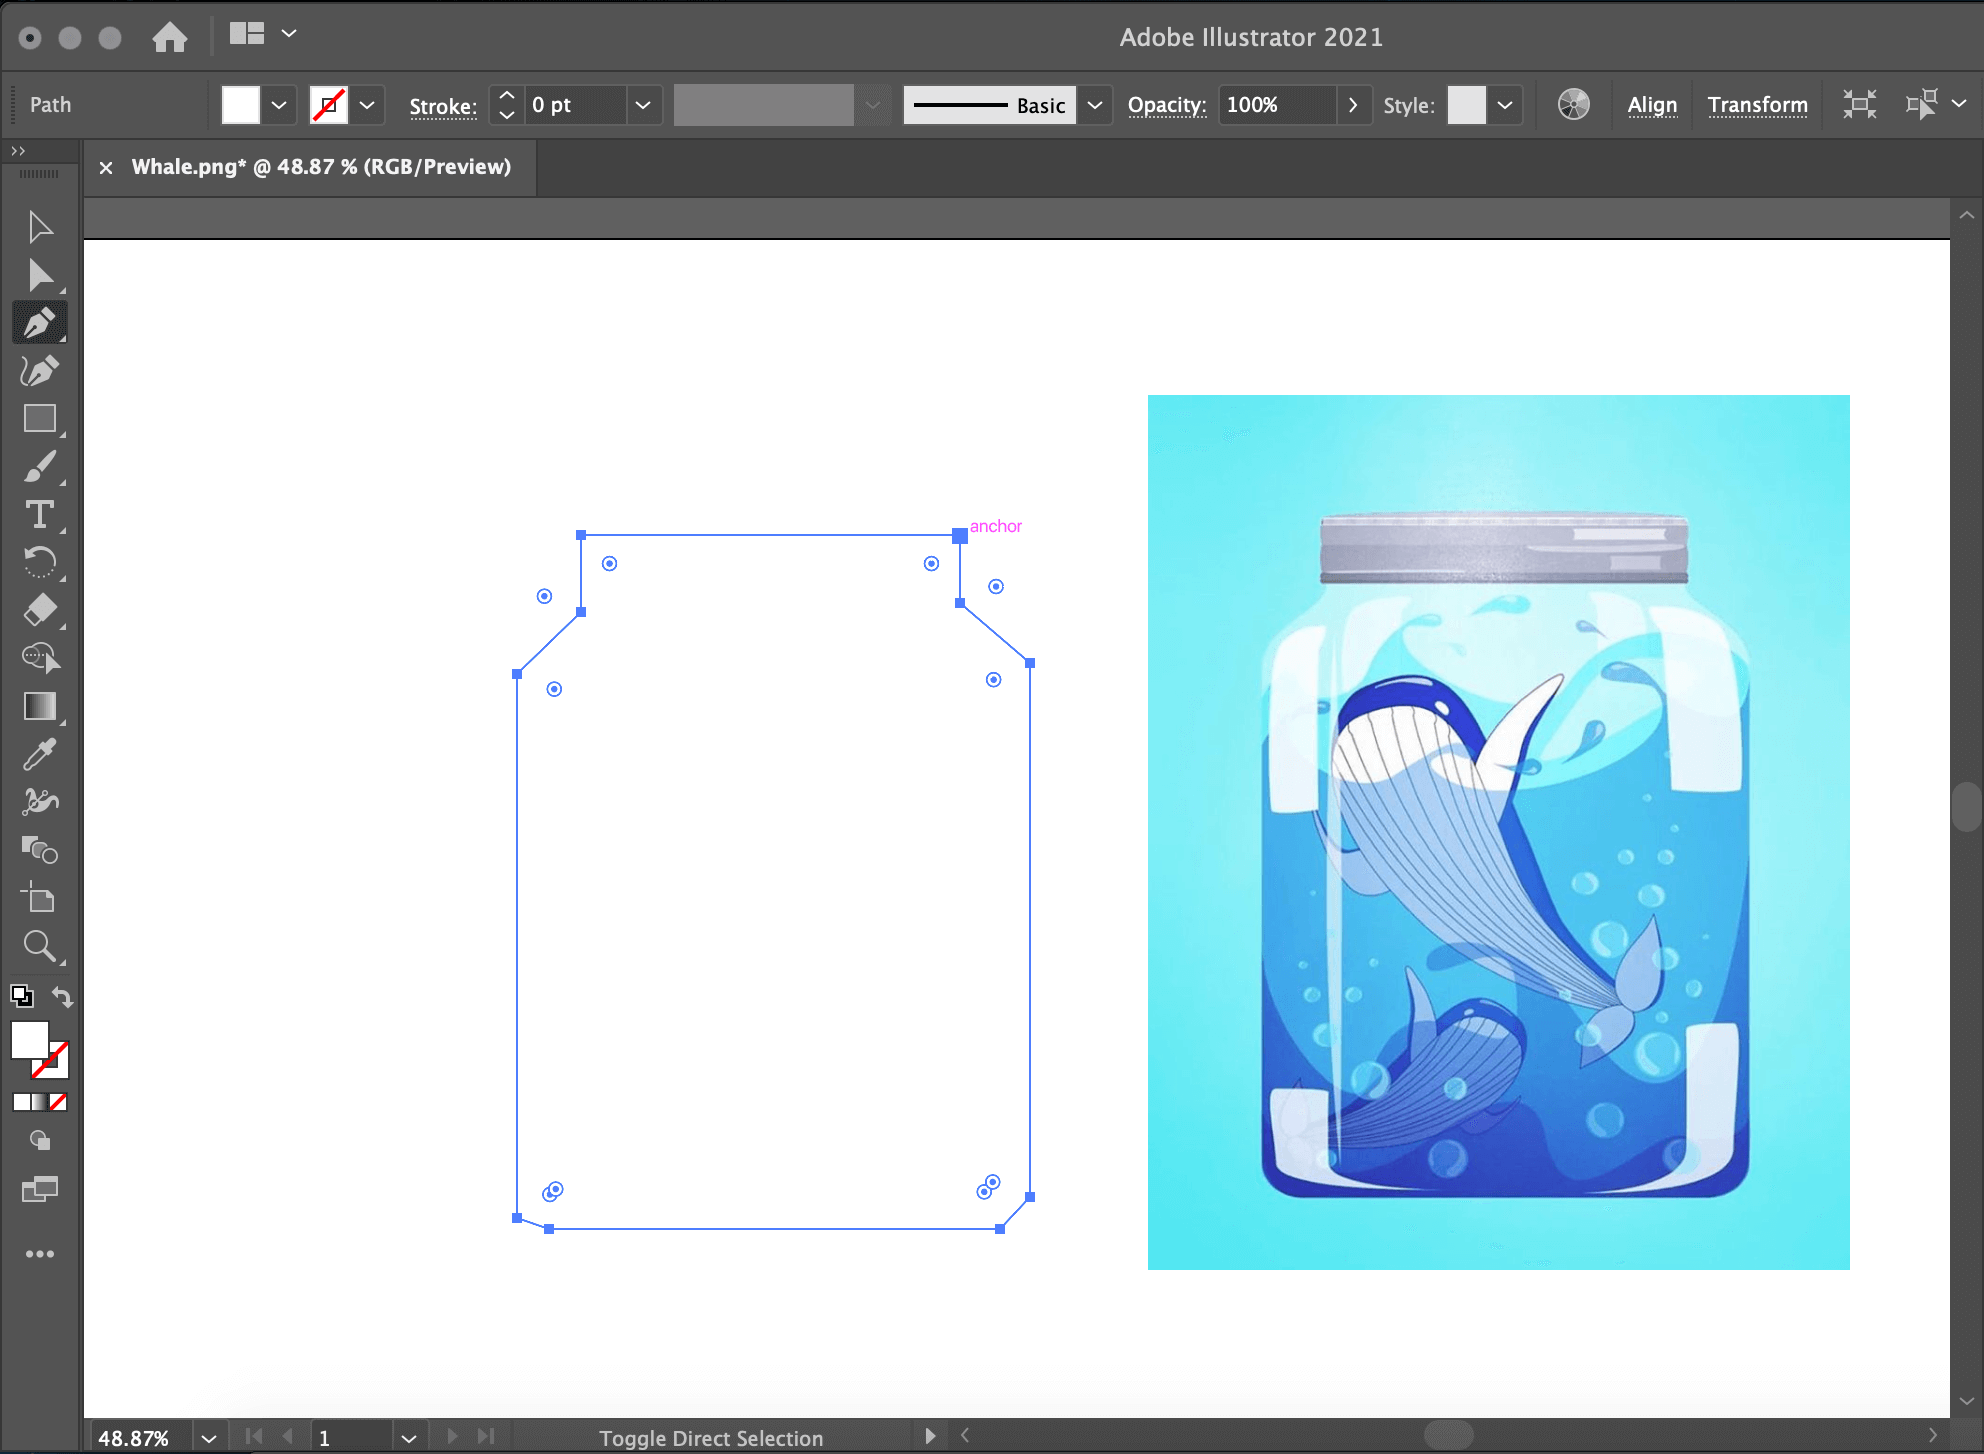
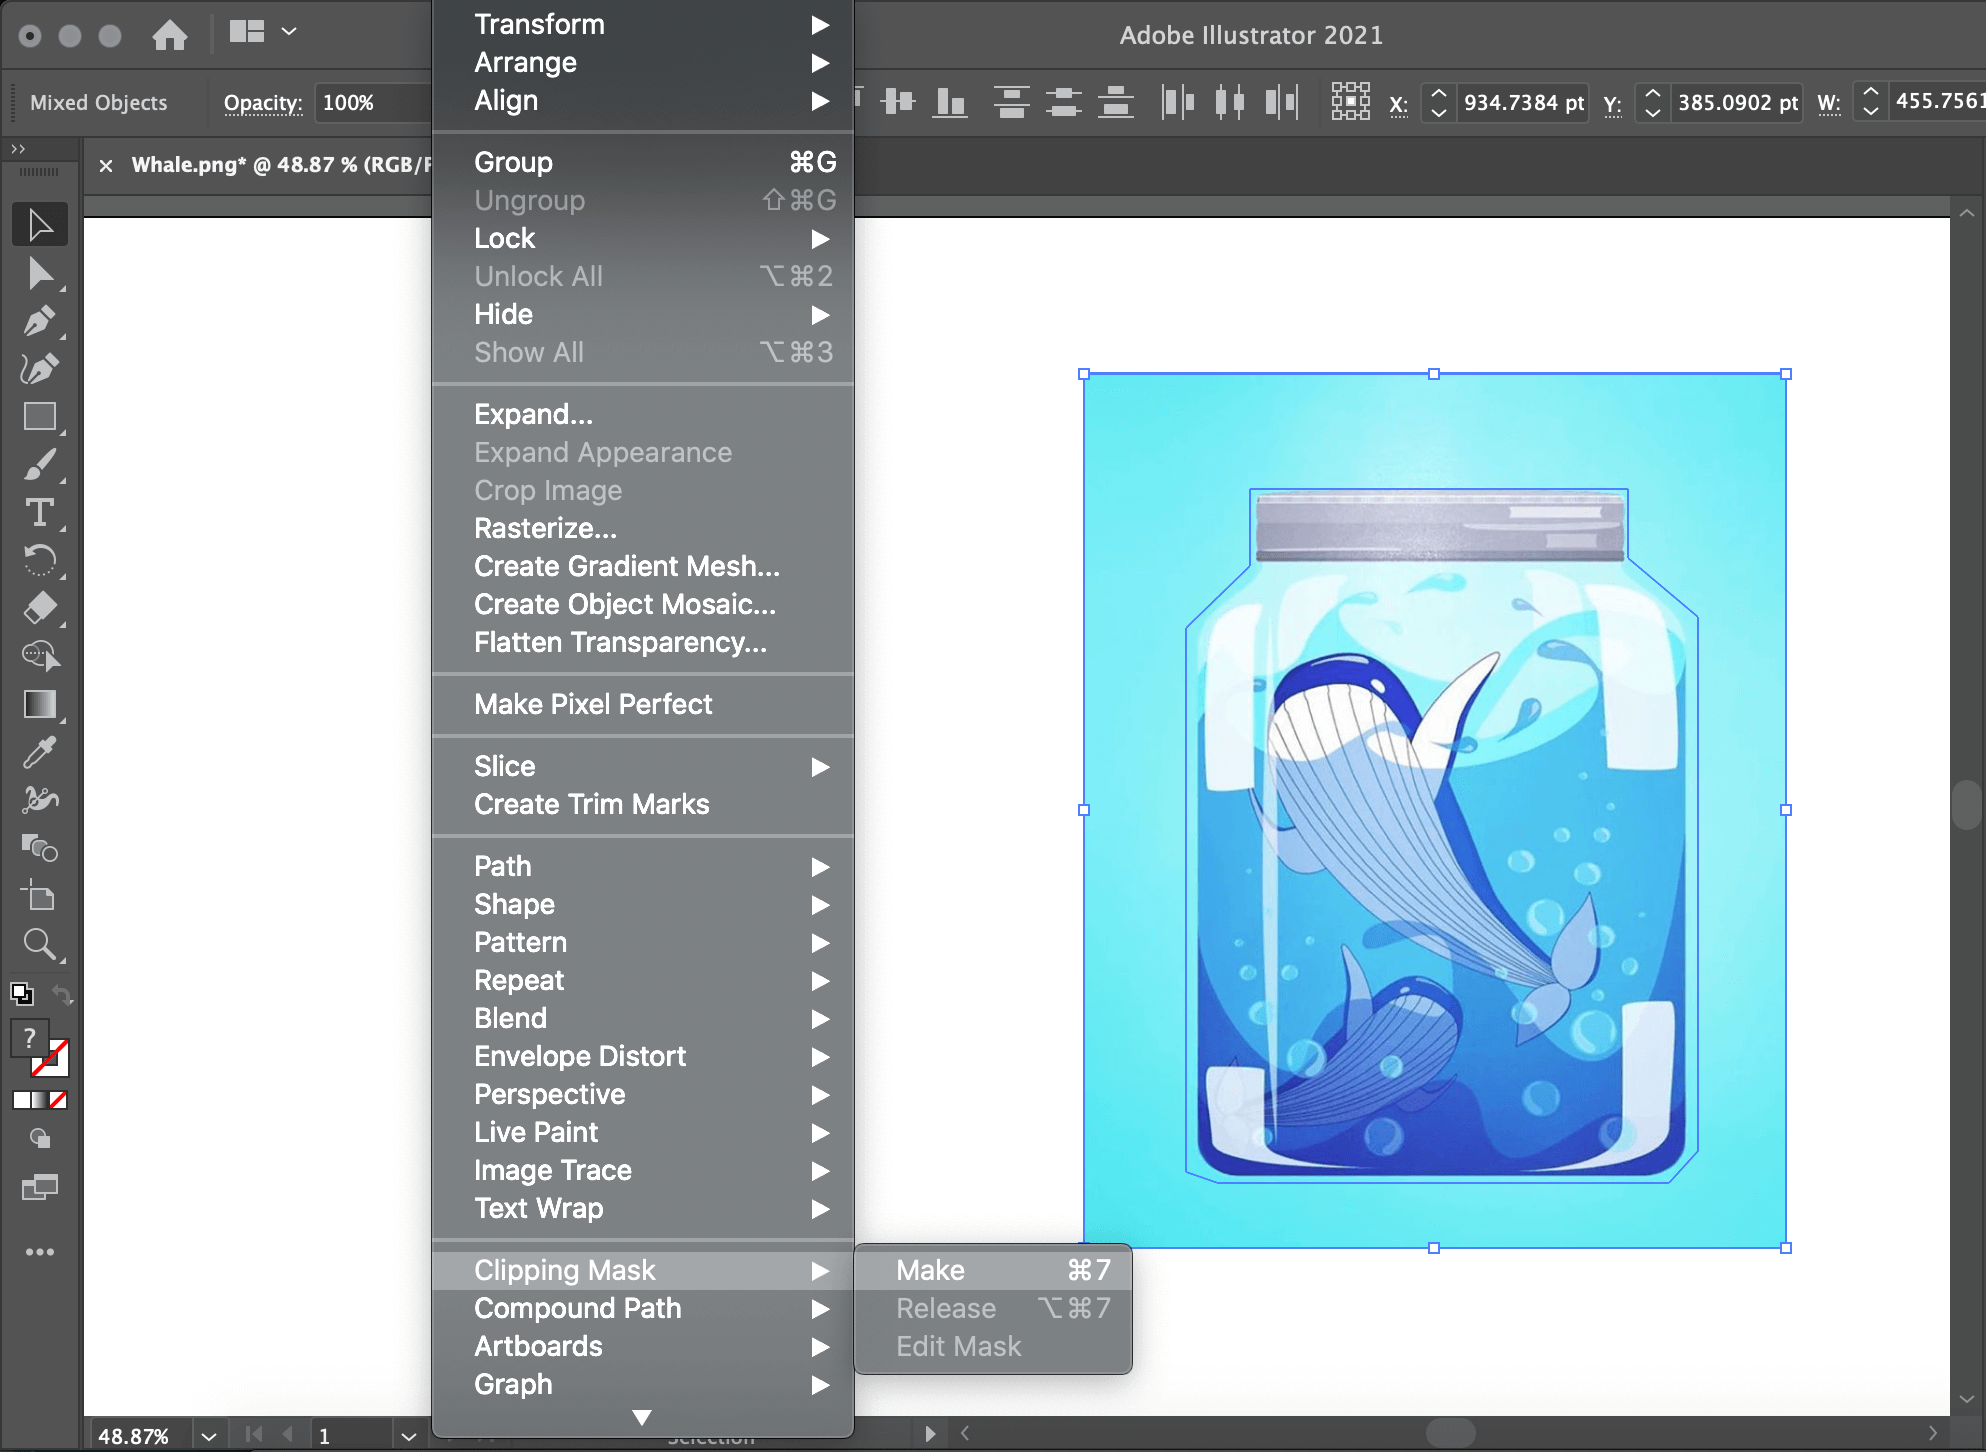
Now it’s time to make the clipping mask. For that, make sure both images are selected.
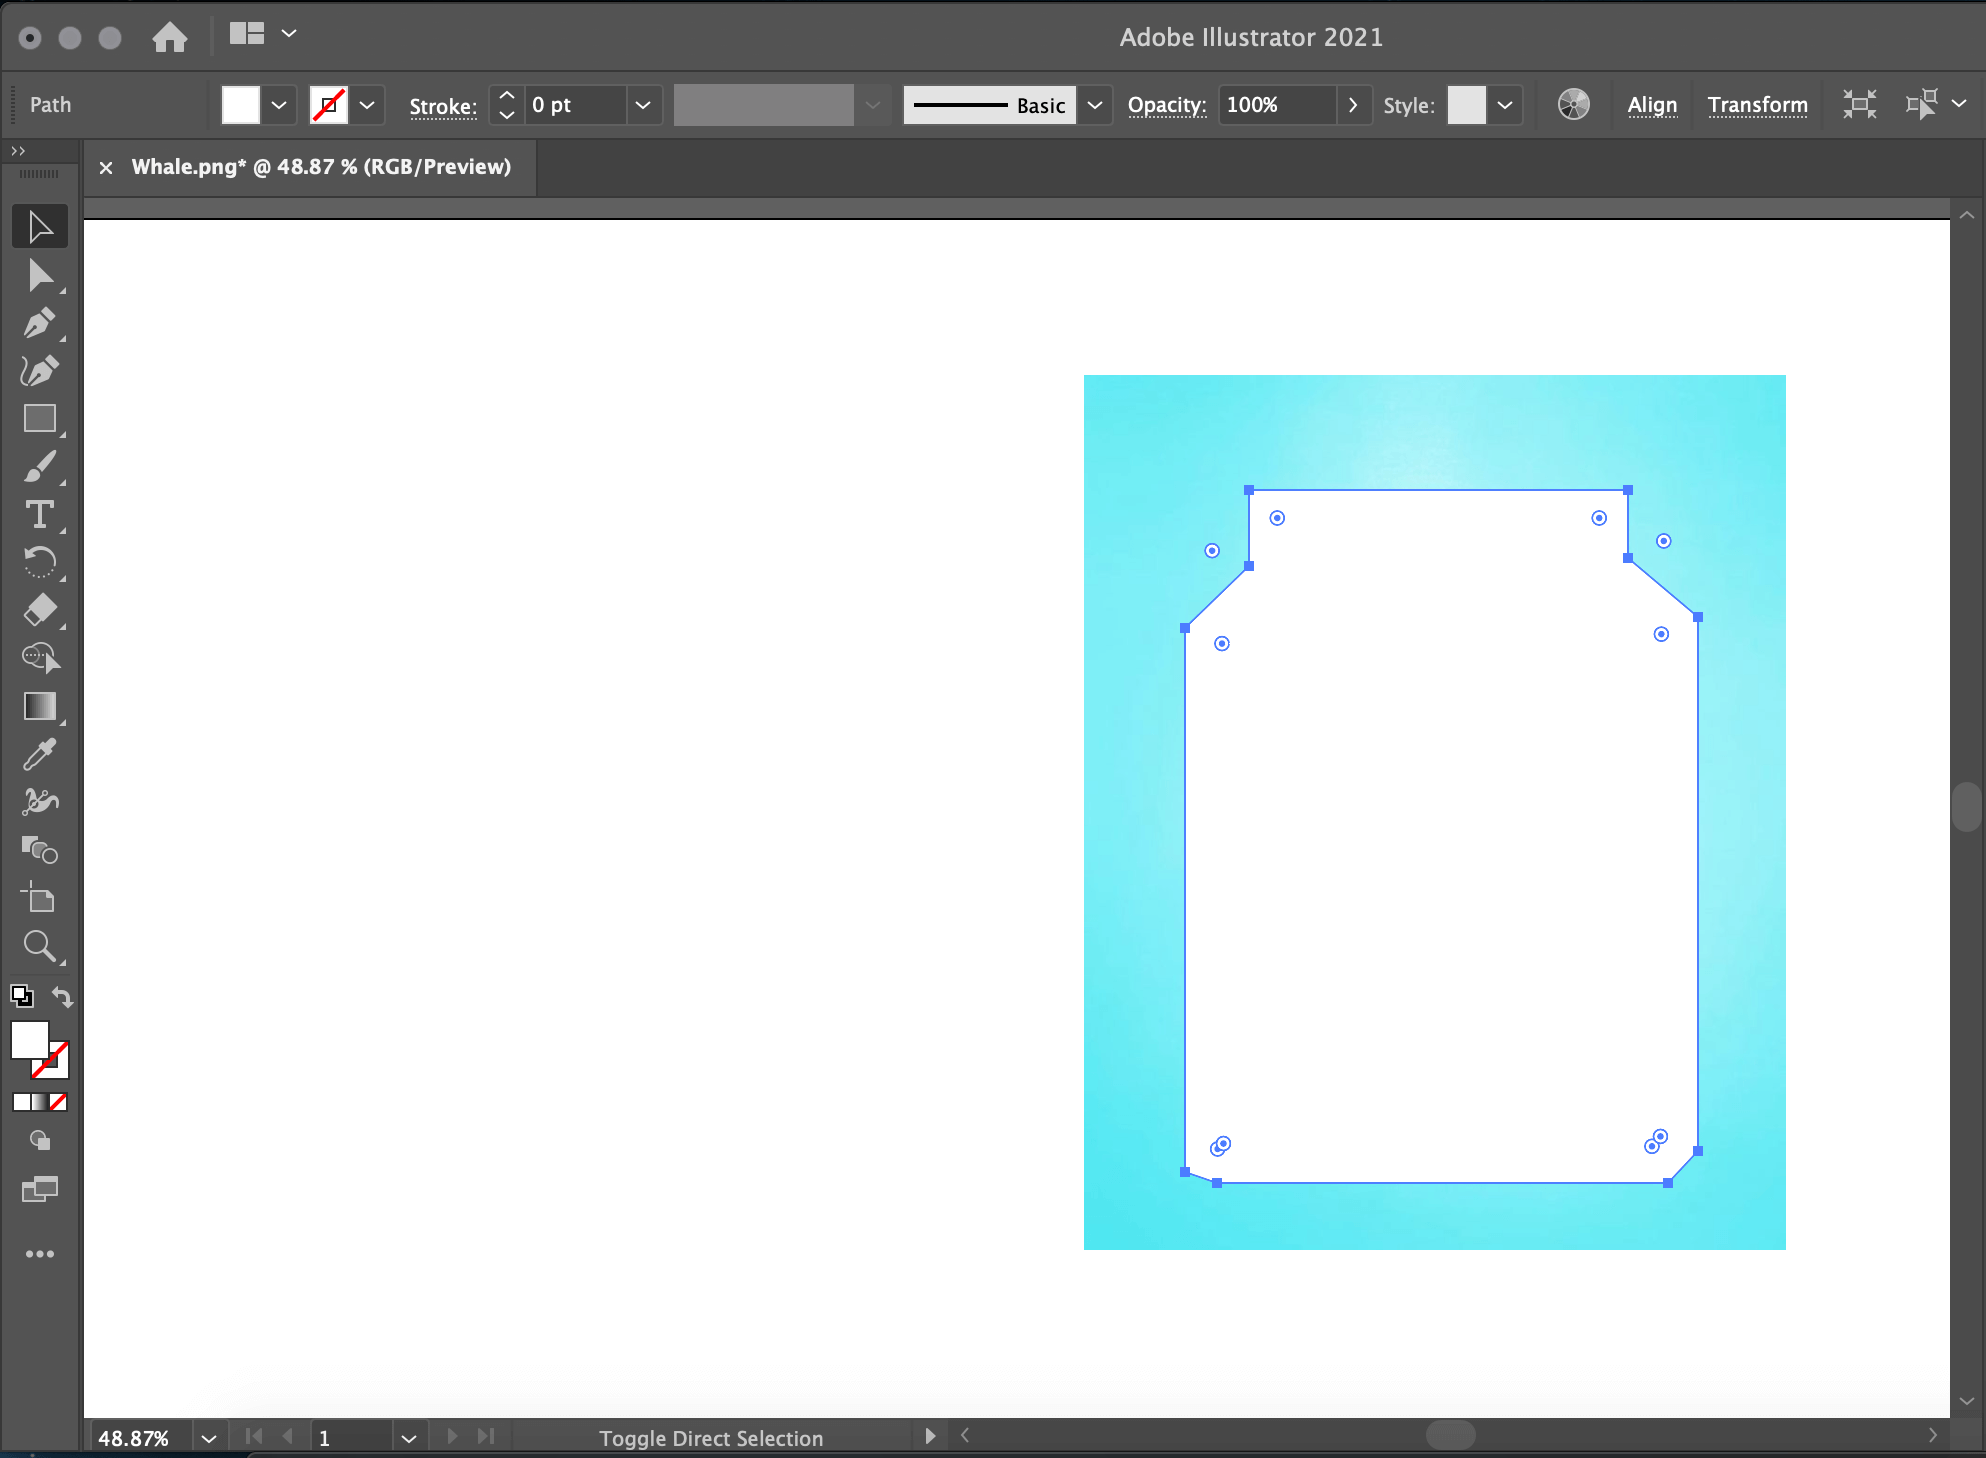
Then, click Object > Clipping Mask > Make in the menu bar. Boom! Now you can see your cropped image.

Cropping in Adobe Illustrator using Opacity Masks
A similar outcome can be achieved with Opacity Masks.
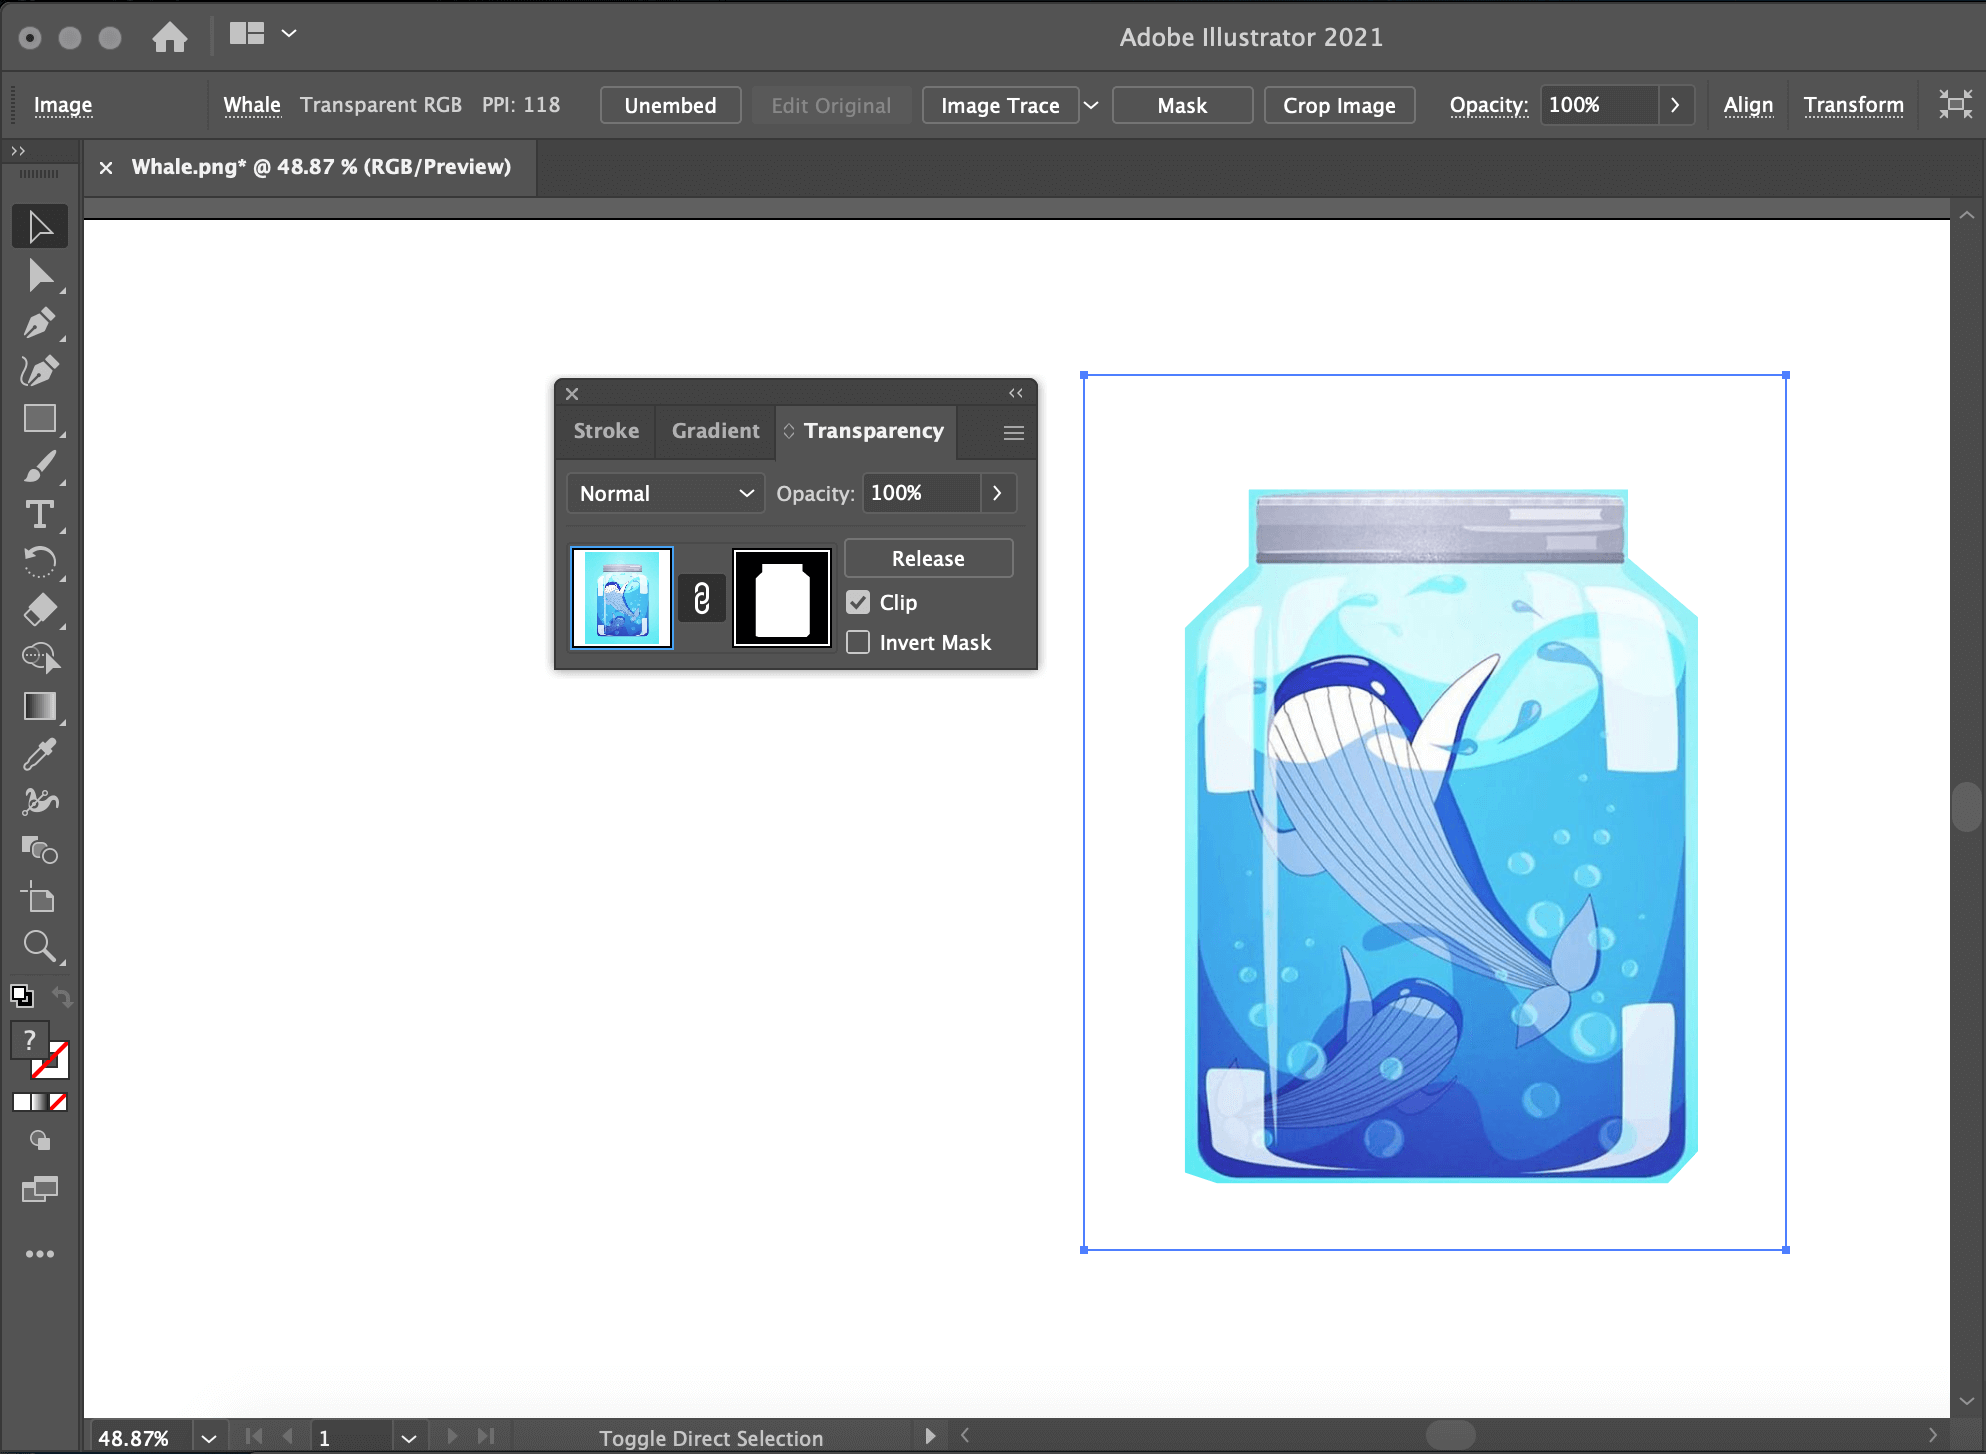
First, draw the shape you want to crop your image (or import a preexisting shape into your canvas) and color it black or white. With opacity masks, white means that the image will be opaque in that area. Black signifies that the part of the image will be completely transparent. Grays indicate a fade from opaque to transparent or a gradient.
For this example, we’ll use pure white so that the object can be cropped easily. Select both the image and the shape. To create the opacity mask, go to Window -> Transparency. A new panel will appear. Then click Make Mask, but ensure the Clip checkbox is activated.
Quick & dirty cropping with Artboards
You can also use the quick and dirty Illustrator Artboard alternative to crop an image in Illustrator. This will only work with rectangular crops, of course. But it’s non-destructive. Your graphic is still pretty much whole on the page, just outside the edges of the Artboard.
The method is straightforward. Click on the Artboard icon and change its shape to the area you want to crop. Then export the file! Go to File -> Export As, and in the dialog box, check Use Artboard for the export. Done!
Maintaining the aspect ratio while cropping
Let’s say you want to crop an image to direct the focus on a particular object. Still, you want to keep the aspect ratio the same as the original image, a prevalent task in graphic design, especially for digital marketing purposes.
The process is much simpler than it might sound initially. Create a shape that covers the entire size of your image by using the Rectangle Tool. Then resize it by holding the ⇧ key. This will guarantee that the aspect ratio is maintained. That’s it.
Move the shape to your desired position and apply a Clipping Mask to it.
Linearity Curve vs. Illustrator
Linearity Curve is, like Illustrator, a vector-based software. There are two fast and easy options available to crop an image in Linearity Curve:
- The Crop Tool ic-crop-toolic-crop-tool (optimal to crop squares or rectangular shapes). The Cropping Handles will give you complete and easy control of the resulting image cut.
- The Clipping Mask ic-maskic-mask technique (optimal to crop irregular, non-square or non-rectangular shapes). The Clipping Mask operation in Linearity Curve gives you unlimited options to crop your image. We will give you the freedom to crop your image into any shape or form you want with Linearity Curve.
Every technique takes only a few steps and is super easy to perform, even for inexperienced users.
Regarding navigation and UI, Linearity Curve and Illustrator look very different. Adobe is known for its many “hidden” functions and the fact that you need to be an advanced user to use it properly. Even as a mid-level user, you still might find yourself googling for answers on how to use the software when your mind should be focused on designing instead.
Something needs to change when a design tool needs so many steps, shortcuts, and hidden functions to be functional at a basic level. Today's designers don’t want to be bothered by that, and they shouldn’t be.
Linearity Curve possesses a straightforward and intuitive interface. No hidden menus or unnecessary clutter. Even a beginner will be able to navigate the interface quickly. The app has a very flat learning curve. Our goal while designing the software was to make it easily accessible for beginners but with the ability to perform professionally.

You can crop a raster-based image in Linearity Curve using the Crop Tool ic-crop-toolic-crop-tool or Mask function ic-maskic-mask. There are several benefits when using these two techniques:
The Crop Tool technique
- An operation that can be reversed easily by performing the Undo ic-undoic-undo operation
- The Cropping Handles will give you complete and easy control of the resulting image cut.
- Double-tapping the already cropped image will display the entire original image, and the image cut can be readjusted comfortably with the Cropping Handles.
The Clipping Mask technique
- It’s non-destructive.
- You can still move the original around once you’ve performed the masking operation.
- The resulting shape is still a vector shape you can continue altering as you wish.
:quality(75))
:quality(75))
How to crop in Linearity Curve
In Linearity Curve, you have two easy and fast options to crop an image. The Crop Tool ic-crop-toolic-crop-tool and the Clipping Mask feature. Below, we'll explain every option in detail:
How to crop with the Crop Tool
The Crop Tool ic-crop-toolic-crop-tool technique is optimal for cropping square or rectangular shapes. Below, we'll explain how to perform the operation in a few steps.
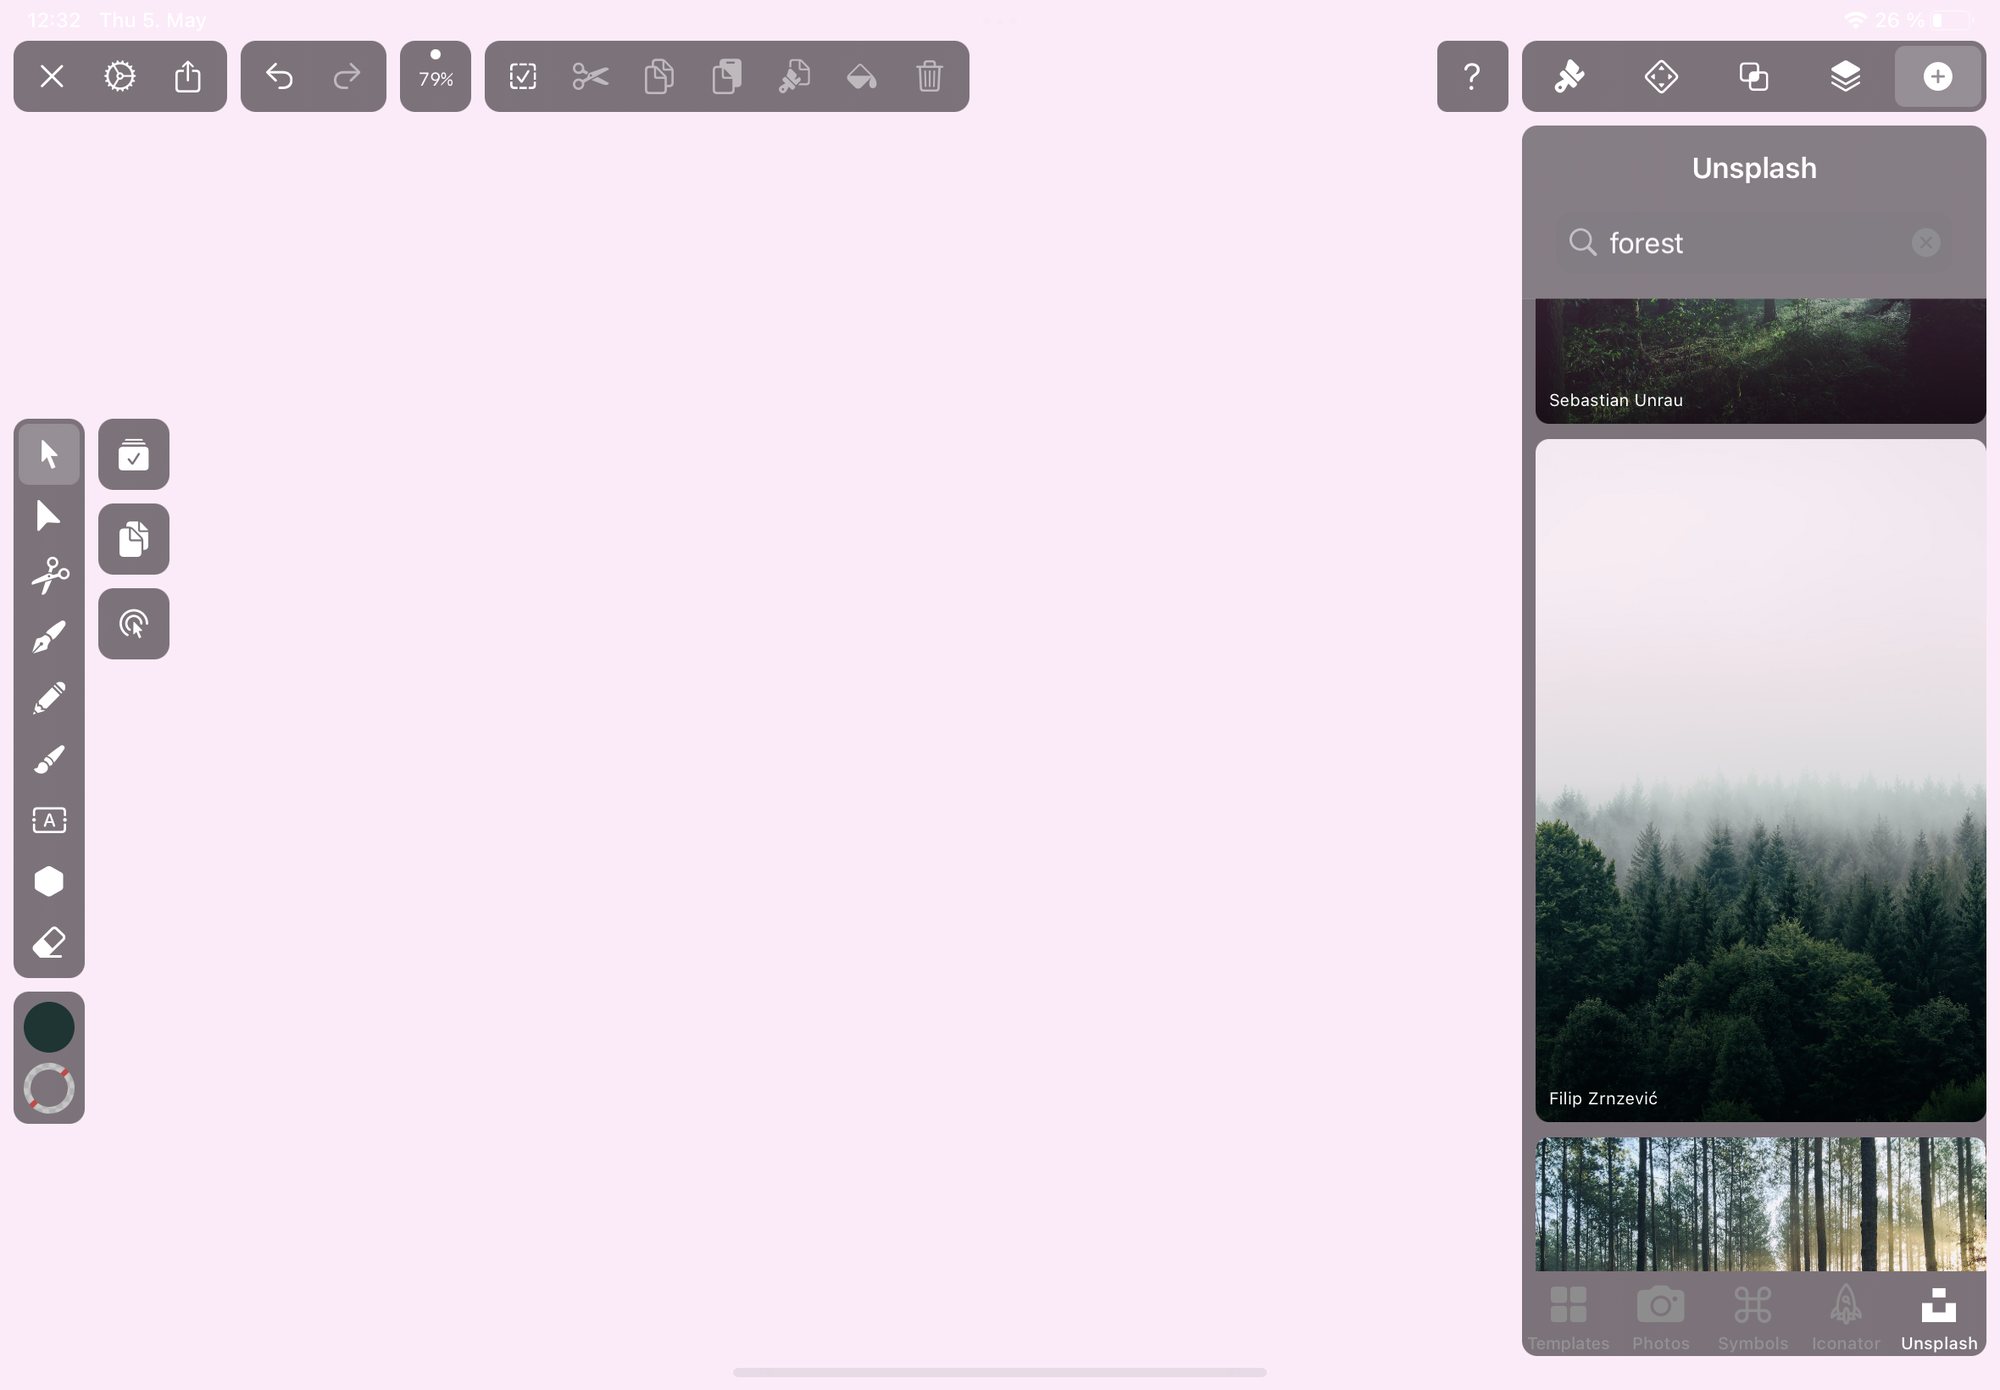
The first step will be to import the raster image into Linearity Curve first. You can import the image via the Library Popover ic-library-tabic-library-tab, the Import ic-importic-import Tab, or the Drag & Drop technique.
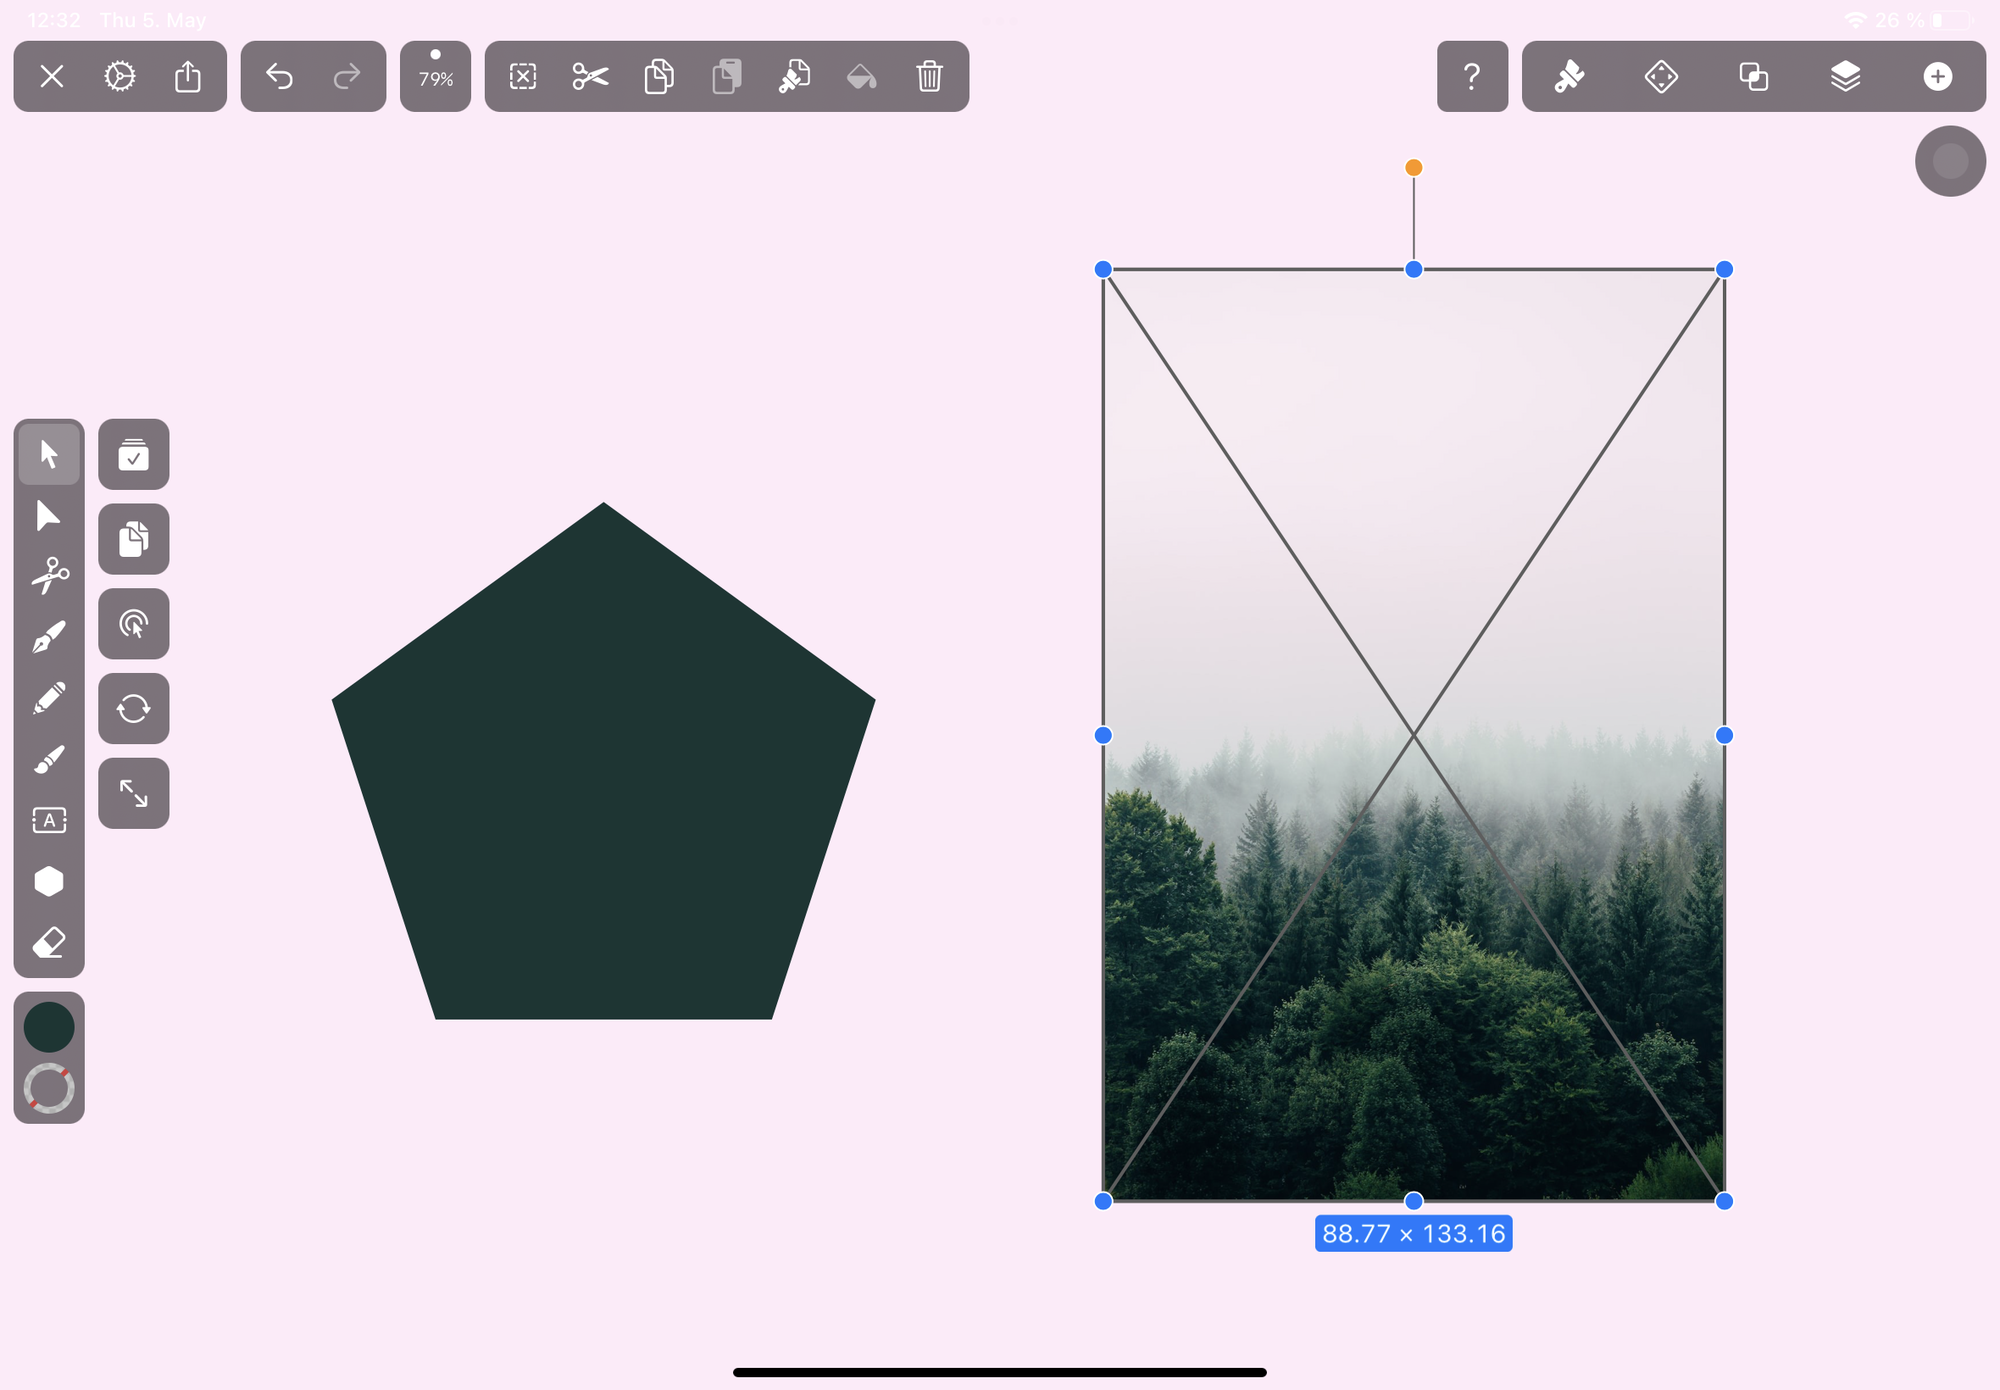
As soon as the raster image is imported into your Artboard ic-artboardic-artboard or onto the canvas, the context-aware Image Section appears in the Inspector and displays a Crop button. If you tap the Crop button, the Cropping Handles will be activated and visible around the image borders.
Now that the Cropping Handles are activated and visible, tap and drag the Cropping Handles into the desired position. After that, tap the Crop Button, and the image is cropped. The Cropping Handles disappear, and the default Bounding Box is displayed, circumventing the cropped raster image.
After the cropping process is finished and the Bounding Box is visible again, activate the Selection Tool ic-selectionic-selection, tap and drag the cropped image and move it on the canvas to its desired position.
If you aren't satisfied with the cropped image, you can tap the Crop button again or double-tap the image to readjust the Cropping Handles again for a new cutting frame. The original image will be fully visible, and you can adjust the Cropping Handles again.
Ready to learn something new?
Check out our list of great design courses online.
How to crop with a Clipping Mask
The Clipping Mask technique is optimal for cropping irregular, non-square or non-rectangular shapes.
In Linearity Curve, any closed path shape can be turned into a Clipping Mask. The possibilities to create a shape with a clipping mask are unlimited in Linearity Curve.
Let us explain to you in a few simple steps how you can crop a raster-based image in Linearity Curve by using the Masking Technique ic-maskic-mask :
Let’s start by importing the raster image into Linearity Curve first. You can import the image via the Library Popover ic-library-tabic-library-tab, the Import Tab ic-importic-import, or the Drag & Drop technique.
Now let’s create the vector shape we want to use as a mask to crop the imported raster image.
Select the Shape Tool in the Toolbar. Click on the Three Dot Button ic-settings-2ic-settings-2 and select the Polygon Shape ic-polygonic-polygon. Set the number of polygon sides to five with the Tool Slider. Click and drag on the canvas to create the shape. Use the Selection Tool ic-selectionic-selection to move, scale, and rotate the Polygon Shape ic-polygonic-polygon.
In the next step, we’ll explain how to create the Clipping Mask to crop your image.
Select the vector masking shape and move it to the bottom of the layer stack ic-bring-to-backic-bring-to-back in the Layers Tab ic-layers-tabic-layers-tab, or the Quick Actions Bar ic-quick-actionsic-quick-actions below the imported raster image. Position the masking vector shape on the canvas.

Then click the Mask ic-maskic-mask button or ⌘M to create your mask. The imported raster image is now only visible within the boundaries of the masking shape.
The masking layer now displays a tiny mask symbol ic-maskic-mask, and the masked layer is linked to the masking layer with a dependent arrow.

Now that we have established the Clipping Mask structure, you can still edit the mask by selecting and moving the masking shape around or by editing the masking shape with the Node Tool ic-nodeic-node, as the clipping mask feature in Linearity Curve is a non-destructive operation.
Jumpstart your ideas with Linearity Curve
Take your designs to the next level.

Share this!
Marion Gerlinger
Marion is a contributing writer to the Linearity Blog.