:quality(75))
:quality(75))


:quality(75))
We might like to think that the key to becoming a successful graphic designer lies in our individual creative genius.
And sure, a little bit of genius helps, but setting yourself up as a professional designer involves a huge amount of teamwork.
A single product might require input from clients, marketing divisions, other design teams, and legal departments. And in this day and age, the chances of everyone getting physically together in the same room are practically zero.
Jumpstart your ideas with Linearity Curve
Take your designs to the next level.
Learning to work remotely with different stakeholders on a shared project will get you a long way in your career as a graphic designer.
Check out this guide for tips on how to approach collaborative design projects, including the best online design tools and collaboration platforms you’ll need for each step of the design process.

What exactly is design collaboration?
Essentially, a collaborative design approach is one that takes input from various stakeholders in a project to join forces and work towards creating the final product.
Each project will require a different set of skills and expertise, so having the flexibility to work with dynamic teams is a crucial skill for any designer.
Why is design collaboration so important anyway?
To put it simply, a diversity of input is going to lead to a stronger output.
The whole process will benefit from a collaborative approach, from getting a range of ideas for initial inspiration to delegating tasks and easing the workload for everyone.
You’ll also be able to catch mistakes faster and make the whole process more efficient. Not to mention having a dedicated group to celebrate the wins with.
Plus, the more teams you work with, the bigger your network for potential future collaborations.
It’s easy to be intimidated by the prospect of bringing so many creative teams into a single design project: multiple opinions, opposing viewpoints, countless email threads, endless approval processes… Take a deep breath.
At the end of the day, everyone has the same shared goal: creating beautiful, effective designs. And the right design collaboration tools will take all the stress out of the process.
Follow these steps, and you’ll see that working together with individual teams on design collaborations couldn’t be simpler.

The 5 steps to completing a design collaboration project
Nail down the brief and start brainstorming
The crucial first step in any collaborative enterprise is making sure all project teams are on the same page. This means communicating with the client and any other stakeholders about what your end goal is.
Alongside your creative vision and design inspiration, you’ll have to take into account factors like deadlines, budgets, and user experience.
Using a collaborative whiteboard platform like Miro is an excellent option for clear and creative brainstorming sessions. Their online whiteboard for teams lets you build on ideas, use sticky notes to incorporate interactive feedback, and collaborate in a creative yet organized way.
Ready to learn something new?
Check out our list of great design courses online.
It’s key to prioritize easy, creative collaboration from the jump. This way, each individual party will feel free to express their ideas throughout the entire process, with the knowledge that everyone has an equal say in the project goal.
Plan, plan, plan
Now it’s time to get down to the nitty-gritty. Take your initial brainstorm and come up with a plan of action together.
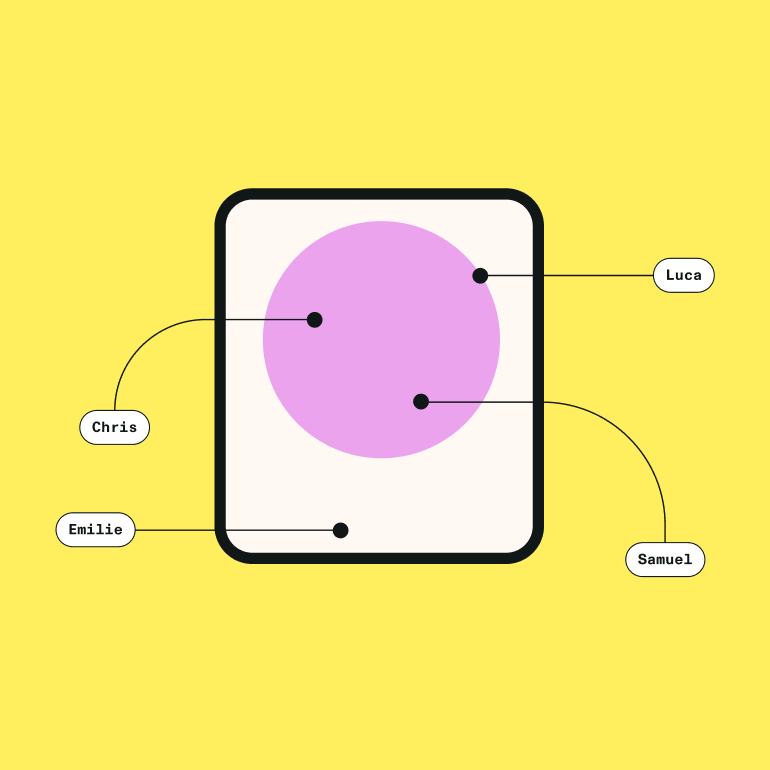
To do this, break down the project phases, including individual deadlines and who's responsible for what tasks. We recommend using a tool like Notion to map out your project. Each team can use the collaborative features to create an aggregated project model. Use their pre-made templates to create spaces for tracking to-do lists, schedules, calendars, and budgets.
The project management platform Asana is another excellent option for breaking down project phases and keeping track of delegations.
Make your mock-ups
Here comes the fun part. Once everyone has a clear view of the steps that need to be taken, it’s time to enter the design phase.
Use your creative skills and online design tools to start bringing your design concepts to life. Make sure you’re avoiding these common mistakes when submitting your design prototypes!
Figma is one of our favorite design collaboration tools to use in this phase, because of its all-in-one design platform and modern functionalities. Designers can also work seamlessly with development teams using features that allow you to mirror code and design, grab code snippets, and easily export design assets.
Moqups is another option for people looking for a super intuitive user interface, as it allows team members of any design experience level to take part in the collaborative design process. It also has easy integration with third-party apps like Google Docs and Dropbox.
Ready to create brand assets that pack a punch?
Visit our Academy for free marketing design courses.
During this phase, it’s crucial to incorporate regular internal design reviews to keep the project on track. We’d suggest using communication tools like Slack to organize the team into sub-groups, chat one-on-one, and avoid tedious email chains. Use Slack online or get the desktop application for the most user-friendly experience.
It’s also important to keep up some face-to-face contact, even when working remotely. Stick to tried-and-true apps like Zoom to conduct weekly check-in meetings.

Feedback and development
Part of the magic of collaborative design is getting input and feedback from a wide range of sources.
Keep testing your designs and taking on client feedback, as well as comments from other parties to optimize your final product. You can even get opinions from people completely outside of the project to test user experience and user journeys from a more objective standpoint.
Incorporate design feedback using the collaboration platforms we’ve mentioned above to make sure your project is in constant development. With repeated design iterations you'll be working your way toward the highest-quality designs possible.
Final approval process
After you’ve developed your design and it’s in the last stages of completion, you’ll want to walk the whole team through the product one last time and add any final client revisions.
Use your project organization tools like Notion and Asana for the approval management process and triple-check that every team member is happy with the product design.
Now, after all that hard work, you’re ready to hit launch on your project delivery!

Go forth, collaborate, and create!
So now you know what to expect when embarking on a design collaboration with multiple teams involved.
With these steps and the handy online tools and collaboration platforms, you’ll be able to harness the power of collective design without any of the stress.
And with every successful group project, you’ll be growing your network and opening yourself up for more collaborative work in the future.
Check out this guide for even more advice on handling client commissions, and read these tips on how to keep improving your graphic design skills for your next projects. And don't forget to download Linearity Curve for all of your vector design needs!
Jumpstart your ideas with Linearity Curve
Take your designs to the next level.

Share this!
Jonny Tiernan
Jonny is a contributing writer to the Linearity Blog.